

Intellinet 522496 User Manual
INT-522496-UM-0606-02
NETWORK STORAGE
ADAPTER
USER MANUAL
MODEL 522496
522496_man.dlrevL4C.indd 1 6/28/06 9:11:50 AM

2
CONTENTS
section page
1. Introduction ........................................................................................ 3
2. Understanding the Network Storage Adapter ............................................ 4
3. Setup & Connections ........................................................................... 6
Overview .................................................................................... 6
Hardware Installation ..................................................................... 6
Inserting and Changing USB Drives and Printers ...................................7
Software Configuration ................................................................... 8
Using FTP ................................................................................... 20
Printing ...................................................................................... 22
Device Finder ............................................................................. 26
4. Troubleshooting/FAQ ......................................................................... 28
5. Glossary ......................................................................................... 30
6. Specifications ................................................................................... 31
TABLE OF CONTENTS
522496_man.dlrevL4C.indd 2 6/28/06 9:11:50 AM

3
1. INTRODUCTION
Thank you for purchasing the INTELLINET NETWORK SOLUTIONS™ Network Storage Adapter,
Model 522496. With data storage needs changing, disk drives becoming ever larger and
digital content a growing part of today’s lifestyle, this device allows you to quickly and easily
share your USB-based storage and printing devices on any Ethernet network. The Network
Storage Adapter provides you with four USB ports that can be used for storage or peripherals:
Store more than a terabyte of data or let others plug in their portable media devices to listen to
music, watch videos or share information among a large group.
Installation is fast, too – in most cases without the need to understand or remember IP addresses,
workgroups or complex configuration parameters. Plus, if you set up the unit and then forget
the settings, it doesn’t matter – we’ve provided software that detects and reconfigures the unit
without losing all the user and share configurations.
The following instructions will show you how to get the most out of this device – including
sharing any digital media devices and printers you may have – and will answer frequently
asked questions, as well.
INTRODUCTION
522496_man.dlrevL4C.indd 3 6/28/06 9:11:50 AM
4
2. UNDERSTANDING THE NETWORK STORAGE
ADAPTER
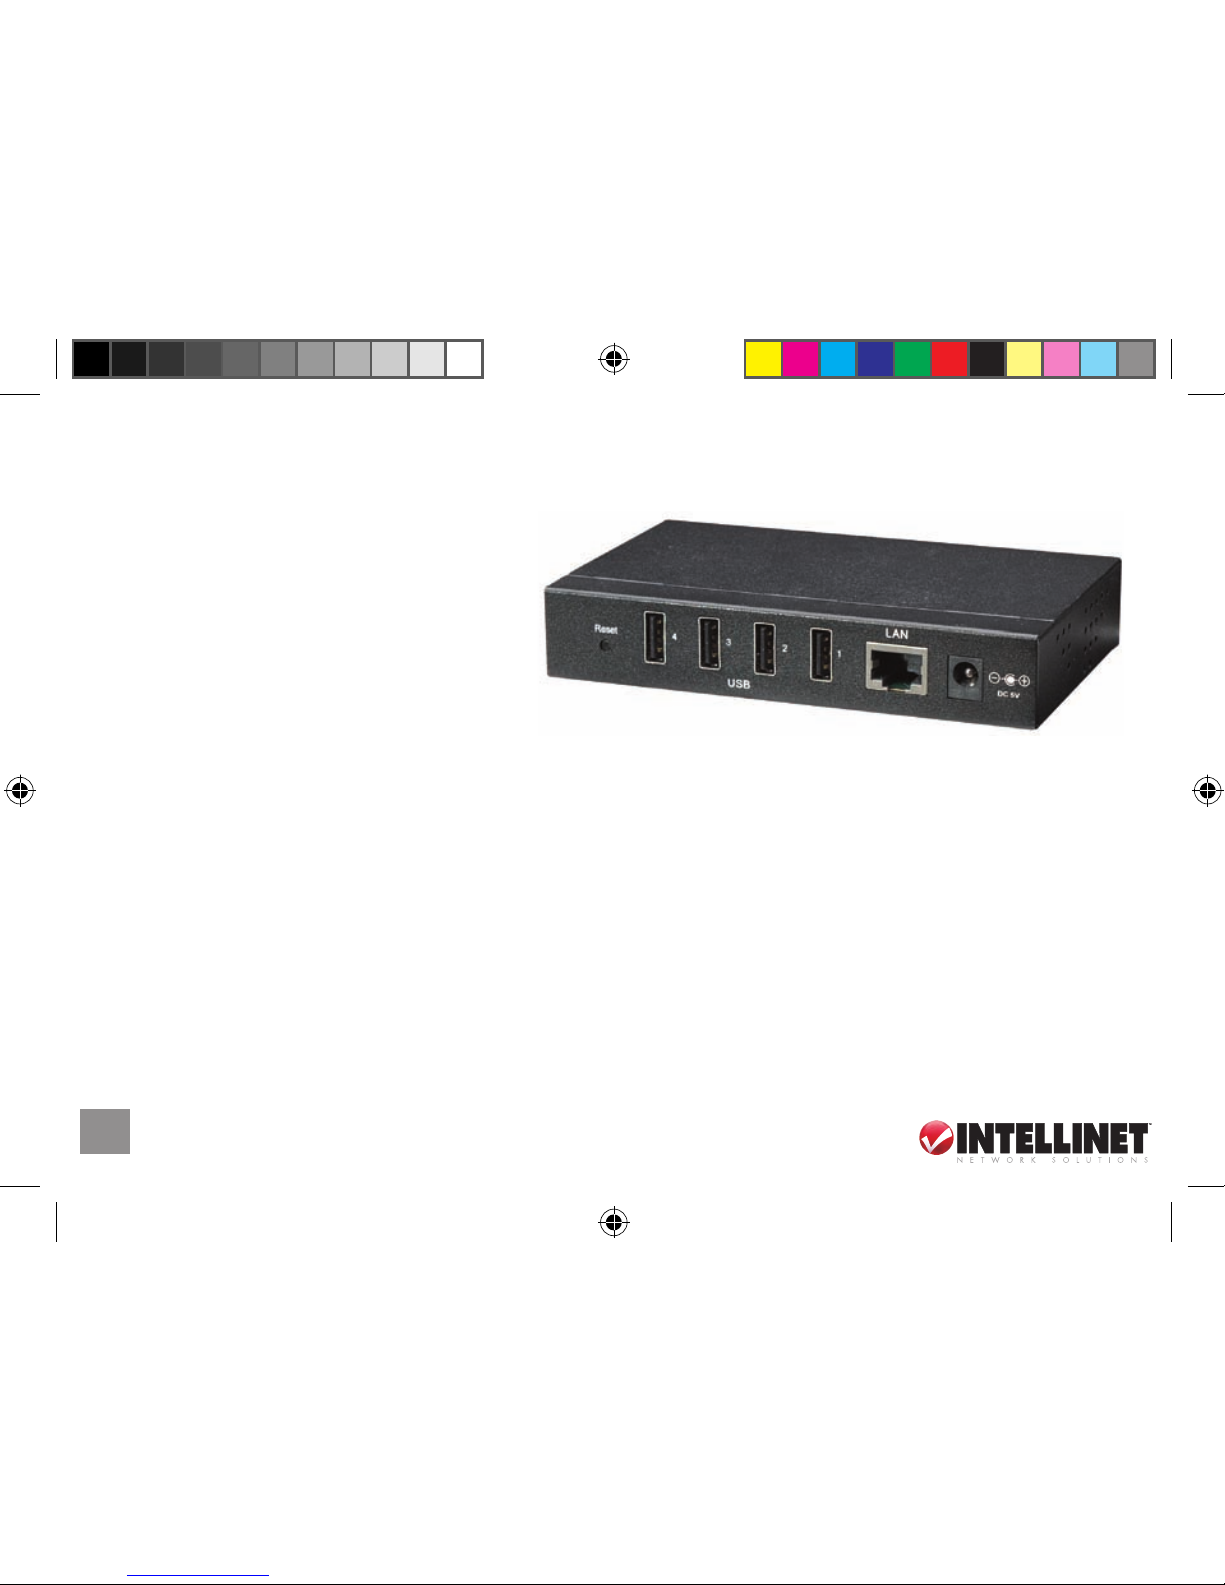
All connections to this device are made on
the rear panel. Outlets are listed below as
viewed from right to left.
Power: Connect the power adapter here.
Ethernet: Connect your Network Storage Adapter to your switch, router or even another
computer here using a Category 5 UTP patch cable. The connection is 10/100
fast Ethernet, and will auto-sense whether a standard or crossover patch cable is
being used.
USB1 First of four USB ports. Connect your USB 1.0/1.1/2.0 devices here.
USB2 Second of four USB ports. Connect your USB 1.0/1.1/2.0 devices here.
USB3 Third of four USB ports. Connect your USB 1.0/1.1/2.0 devices here.
USB4 Fourth of four USB ports. Connect your USB 1.0/1.1/2.0 devices here.
Reset Button This will restart the device, but will not reset all data to factory defaults. Press and
hold for 10 seconds.
Rear View
UNDERSTANDING THE NETWORK STORAGE ADAPTER
522496_man.dlrevL4C.indd 4 6/28/06 9:11:51 AM
5
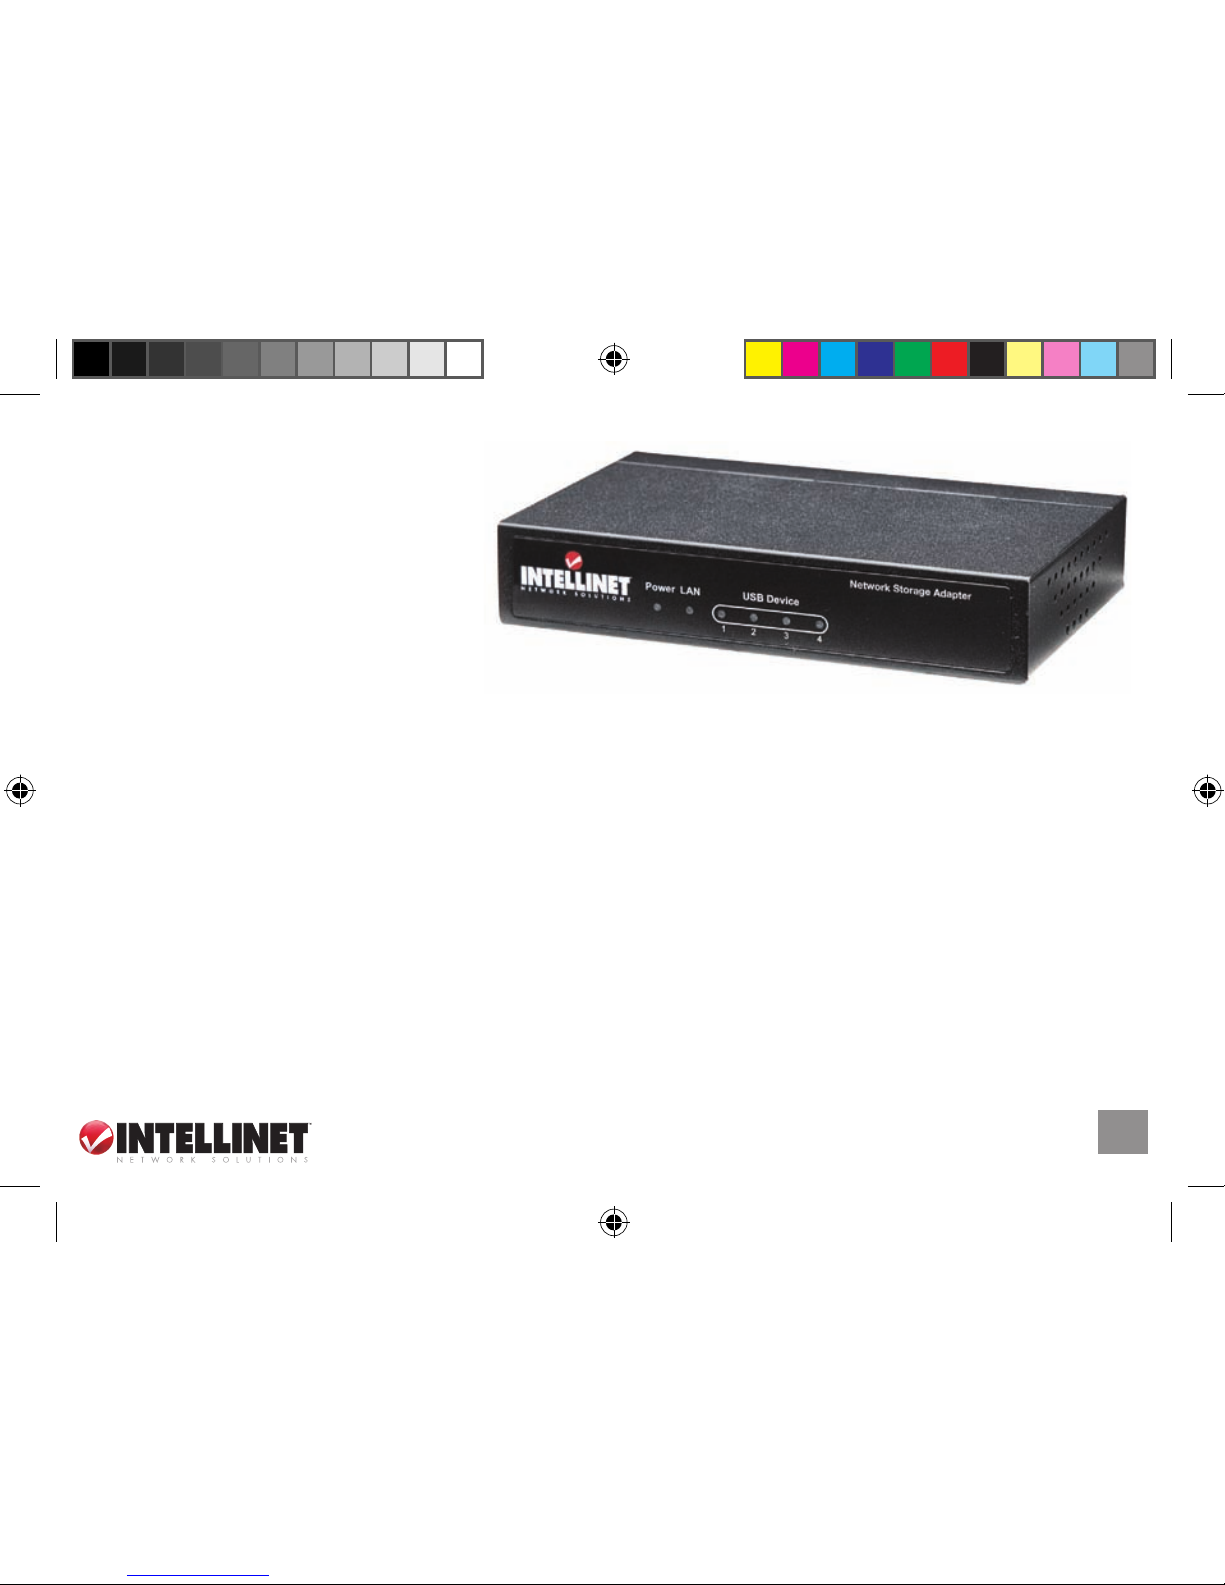
The front of the unit presents only
status LEDs, which are positioned
to mirror the corresponding
connectors on the rear of the unit.
LEDs are listed below as viewed
from left to right.
Power The power LED will be solid during power up, then will blink during normal
operation.
Ethernet (LAN) Will glow green when a link has been established with another device.
USB1 Will glow green if a USB connection has been made.
USB2 Will glow green if a USB connection has been made.
USB3 Will glow green if a USB connection has been made.
USB4 Will glow green if a USB connection has been made.
NOTE: There is no power switch on the INTELLINET NETWORK SOLUTIONS Network
Storage Adapter. It’s designed to be left on at all times.
Front View
UNDERSTANDING THE NETWORK STORAGE ADAPTER
522496_man.dlrevL4C.indd 5 6/28/06 9:11:52 AM
6
3. SETUP & CONNECTIONS
OVERVIEW
This section will show you how to connect the Network Storage Adapter to your network.
Because the Network Storage Adapter uses the TCP/IP protocol to communicate with other
devices on the network, be sure this is installed on the computer you will use to configure the
Network Storage Adapter. Refer to Windows help for more information on TCP/IP installation.
HARDWARE INSTALLATION
1. Connect one end of the Ethernet cable to the Network Storage Adapter and the other end to
your Ethernet switch or computer.
2. Connect USB devices to the Network Storage Adapter.
3. Connect the power adapter to the rear socket of the Network Storage Adapter, then into the
wall outlet. If power is present, the Network Storage Adapter will proceed with its normal
power-on sequence. The Network Storage Adapter self-test and boot-up sequences will be
completed within five seconds. Once the Power LED is flashing on the front panel, the unit is
ready.
SETUP & CONNECTIONS
522496_man.dlrevL4C.indd 6 6/28/06 9:11:52 AM

7
a. If USB devices are connected and recognized by the Network Storage Adapter, the
corresponding LED will illuminate on the front panel.
b. If there is a hardware problem, the orange Power LED will remain on instead of flashing.
c. If the network connection has made a proper link, the Ethernet LED will blink green.
INSERTING AND CHANGING USB DRIVES AND PRINTERS
S
upported USB devices (currently, USB hard drives and USB single-function printers) can be hotswapped; that is, you do not need to power down the unit to replace devices. Devices running up to
USB 2.0 High Speed mode can be used. The Network Storage Adapter currently supports only USB
single-function printers. Multifunction devices that have built-in scanners may not function correctly.
The following USB drives are currently supported:
1. FAT32 drives formatted on Win98/WinXP computers can read/write data. Maximum partition
size is 32GB and maximum file size is 2GB.
2. NTFS drives formatted on Win2000/WinXP computers are supported in Read-Only mode. There
are no restrictions on partition or file size.
As mentioned above, the drives are hot-swappable; however, if you remove a drive during a Copy
File operation, the file may not complete copying onto the attached drive.
SETUP & CONNECTIONS
522496_man.dlrevL4C.indd 7 6/28/06 9:11:53 AM
8
SOFTWARE CONFIGURATION
The Quick Start Guide contains all the information you need to perform the initial setup of the
Network Storage Adapter. The following section outlines in detail all the menu items and the
functions they perform
.
HOME
L
aunch Internet Explorer to configure the Network
Storage Adapter. Currently, the configuration of
the Network Storage Adapter can only be
performed with Internet Explorer 5 and later.
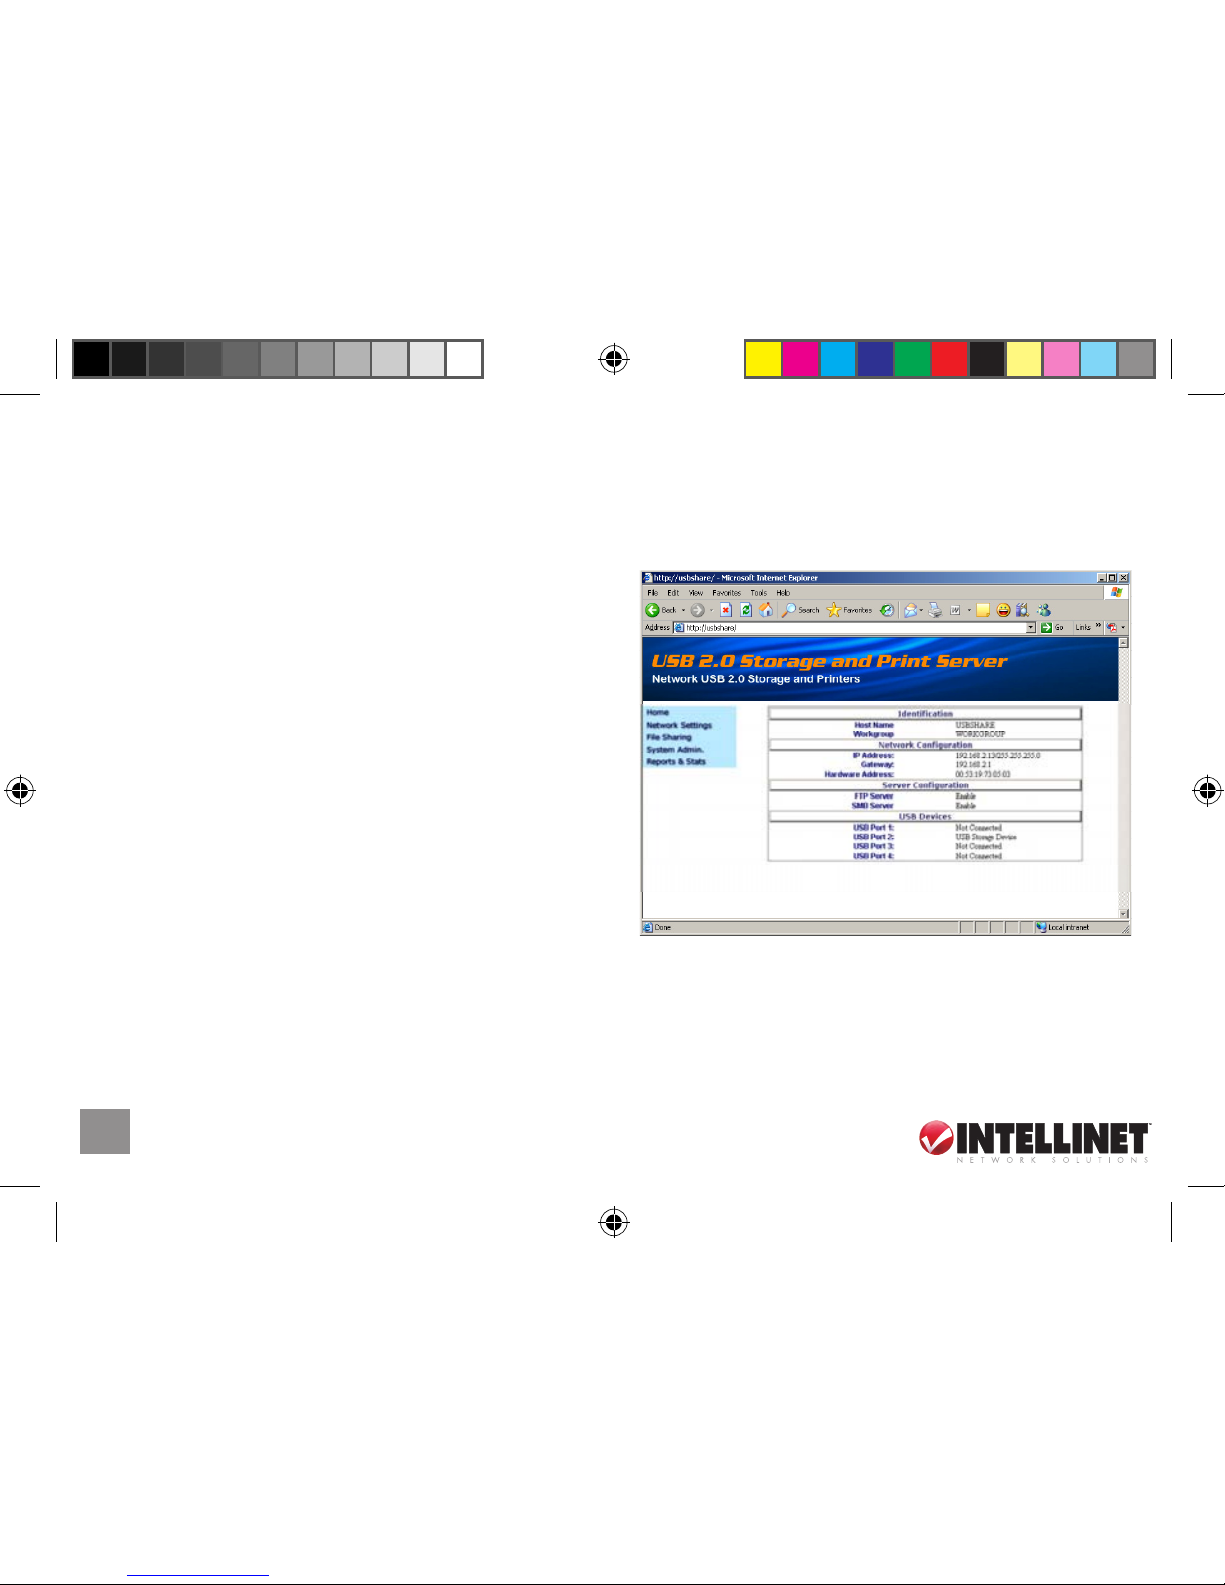
When you first open the configuration menu
through your web browser, you will be taken to
the Home screen, which contains current status
information about your Network Storage Adapter.
The Home screen is in four sections:
Identification contains the assigned hostname and the SMB/Windows workgroup information.
Network Configuration shows the TCP/IP information of your Network Storage Adapter, and the
IP address and subnet mask, gateway and MAC address of this unit.
Server Configuration displays server functions and whether they are enabled or disabled.
SETUP & CONNECTIONS
522496_man.dlrevL4C.indd 8 6/28/06 9:11:53 AM
9
USB Devices displays the status of each USB device. If no device is present, “Not Connected” is
displayed. If a device is present, then the type of device is displayed.
This is only a status screen: No changes are made from here. Clicking on “Home” on the menu
on the left will bring you back here from any screen.
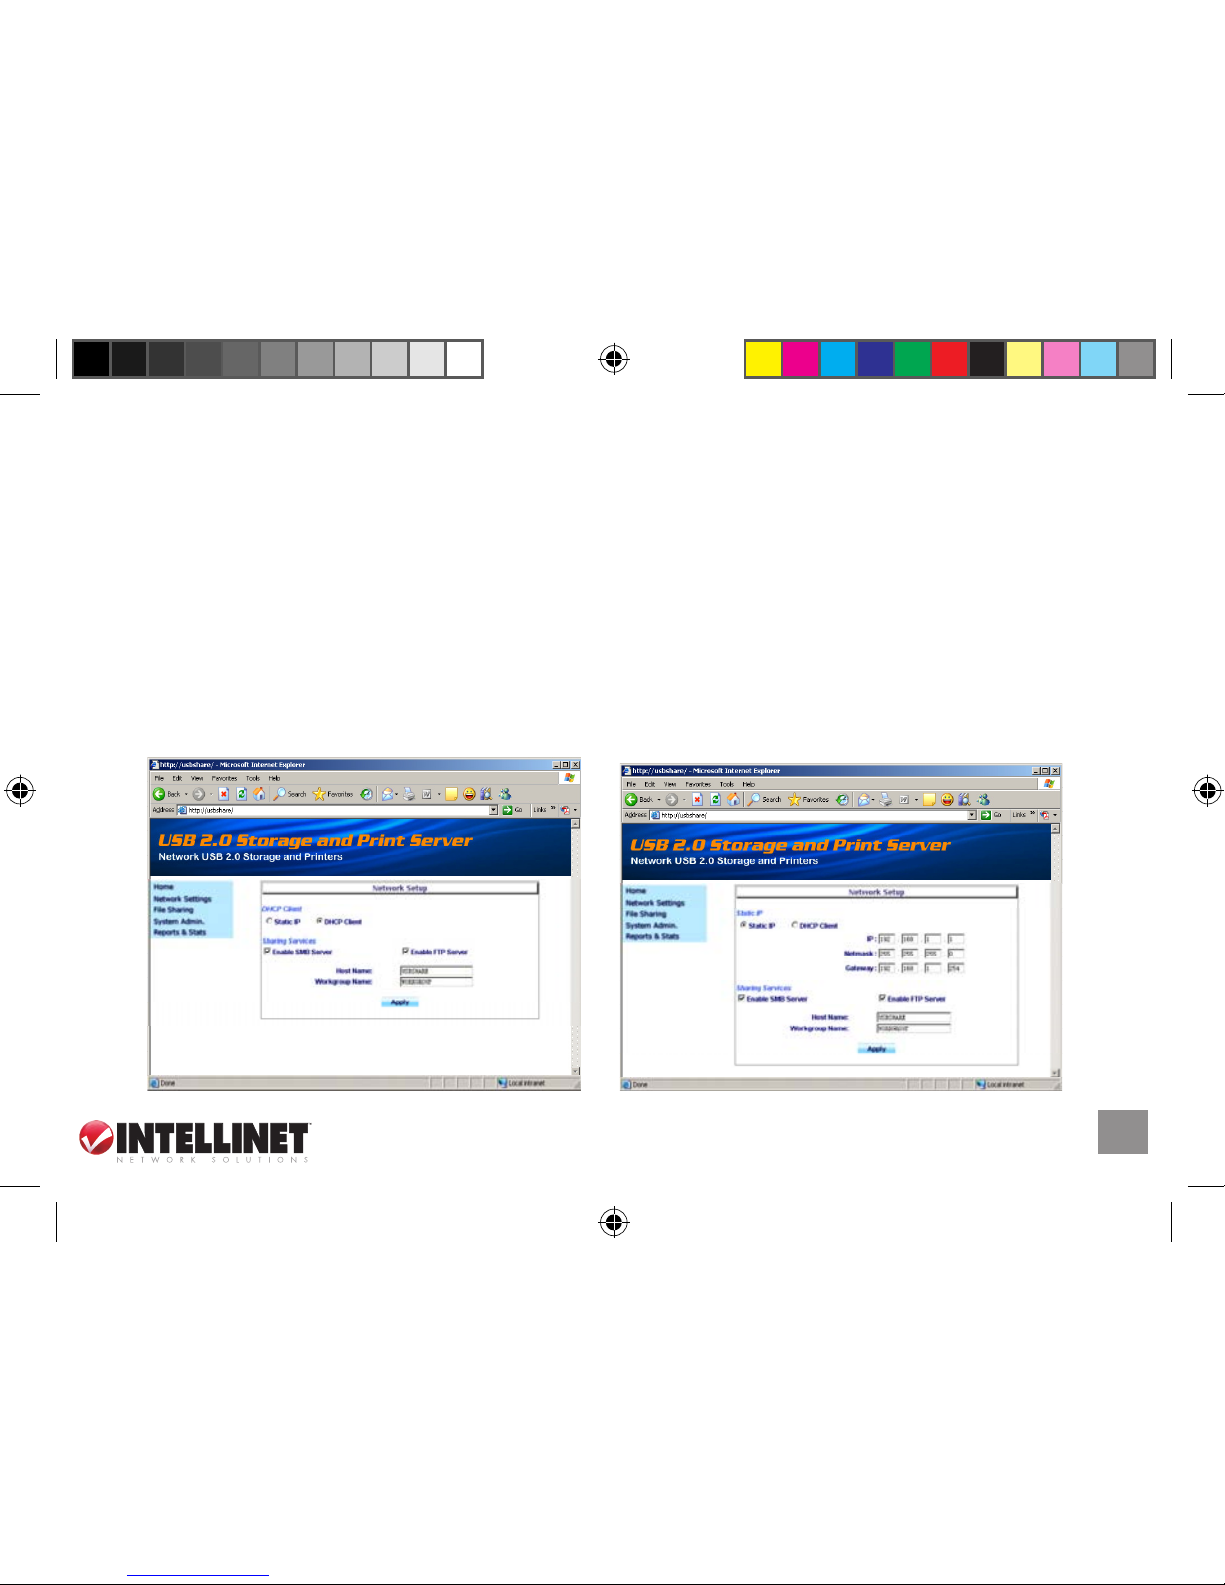
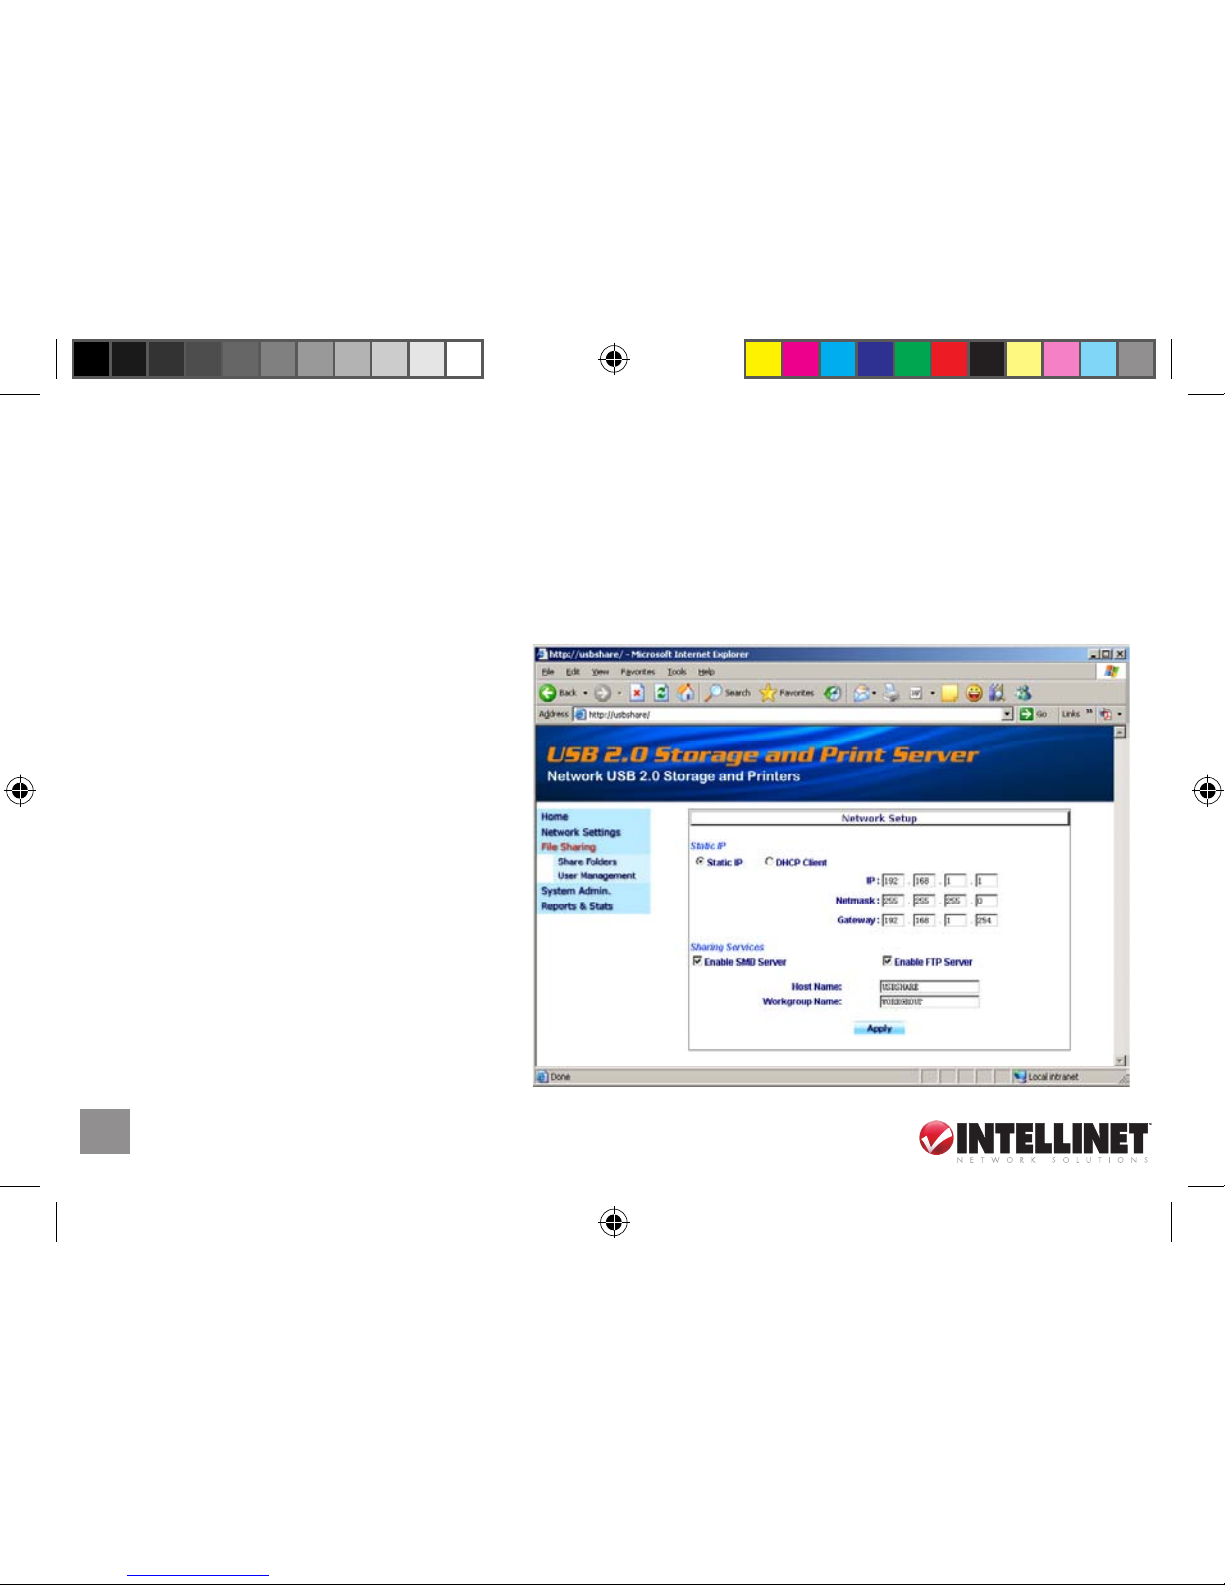
NETWORK SETTINGS
The Network Settings screen allows you to change network-specific information on the Network
Storage Adapter. If you have a DHCP server on your network, select “DHCP Client”; otherwise,
select “Static IP” and enter the IP information here.
SETUP & CONNECTIONS
522496_man.dlrevL4C.indd 9 6/28/06 9:11:54 AM
10
Also from Network Settings, you can enable and disable the SMB and FTP servers. If you
disable the SMB server, the product will no longer be visible in Windows Networking. You can
disable both SMB and FTP servers, meaning the product will function solely as a print server.
You can change the hostname and/or the workgroup name, as well. Click “Apply” to save the
settings, or choose another menu item to discard.
FILE SHARING
C
lick on the File Sharing menu item. This
will drop down two more menu items:
Share Folders and User Management.
Share Folders lets you manage security
access to each of the USB ports. You
will be given a list of the four USB ports
on the Network Storage Adapter. Click
on a USB port to see the security levels
assigned to users for that port.
In the Sharing Folders window, you will
see that you are controlling USB Port 2.
SETUP & CONNECTIONS
522496_man.dlrevL4C.indd 10 6/28/06 9:11:55 AM
 Loading...