

Intellinet 520522 User Manual
Fast EthErnEt
PC Card
usEr
manual
Model 520522
INT-520522-UM-ML-0310-01
ENGLISH
DEUTSCH
ESPAÑOL
FRANÇAIS
POLSKI
ITALIANO
2
ENGLISH
Fast Ethernet PC Card • User Manual English
Thank you for purchasing the INTELLINET NETWORK SOLUTIONS™ Fast Ethernet
PC Card , Model 520522.
CARD INSTALLATION
1. Turn o your notebook computer.
2. Insert the card into a Type II or Type III PCMCIA slot on the computer.
Make sure the card is inserted all the way — label side up, as shown —
for a solid connection.
3. Turn on the computer.
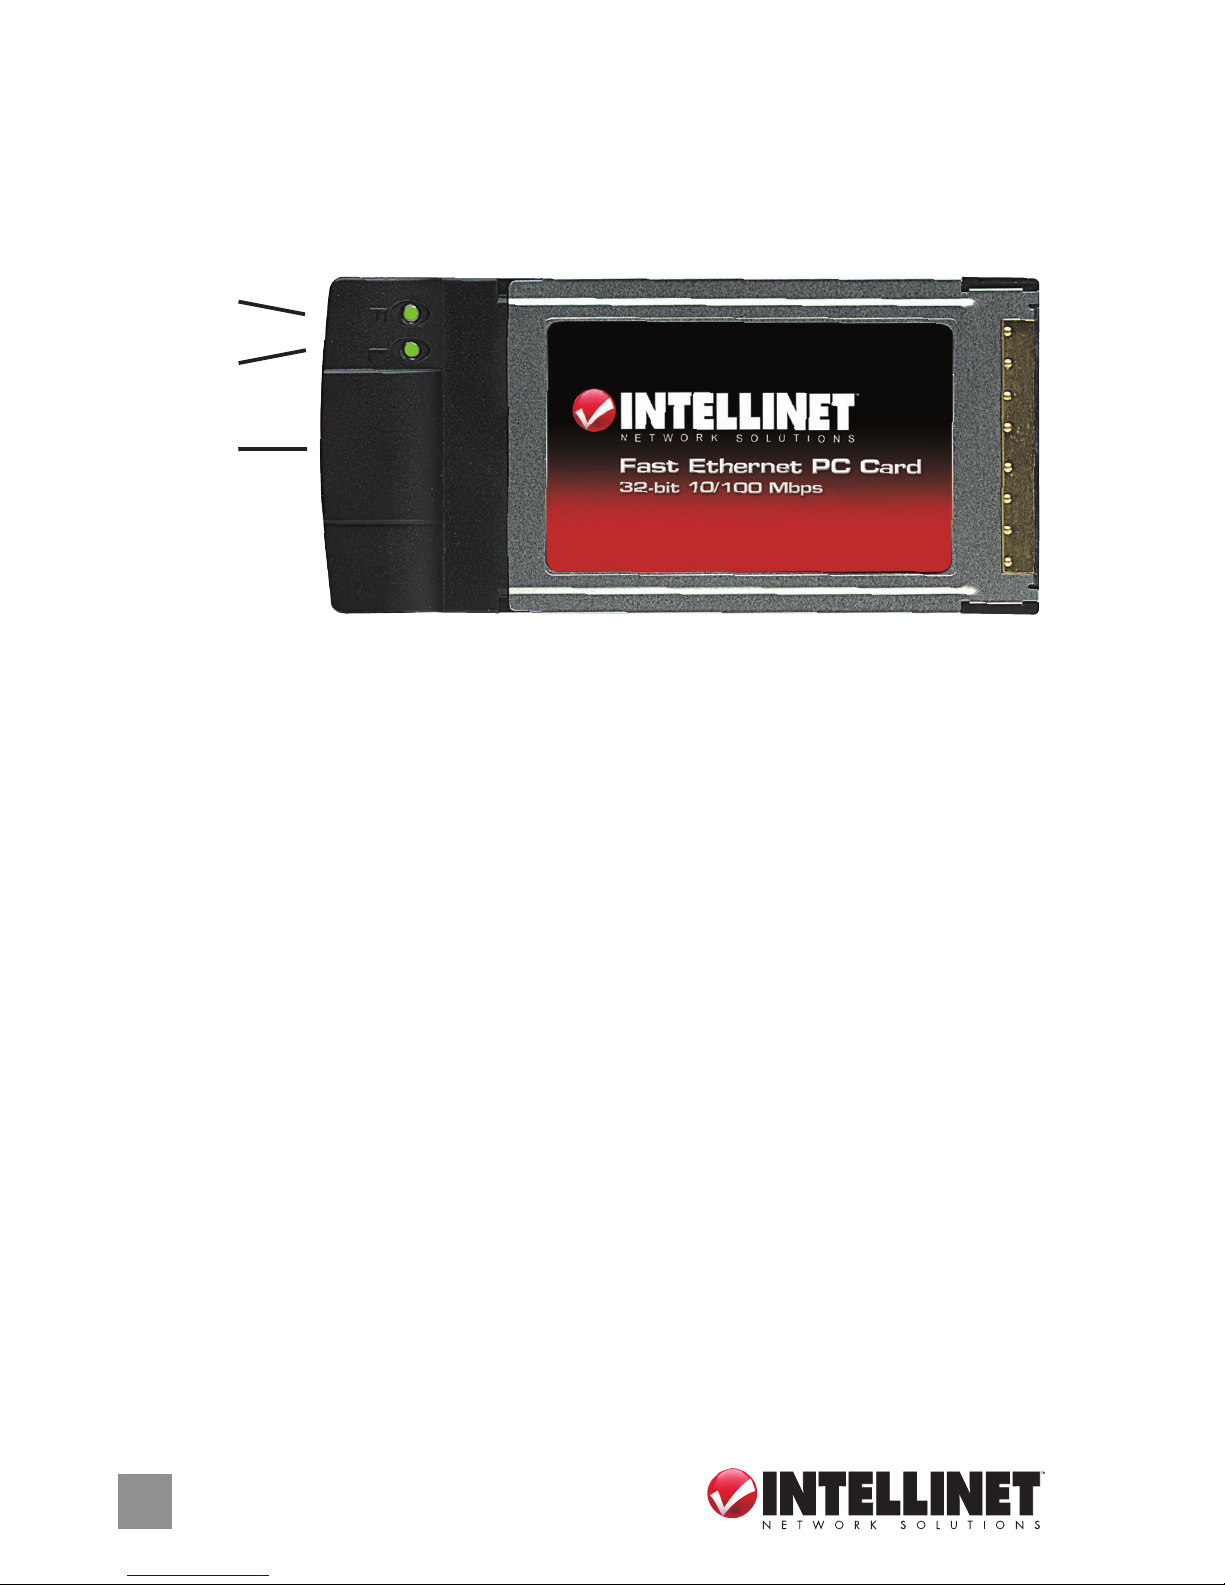
4. Connect the card to the desired network device. The Link LED lights to
indicate a valid connection; the Activity LED blinks when packets are
being received.
DRIVER INSTALLATION
Windows 2000, XP, 2003, Vista and 7 (32/64-bit) automatically detect and
install the correct driver for the card when the system is booted up. NOTE:
For other systems, a driver CD is included.
TO VERIFY DRIVER INSTALLATION
Go to Control Panel on your Windows desktop, then System Properties. Click
on “Device Manager.” If the card is listed under “Network Adapters” as shown
below, the driver installation was successful.
• In Windows 2000 — “Realtek RTL8139(A) PCI Fast Ethernet Adapter”
• In Windows XP/2003 — “Realtek RTL8139 Family PCI Fast Ethernet NIC”
• In Windows Vista/7 — “Realtek RTL8139/810x Family Fast Ethernet NIC”
Link
LED
RJ45
connector
Activity
LED
DEUTSCH
3
Fast Ethernet PC Karte • Handbuch Deutsch
Vielen Dank für den Kauf des INTELLINET NETWORK SOLUTIONS™ Fast Ethernet
PC Karte, Modell 520522.
CARD INSTALLATION
1. Schalten Sie Ihr Notebook aus.
2. Führen Sie die Karte in einen Typ-II- oder Typ-III-PCMCIA-Steckplatz Ihres
Notebooks ein. Stellen Sie sicher, dass die Karte vollständig eingerastet
ist, mit der Beschriftung nach oben, s. Abb., für eine sichere Verbindung.
3. Schalten Sie das Notebook ein.
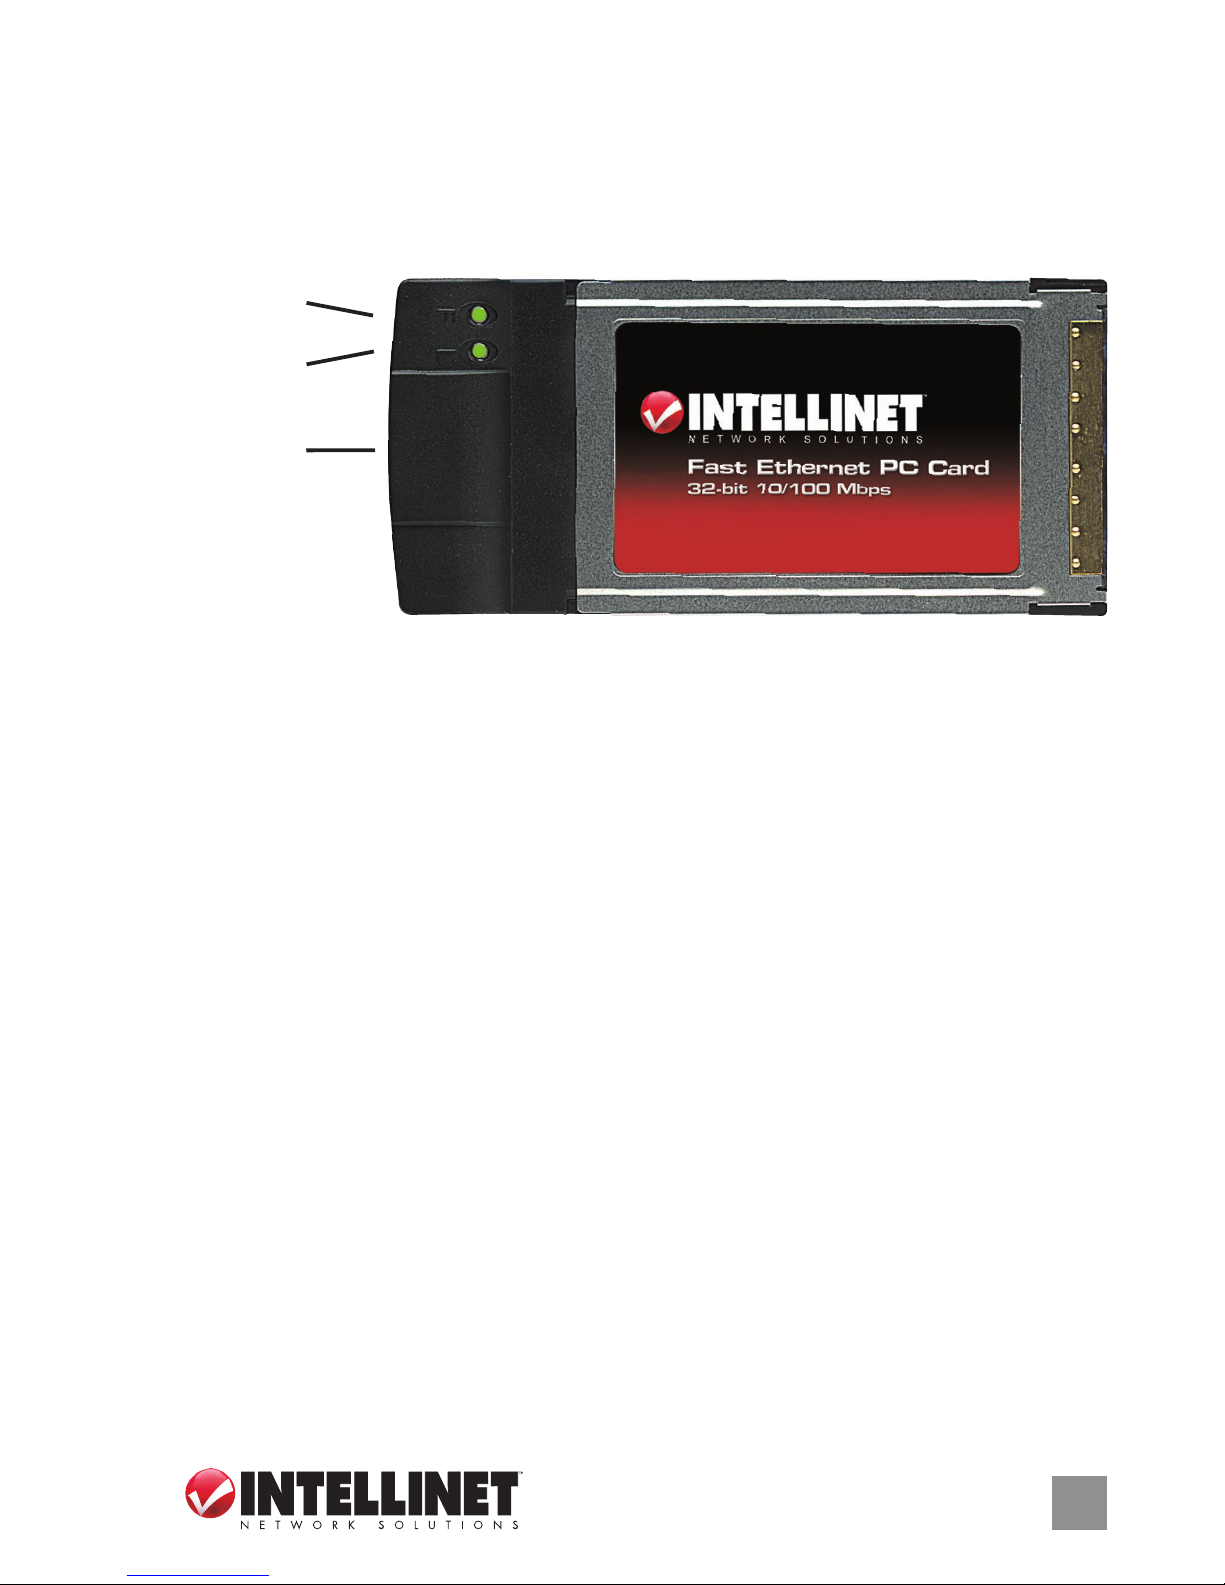
4. Verbinden Sie die Karte mit dem gewünschten Netzwerkgerät. Die LED Anzeige “Link” leuchtet auf, wenn die Verbindung hergestellt ist; die LED
“Activity” blinkt, wenn Datenpakete empfangen werden.
TREIBERINSTALLATION
Windows 2000, XP, 2003, Vista und 7 (32/64-bit) erkennen und installieren
den korrekten Treiber für die Karte nach dem Hochfahren automatisch.
HINWEIS: Für andere Betriebssysteme liegt eine Treiber-CD bei.
TREIBERINSTALLATION ÜBERPRÜFEN
Önen Sie die Systemsteuerung, klicken Sie dann auf Systemeigenschaften
und schließlich auf “Gerätemanager.” Wenn sich die Karte in der Liste bei
“Netzwerkadapter” mit den unten stehenden Angaben bendet, war die
Treiberinstallation erfolgreich.
• In Windows 2000 — “Realtek RTL8139(A) PCI Fast Ethernet Adapter”
• In Windows XP/2003 — “Realtek RTL8139 Family PCI Fast Ethernet NIC”
• In Windows Vista/7 — “Realtek RTL8139/810x Family Fast Ethernet NIC”
LED:
Link
RJ45
Anschluß
LED:
Aktivität
4
ESPAÑOL
Tarjeta PC Fast Ethernet • Manual del usuario Español
Gracias por comprar el Tarjeta PC Fast Ethernet de INTELLINET NETWORK
SOLUTIONS™, modelo 520522.
INSTALACIÓN DE LA TARJETA
1. Apague su ordenador portatil.
2. Inserte la tarjeta in la ranura PCMCIA Tipo II ó III de su portatil. NOTA: Para
el uso inicial en Windows 2000, XP ó 2003, consulte Conguración /
Instalación de Driver mas adelante.
3. Encienda su ordenador portatil.
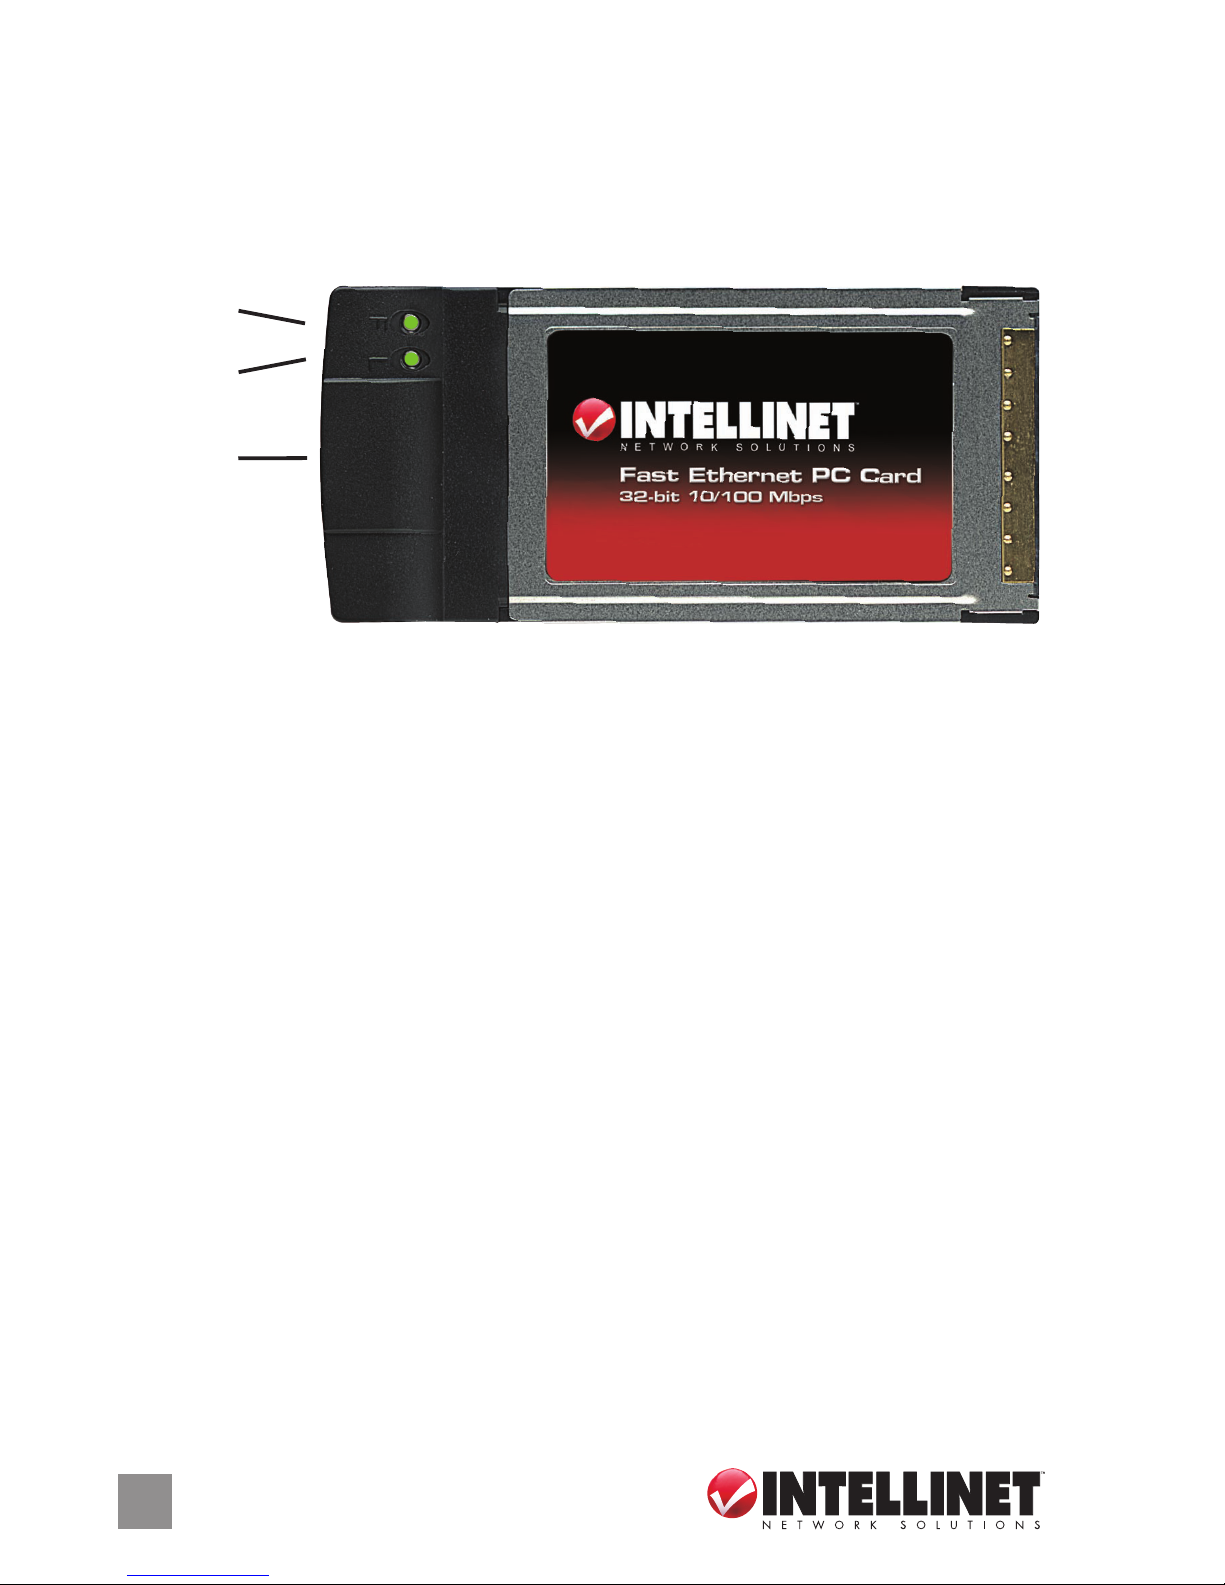
4. Conecte la tarjeta al dispositvo de red que desee. Los LEDs se iluminaran en
verde para inidicar una conexion valida y parpadeará para indicar actividad.
CONFIGURACIÓN / INSTALACIÓN DE DRIVER
Windows 2000, XP, 2003, Vista y 7 (32/64-bit) detectara e instalara automaticamente
el driver correcto para la tarjeta. NOTA: Para otros sistemas, el driver esta
incluido en CD.
Para verificar la instalaciÓn del driver
Vaya al panel de control en el escritorio de Windows , Propiedades de sistema.
Clic en “Administrador de dispositivos.” Si la tarjeta de se lista en “Adap, la
instalación ha sido exitosa.
• En Windows 2000 — “Realtek RTL8139(A) PCI Fast Ethernet Adapter”
• En Windows XP/2003 — “Realtek RTL8139 Family PCI Fast Ethernet NIC”
• En Windows Vista/7 — “Realtek RTL8139/810x Family Fast Ethernet NIC”
LED
Link
Conector
RJ45
LED
Act
 Loading...