

Intellinet 509077 Quick Installation Manual
1-Port
MFP USB
WireleSS
Print
Server
qUick
inStallation
gUide
MODEL 509077
INT-509077-QIG-0508-01

Thank you for purchasing the INTELLINET NETWORK SOLUTIONS™ 1-Port MFP USB
Wireless Print Server, Model 509077.
This quick installation guide presents the rudimentary steps required to set up and operate
this device. For more detailed instructions and specications, refer to the user manual 1) on
the CD enclosed with this product; 2) on the Web site listed below; or 3) in some cases, printed
and enclosed with this product. Contact your INTELLINET NETWORK SOLUTIONS dealer
with comments or questions, or visit www.intellinet-network.com for information on the
latest software and rmware updates, related products and additional contact information.
SaFety & coMPliance StateMentS
This equipment has been tested and found to comply with the limits for a Class B digital device,
pursuant to Part 15 of the FCC (Federal Communication Commission) Rules. These limits are
designed to provide reasonable protection against harmful interference in a residential installation.
This equipment generates, uses and can radiate radio frequency energy and, if not installed
and used in accordance with the instructions, may cause harmful interference to radio
communications. However, there is no guarantee that interference will not occur in a particular
installation. If this equipment does cause harmful interference to radio or television reception,
which can be determined by turning the equipment off and on, the user is encouraged to try to
correct the interference by one or more of the following measures:
• Reorient or relocate the receiving antenna.
• Increase the separation between the equipment and the receiver.
• Connect the equipment to an outlet on a circuit different from the receiver connected.
• Consult the dealer or an experienced radio/TV technician for help.
FCC Caution
This equipment must be installed and operated in accordance with provided instructions, and a
minimum of 20 cm spacing must be provided between the computer-mounted antenna and a
person’s body (excluding hands and feet) during wireless modes of operation. As this device
complies with Part 15 of the FCC Rules, operation is subject to the following two conditions:
1) This device may not cause harmful interference; and 2) this device must accept any
interference received, including interference that may cause undesired operation. Any changes
or modications not expressly approved by the party responsible for compliance could void the
authority to operate equipment.
FCC Radiation ExposuRE statEmEnt
This equipment complies with FCC RF radiation exposure limits set forth for an uncontrolled
environment. In order to avoid the possibility of exceeding these limits, human proximity to the
antenna shall not be less than 20 cm (8 inches) during normal operation. The antenna(s) used
for this transmitter must not be co-located or operating in conjunction with any other antenna
or transmitter.
R&ttE ComplianCE statEmEnt
This equipment complies with all the requirements of Directive 1999/5/EC of the European
Parliament and the Council of March 9, 1999, on radio equipment and telecommunication
terminal equipment (R&TTE) and the mutual recognition of their conformity. The R&TTE directive
repeals and replaces Directive 98/13/EEC (Telecommunications Terminal Equipment and
Satellite Earth Station Equipment) as of April 8, 2000.
Eu CountRiEs intEndEd FoR usE
The ETSI version of this device is intended for home/ofce use in Austria, Belgium, Denmark,
Finland, France, Germany, Greece, Ireland, Italy, Luxembourg, the Netherlands, Portugal,
Spain, Sweden and the U.K., and is also authorized for use in EFTA member states Iceland,
Liechtenstein, Norway and Switzerland. (EU countries not intended for use: none.)
2

3
hardWare inStallation
1. Connect the 1-Port MFP USB Wireless Print Server to the MFP (multi-function printing) printer
you want to share on the network.
2. Connect the MFP server to your network by attaching the network cable to the UTP port of
the MFP server.
3. Connect the power adapter to the MFP server. The MFP server will perform the Power-On Self-Test (POST) after it is powered on. During the POST, the Status LED will be blinking.
When the Status LED stops blinking (and is no longer lit), the MFP server is ready for use.
Note: Only use the power adapter included with the MFP server. Do not use any other adapter.
Note: To avoid any possible compatibility problem between the 1-Port MFP USB Wireless Print
Server and some multi-function or other printers, it is recommended that you power on the MFP
server before the printer(s).
SoFtWare inStallation
The installation program can be run in Windows 2000/SP4 and above, Windows XP/SP1 and
above, and Windows Vista. The following procedures and screen images are representative;
the procedures are similar for all three platforms. For the installation procedures in Windows
98SE/Me/NT and other operating systems, refer to the user manual.
Note: Uninstall any/all previous versions of MFP server drivers and utilities.
1. Insert the CD included with the 1-Port MFP USB Wireless Print Server into your CD-ROM
drive. The Autorun.exe program should be executed automatically. If not, run Autorun.exe
manually from CD-ROM drive’s root directory
2. When the Installation Manager screen displays, click “MFP Server Installation.”

3. When the MFP Server Utilities – InstallShield Wizard screen displays, click “Next.”
4. Click “Next” to install the MFP Server utilities in the default folder, or click “Change” to
specify the destination folder where you would like to install them.
4
5
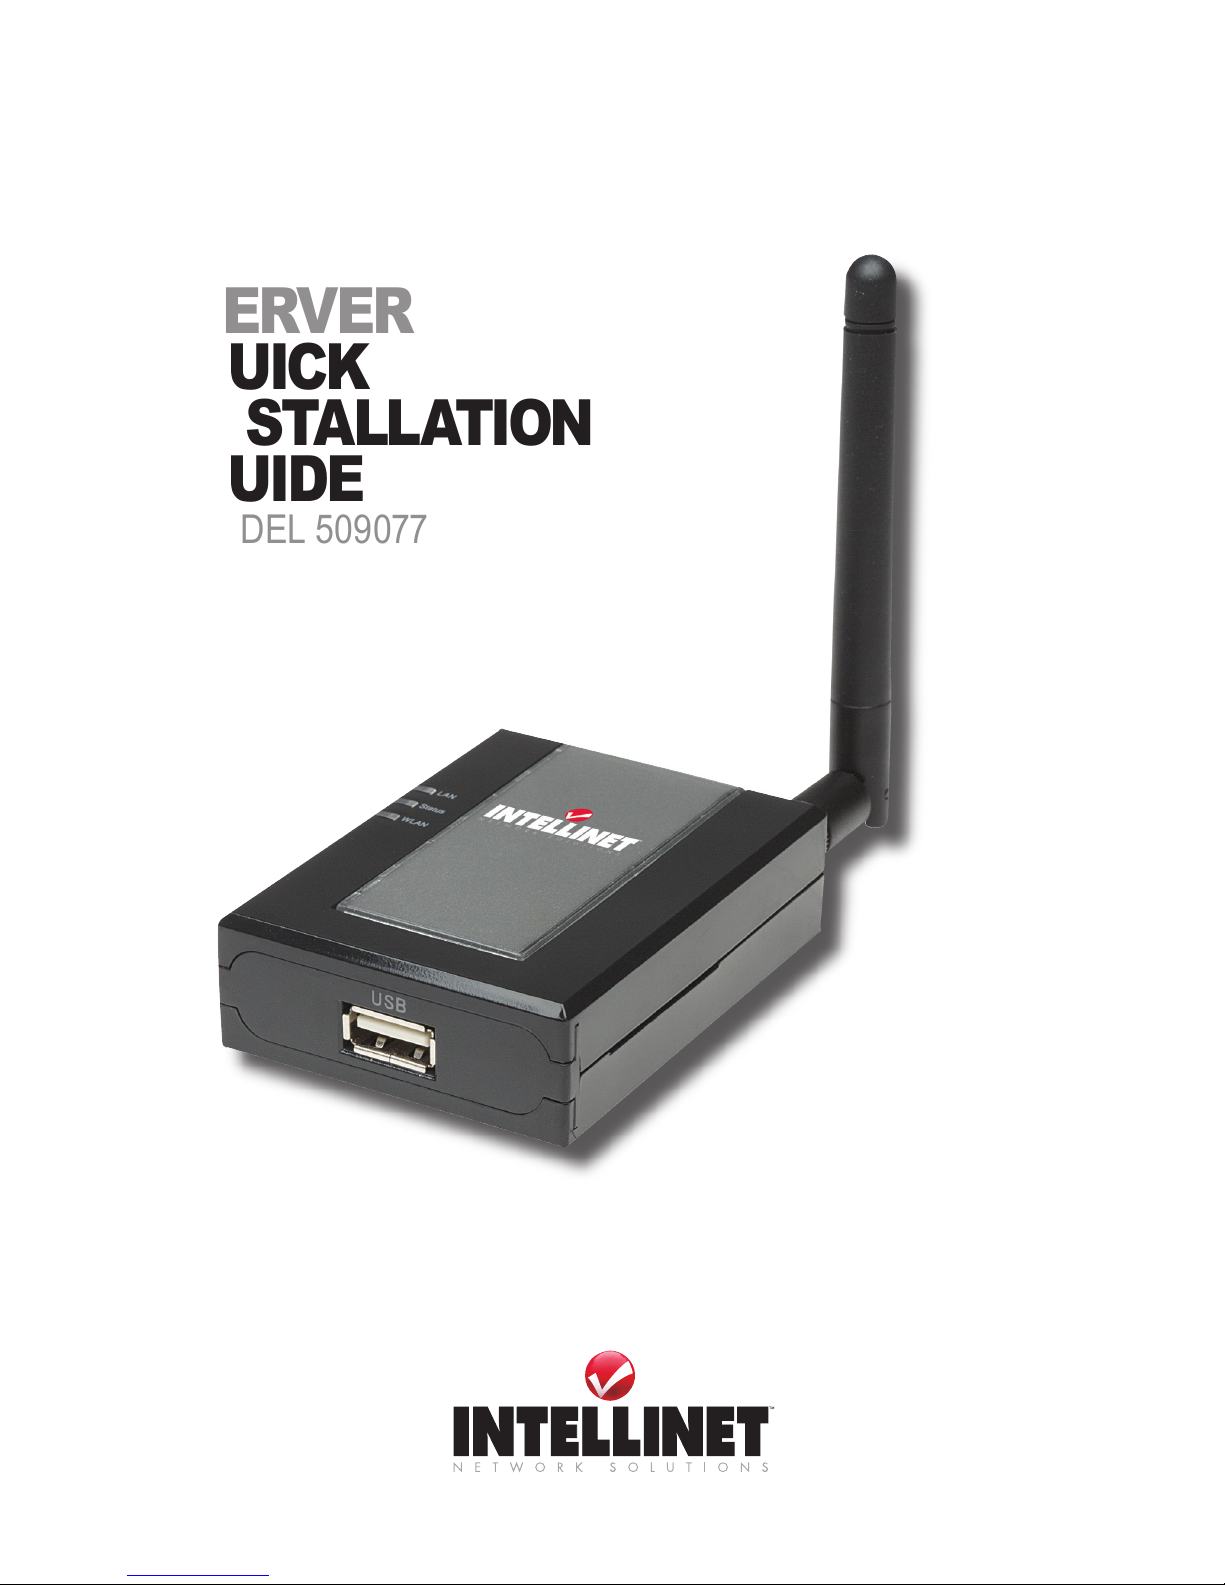
5. The system starts installing the MFP Server utilities.
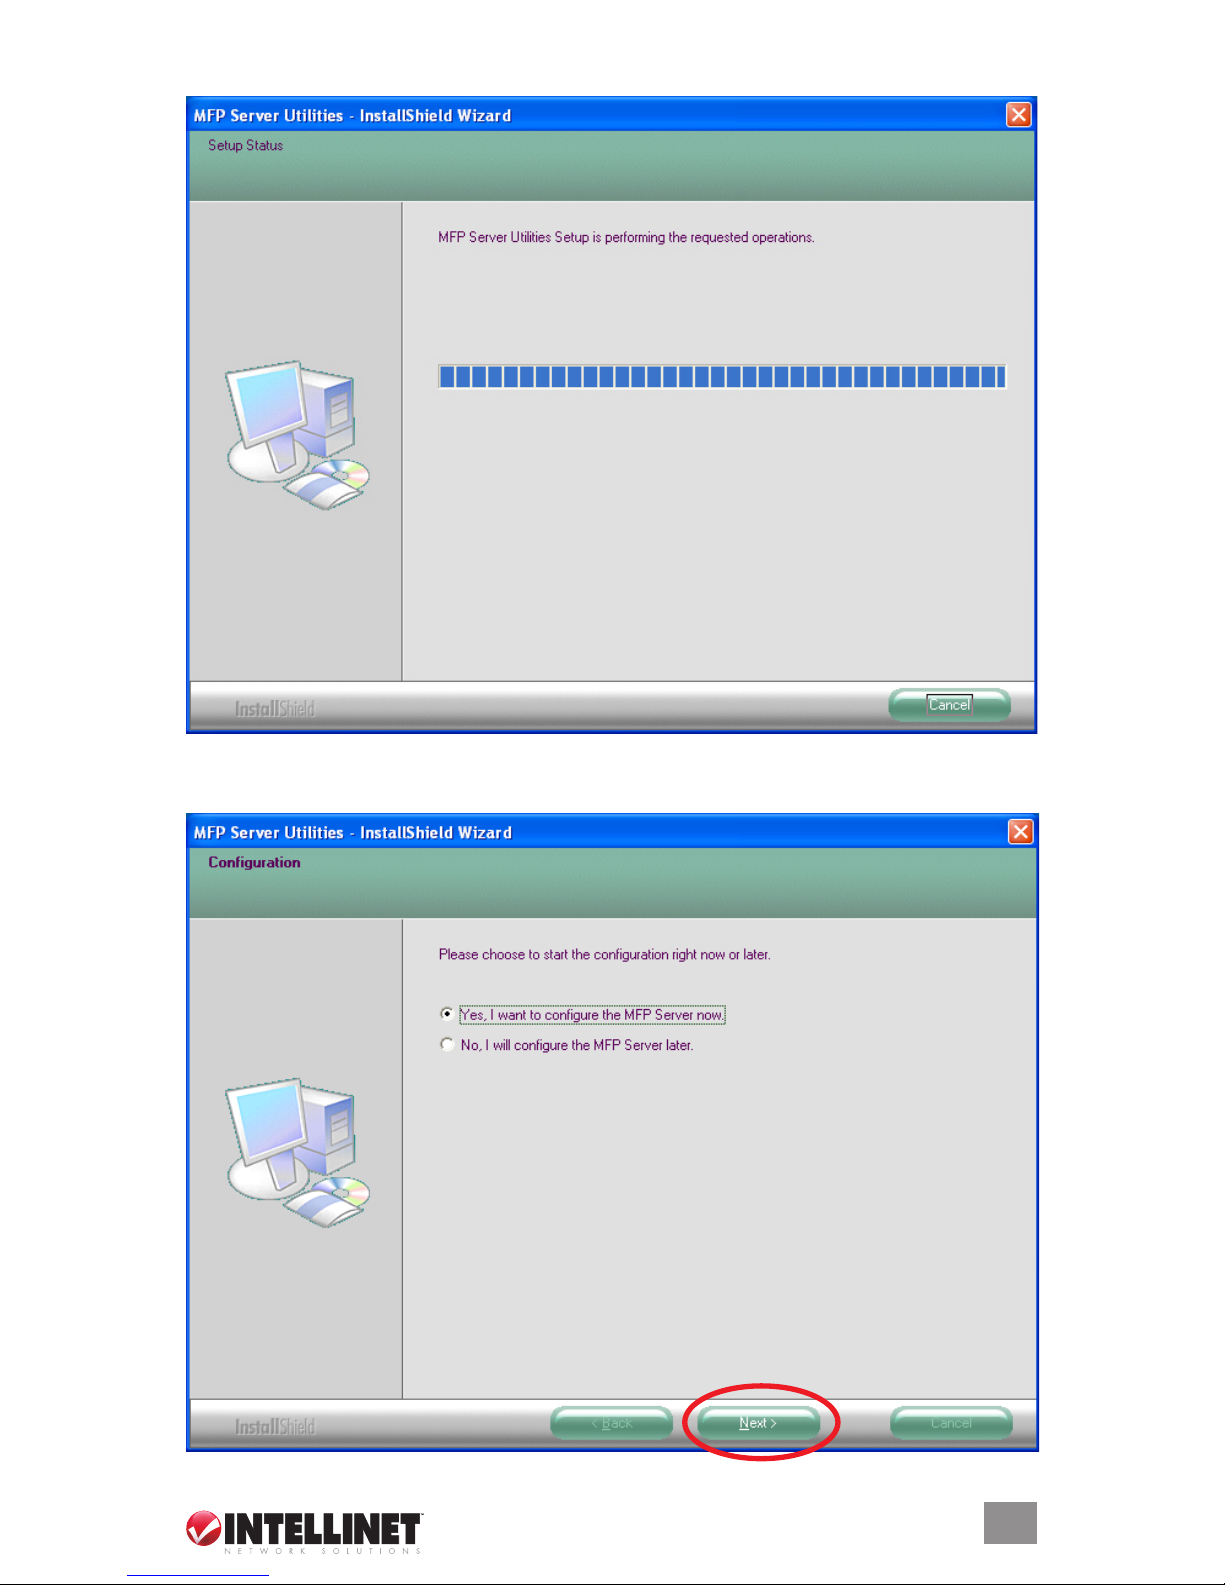
6. With the Conguration screen displayed, choose whether or not to congure the MFP
server at this time. (Either way, the conguration steps are presented below.)
 Loading...