

Page 1
KVM
Switch
quicK
inStall
guide
MODELS 150101
& 150118
INT-150101/150118-UM-0208-01
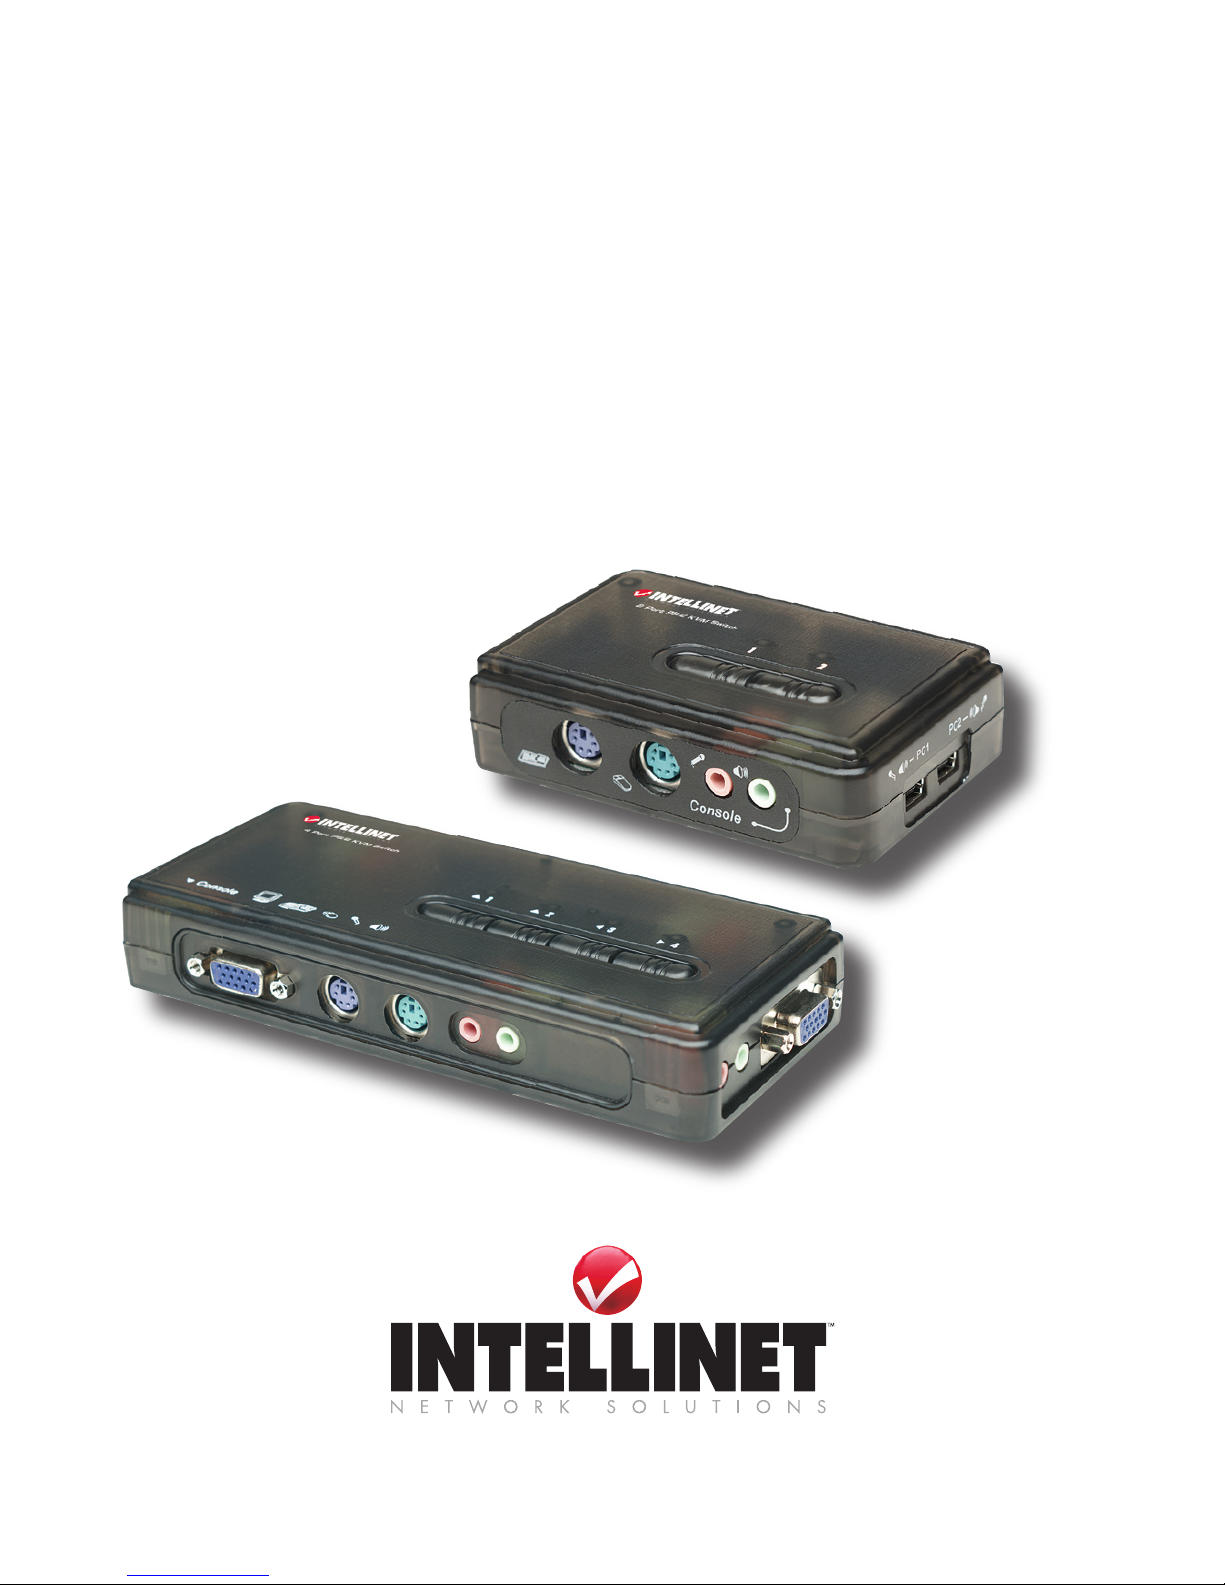
4-Port, Model 150118
2-Port, Model 150101
Page 2

Page 3

introduction
Thank you for purchasing this INTELLINET NETWORK SOLUTIONS™
KVM Switch, Model 150101 (2-Port) or Model 150118 (4-Port).
This compact and convenient switch allows you to access, control, boot
and reboot multiple PS/2-enabled multimedia computers with only one
PS/2 keyboard, mouse, monitor and optional speaker set and microphone.
The included Switching Software Client shows you the current active PC
and allows you to select a PC as well as congure keyboard hotkeys. And
the audio and microphone switching function allows you to leverage the
multimedia systems on each of your computers: You can monitor the
audio/mic input/output of each computer without the need to unplug and
re-attach the audio/mic cables.
Easy-to-follow instructions in this guide help make installation of the
switch quick and simple, so you’ll also soon be enjoying the benets of
these additional features:
• Hot-plugging PCs for maintenance without powering down the KVM
Switch or PCs
• Channel selection via push buttons, user-denable keyboard hotkeys
(Windows only) and Windows-based Switching Software Client
• LED indicators for easy status monitoring
• Supports resolutions up to 2048 x 1536 pixels
• No external power adapter required
• Includes two connection cables for computer connection
• Includes two connection cables for speaker and microphone
• Lifetime Warranty
Package Contents
• KVM Switch
• Quick installation guide
• Software and documentation CD-ROM
• PC and audio connection cables
3
Page 4

inStallation
1. Make sure all the computers that are to be connected to the KVM
Switch — and their peripherals — are turned off; otherwise, shared
items may not be recognized properly.
2. Connect the shared PS/2 keyboard, mouse, monitor and, if used,
speaker set and microphone to the switch.
3. Connect each of the computers to the KVM switch, using the included
cables.
4. Turn the power on to each of the connected computers one by one.
Since the KVM Switch receives power from the computer’s PS/2
interface, it’s powered up when you connect it to a PC and then turn
on the PC. Once the connected system has power, the keyboard and
mouse will be recognized, and you can begin operating the KVM
switch.
4
Page 5

operation
There are two ways to control PC switching: using the face-panel push
buttons or a hotkey sequence. (For audio/mic switching, use the hotkey
command as listed on the Quick Reference Chart.)
Face-Panel Buttons
The face-panel buttons (on top of the device) allow you direct control over
PC port switching: Simply press a button to switch to the corresponding
PC port. By default, PC port switching and audio/mic port switching are
bound together (both will be switched simultaneously). To disable the
binding, hit ScrLk +ScrLk + W on the keyboard. To re-enable the binding
of PC and audio/mic port switching, use the hotkey sequence ScrLk +
ScrLk + Q.
Keyboard Hotkeys
A keyboard hotkey sequence consists of at least three specic keystrokes:
ScrLk + ScrLk + Command key(s). NOTE: The two consecutive ScrLk
keystrokes and the command key or keys that follow need to be pressed
within 2 seconds of each other; otherwise, the hotkey sequence won’t
be validated.
To use a preceding sequence other than two consecutive Scroll Locks,
there are two options:
Option 1
• Hit ScrLk + ScrLk + H or press and hold down the last front-panel
button (Button 2 or Button 4) for more than 8 seconds.
• Press the key you would like to use as your preceding sequence
(SCROLL LOCK, CAPS, ESC, F12 and NUM LOCK keys are your
choices). Now you can use the new preceding sequence to execute
your hotkey commands.
Option 2
• Press the last front-panel button (Button 2 or Button 4) for more than
3 seconds.
• Press the key you would like to use as the preceding sequence.
5
Page 6

6
Command Hotkeys FaCe-panel Buttons desCription
SELECT PC CHANNEL SCRLK+SCRLK+(X) PRESS CORRESPONDING SELECT THE ACTIVE PC CHANNEL. (JOINT-SELECT PC & AUDIO/MIC PORT,IF BINDING IS
(X = A TOP-ROW NUMBER KEY; BUTTON TO SWITCH TO THAT ENABLED.
1-2 OR 1-4) PC CHANNEL.
NEXT AUDIO/MIC SCRLK+SCRLK+(FX) — SELECT THE ACTIVE AUDIO/MIC CHANNEL. (JOINT-SELECT PC & AUDIO/MIC PORT, IF BINDING
CHANNEL (FX = FUNCTION KEY) IS ENABLED.)
BIND PC & AUDIO/ SCRLK+SCRLK+Q — ENABLE THE BINDING OF PC AND AUDIO/MIC SWITCHING. (ONCE THIS FEATURE IS
MIC SWITCHING ENABLED, PC AND AUDIO/MIC SWITCHING IS BOUND TOGETHER) [FACTORY DEFAULT].
UNBIND PC & AUDIO/ SCRLK+SCRLK+W — DISABLE THE BINDING OF PC AND AUDIO/MIC SWITCHING.
MIC SWITCHING
NEXT LOWER PC SCRLK+SCRLK+UP ARROW PRESS CORRESPONDING SELECT THE NEXT LOWER PC CHANNEL. (JOINT-SELECT PC & AUDIO/MIC PORT, IF BINDING
CHANNEL BUTTON. IS ENABLED.)
NEXT HIGHER PC SCRLK+SCRLK+DOWN ARROW PRESS CORRESPONDING SELECT THE NEXT HIGHER PC CHANNEL. (JOINT-SELECT PC & AUDIO/MIC PORT, IF BINDING
CHANNEL BUTTON. IS ENABLED.)
PREVIOUS PC SCRLK+SCRLK+BACKSPACE — TOGGLE BETWEEN THE PREVIOUS CHANNEL AND CURRENT CHANNEL.
CHANNEL
DEFINE HOTKEY SCRLK+SCRLK+H+(Y) PRESS BUTTON 2 OR 4 FOR SELECT THE HOTKEY PRECEDING SEQUENCE FROM AMONG 5 ALTERNATIVE KEYS.
PRECEDING (Y = SCROLL LOCK, CAPS, ESC, MORE THAN 2 SECONDS, THEN
SEQUENCE F12 OR NUM LOCK) PRESS (Y).
CONSOLE MOUSE/ SCRLK+SCRLK+END — RESET THE KEYBOARD AND MOUSE ON THE CONSOLE SIDE.
KEYBOARD RESET
AUTOSCAN SCRLK+SCRLK+S — AUTOSCAN THROUGH EVERY CONNECTED CHANNEL FOR QUICK SCREEN BROWSING OF
EACH CHANNEL (SCAN DELAY = 5 SECONDS).
AUTOSCAN WITH SCRLK+SCRLK+S+ (X) — AUTOSCAN WITH A USER-DEFINED DELAY TIME WITHIN A RANGE OF 5 -100 SECONDS.
PROGRAMMABLE (X = 0-9, REPRESENTING 10-SEC.
DELAY TIME INCREMENTS: 1 = 10 SEC.; 2 = 20
SEC., ETC.; 0 = 100 SEC.)
STOP AUTOSCAN ANY KEY PRESS ANY BUTTON. TERMINATE AUTOSCAN ACTIVITY.
NOTES:
1. Note that (x) denotes a number key for the selected port number (x = 1 – 2). You can use either the top row number keys or the number pad for the hotkey commands.
2. When the binding of PC & Audio/Mic port switching is enabled by the hotkey sequence: ScrLk + ScrLk + Q, any PC and Audio/Mic switching are bound together. To remove this binding, hit ScrLk + ScrLk + W.
Hotkey convention: The hotkey notation ScrLk + ScrLk + (key), denotes that you should hit the individual keys consecutively one at a time, not simultaneously.
Mouse Troubleshooting: If your mouse hangs up or behaves abnormally, you can hit the following hotkey commands for mouse reset:
(a) When you are using a PnP OS such as Windows 98SE or later Windows operating systems such as 2000 or XP or Vista, hit ScrLk + ScrLk + End for mouse reset.
(b) When you are using a non-PnP OS such as Linux, NT4.0, etc., just hit one of the following hotkey commands for mouse reset according to your mouse conguration on the non-PnP OS:
ScrLk + ScrLk + M + 1 for a 2-key mouse setting; ScrLk + ScrLk + M + 2 for a 3-key wheel mouse setting; ScrLk + ScrLk + M + 3 for a 5-key wheel mouse setting.
quicK reference chart
Page 7

SpecificationS
7
Model 150101, 2-Port
Standards
• PS/2
General
• PC connections: 2
• Console connections: 1
• PC port connectors:
- 2 x PS/2 (keyboard, mouse)
- 2 x HD15 M (video)
- 2 x USB mini B (audio, for use with
included USB mini to 3.5 mm cable)
• Console port connectors:
- Keyboard: PS/2
- Mouse: PS/2
- Monitor: HD15 female
• Audio connectors:
- 3.5 mm jack (microphone)
- 3.5 mm jack (speaker)
• Computer selection: via buttons; hotkeys;
Windows Switching Software Client
• Video resolution: max. 2048 x 1536
• Video bandwidth: max. 350 MHz
• FCC Class B, CE, RoHS
LEDs
• 1 LED per channel
Power
• PS/2 interface powered
Environmental
• Plastic housing
• Dimensions: 96 (L) x 61 (W) x 24 (H) mm
(3.8 x 2.4 x 0.9 in.)
• Weight: 0.7 kg (1.59 lbs.)
• Operating temperature: 0 – 40°C
(32 – 104°F)
• Operating humidity: 0 – 90% RH,
non-condensing
• Storage temperature: -20 – 60°C
(-4 – 140°F)
Model 150118, 4-Port
Standards
• PS/2
General
• PC connections: 4
• Console connections: 1
• PC port connectors:
- 4 x PS/2 (keyboard, mouse)
- 4 x HD15 male (video) through 4
2-in-1 connection cables
- 4 x 3.5 mm audio jacks (for mic &
speaker soundcard connection)
through dual-jack audio cables
• Console port connectors:
- 2 x PS/2 (keyboard, mouse)
- HD15 female (video)
• Audio Connectors:
- 3.5 mm jack (console mic input)
- 3.5 mm jack (console speaker output)
- 4 x 3.5 mm jack (mic for PC ports)
- 4 x 3.5 mm jack (speaker for PC ports)
• Computer selection: via buttons; hotkeys;
Windows Switching Software Client
• Video resolution: max. 2048 x 1536
• Video bandwidth: max. 350 MHz
• FCC Class B, CE, RoHS
LEDs
• 1 LED per channel
Power
• PS/2 interface powered
Environmental
• Plastic housing
• Dimensions: 164 (L) x 72 (W) x 26 (H) mm
(0.5 x 2.8 x 1.0 in.)
• Weight: 0.7 kg (1.59 lbs.)
• Operating temp.: 0 – 40°C (32 – 104°F)
• Operating humidity: 0 – 90% RH,
non-condensing
• Storage temp.e: -20 – 60°C (-4 – 140°F)
Page 8

INTELLINET NETWORK SOLUTIONS™ offers a complete line
of active and passive networking products.
Ask your local computer dealer for more information or visit
www.intellinet-network.com.
Copyright © INTELLINET NETWORK
SOLUTIONS
All products mentioned are trademarks or registered trademarks of their respective owners.
 Loading...