


Operating Manual
Electronic Balance
Model PM
Thank you for Choosing our Electronic Balance
Contents
1. Environment Conditions····················································2
2. Main Technical Specifications ············· ·· ·· ·· ············· · ·2
3. Operation········· ·· ·· ·· ····························· ·· ·· ·· ·· ·· ·· ···········2
4. Calibration· ·· ·· ················· ·· ·· ·· ·· ·· ············· ·· ·· ·· ··············2
5. We ighin g · · · · · · · · · ········ · · · · · · · ······· · · · · · · · · ······· · · · · · · · ······· · 3
6. Tar e····· ·· ··· ··· ·· ··· ··· ··· ····· ··· ····· ··· ··· ····· ··· ·· ··· ··· ····· ··· ····· ·3
7. Ba ckl ig ht··································································3
8. Zero-Tracking & Auto . Tare······························· ··········3
9. Ot h e r Fu n c t io ns · · · · ··· · · · · ··· · · · ·· ··· · · · · ·· ··· · · · · ··· · · · · · ··· · 4
9.1Un i t s Co n v e rs io n··············································4
9 .2C o un t i n g · · · · · · · · · · · · ·· · · · ·· · · · · ·· · · · · ·· · · · · · · · · · · ·· · · · ·4
9 . 3 P e r c e n t a g e · · · · · · · · · · · · · · · · · · · · · · · · · · · · · · · · · · · · · · 5
9. 4 Pr i nt···· · · · · ······ · · · · ······ · · · · · · · · · ····· · · · · · ····· · · · · · ······ · · · · ··· 5
9. 5 Sp e ed adj u s tmen t of weigh i n g · · ····· · · · · ····· · · · ······ · · 7
9.6 Low voltage indication and Charge indication··············7
1 0 . N o t e s ·······················································7
11. Maintenance·································································8
12 . IR Se n so r · ······· · · · · · · · ······· · · · · · · · ······ · · · · · · · · ······· · · · · · · ·· 9
13 . Acc ess o rie s ··· ··· ··· · ··· ··· · ··· ··· · ··· ··· ···· ···· ··· ··· · ··· ··· · ··· ··· 9
1. Environment Conditions
1.1. Place the balance on a stable surface away from vibration, sunlight,
airflow and strong electromagnetic interference. This balance is an
instrument and must be treated with care at all times.
1.2. Operating temperature:5C ~35C (41 F- 95 F)
Temperature Fluctuation:≤5C/h
Humidity :50~85 RH
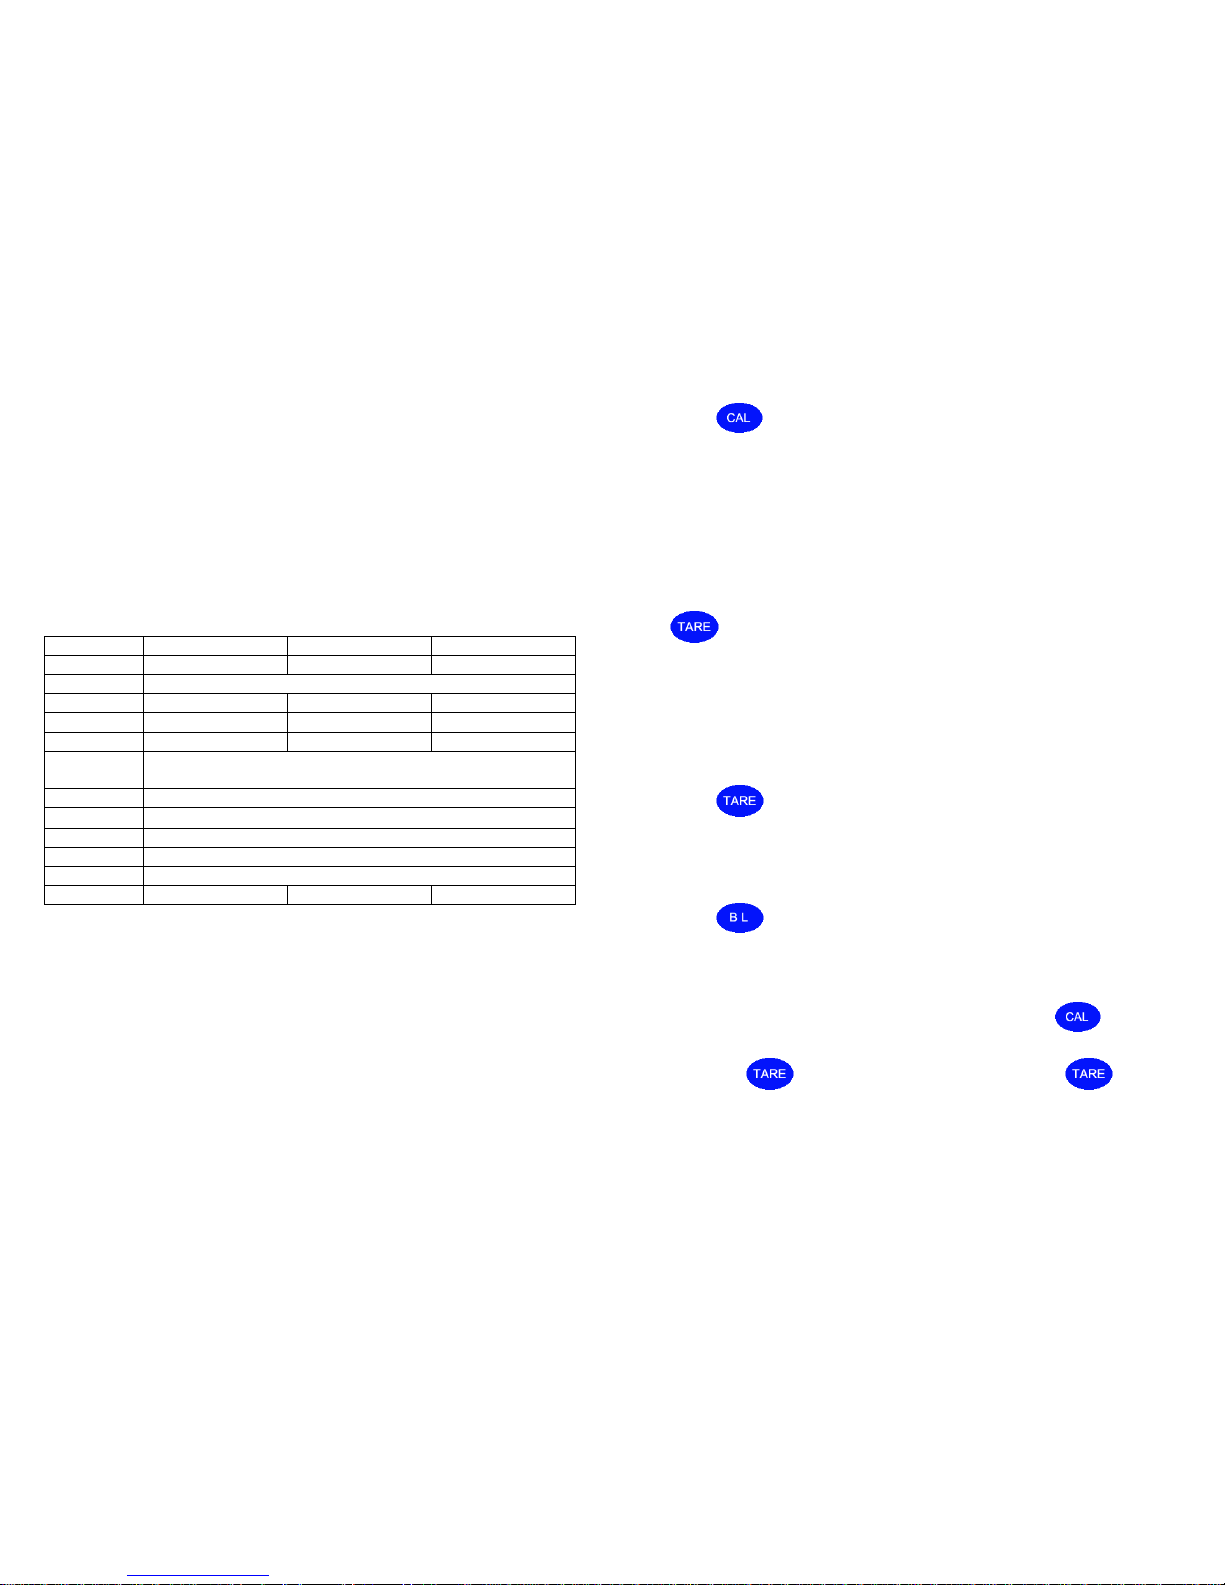
2. Main Technical Specifications
Model
WT1003G
WT3003G
Capacity
0-100 g
0-300 g
Accuracy
Tare Range
0-100 g
0-300 g
Repeatability
< = 0.002 g
< = 0.002 g
Linear
< = 0.002 g
< = 0.003 g
Stabilization
time
<= 2 s
Pan
80 mm dia.
Dimensions
320×205×100 mm
Interface
RS232C
Net Weight
5.5 lb (2.5 kg)
Power
110-240V/50-60HZ
Cal Weight
100 g 200 g
3. Operation
3.1. Plug in the electronic balance and warm up for at least 30 minutes.
3.2. Turn-on the balance. It displays “8.8.8.8.8.8.”, followed by“ Maximum
capacity” , and ”S-CAL” in turn. In weighing mode, it shows “0.000”.
4. Calibration
4.1. Single-range calibration
Press for 3 seconds Display shows “CAL“ then the weight to be
applied in g Place the weight on the pan the display says “please waiting”,
the balance will display the weight applied, remove the weight. The balance
is now in weighing mode. Calibration may take several attempts.
5. Weighing
5.1. Read the value on the screen after the black circle at the bottom left of
the display disappears. (This means the value is stable) Always press
before each weighing to make sure you are starting from zero.
5.2. Please take care not to overload the balance. Do not drop heavy weights
on to the platform, this will damage the sensor and is not covered by
warranty.
6. Tare
Press , the balance pan can be tared if the blank circle disappears.
The balance cannot be tared if the circle is still displayed..
7. Backlight
Press to turn on/off the backlight.
8. Zero-Tracking and Auto Tare
8.1. Turn off the balance, with one finger press and hold at the
same time, on the balance again, “-Zero-” will show, then release the buttons
and press . The display will show “Zero*d”. Press to adjust
the value from 0 to 5, “Zero0d”means no Zero-tracking function (sensitivity
is the highest), “Zero5d” means Zero-tracking is the highest value. “Zero5d”
is factory-set.
8.2. Then press , it will show “-tArE-”, press , “tArE*d” will be
shown, press can adjust the value from 0 to 9. “tArE0d” means no
Auto Tare, “tArE9d” means Auto Tare Function is the highest value.
* “tArE9d” is factory-set.
8.3. Press , to complete the adjustment, after the display shows
“0.000” the balance is ready for use.
These changed settings will be remembered when the balance is turned on
again.
9. Other Functions
9.1. Units Conversion
Press for about 3 seconds until "Unit" is flashing. Then
press to confirm. Press to select units and press to
confirm.
9.2. Counting
Press 3 seconds until "Unit" flashing. Press to choose
“Count”. Then press to confirm, display shows “pcs”. Press ,
“pcs” can be changed from “10pcs” to “500pcs”. The larger number, the
higher count accuracy. Put the correct number of pieces on the balance pan,
then press to confirm. The displayt will show “------”. Setting Counting
is done.
When the unit weight to be counted is less than 2 divisions of the balance,
the display will show “no-Cou”. In this case, you should choose a larger
sample number.
9.3. Percentage
Press about 3 seconds until "Unit" flashes. Press to choose
“PER”. Then press to confirm, display shows “100%” unit. Put the
goods on the pan and press , the sample is set as a unit of “100%”.
Take away the sample and anything applied afterwards is expressed as a
percentage of the original sample.
9.4. Print
1. Press to print.
2. To choose the method of printing press about 3 seconds until
"Unit" flashing. Press to choose “Prt”. Then press to confirm.
Press to choose either “hAnd” (press print to print once), “AUto”( to
print when balance is stable) or “Contin” (for continuous printing). And
press to confirm.
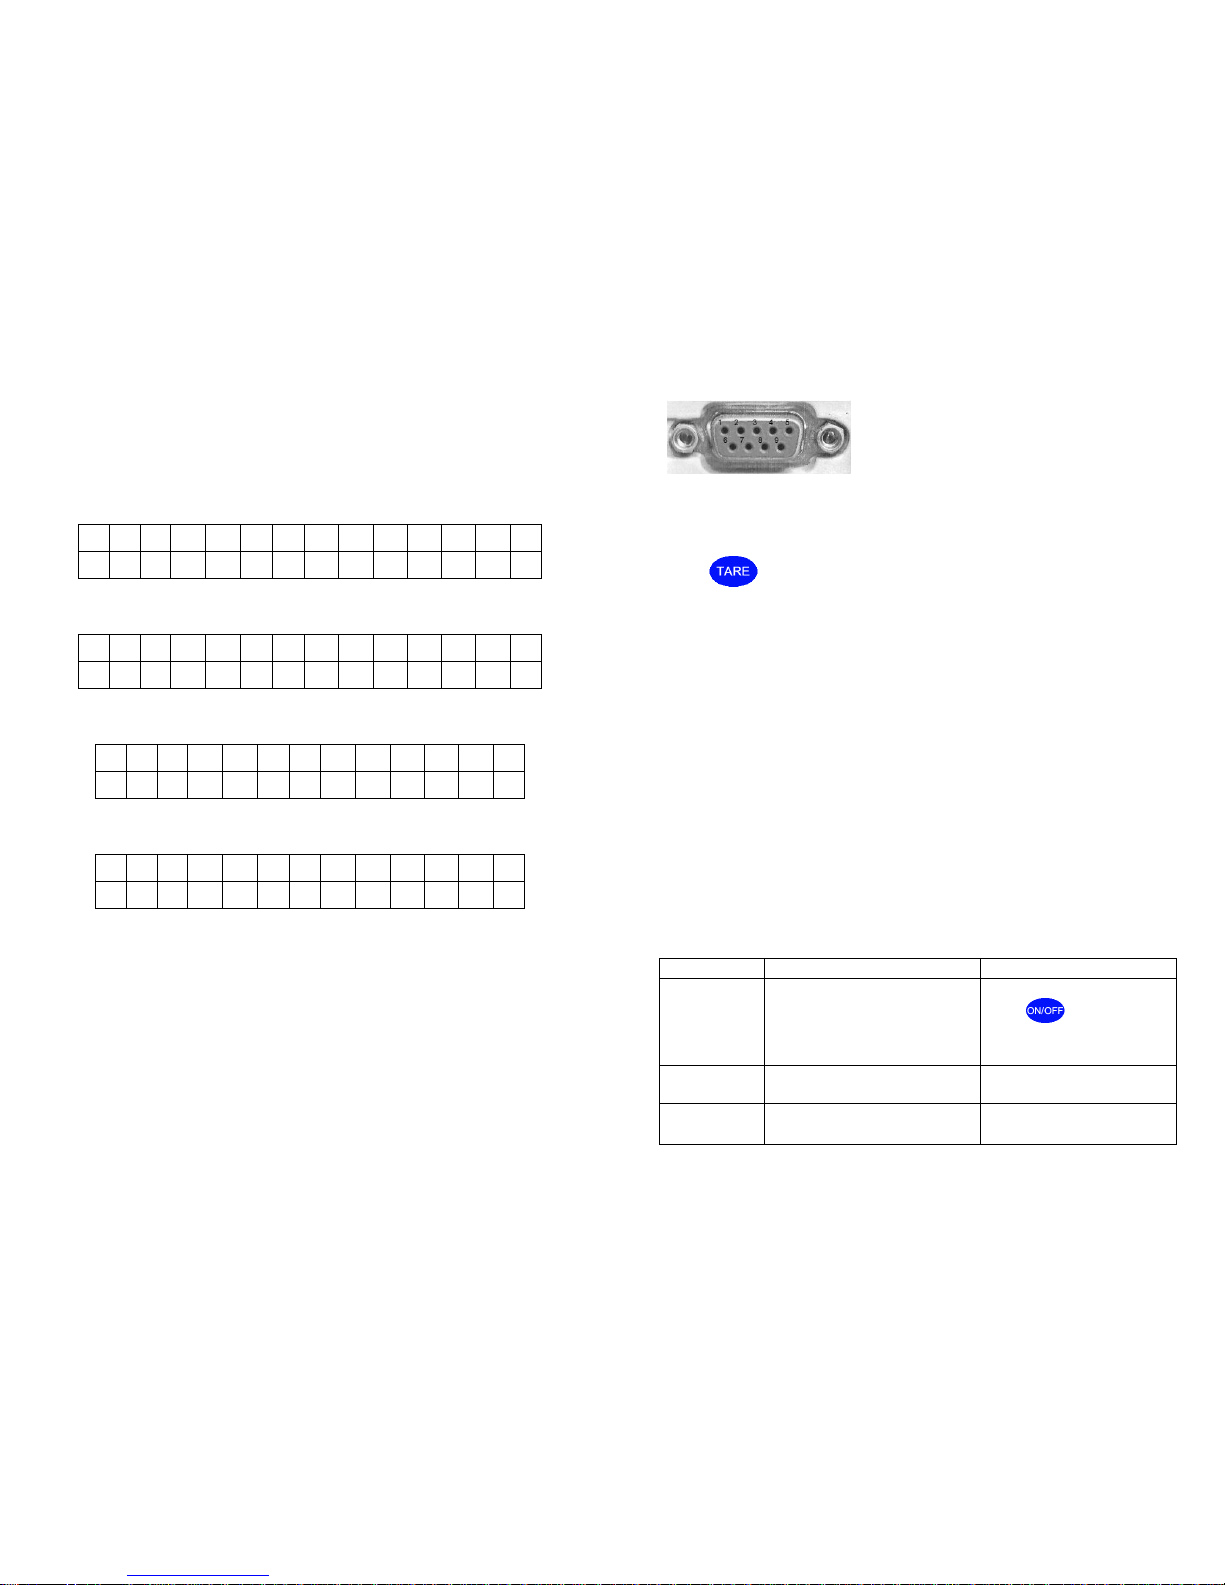
RS232 Data Frame Format: Symbol (+/-) + Data + Unit + Last Frame
1. Data Symbol: 1 Byte ASCII: "+ " or "-"
2. Data Field: 7 Bytes ASCII: One is Decimal Point ".", which has the same
position with Display.
3. 3 Bytes ASCII: Units< 3 bits, Supplementary with Space
4. Last Frame: ENTER ASCII, 0DH, 0AH.
Units
LB: 6C 62
OZ: 6F 7A
GN: 47 4E
KG: 6B 67
+ : 2B
- : 2D
Example
38.25g, Stable
+ 0 0 3 8 . 2 5 g 2B
30
30
33
38
2E
32
35
20
67
20
20
0D
0A
30.00ct, Unstable
+ 0 0 0 0 3 0 . c t
2B
30
30
30
30
33
30
2E
20
63
74
20
0D
0A
60 pcs Counting, Stable
+ 0 0 0 0 6 0 p c s
2B
30
30
30
30
36
30
20
70
63
73
0D
0A
26% Percentage, Stable
+ 0 0 0 0 2 6 %
2B
30
30
30
30
32
36
20
25
20
20
0D
0A
Serial Port
Computer (9 pins) Balance (9 pins)
2 ------------------------------------------------------ 2
5 ------------------------------------------------------ 5
Baud Rate : 9600 bps
Pin 2: TXD; Pin 3 RXD; Pin 5: GND
9.5. Speed adjustment of weighing
Press for 3 seconds, display will show ”SPEED!”, release the key,
and enter weighing mode. Although the speed is slower, the accuracy is the
at the highest setting. If you choose “SPEED2”, the speed is faster, but less
accurate. Each time you enter this parameter, the balance will change the
speed selected.
9.6. Low voltage indication and Charge indication (If optional
battery fitted)
1. When the display shows battery symbol in the upper left side, it is time to
charge.
2. When charging battery, refer to the light on the left of the keyboard. If it
turns green, charge battery is complete.
11. Maintenance
Failure
Cause
Remedy
No display
·Scale is not connected with power
·Power switch is off
·Adapter is faulty
·Plug in the power
·Press
·Change to new adapter
·
Upper “----” only
·over-load
·load cell wire loose
·Decrease load
·Re-connect the wire
S-CAL
·load cell wire loose
·Disconnected load cell wire
·To connect load cell wire
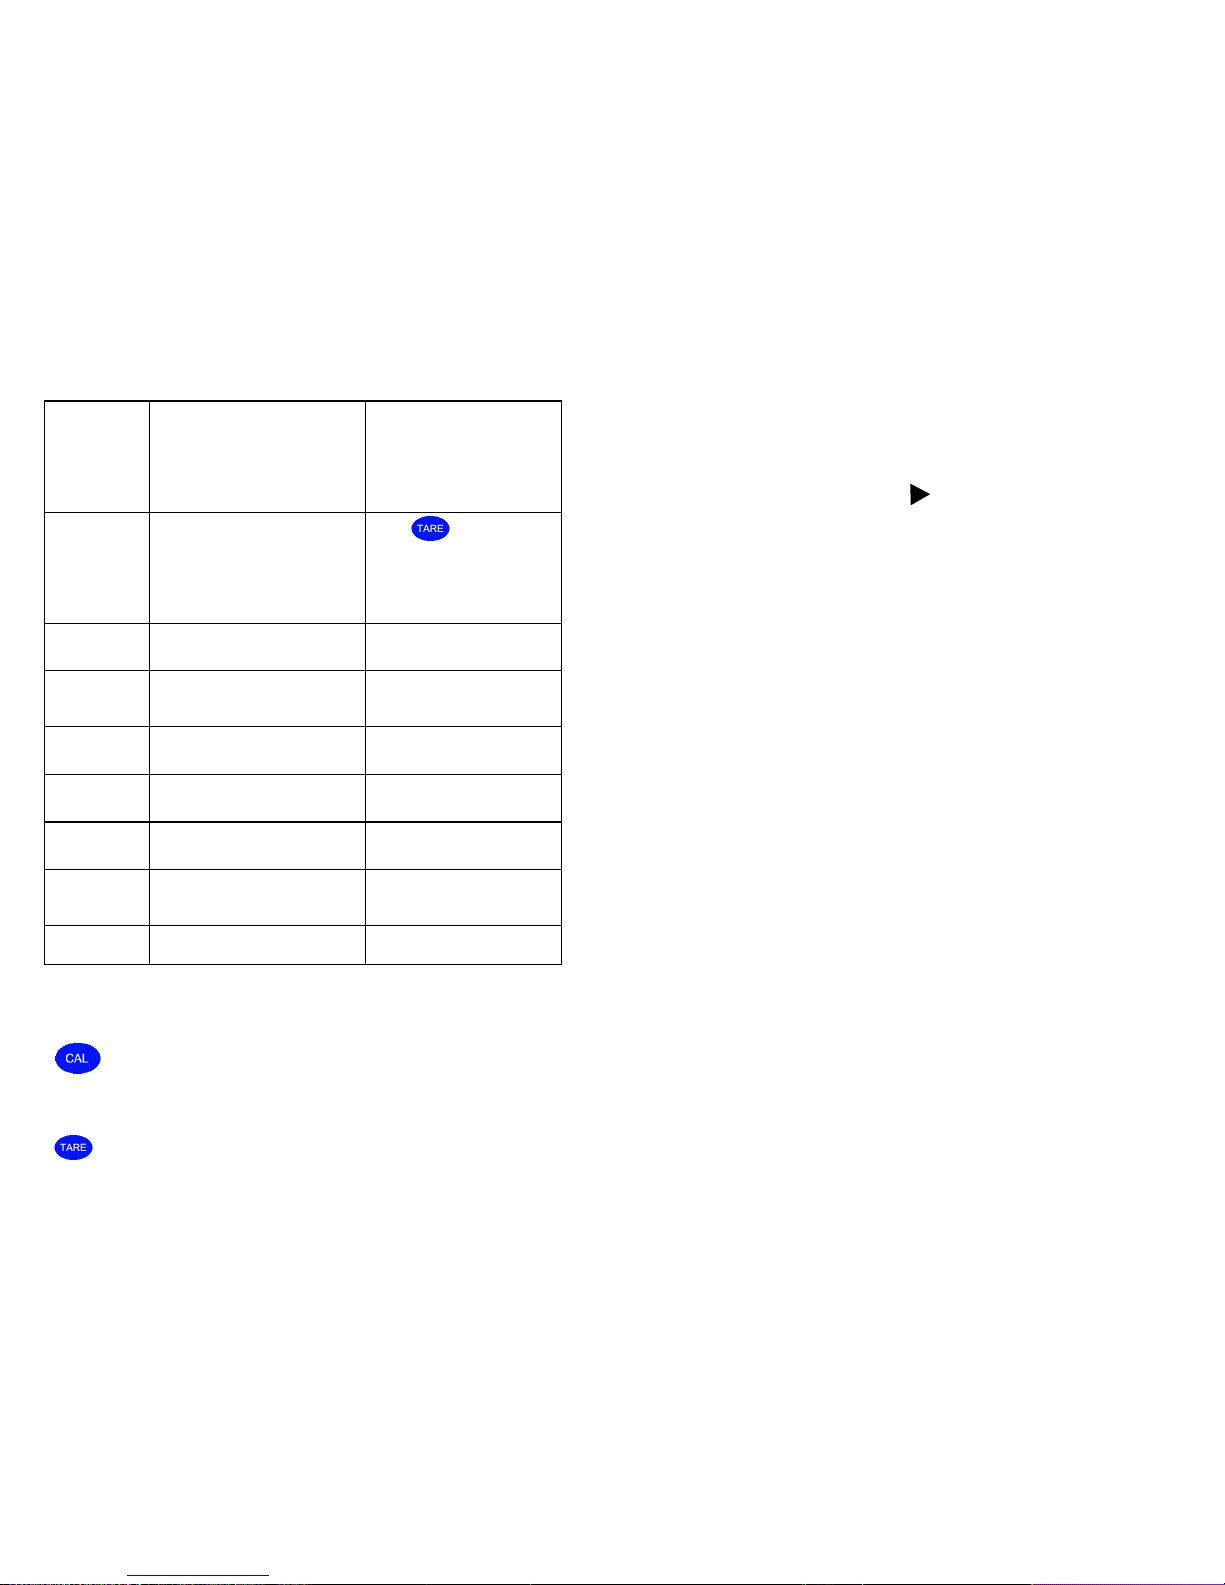
Value unstable
·Unstable air pattern,. ·Working
platform is unstable
·Large changes in room
temperature.
Load sensor is damaged or is
broken
Turn off air conditioning or close
doors.
Value
inaccuracy or
large error
·No clear zero before weight
·Bad calibration result
·Wrong voltage
·Large error in four corners of load
cell
·Load sensor is damaged
·Press
·Re-calibrate
·Use correct voltage
·Check error of four corners
·Check load cell
Display shows
wrong symbols
·Static interference
·Reboot or re-plug in power
·Reboot after 30 minutes
Show “·” on the
left of display
repeatedly
·Bad operational environment (such
as air movement, vibration, large
change in room temperature etc.
·Control working environment
Show “No Cou”
·Reading not stable before counting
·Sample is too big or small
·Re-apply sample
·Change sample size
No data
·Interference from static
·Reboot or re-plug in power
No back to zero
·Wires loose
·Check all wires
No calibration
·Load cell is broken
·Wires loose
·Call scale dealer to check load
sensor
·Check all wires
No Backlight
·Backlight is broken
·Fit new backlight
12. IR Sensors:
When you move your hand within ¼” (5 mm) of the Infrared induction window
for 3 seconds the balance will begin the calibration cycle. If you then
move your hand over the window again it is possible to choose the different
calibration points available. Please be careful not to access this section
unless you have a full set of test weights. The Infrared Induction window for
will operate in the same way to tare the balance.
When the IR sensors are acting, they turn red.
Operation under a high intensity light environment may make the IR sensor
cycle. At this time, you will see “ ” on the upper right of LCD. Then
please turn off the balance and adjust the position away from the high
intensity light.
If you wish to turn off the IR sensor, please put fingers on the top of two IR
Sensors at the same time. If you wish to turn on the IR sensor, please restart
the balance.
13. Accessories:
Scale Pan·······································································1unit
User’s Manual······························································1unit
AC Adapter···································································1unit
OPTIONS:
Calibration Weight ·····························································1unit
Rechargeable Battery··························································1unit
Safety Note! Please do not use this unit in conditions that may cause the unit to
short. This unit is powered by AC/DC adaptor, do not use in wet conditions. Use
extreme care. There are no user serviceable parts inside the balance.
Protect the unit against moisture.
Please disconnect the unit from the main power supply before cleaning. Do not
use any liquids or aerosol sprays to clean this unit. Use only a clean dampened
cloth.

Intelligent Weighing Technology, Inc.
www.intelligentwt.com
 Loading...