

Page 1
DL-DVI Installaon and
Operaon Guide
Rev 140512
11675 Ridgeline Dr
Colorado Springs, CO 80921
Phone: 719-260-0061
Toll-Free: 800-530-8998
Fax: 719-260-0075
Page 2
DL-DVI Installaon Guide
» Please completely read and verify you understand all instrucons in this manual before operang this equipment.
» Keep these instrucons in a safe, accessible place for future reference.
» Heed all warnings.
» Follow all instrucons.
» Do not use this apparatus near water.
» Clean only with a dry cloth.
» Do not install near any heat sources such as radiators, heat registers, stoves, or other apparatus (including ampliers)
that produce heat.
» Use only accessories specied or recommended by Intelix.
» Explanaon of graphical symbols:
◊ Lightning bolt/ash symbol: the lightning bolt/ash and arrowhead within an equilateral triangle
symbol is intended to alert the user to the presence of uninsulated “dangerous voltage” within the
product enclosure which may be of sucient magnitude to constute a risk of shock to a person or
persons.
Important Safety Instrucons
◊ Exclamaon point symbol: the exclamaon point within an equilateral triangle symbol is intended
to alert the user to the presence of important operang and maintenance (servicing) instrucons
in the literature accompanying the product.
» WARNING: TO REDUCE THE RISK OF FIRE OR ELECTRIC SHOCK, DO NOT EXPOSE THIS APPARATUS TO RAIN OR
MOISTURE AND OBJECTS FILLED WITH LIQUIDS, SUCH AS VASES, SHOULD NOT BE PLACED ON THIS APPARATUS.
» Use the mains plug to disconnect the apparatus from the mains.
» THE MAINS PLUG OF THE POWER CORD MUST REMAIN READILY ACCESSIBLE.
» Do not defeat the safety purpose polarized or grounding-type plug. A polarized plug has two blades with one wider
than the other. A grounding-type plug has two blades and a third grounding prong. The wide blade or the third prong
is provided for your safety. If the provided plug does not t into your outlet, consult an electrician for replacement of
your obsolete outlet. Cauon! To reduce the risk of electrical shock, grounding of the center pin of this plug must be
maintained.
» Protect the power cord from being walked on or pinched parcularly at the plugs, convenience receptacles, and the
point where they exit from the apparatus.
» Do not block the air venlaon openings. Only mount the equipment per Intelix’s instrucons.
» Use only with the cart, stand, table, or rack specied by Intelix or sold with the equipment. When/if a
cart is used, use cauon when moving the cart/equipment combinaon to avoid injury from p-over.
» Unplug this apparatus during lightning storms or when unused for long periods of me.
» Cauon! Shock Hazard. Do not open the unit.
» Refer to qualied service personnel. Servicing is required when the apparatus has been damaged in any way, such as
power supply cord or plug is damaged, liquid has been spilled or objects have fallen into the apparatus, the apparatus
has been exposed to rain or moisture, does not operate normally, or has been dropped.
2
Page 3

DL-DVI Installaon Guide
3
Page 4

DL-DVI Installaon Guide
Table of Contents
Product Overview ��������������������������������������������������������������������������������������������������������������������������������������� 5
Package Contents ��������������������������������������������������������������������������������������������������������������������������������������� 6
Front and Rear Panel Descripons �������������������������������������������������������������������������������������������������������������� 7
DL-DVI-S �������������������������������������������������������������������������������������������������������������������������������������������������������� 7
DL-DVI-R100 �������������������������������������������������������������������������������������������������������������������������������������������������� 7
DL-DVI-R250 �������������������������������������������������������������������������������������������������������������������������������������������������� 7
Installaon Instrucons ������������������������������������������������������������������������������������������������������������������������������ 8
Quick Start ���������������������������������������������������������������������������������������������������������������������������������������������������� 8
Connect Source ��������������������������������������������������������������������������������������������������������������������������������������������� 8
Connect Display ������������������������������������������������������������������������������������������������������������������������������������������10
Connect Power ��������������������������������������������������������������������������������������������������������������������������������������������11
Adjust Signal �����������������������������������������������������������������������������������������������������������������������������������������������12
Troubleshoong ��������������������������������������������������������������������������������������������������������������������������������������� 13
Extender does not power on �����������������������������������������������������������������������������������������������������������������������13
Cannot see image ���������������������������������������������������������������������������������������������������������������������������������������13
Image is blurry ��������������������������������������������������������������������������������������������������������������������������������������������13
Image is dim or bright ��������������������������������������������������������������������������������������������������������������������������������� 13
Cannot hear audio ��������������������������������������������������������������������������������������������������������������������������������������13
Technical Specicaons ���������������������������������������������������������������������������������������������������������������������������� 14
4
Page 5

DL-DVI Installaon Guide
Product Overview
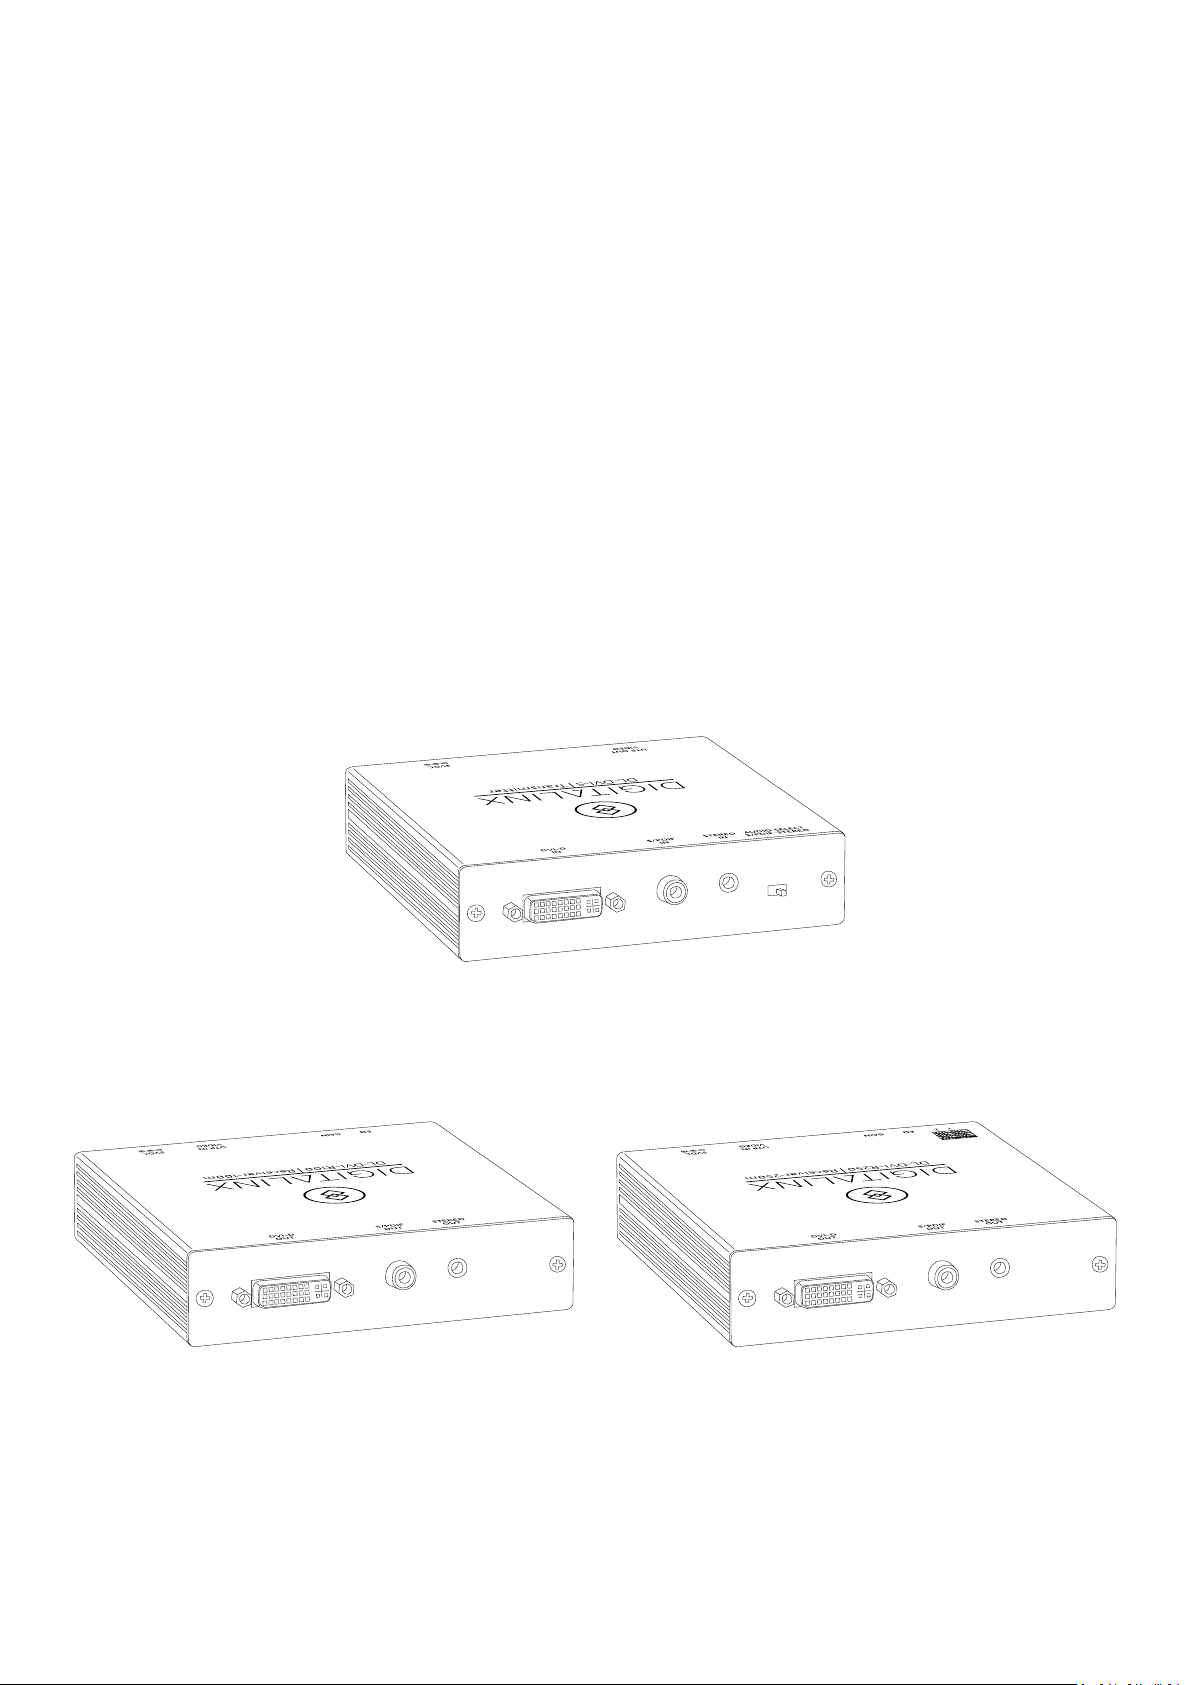
The DigitaLinx DL-DVI extenders provide a means for the transmission of non-encrypted DVI-D signals at
resoluons up to 1920x1200 and 1080p, plus either S/PDIF or analog stereo audio, over Category 5e or 6 cable
at great distances. The system is fully compable with all DVI 1.0 signals and seamlessly integrates the selected
audio signal into the signal path. The unique locking power connectors are used to enhance overall system
security.
The DL-DVI-S transmier provides a built-in EDID table as a standard feature. The DL-DVI-S, used in conjuncon
with the DL-DVI-R100 receiver, can achieve distances up to 100 meters (328 feet). Use of the DL-DVI-R250
receiver can increase distances up to 250 meters (820 feet). Achieving such long distances with a DVI-D signal
at 1080p requires use of a unique analog/digital hybrid transmission system. Both receivers provide gain
and equalizaon adjustments. The DL-DVI-R250 receiver provides addional signal processing via two user
selectable DIP switches which further equalize the DVI-D Video and the audio signals.
5
Page 6
DL-DVI Installaon Guide
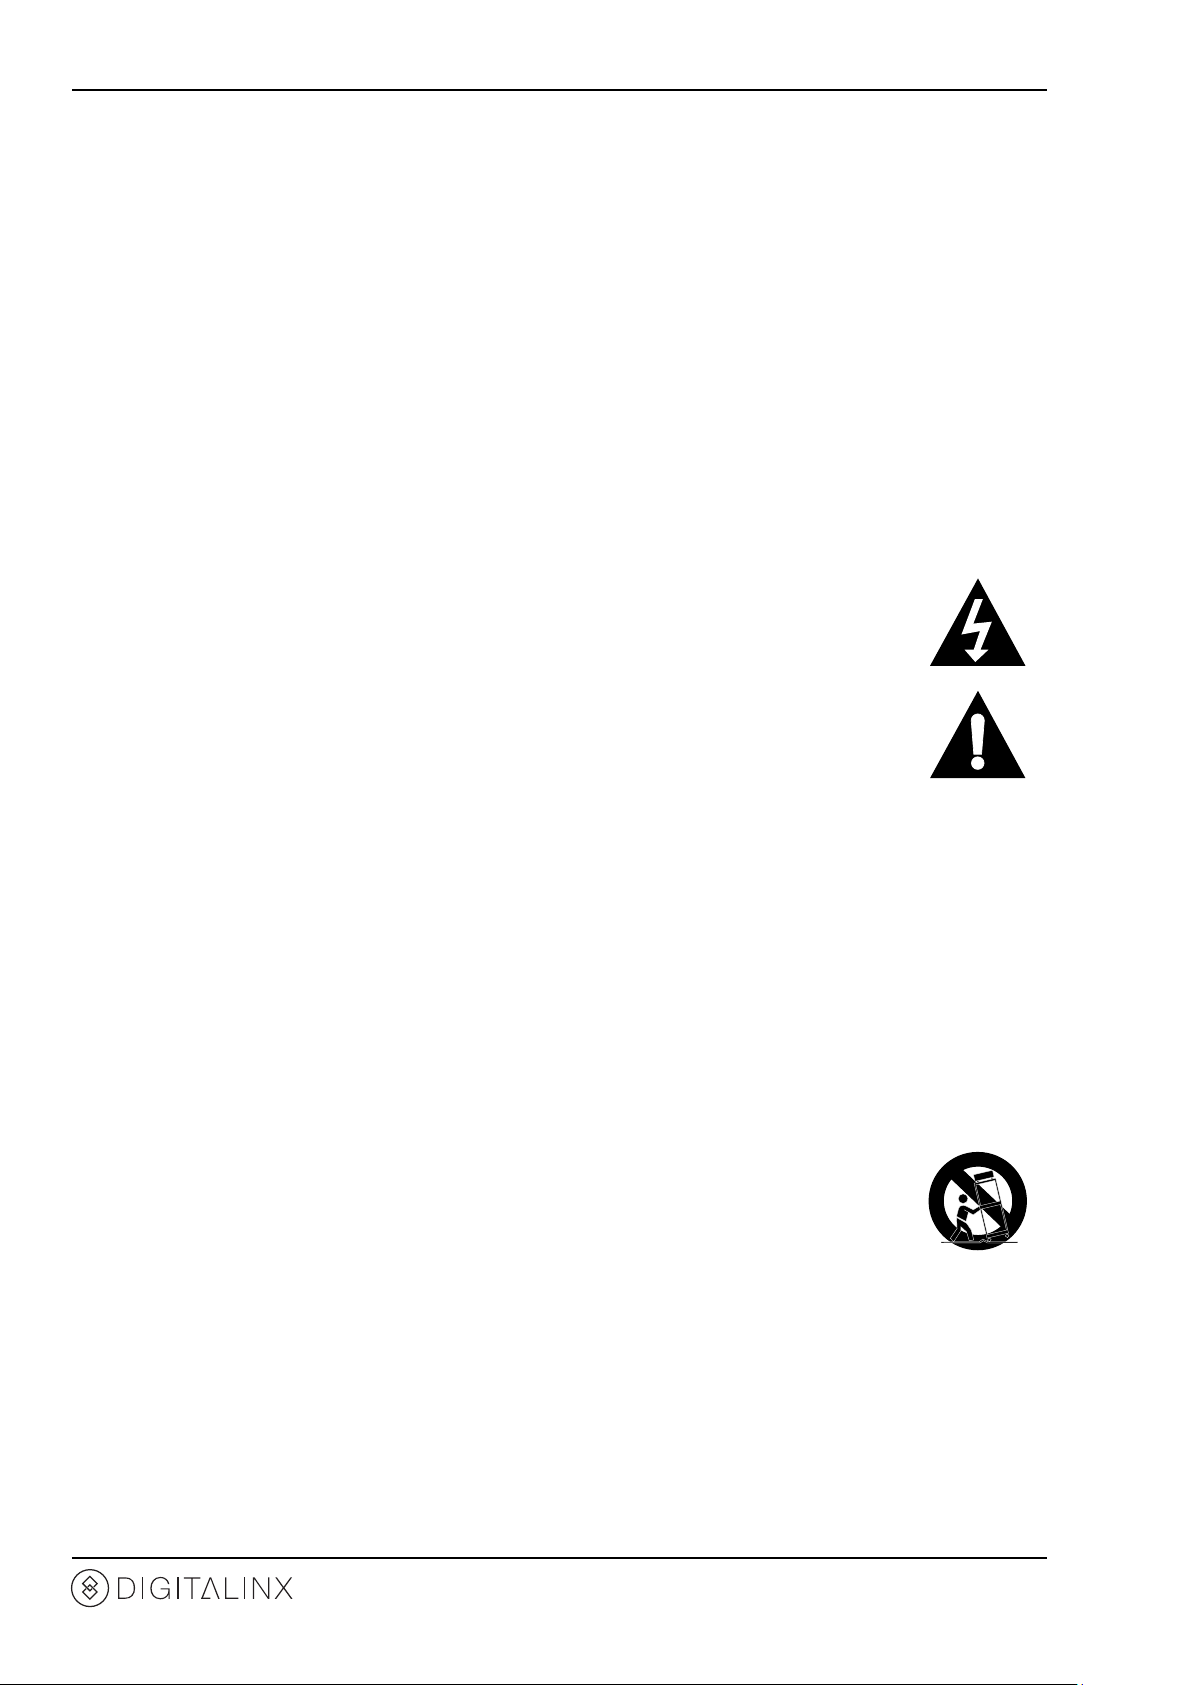
Package Contents
The DL-DVI extender in the package will vary depending upon the product ordered.
DL-DVI-S
DL-DVI-R100
DL-DVI-R250
Please verify the following items are in the product box prior to installaon of the DL-DVI extenders.
Alignment Screwdriver
1 ea
AU, EU, and UK AC
Adapters
1 ea
5V DC 2.6A Power
Supply with US Plug
1 ea
6
DL-DVI Installaon and
Operaon Guide
1 ea
Page 7

DL-DVI-S
1
2
3 A B
C
D
E
1
2
3 A B C D E F
DL-DVI Installaon Guide
Front and Rear Panel Descripons
1
1. DVI-D Input
2. S/PDIF Input
3. Analog Audio Input
4. Audio Selecon Switch
DL-DVI-R100
2
4 A B C
3
A. Twisted Pair (UTP) Output
B. 5V DC Input
C. Power LED
1. DVI-D Output
2. S/PDIF Output
3. Analog Audio Output
DL-DVI-R250
1. DVI-D Output
2. S/PDIF Output
3. Analog Audio Output
A. EQ Adjustment
B. Gain Adjustment
C. Twisted Pair (UTP) Input
D. 5V DC Input
E. Power LED
A. Cable Distance Selectors
B. EQ Adjustment
C. Gain Adjustment
D. Twisted Pair (UTP) Input
E. 5V DC Input
F. Power LED
7
Page 8

DL-DVI Installaon Guide
Quick Start
1. Connect source
2. Connect display
3. Apply power
4. Adjust signal
Connect Source
Installaon Instrucons
Connect the video source to the DL-DVI-S with a DVI-D cable.
Set the audio selector switch to the audio connecon that will
be used in the installaon.
If using S/PDIF audio, connect the audio source to the DL-DVI-S
with a coaxial S/PDIF cable.
If using analog audio, connect the audio source to the DL-DVI-S
with a 3.5 mm stereo audio cable.
8
Page 9

DL-DVI Installaon Guide
1 8
TIA/EIA-568B
Pin 1
Pin 2
Pin 3
Pin 4
Pin 5
Pin 6
Pin 7
Pin 8
Orange/White
Orange
Green/White
Blue
Blue/White
Green
Brown/White
Brown
The UTP ports require a standard straight-through Category
5e or greater cable with the TIA/EIA-568B crimp paern for
opmal operaon.
Connect the Category cable to the UTP port on the DL-DVI-S.
9
Page 10

DL-DVI Installaon Guide
Connect Display
Connect the DL-DVI-R100 or DL-DVI-R250 to the display with a
DVI-D cable.
If using S/PDIF audio, connect the audio output device to the
DL-DVI-R100 or DL-DVI-R250 with a coaxial S/PDIF cable.
If using analog audio, connect the audio output device to the
DL-DVI-R100 or DL-DVI-R250 with a 3.5 mm stereo audio cable.
Connect the Category cable to the DL-DVI-R100 or DL-DVI-R250.
10
Page 11
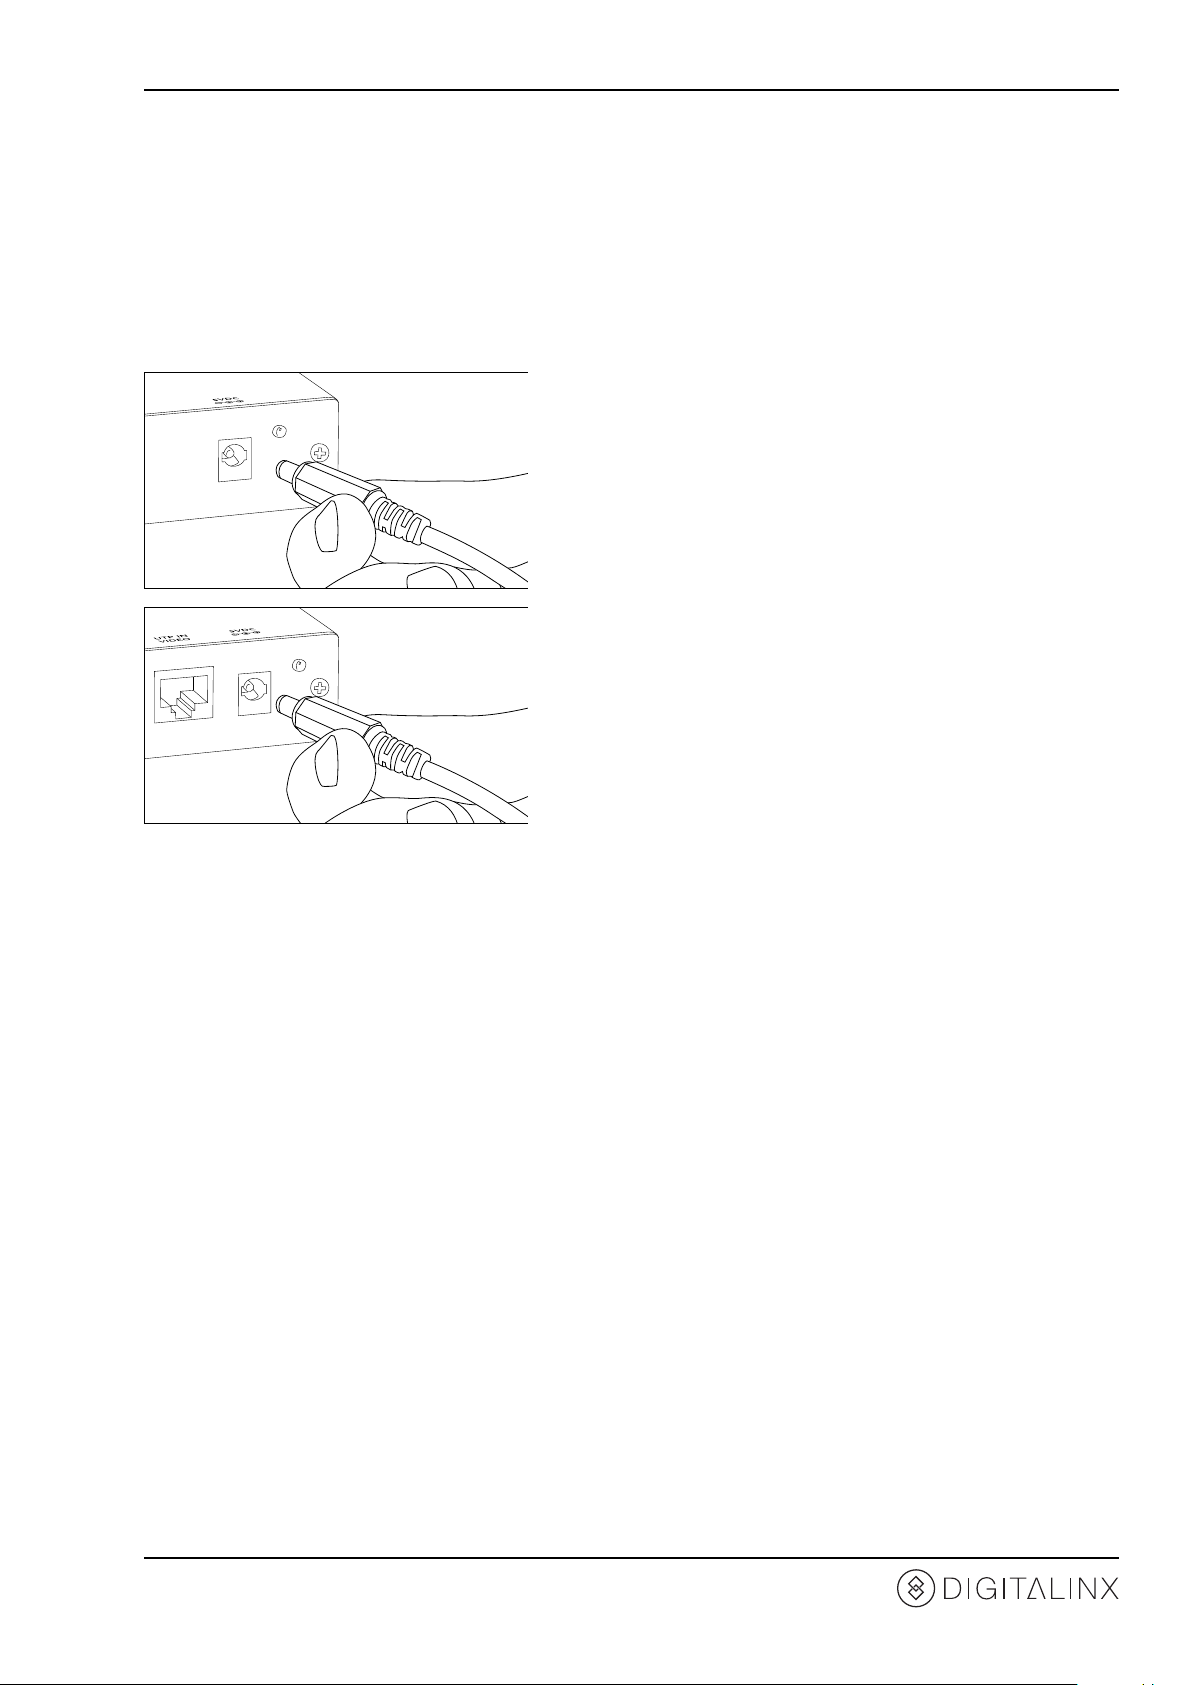
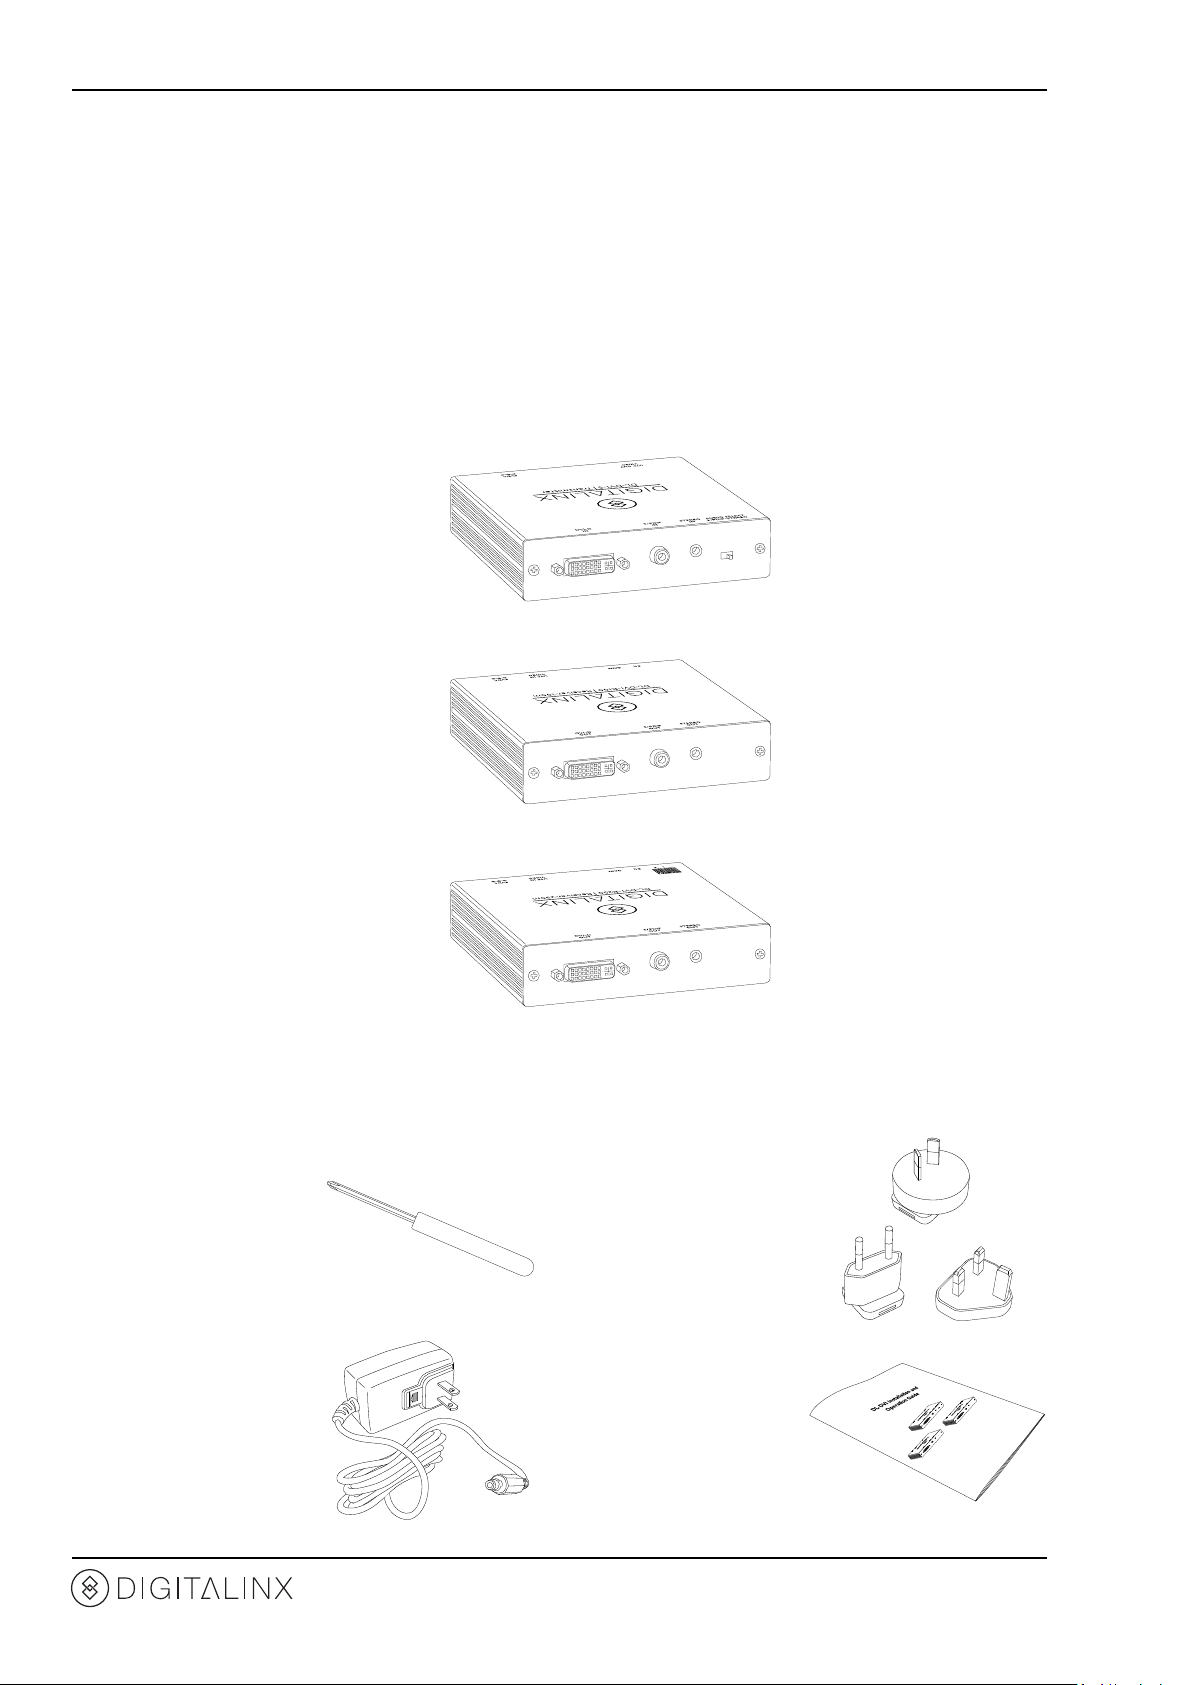
Connect Power
DL-DVI Installaon Guide
Connect the power supply to the 5V DC port on the DL-DVI-S.
Connect the power supply to the 5V DC port on the DL-DVI-R100
or DL-DVI-R250.
11
Page 12

DL-DVI Installaon Guide
Adjust Signal
The DL-DVI-R250 features switches to provide a boost to the
incoming signal based on the cable distance between the
transmier and the receiver.
CTI
250M
150M
100M
50M
21
If the image is blurry, adjust the EQ seng on the receiver unl
the image becomes clear.
If the image is dim or too bright, adjust the Gain seng on the
receiver unl the image becomes clear.
12
Page 13

Troubleshoong
Extender does not power on
» Verify power outlet is acve.
» Verify power supply is funconing properly by using on another extender.
Cannot see image
» Verify video source provides video to local display.
» Verify display provides video to local video source.
» Verify twisted pair cable wiring is terminated correctly.
» Verify connuity of twisted pair cable.
DL-DVI Installaon Guide
Image is blurry
» Adjust EQ control on the receiver.
» Verify twisted pair cable length is within the capable distance of the receiver.
Image is dim or bright
» Adjust Gain control on the receiver.
Cannot hear audio
» Verify audio switch posion is set correctly for the audio connecon.
» Verify audio source provides audio to local audio output device.
» Verify audio output device provides audio to local audio source.
» Verify source and desnaon signal types are the same.
13
Page 14

DL-DVI Installaon Guide
Technical Specicaons
I/O Connecons (DL-DVI-S)
DVI-D Input One (1) Female DVI-I Receptacle
Stereo Audio Input One (1) 3.5 mm Jack (TRS)
S/PDIF (Coaxial) Audio Input One (1) Female RCA Receptacle
5V DC Power One (1) Locking Coaxial Barrel (5.5mm OD; 2.6mm ID)
Twisted Pair Output One (1) 8P8C Port (RJ45)
Audio Mode Switch One (1) Two Posion Slider Switch
I/O Connecons (DL-DVI-R100/R250)
DVI-D Output One (1) Female DVI-I Receptacle
Stereo Audio Output One (1) 3.5 mm Jack (TRS)
S/PDIF (Coaxial) Audio Output One (1) Female RCA Receptacle
5V DC Power One (1) Locking Coaxial Barrel (5.5mm OD; 2.6mm ID)
Twisted Pair Input One (1) 8P8C Port (RJ45)
Gain and EQ Adjustments Two (2) Rotary Potenometers
Rough Gain Stage Adjustment (DL-DVI-R250 only) Two Switch DIP
Supported Audio and Video
HDTV Video Resoluons 720p (1280x720), 1080p (1920x1080)
VESA Video Resoluons 800x600, 1024x768, 1152x864, 1280x768, 1280x800, 1280x960, 1280x1024, 1360x768,
Video Compability DVI 1.0 (not HDCP compliant)
Audio Compability PCM 2 channel
Maximum DVI-D and Audio Distance 5m (16 )
Maximum Extended Cable Distance (DL-DVI-R100) 100m (328 )
Maximum Extended Cable Distance (DL-DVI-R250) 250m (820 )
Chassis and Environmental
Enclosure Extruded Aluminum in Black Powdercoat
Dimensions 123mm x 125mm x 30mm (4.84 in x 4.92 in x 1.18 in)
Shipping Weight 0.7 kg (1.54 lbs)
Operang Temperature 0° to +40° C (+32° to +104° F)
Operang Humidity 20% to 90%, Non-condensing
Storage Temperature -10° to +60° C (+14° to +140° F)
Storage Humidity 20% to 90%, Non-condensing
Power, ESD, and Regulatory
Power Supply Input 100V-240VAC / 50-60 Hz / 0.1A
Power Supply Output 5VDC / 2.6A
Power Consumpon 13 was (max)
ESD Protecon ±15 kV
Extender Regulatory FCC, CE, RoHS
Power Supply Regulatory UL, CUL, CE, PSE, GS, RoHS
Other
Warranty 2 years
Diagnosc Indicators Power LED
Included Accessories Installaon Guide, Wall Mount Power Supply, Power Supply Adapters (US, EU, UK, AU),
Distances and picture quality may be aected by cable grade, cable quality, source and destination equipment, RF and electrical interference, and cable patches. DigitaLinx specications are based
on straight-through cabling with standard-grade Cat 5e unless noted otherwise.
1366x768, 1400x1050, 1440x900, 1600x900, 1680x1050, 1920x1200
Alignment Screwdriver
14
Page 15

DL-DVI Installaon Guide
15
Page 16

Thank you for your purchase.
Please contact us with your quesons and comments.
11675 Ridgeline Drive
Colorado Springs, Colorado
80921 USA
Phone: 719-260-0061
Fax: 719-260-0075
Toll-Free: 800-530-8998
www.libav.com
Digitalinx is a brand of:
 Loading...