

Page 1
Intel® Portable Capture Station
Quick Start Guide
Read Me First
Page 2

Document: RSLT-C-0008
Revision: 1.0
Effective date: March 9, 2009
WARNING! Do NOT use the Intel
®
Reader as a sole means of reading safety
or hazard warnings, medication labels or instructions, or nancial or legal
documents, when a reading inconsistency or misreading of written text might
put you at risk of personal injury or economic harm. For such critical reading,
always use a backup means to conrm that you understand the writing, such as
an alternative accessible format or another person.
For complete safety information and warnings, refer to the Intel
®
Portable
Capture Station User Manual.
Page 3

1
Welcome
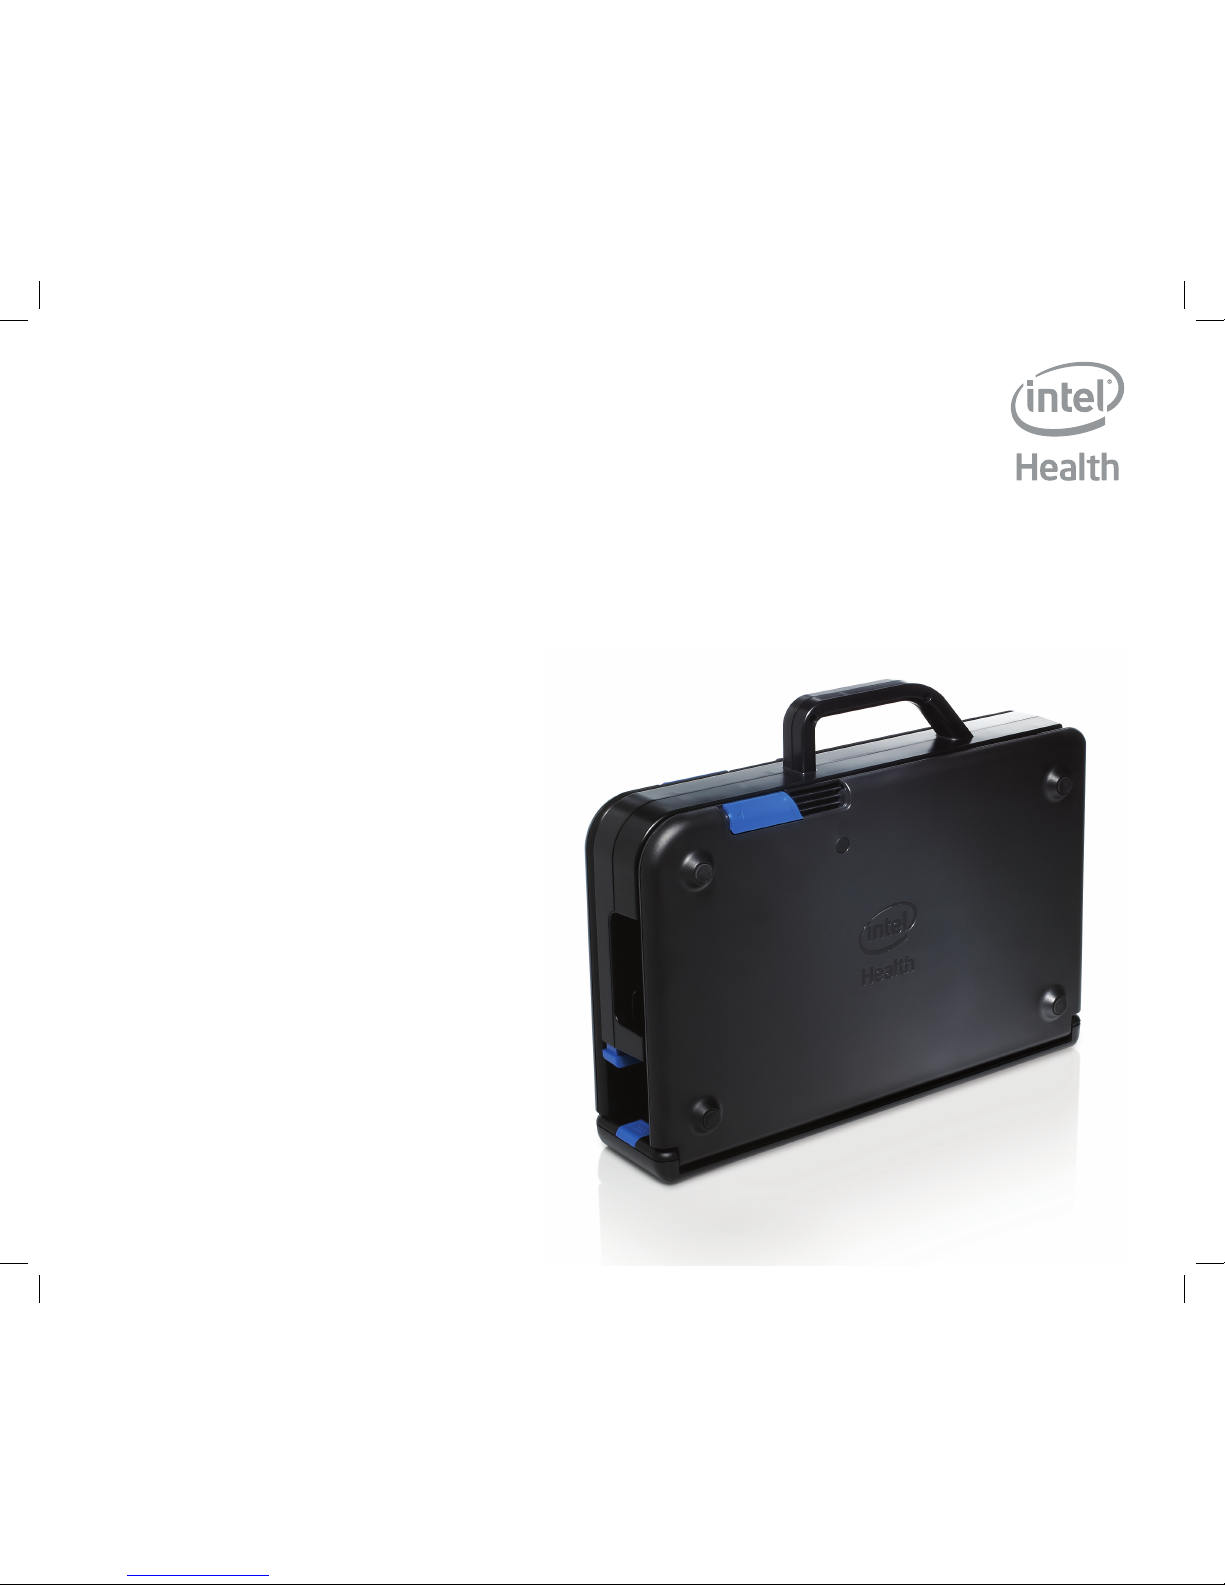
The Intel® Portable Capture Station holds the Intel® Reader, so you can capture
images of a large number of pages. When the Reader is placed in the Capture
Station, the Reader's camera can view everything placed on the base, even largesized printed materials, such as textbooks and magazines.
Contents of the Portable Capture Station Box
The Portable Capture Station box contains:
A Capture Station•
This quick start guide•
A user manual•
A CD with an audio version of the user manual and this quick start guide•
A power adapter and power cord. This power adapter and power cord are •
interchangeable with the power adapter and power cord that come with the
Reader.
The warranty for the Capture Station and Reader•
NOTE: Contact your local reseller or Intel Customer Support if any of the contents
is missing.
Page 4
2
Getting Started
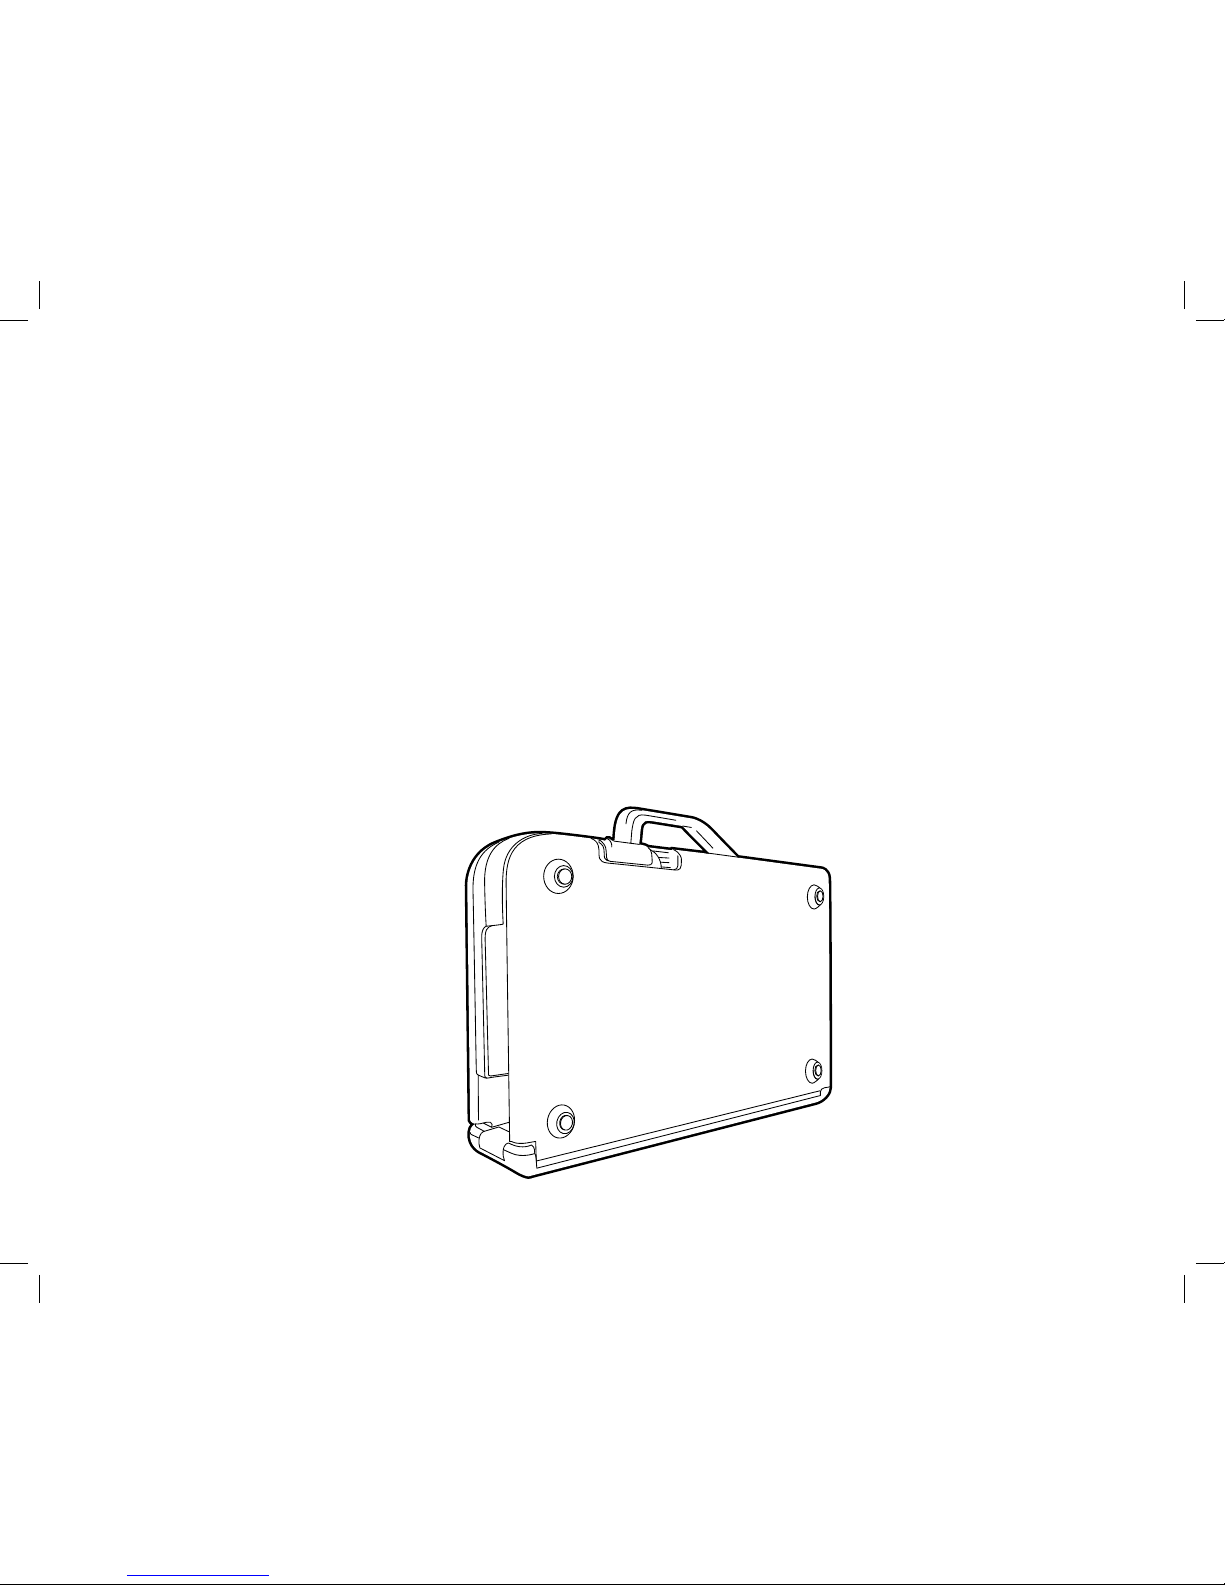
Unpack.1.
Take your Capture Station out of the box and remove the wrapping materials.
Place the Capture Station on a at surface. 2.
Place the Capture Station on a work surface, with the handle pointing up. Make
sure the sloped side of the handle is facing away from you. The work surface
should be large enough to support the entire base. A surface approximately 24
inches long by 18 inches wide (60 cm long by 45 cm wide) is sufcient.
Page 5
3
Locate the sliders. 3.
Locate the sliders along the top edge of the case. They are marked with small
indented arrows.
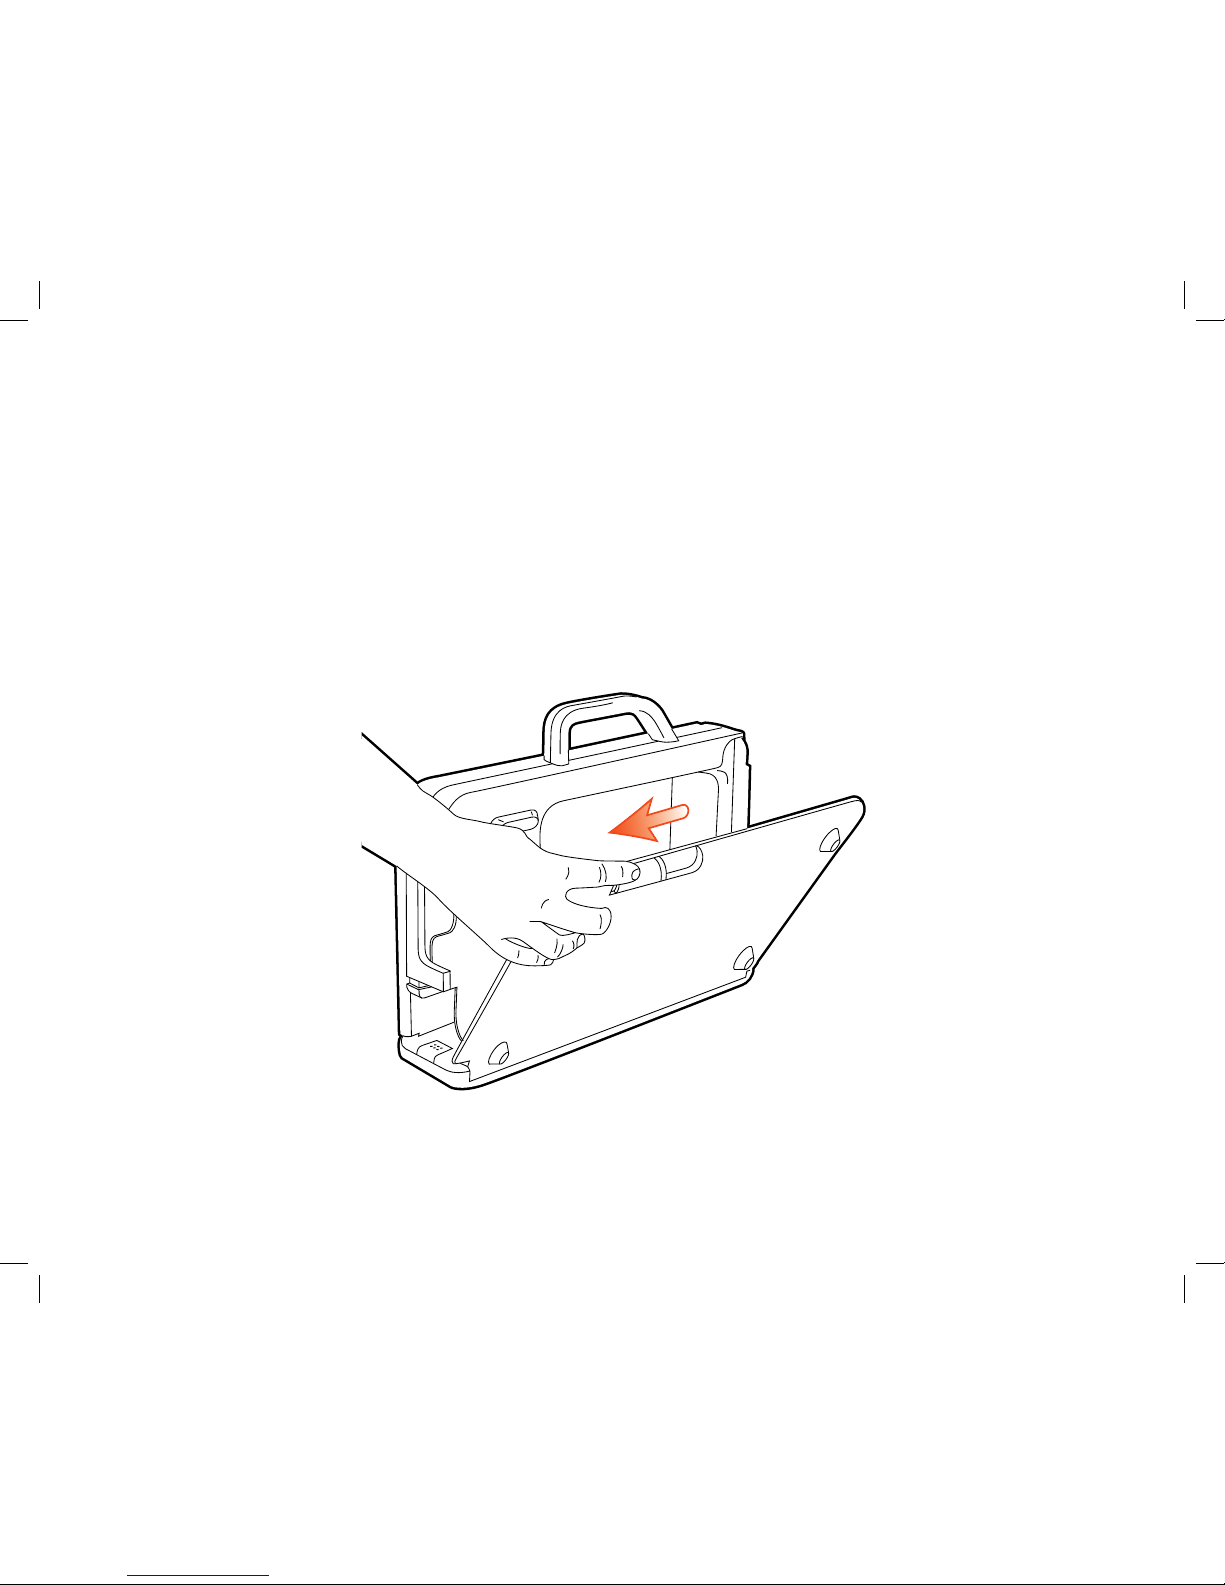
Unlock the sliders. 4.
Place your ngers in the notches along the top edge. Pull the sliders toward you
to engage the sliders and open the sides. Be careful not to pinch your ngers as
you do so. You can open one side at a time or both sides together. Carefully rest
the two sides at on the work surface.
Page 6

4
Release the button and raise the arm. 5.
The collapsed arm is in front of you. Press the release button that is located on
the bottom front edge of the arm. The button is marked with six raised dots. Lift
the arm until it locks upright to the base, being careful not to pinch your ngers or
hand.
Page 7

5
Remove the tape from the base. 7.
There are three strips of shipping tape attached to the base, two under the page
holder and one in the center of the spine on top of the page holder. Remove all
three strips of tape.
Remove the protective lm from both sides of the page holder.8.
The plastic strip that lies across the base of the Capture Station is the page holder.
The page holder keeps pages at so the camera can capture a better image.
Before using the Capture Station for the rst time, peel off the protective covering
on the top of the page holder. Then remove the protective covering from the
bottom of the page holder. Be sure to remove the covering from both sides of
the page holder.
Rotate the cradle.6.
The cradle for the Reader is located on top of the arm, on the right side. Rotate
the cradle out to face you.
Page 8
6
Connecting the Reader
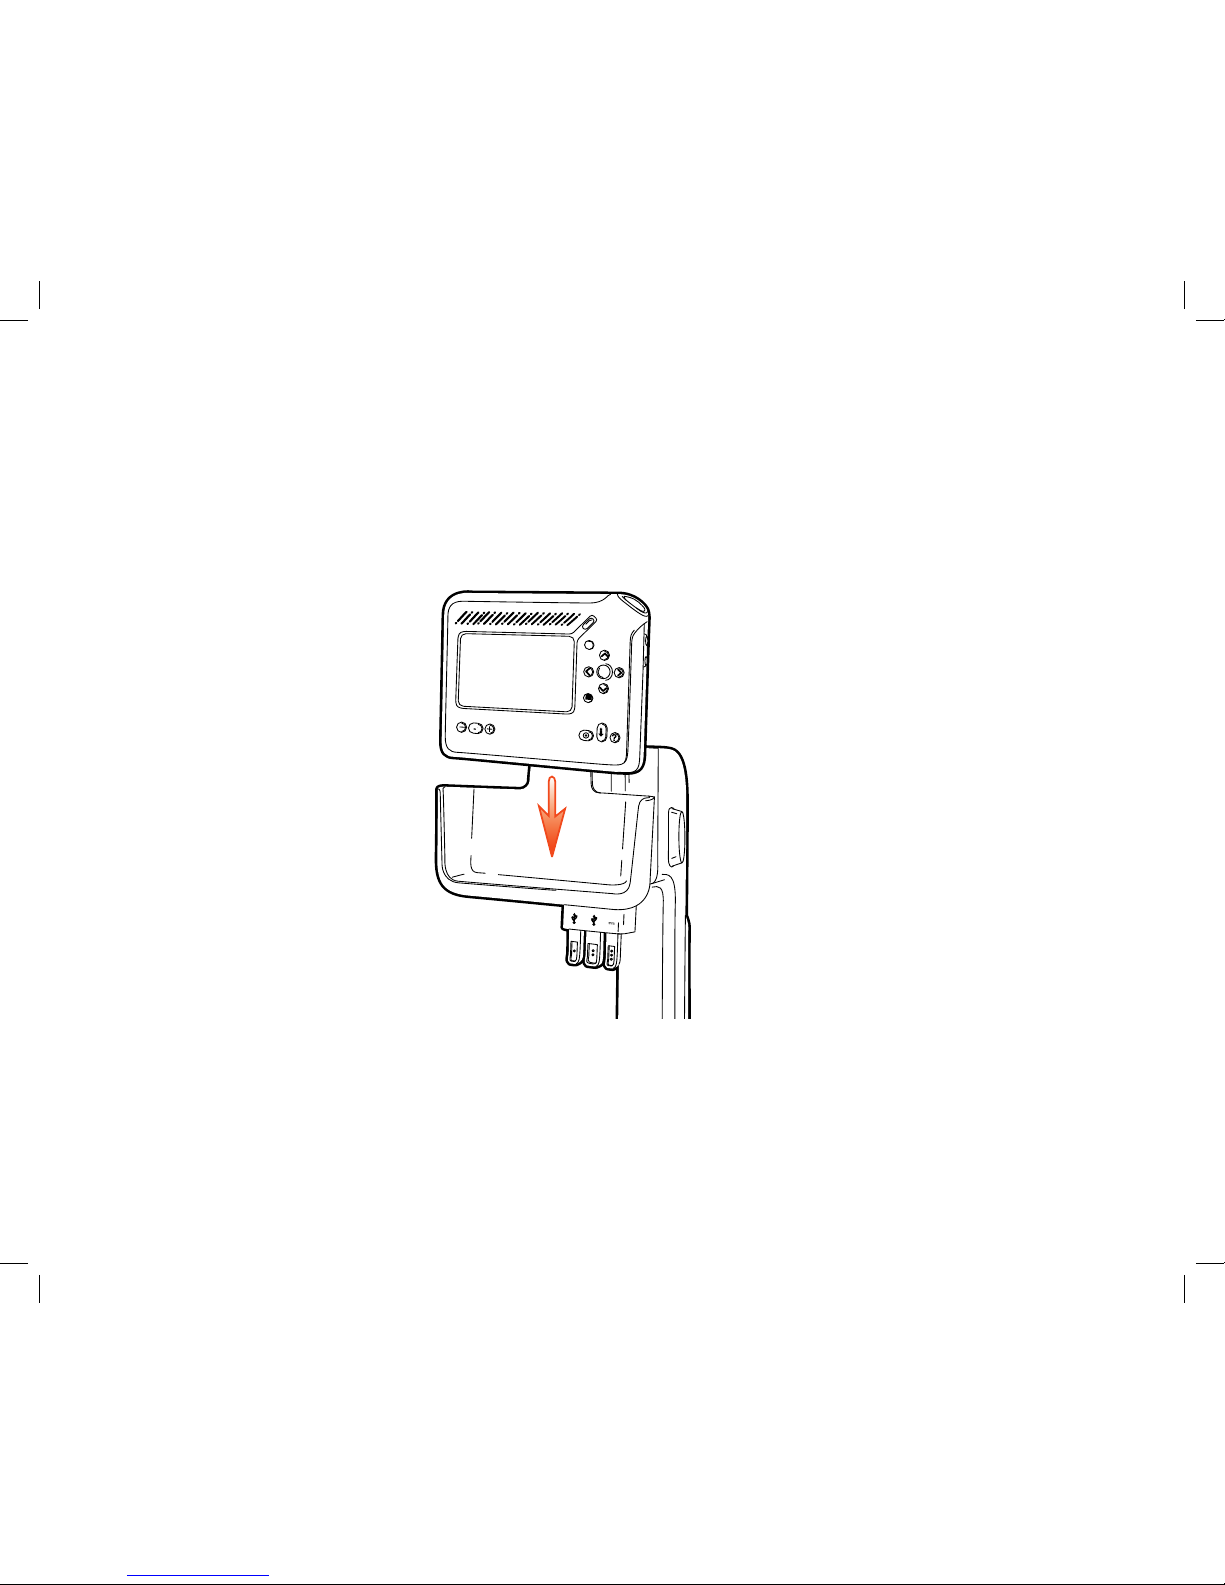
Place the Reader in the cradle.1.
Slide the Reader into the cradle, with the display screen facing you.
On the bottom edge of the cradle, on the right side, are three connectors. You
use these connectors to connect the Reader to the Capture Station, a computer
or another USB device, and a power source. The connectors are:
The mini-USB connector, on the left, connects the Reader to the Capture •
Station. It is marked by one raised dot.
Page 9

7
The standard USB connector, in the middle, connects the Capture Station to •
another USB device, such as a keyboard. It is marked by two raised dots.
The power connector, on the right, keeps the Reader charged. It is marked by •
three raised dots.
Connect the Reader to the Capture Station. 2.
Insert the mini-USB connector on the cradle into the bottom edge of the Reader.
Plug in the other two connectors. You may need to move the connectors back
and forth to connect them.
Mini-USB Connector
Standard-USB Connector
Power Connector
Page 10

8
Charge the Reader's battery (optional).3.
You can begin using the Reader immediately, or you can allow the battery to charge
to 100 percent. A full charge takes approximately 3 hours.
NOTE: For optimal battery performance and life, it is recommended that you
charge the battery to 100 percent before using the Reader for the rst time.
To charge the Reader's battery while it is in the Capture Station, connect the power
to the Reader, by pushing up on the power connector at the front of the Capture
Station. The power connector is the right-most of the three connectors on the
cradle, and is marked with three raised dots.
Then connect the power cord to the power port on the back of the Capture Station.
The power port is the bottom port, and is also marked with three raised dots.
You can leave the Reader in the Capture Station, attached to the power supply,
indenitely. You will not over-charge the Reader by leaving it plugged in, though it is
a good idea to unplug it if there is danger of an electrical storm.
Page 11

9
Placing Text on the Base
The base consists of an indented area where you can place your text, along with a
page holder that presses pages at. The page holder is especially useful for reading
material that will not lay at, such as a book. If your text is already at, such as a
single sheet of paper, you can place the text on top of the page holder.
Raise the page holder.1.
Use the page holder arms on either side of the base to raise the page holder. The
page holder arms are marked with raised dots.
Page 12

10
Position the text.2.
Slide the text under the page holder. Be sure to align the upper left corner of the
reading material with the upper left corner of the base. The Reader can capture
all material in the base, but processing will be better if the material is aligned to
the upper left corner.
Lower the page holder.3.
When the text is in place, lower the page holder.
Adjust the lighting to reduce glare.4.
To help ensure clear images, position the Capture Station away from overhead
lights, windows and desk lamps. Light that shines too brightly on the page can
interfere with the Reader's ability to capture a good image. Avoid shining light
directly on the page holder.
Keep the Capture Station at least 5 feet (1.5 meters) from an overhead light and
1.5 feet (45 centimeters) from a desk lamp or window. These distances reduce
glare from the page holder and improve the accuracy of the reading.
Page 13

11
Capturing and Playing Text
With the text properly placed in the base, and the lighting adjusted, you are ready to
capture text. To do so, you use the capture button, which serves the same purpose
as the Shoot button on the Reader.
Capture text. 1.
To enter Shoot mode, press the capture button, which is located at the center
front of the Capture Station base, and is marked by raised dots. Then press the
capture button again to capture the text.
NOTE: The Reader must be adequately charged to capture a large number of
pages. For charging procedures, refer to the section titled Charge the Reader's
battery (optional), earlier in this guide.
Page 14

12
Play the text.2.
After you nish capturing the text, press the Play button to hear your
document.
Play is the raised, diagonal button above the upper right corner of the display
screen. Press the Play button again to pause or resume playback.
Page 15

Page 16

Copyright © 2009, Intel Corporation. All rights reserved. Intel and the Intel logo are trademarks of Intel Corporation in the U.S. and other countries.
*Other names and brands may be claimed as the property of others.
 Loading...