

INSTEON Mini Remote 2342-432, Mini Remote 2342-532, Mini Remote 2342-442, Mini Remote 2342-542 Owner's Manual
Mini Remote
INSTEON® Remote Control Keypad, 4 Scene
#2342-432 (EU)
#2342-532 (AUS/NZ)
Owner’s Manual
Page 1 of 15 2342-x32 Rev: 11/20/2012 4:13 PM

About Mini Remote ..................................................................................................................................... 3
Features and Benefits ................................................................................................................................. 4
What’s in the Box? ..................................................................................................................................... 4
Required Accessories ................................................................................................................................ 4
Optional Accessories ................................................................................................................................. 5
Getting Started ............................................................................................................................................ 6
Scenes .......................................................................................................................................................... 6
Make Mini Remote (Button) a Controller ................................................................................................... 6
Remove Mini Remote (Button) as a Controller.......................................................................................... 6
Using Mini Remote ...................................................................................................................................... 7
LED Behavior ............................................................................................................................................ 8
Turn Unit On/Off (Pocket Mode) ................................................................................................................ 8
Stuck Button .............................................................................................................................................. 8
Advanced Features ..................................................................................................................................... 8
Make Mini Remote Button a Controller of Multiple Responders ............................................................... 8
Remove Mini Remote Button as a Controller of Multiple Responders ...................................................... 8
Change Button Mode: 8 Button Toggle, 8 Button Non-Toggle, 4 Scene .................................................. 9
Turn LED Off (or Back On) ...................................................................................................................... 10
Turn Beeper On (or Back Off) ................................................................................................................. 10
Beeper Behavior ...................................................................................................................................... 10
LED Behavior during Setup ..................................................................................................................... 11
Factory Reset .......................................................................................................................................... 11
Specifications ............................................................................................................................................ 12
Troubleshooting ........................................................................................................................................ 13
Certification and Warranty ....................................................................................................................... 14
Declaration of Conformity ........................................................................................................................ 14
Limited Warranty ..................................................................................................................................... 15
Limitations ............................................................................................................................................ 15
Page 2 of 15 2342-x32 Rev: 11/20/2012 4:13 PM

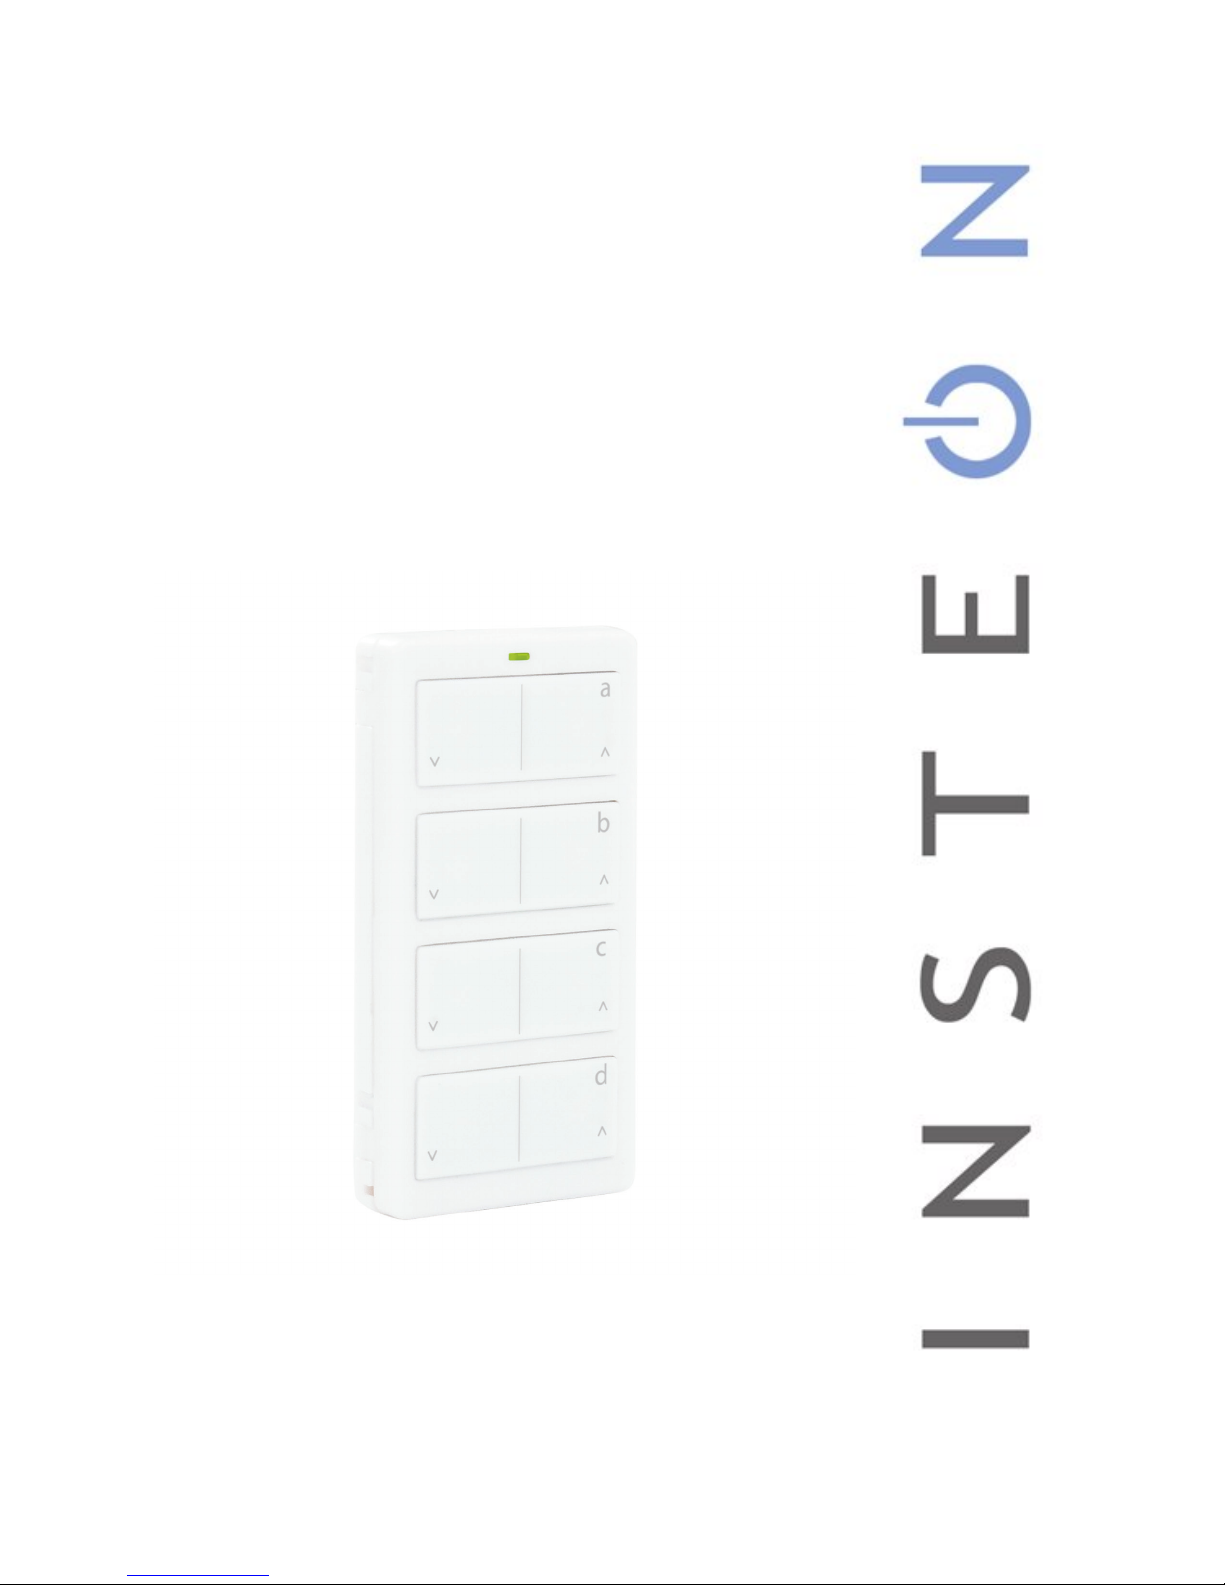
About Mini Remote
On/Off button pairs
(Left Off, Right On)
Status LED
Power/Recharging Jack
(Micro-USB, 5VDC)
Set
button
On/Off switch
INSTEON Mini Remote is the smallest, most versatile INSTEON controller in the world. This wireless 4button controller can easily be reconfigured to give you toggle control of up to 4 scenes and/or devices.
Mini Remote can be:
- Handheld (wireless remote)
- Mounted on wall with no trim plate (wireless keypad)
- Mounted on wall in a single-gang Decorator trim plate (wireless keypad, built-in look)
- Mounted on wall in a multi-gang Decorator trim plate (add to the number of controllers in your room
without hiring an electrician and/or tearing out drywall)
- Placed on a Tabletop Stand (sold separately)
- Clipped to your car’s visor with Visor Clip (sold separately)
Page 3 of 15 2342-x32 Rev: 11/20/2012 4:13 PM
Features and Benefits
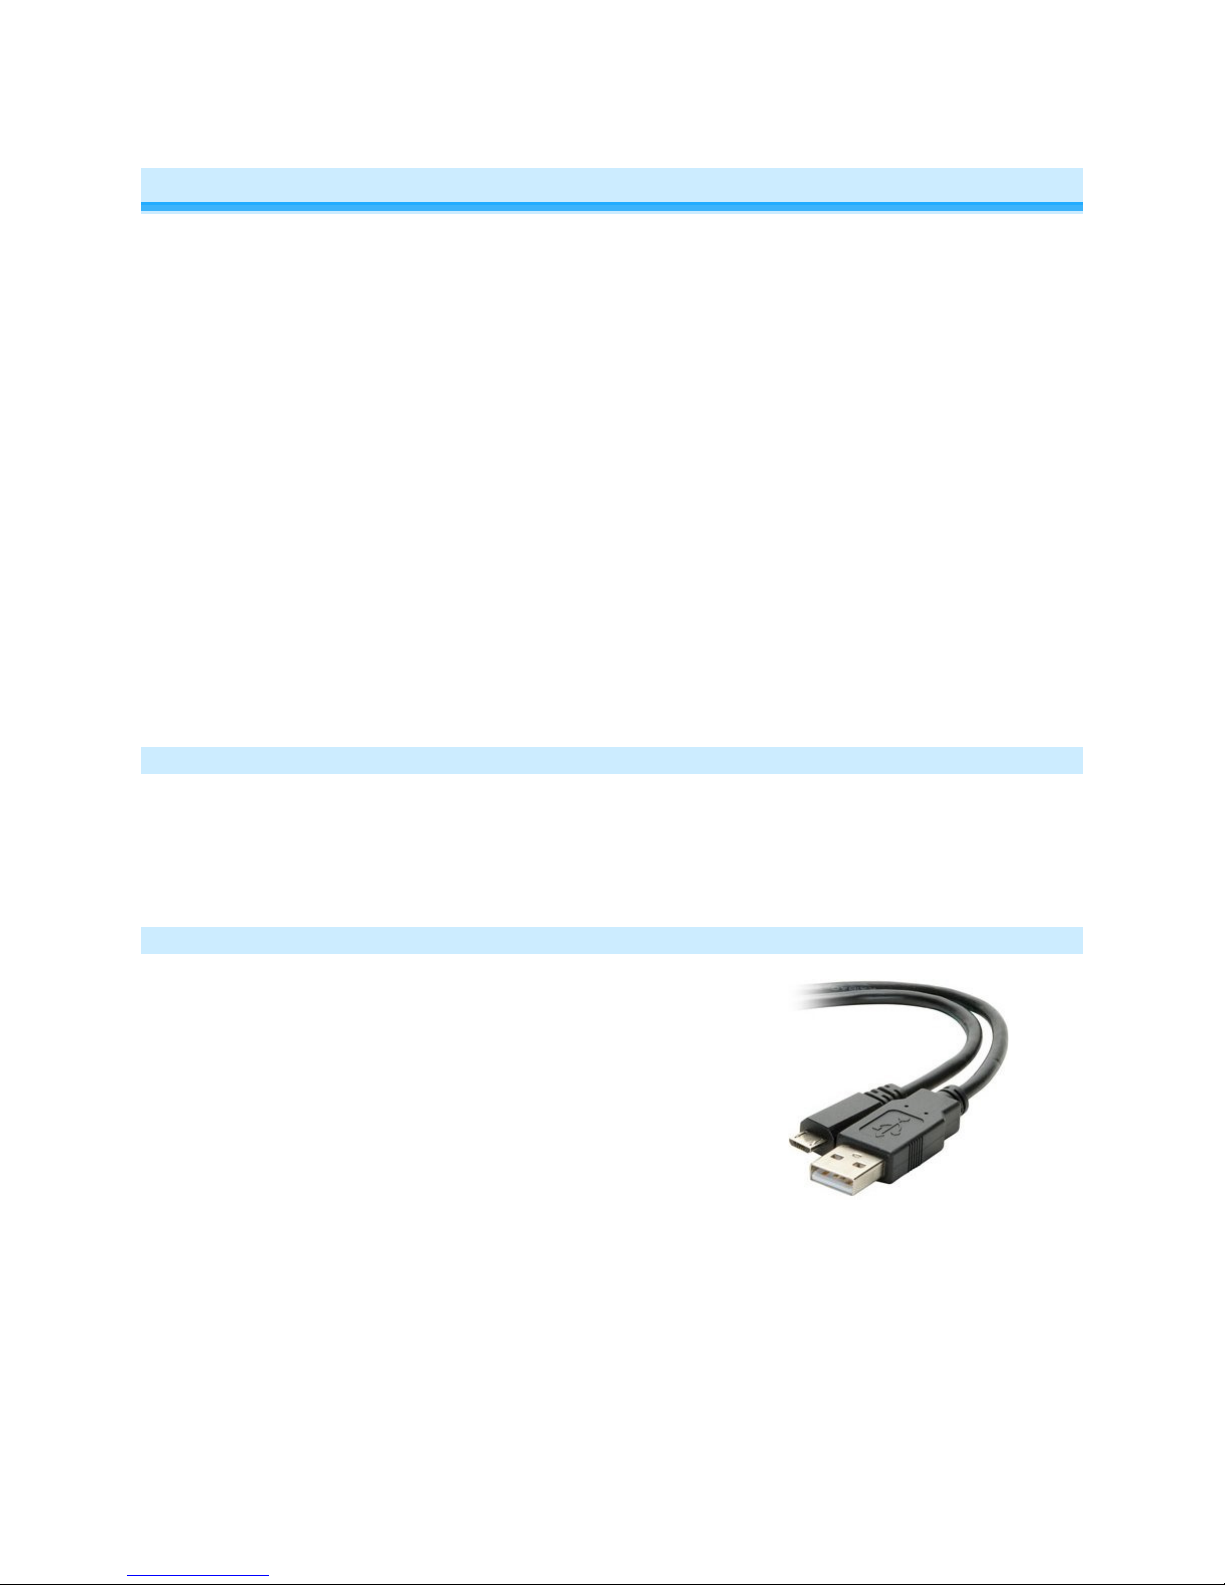
Type A to Micro-B cable
• Small, elegant design
• Rechargeable battery included
• Controls up to 4 scenes (default) or 8 scenes (in toggle/non-toggle mode)
• Wall-mountable (requires wall-mount bracket and decorator trim plate, sold separately)
• Usable with tabletop stand (sold separately)
• Usable as a car visor-mounted remote (sold separately)
• Dual-color LED blinks green when turning on a scene on and red when turning off a scene
• Power switch to disable buttons
• Beeper for easy setup
• Recharges with standard charger with via Type A to Micro-B cable (sold separately)
• 9-12 month battery life based on average usage
• Battery charge LED indicator built-in
• Low battery transmit warning (use with software to trigger email/text message)
• All settings stored in non-volatile memory and preserved even through power loss
• 2-year warranty
What’s in the Box?
• Mini Remote
• Rechargeable battery (pre-installed)
• Quick Start Guide
Required Accessories
• A Type A to Micro-B USB cable to connect and recharge Mini Remote
using a computer or USB power adapter
(2444B5)
Page 4 of 15 2342-x32 Rev: 11/20/2012 4:13 PM
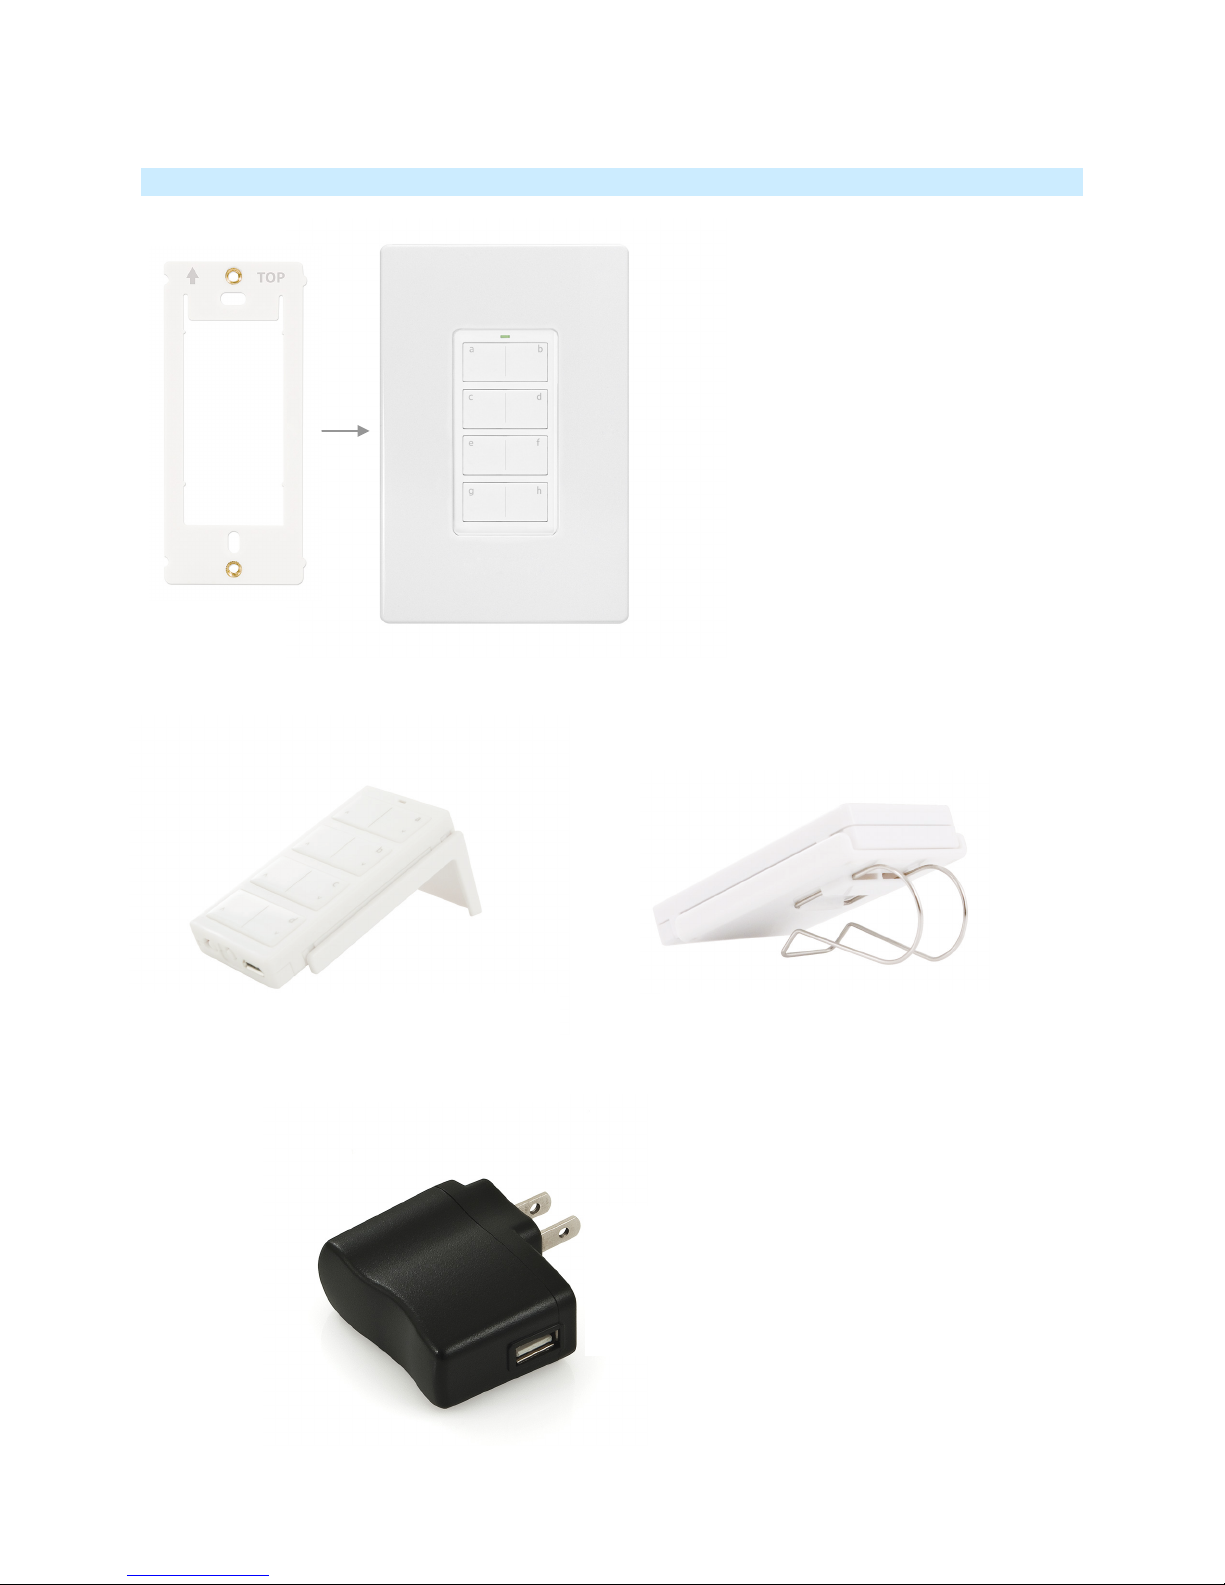
Optional Accessories
Visor Clip
Tabletop Stand
USB Power Adapter
Wall Mount Bracket
Pair the Wall Mount Bracket with any decorator-style
wall plate (sold separately) for the perfect wireless
wall switch solution.
• Perfect for a nightstand, kitchen counter or
(available in the 2444BWH kit)
coffee table
(2444B4)
• Wall-mount your Mini Remote anywhere
• Gang two or more together for more control
• Can be installed adjacent to existing wired-in switches
• Mini Remote can easily be removed for portability or
recharging
• Use with any decorator wallplate
(available in the 2444BWH kit)
• Control your home from your vehicle
• Turn lights on when you arrive and off as
you leave
(2444B6)
• For use with Mini Remote USB Charging
Cable (requires adapter for regions
outside US)
Page 5 of 15 2342-x32 Rev: 11/20/2012 4:13 PM

Getting Started
Fully charge your Mini Remote prior to programming or anytime the unit is not responding. Mini Remote
charges via USB cable (Type A to Micro-B, sold separately). The red charging LED will turn off once the
battery has been fully charged (approximately 1 hour). To turn on Mini Remote, simply slide the power
switch to the on position.
Note: Mini Remote uses a subtle beeper sound to assist setup. It is recommended that you program the
unit in a quiet area.
Scenes
Scene: One or more INSTEON devices which respond to an INSTEON controller. When the scene is
activated (turned “on”), all devices return to the states they were at when the scene was programmed.
INSTEON scenes let you activate dramatic lighting moods at the touch of a button. For example, you can
set all the lights in a scene to dim to 50% or turn certain lights on while turning others off, all with the tap
of a button on any INSTEON Controller. INSTEON scenes are easy to set up, just follow the directions
below.
Maximum number of scenes in Mini Remote Keypad: 8 (Default is 4)
Scene Control Functions supported; On, Off, Press and hold Bright, Press and hold Dim, Double-tap Fast
On and Double-tap Fast Off.
Make Mini Remote (Button) a Controller
1) Tap ^ on the Mini Remote scene button of choice
2) Adjust the responder to the state you want when the scene is activated from Mini Remote
3) Press and hold Mini Remote set button until it beeps
LED will begin blinking green
4) Press and hold responder set button until the responder beeps or its LED flashes
Mini Remote will double-beep and its LED will stop blinking
Responder LED will stop blinking (it may also double-beep)
5) Confirm that scene addition was successful by tapping the programmed Mini Remote button on/off
The responder will toggle between the scene’s preset on-level and off
6) If you wish to add more responders to Mini Remote, repeat steps 1-5 for each additional scene
responder (or see Make Mini Remote a Controller of Multiple Responders)
Remove Mini Remote (Button) as a Controller
If you are no longer going to use an INSTEON responder that is a scene responder of Mini Remote, it is
very important that you remove its scene membership. Otherwise, Mini Remote will retry every scene
command repetitively, thus creating delays and shortening battery life.
1) Tap the Mini Remote scene button of choice (^ or v will both work)
2) Press and hold Mini Remote set button until it beeps
LED will begin blinking green
3) Press and hold Mini Remote set button until it beeps again
Page 6 of 15 2342-x32 Rev: 11/20/2012 4:13 PM
LED will begin blinking red
Button
Side
Icon
Tap
Press and hold
Double-tap
(dimmable responders only)
(dimmable responders only)
Last Command Sent
Tap
Press and hold
Double-tap
(dimmable responders only)
(dimmable responders only)
Tap
Press and hold
Double-tap
(dimmable responders only)
4) Press and hold responder set button until it double-beeps and/or its LED blinks
Mini Remote will double-beep and its LED will stop blinking
5) Confirm that scene removal was successful by tapping the Mini Remote button on/off
Responder will not respond
6) If you wish to add more responders to Mini Remote, repeat steps 1-5 for each additional scene
responder (or see Remove Mini Remote as a Controller of Multiple Responders)
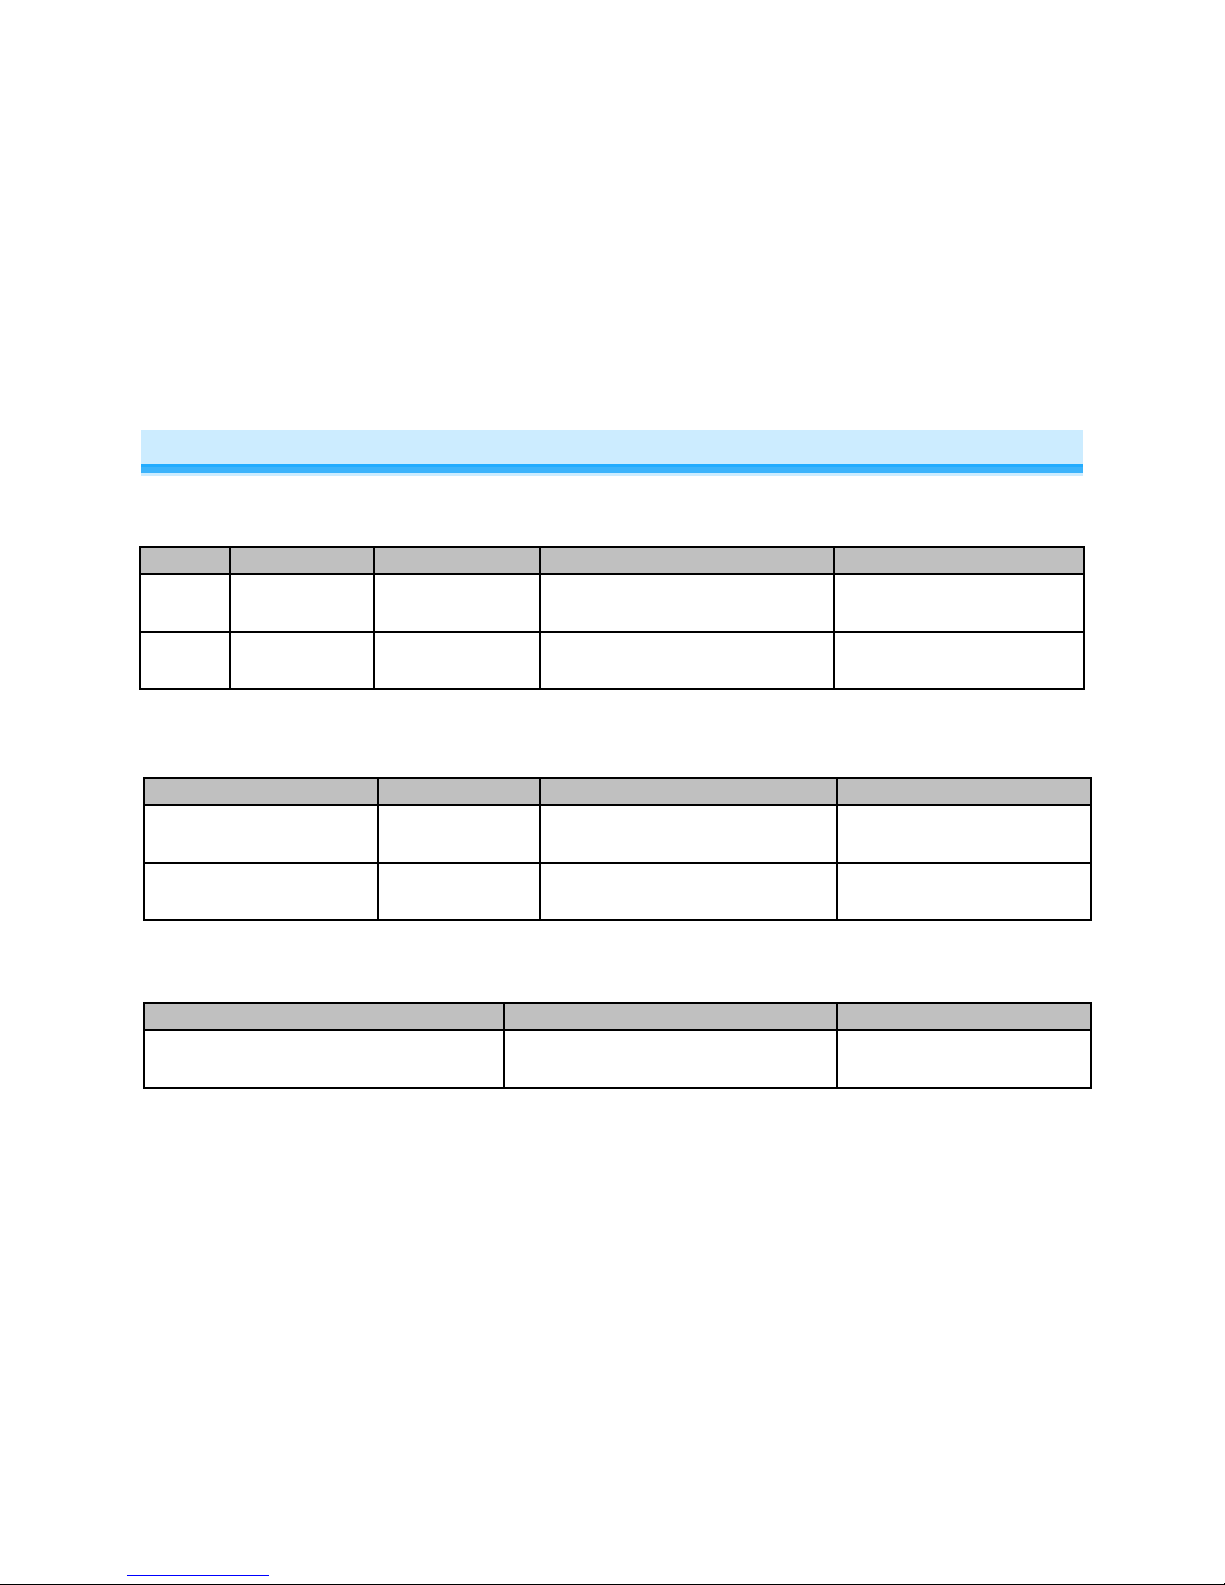
Using Mini Remote
4 Scene Mode (Default)
Each on/off button pair controls its scene members as follows:
On Right ^
Off Left v
Turn scene on
Turn scene off
Brighten until release
Dim until release
Instant full-on
Instant full-off
8 Scene Toggle Mode
Each button controls its scene members as follows:
Off/Dim
On/Bright
Turn scene on
Turn scene off
Brighten until release
Dim until release
Instant full-on
Instant full-off
8 Scene Non-Toggle Mode (Always On)
Each button controls its scene members as follows:
On
Brighten until release
Instant full-on
Note: Devices that respond to the scene trigger by turning off and non-dimmable devices will not respond
to dim and brighten commands.
Page 7 of 15 2342-x32 Rev: 11/20/2012 4:13 PM

LED State
Meaning
Blink Green (Once)
On sent
Blink Red (Once)
Off sent
Blink Red (for a few
One or more scene members did not acknowledge (note: scene members
Power Switch
LED Behavior
Mini Remote has a two-color LED (Green and Red) which momentarily indicates whether an on or an off
is being sent.
seconds)
may still have heard the scene command and adjusted their settings)
Turn Unit On/Off (Pocket Mode)
The Mini Remote features a power switch located next to the set button. If you plan on carrying the Mini
Remote in your pocket it is recommended that you turn it off to prevent buttons from accidentally being
pressed. This is also recommended if your Mini Remote will not be in use for long periods of time.
(right On, left Off)
Stuck Button
If a button on Mini Remote is held for more than 4 minutes, Mini Remote will automatically stop
transmitting to preserve battery life. The Mini Remote will automatically turn back on when the button that
was depressed is no longer being pressed.
Advanced Features
Make Mini Remote Button a Controller of Multiple Responders
1) Tap Mini Remote scene button of choice (^ or v will both work)
2) Press and hold set button until it beeps
LED will begin blinking green
3) Tap set button
LED will begin double-blinking green
4) Adjust each responder to the desired state, then press and hold responder set button until Mini
Remote double-beeps
LED will continue double-blinking green
5) When all your devices have been added, tap Mini Remote’s set button
Mini Remote will double-beep and its LED will turn off
Remove Mini Remote Button as a Controller of Multiple Responders
1) Tap Mini Remote scene button of choice (^ or v will both work)
Page 8 of 15 2342-x32 Rev: 11/20/2012 4:13 PM
2) Press and hold set button until it beeps
Desired Configuration
Button to Press
8 Button Toggle
d, v
8 Button Non-Toggle (Always On)
a, v
4 Scene (Default)
a, ^
Flash Pattern
Configuration
Red
4 scene
Green
8 scene non-toggle (always on)
Alternating green/red
8 scene toggle
LED will begin blinking green
nd
3) Press and hold set button a 2
time for 3 seconds - until you hear a beep
LED will begin blinking red
4) Tap set button
LED will begin double-blinking red
5) For each responder you wish to remove, press and hold its set button until Mini Remote doublebeeps
LED will continue double-blinking red
6) When all responders have been removed, tap Mini Remote’s set button
Mini Remote will double-beep and its LED will turn off
Change Button Mode: 8 Button Toggle, 8 Button Non-Toggle, 4 Scene
1) Press and hold set button until it beeps
LED will begin blinking green
2) Press and hold set button until it beeps again
LED will begin blinking red
3) Press and hold set button until it beeps a third time
LED will begin blinking green
4) Press and hold set button until it beeps a fourth time
LED will begin blinking red
5) Tap set button
LED will begin double-blinking red
6) Press the appropriate button for the desired button/scene configuration:
Mini Remote will double-beep and its LED will turn off
7) Confirm by tapping the top left button (a, v) on Mini Remote several times
LED will flash as follows:
Page 9 of 15 2342-x32 Rev: 11/20/2012 4:13 PM
 Loading...