

Page 1
Leak Sensor
INSTEON® Leak Sensor
Owner’s Manual
#2852-222
Page 1 of 7 Rev: 10/28/2013 8:11 AM
Page 2

Leak Sensor ................................................................................................................................................. 3
INSTEON Setup ........................................................................................................................................... 3
INSTEON Controllers, Responders and Links .......................................................................................... 3
Add Leak Sensor to INSTEON Hub .......................................................................................................... 3
Make Leak Sensor a Controller ................................................................................................................. 3
Remove Leak Sensor as a Controller (Unlink) .......................................................................................... 4
Factory Reset ............................................................................................................................................ 4
Specifications .............................................................................................................................................. 5
Troubleshooting .......................................................................................................................................... 6
Certification and Warranty ......................................................................................................................... 7
FCC and Industry Canada Compliance Statement ................................................................................... 7
Limited Warranty ....................................................................................................................................... 7
Limitations .............................................................................................................................................. 7
Page 2 of 7 Rev: 10/28/2013 8:11 AM
Page 3
In the Box
Tools Needed
Optional Accessories
Leak Sensor
None
INSTEON Hub
Quick Start Guide
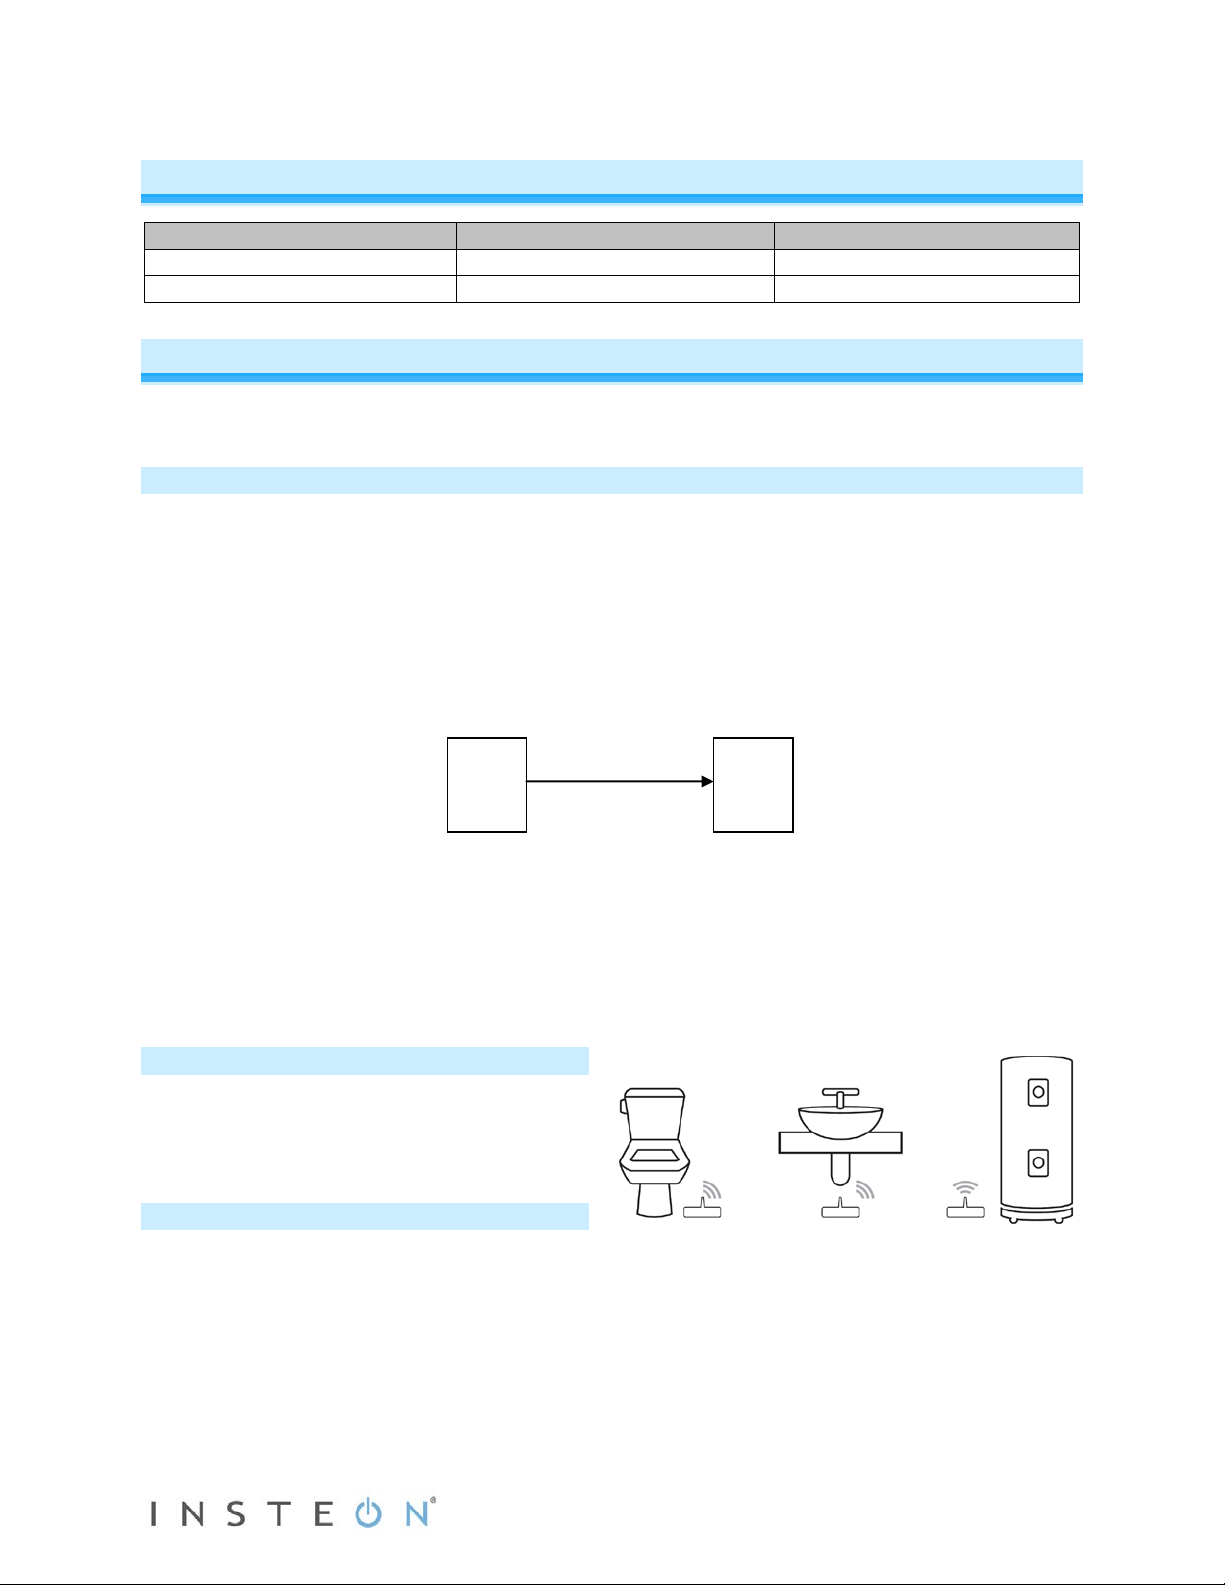
Controller
Responder
Link
Basic INSTEON Link
Responders
Leak Sensor
INSTEON Setup
Some products have subtle differences in their setup procedures. Where necessary, please refer to the
other device’s owner’s manual for details.
INSTEON Controller s, R es pon der s and Li nk s
Let’s define a few terms.
• Each INSTEON compatible product is called a device
• The INSTEON “transmitter” is called a controller
• The INSTEON “receiver” is called a responder
The association between the controller and responder is called a link
Note that a link is one way. If you wish to have control “the other way,” simply add a link “the other way.”
Add Leak Sensor to INSTEON Hub
1) Open INSTEON App on smartphone/tablet
and follow onscreen instructions to set up
Leak Sensor
Make Leak Sensor a Controller
Follow the steps below to link Leak Sensor as a controller of another INSTEON device. The linked device
will respond when Leak Sensor detects moisture.
1) Press and hold Leak Sensor Set button for about 3 seconds. Leak Sensor LED will start blinking
green.
2) Place Leak Sensor on floor in desired location.
3) Adjust responder to desired brightness/state
4) Press and hold responder Set button until it double-beeps. Leak Sensor LED will stop blinking.
Page 3 of 7 Rev: 10/28/2013 8:11 AM
Page 4

5) Test by tapping Leak Sensor Set button. Responder will turn on.
6) To add multiple responders, repeat steps 1-5 for each additional responder
Remove Leak Sensor as a Controller (Unlink)
1) Press and hold Leak Sensor Set butt on until the status LED begins blinking
LED will start blinking green
2) Press and hold Leak Sensor Set button again until the status LED blink cadence changes
LED will continue blinking
3) Press and hold responder Set butt on until it double-beeps
Leak Sensor’s LED will stop blinking
4) Test by tapping Leak Sensor Set Button with Responder in the Off state
Former responder will not respond
Factory Reset
All settings and scenes will be erased.
1) Using a small flat blade screwdriver, carefully open the bottom case of Leak Sensor
2) Pull out the battery
3) Wait 5 seconds
4) Push in Set button and hold it. Do not let go.
5) Reinstall the battery while holding down the Set button
LED will turn on solid Green for a few seconds
LED will then turn off
6) Release Set button
Page 4 of 7 Rev: 10/28/2013 8:11 AM
Page 5

General
Brand
INSTEON
Manufacturer product no.
2852-222, INSTEON Leak Sensor
UPC
813922013078
Warranty
2 years, limited
INSTEON
INSTEON powerline mesh repeater
No
INSTEON RF mesh repeater
No
INSTEON controller
Yes
INSTEON responder
No
Maximum links/scenes
400
Commands supported as
On Group 1 (Dry)
On Group 2 (Wet)
Heartbeat (Group 4)
Software configurable
Yes
RF range
Up to 150 feet (open air)
Phase bridge detect beacon
No
INSTEON device category
0x10
INSTEON device subca t egory
0x08 (915MHz RF fre q uen c y)
Mechanical
Mounting
Place on flat surface where leak will occur
Case color
White
Buttons
1, Set
Plastic
Polycarbonate
Rubber
Polyethylene rubber
Conductive Feet
Corrosion resistant nickel plated bronze
Beeper
No
Setup LED
Yes, green
Dimensions
Excluding antenna: 0.9" H x 3.6" W x 1.4 D (23mm H x 92mm W x 36mm
With antenna: 3.7" H x 3.6" W x 1.4" D (93mm H x 92mm W x 36mm D)
Weight
3 oz (0.2 lb, 90g)
Operating environment
Indoors
Operating temperature range
32-104°F (0-40°C)
Operating humidity range
0-90% relative humidity
Storage temperature range
-4-158°F (-20-70°C)
Electrical
Battery
One (1) AA lithium battery included
Voltage
1.5VDC
Retains all settings without power
Yes, saved in non-volatile EEPROM
Mean battery life
10 years
Certifications
FCC, IC Canada
Specifications
responder
D)
Page 5 of 7 Rev: 10/28/2013 8:11 AM
Page 6

Troubleshooting
Problem
Possible Cause
Solution
Leak Sensor is unable to communicate
Leak Sensor and the other device are out
Install more INSTEON products
Extenders/Access Points)
The other device is near a localized
powerline noise source or attenuator
Isolate the noise/attenuator using a
FilterLinc
It takes a long time for one or more of
Leak Sensor is repeatedly retrying to
If the responder is still available, unlink it
Sensor as an INSTEON Responder
Perform a factory reset. See Factory
Reset
Leak Sensor can turn responder on, but
Leak Sensor is not designed to turn off
turning off in the event the leak dries.
None. As designed.
with another INSTEON device
Leak Sensor’s responders to respond
not off
of range
control a missing responder
responders. This prevents warning lights
or other leak indication devices from
(including, but not limited to Range
from Leak Sensor. See Remove Leak
If you have tried these solutions, reviewed this Owner's Manual, and still cannot resolve an issue you are
having with Leak Sensor, please call the INSTEON Support Line at 1-866-243-8022
Page 6 of 7 Rev: 10/28/2013 8:11 AM
Page 7

Certification and Warranty
FCC and Industry Canada Compliance Statement
This device complies with FCC Rules Part 15 and Industry Canada RSS-210 (Rev. 7). Operation is subject to the following two conditions:
(1) This device may not cause harmful interference, and
(2) This device must accept any interference, including interference that may cause undesired operation of the device.
Le present appareil e st c o nf orm e a u x CNR d' Ind us tri e C a na da appli c ables aux apparei ls r adio exempts de licence. L'exploit ati on est autorise aux deu x
conditions suivantes:
(1) l'appareil ne doit pas produire de brouillage, et
(2) l'utilisateur de l'appareil doit accepter tout brouillage radiolectrique subi, mme si le brouillage est susceptible d'en compromettre le
fonctionnement.
The digital circuitry of this device has been tested and found to comply with the limits for a Class B digital device, pursuant to Part 15 of the FCC Rules.
These limits are designed to pro vide reasonable protection agai nst harmful inte rference in resid ential installatio ns. This equipm ent generates, uses,
and can radiate radio freque ncy energ y and, if not installe d and used in acco rdance with the instruct ions, may cau se harmful int erfere nce to radio and
television reception. However, there is no guarantee that interference will not occur in a particular installation. If this device does cause such
interference, whic h ca n be ve ri fie d by turning the device off and on, the user is enco ur age d to el im i na te th e i nte rfe re nce b y o ne o r m ore of th e fol lo wi ng
measures:
- Re-orient or relocate the receiving antenna of the device experiencing the interference
- Increase the distance between this device and the receiver
- Connect the device to an AC outlet on a circuit different from the one that supplies power to the receiver
- Consult the dealer or an experienced radio/TV technician
WARNING: Chang es or m odificati ons t o this device not expr essly ap proved by the party responsibl e for compli ance coul d void the us er’s auth orit y to
operate the equipment.
Limited Warranty
Seller warrants to the origin al consumer pur chaser of thi s product th at, for a peri od of two ye ars from the date of purcha se, this product will be free
from defects in mate rial and workmanship a nd will perform in substan tial conformity to the descri ption of the product in t his Owner’s Manual. This
warranty shall not appl y to defec ts or errors caus ed by misuse o r neglect. If the product is f ound to be def ective in material or w orkmanship, or if the
product does not perform as warr anted above during the warranty perio d, Seller will either repair it, replace it, or refund the purch ase price, at its
option, upon receip t of the p roduct at t he addr ess belo w, pos tage p repaid , with proof o f th e date of purcha se and a n e xplana tion of t he de fect or e rror.
The repair, replacem ent, or refund that is provided for ab ove shall be the full extent of Seller’s lia bility with respect to this product. For repair or
replacement durin g the warra nty peri od, call th e INSTEON Support Li ne at 866-243-8022 with the Model # and Re vision # o f the devic e to recei ve an
RMA# and send the product, along with all other required materials to:
INSTEON
ATTN: Receiving
16542 Millikan Ave.
Irvine, CA 92606-5027
Limitations
The above warrant y is in lieu of and Seller discl aims all other warranties, w hether oral or written, express or implied, including any warr anty or
merchantability or fitness for a p articular pur pose. Any implie d warranty, incl uding any warra nty of mercha ntability or fit ness for a partic ular purpose,
which may not be di sclaim ed o r su ppla nted as prov ided above sh all be l imited to t he two-year of the express warrant y above. No other re presenta tion
or claim of any nature by any person shall be binding upon Seller or modify the terms of the above warranty and disclaimer.
Home automation devices have the risk of failure to operate, incorrect operation, or electrical or mechanical tampering. For optimal use, manually verify
the device state. Any home automation device should be viewed as a convenience, but not as a sole method for controlling your home.
In no event shall Seller be liable f or special, inci dental, conseque ntial, or other dam ages resulting f rom possession or use of this device , including
without limitation damage to pr op ert y a nd, to t he e xt ent p erm i tte d by law, personal inj u r y, ev e n if Seller knew or s ho uld have known of the possibil ity of
such damages. Som e st at es d o n ot all ow limitations on ho w l on g an im pl i ed w arr an t y last s an d/ o r th e e xcl usi o n o r li m itati on of d am age s , in w hich case
the above limitations and/or exclusions may not apply to you. You may also have other legal rights that may vary from state to state.
Protected under U.S. and foreign patents (see www.insteon.com/patents).
© Copyright 2013 INSTEON, 16542 Millikan Ave., Irvi ne, CA 9260 6, 866-243-8022, www.insteon.com
Page 7 of 7 Rev: 10/28/2013 8:11 AM
 Loading...