

Insta 907 Operation And Maintenance Manual
MNL90000Rev.I 05.19.15
OPERATIONANDMAINTENANCEMANUAL
MODEL907
FORUSEBYQUALIFIEDPERSONNELONLY
Safety Summary
WARNING
In case of power cord damage, do not
attempt to repair or replace the power cord.
Contact the manufacturer or the local
distributor.
WARNING
For protection against fire and electric shock,
replace with same type and rating fuse. Fuse
rated max. 1 amp 120V.
WARNING
Hot Surface. Avoid contact.
CAUTION
During normal operation, the base of the
machine needs to be installed or placed
above the wall socket.
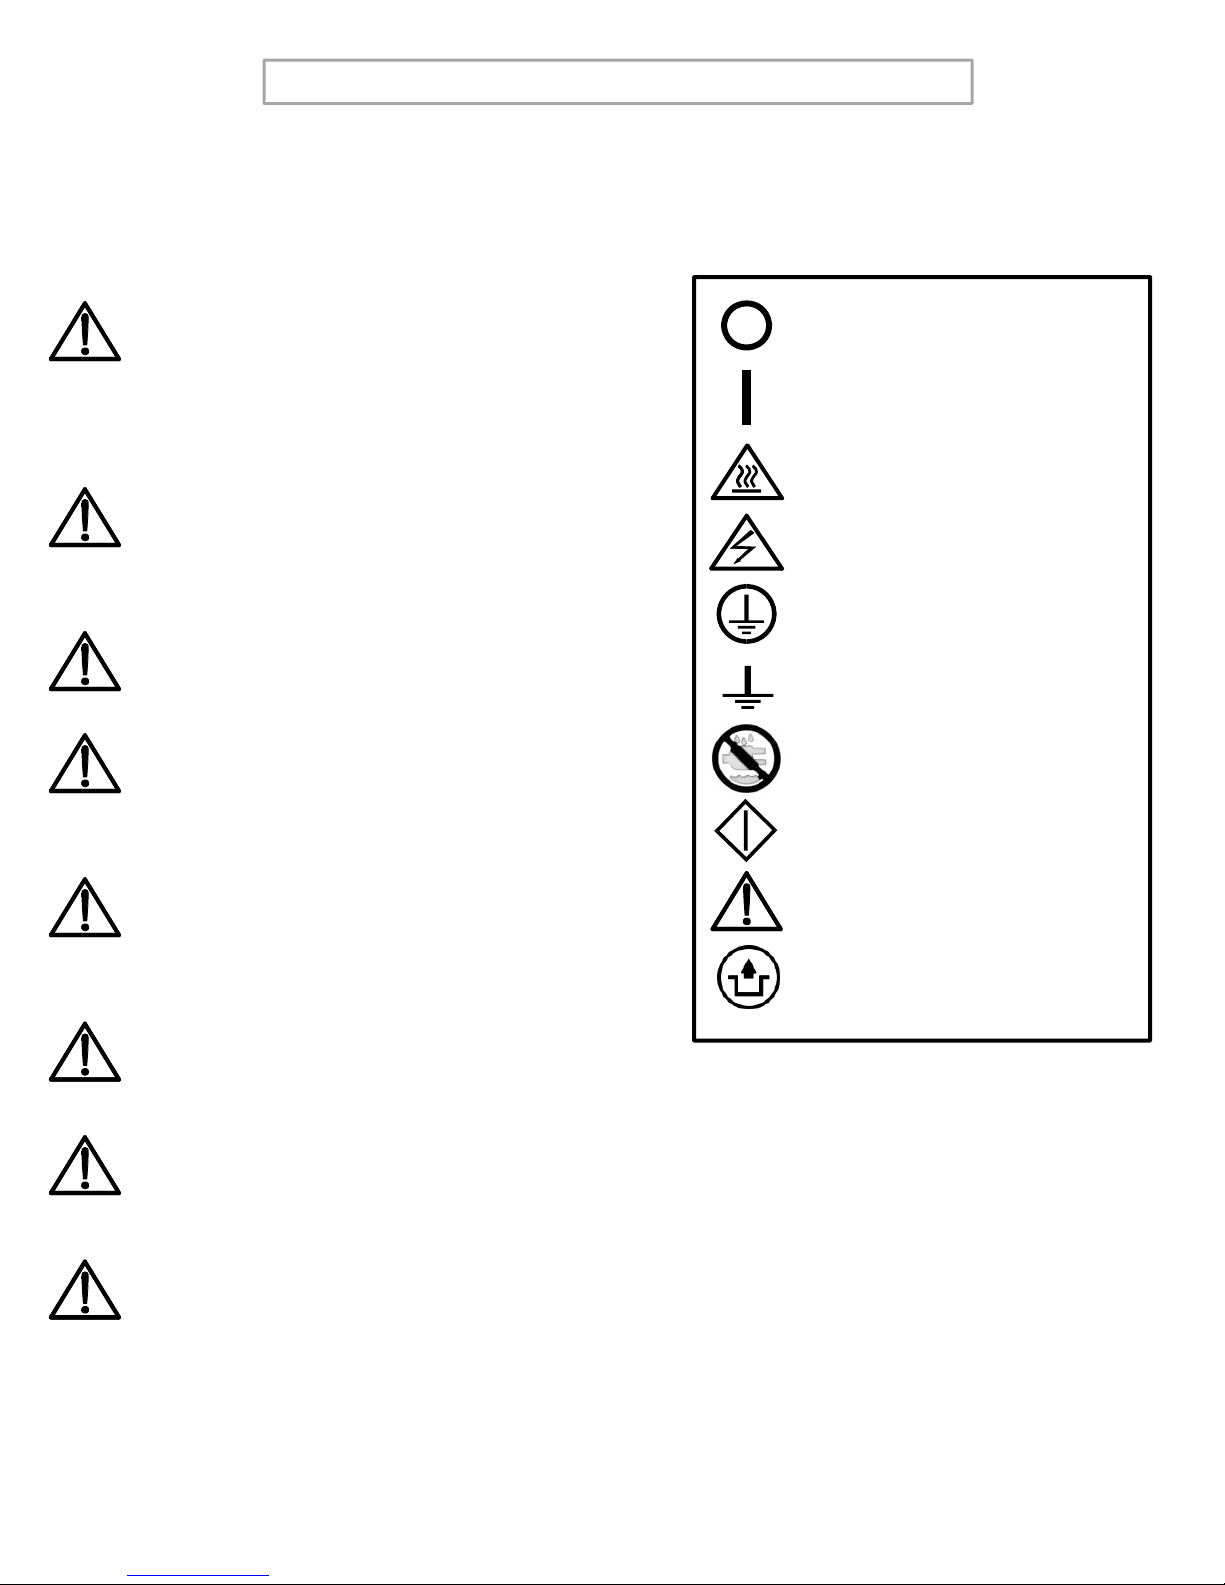
International Symbols
Power Off
Power On
Hot Surface
Risk of Electrical Shock
Protective Earth Terminal
Ground
Wet Conditions
Start Action
CAUTION
The recommended input pressure shall not
exceed 100 psi. The operating pressure is
from 30-100psi.
CAUTION
The operation may be terminated by
pressing the DISENGAGE switch.
CAUTION
The machine is to be operated by one
person only.
CAUTION
To reduce the risk of electric shock and
injury to persons, disconnect from power
supply before servicing and /or cleaning
.
Caution - Warning
Disengage
1

FORUSEBYQUALIFIEDPERSONNELONLY
Congratulations!
Your selection of the Insta heat seal machine is a sound business decision. Insta equipment is
the result of the highest quality engineering and time-tested design. Your new machine
combined with Insta’s reputation of innovation in the heat-sealing field, ensures the continuing
capability of delivering the best decorated substrates possible.
This manual describes installation, operation, and maintenance procedures for your 907 series
machine, as well as easy to use instructions for on-the-spot maintenance.
Your machine will have a long trouble-free life. Read this manual and keep it with your
machine. It's your key to proper operation and lasting service.
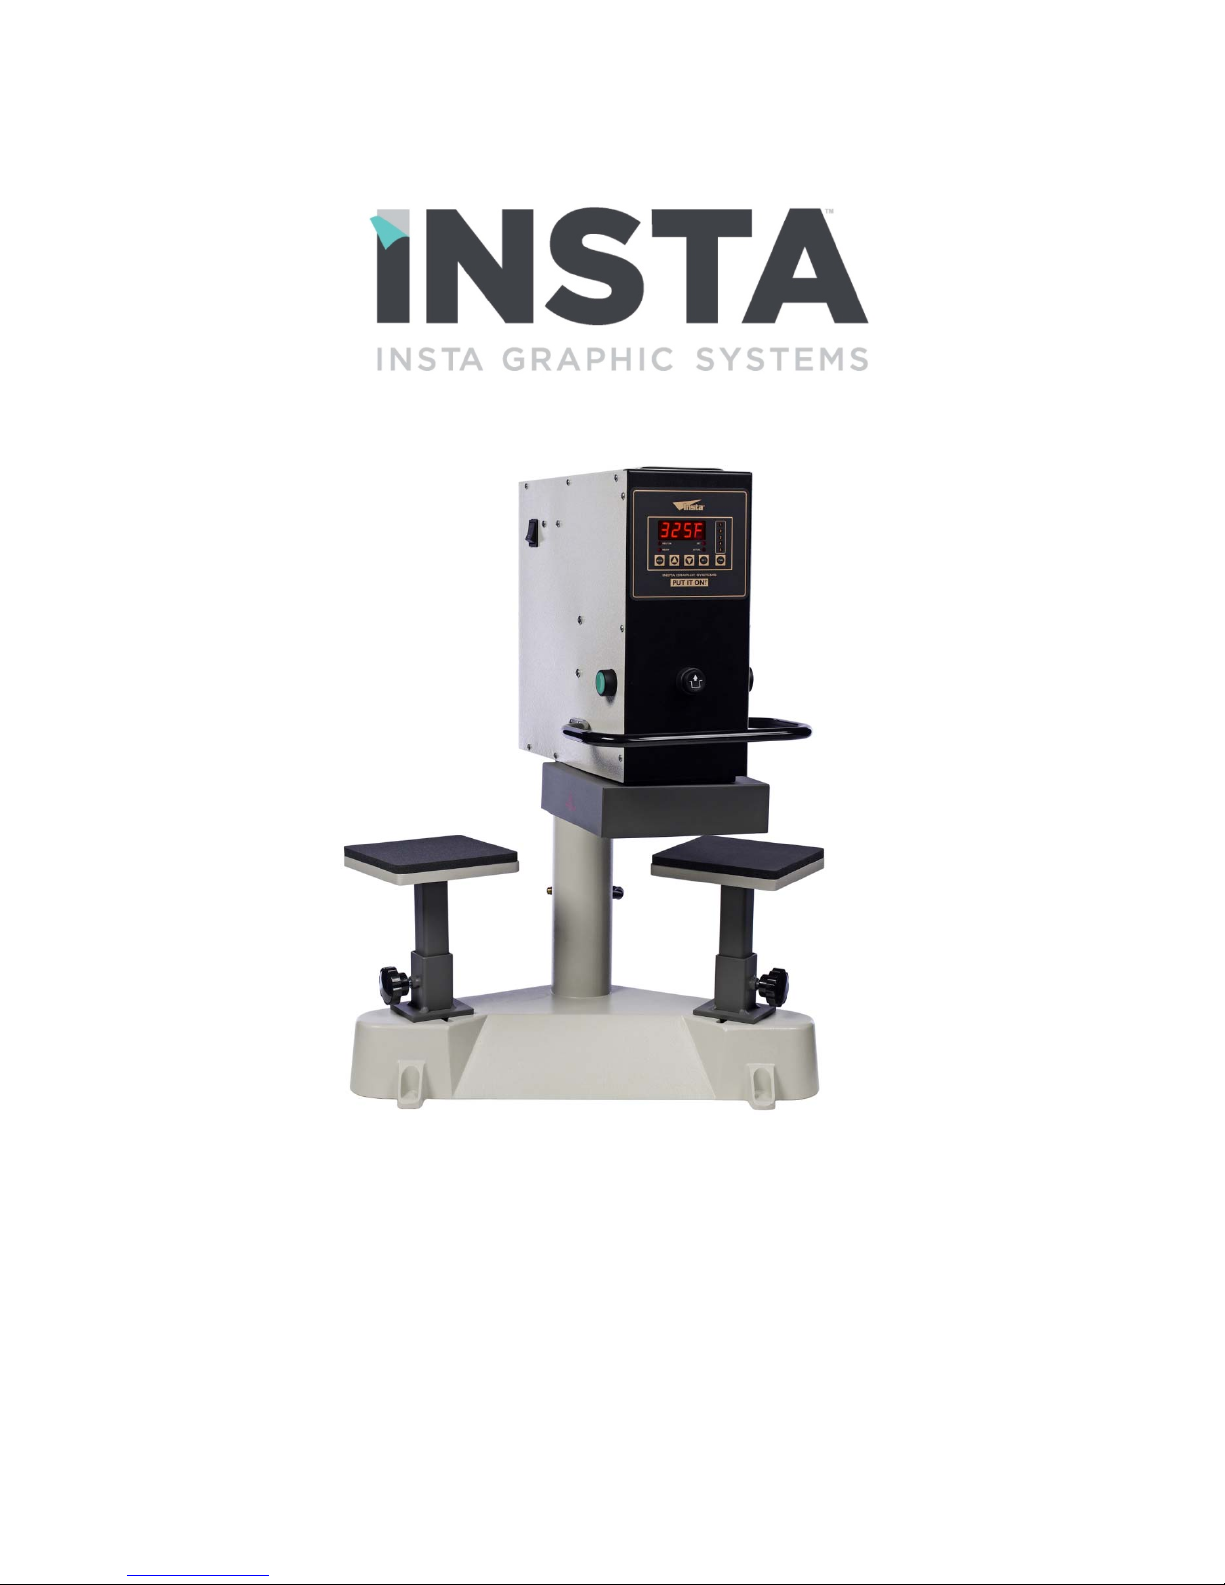
General Description
The 907 is a dual station shuttle press for high speed label application. This pneumatic heat
press machine is air-operated to prevent operator fatigue and is equipped with 2 independent
lower platens, with an upper heated platen that swings between the two, for optimal efficiency
The 907 has been strategically designed to generate & evenly distribute tremendous pressure
throughout the entire platen. And, its cast-in tubular heating element heats the metal from
within, to produce consistent and long lasting heat. A successful heat transfer application
requires 3 key elements to work in tandem– time, temperature & pressure. The 907 has
mastered those elements and gets the job done every time.
Our heat press machines serve as a method of product identification and provide customers
with a means of branding their textile-based products through the application of tagless labels,
logos, decorative front and back graphics and over-sized prints.
Limited Machine Warranty
Insta warrants this heat seal machine, when operated under normal conditions, to be free from
manufacturing defects in material and workmanship for a period of one year on parts (lifetime
on the upper heating element) and 90 days on labor from the invoice date.
This warranty will be effective only when Insta authorizes the original purchaser to return the
product to the factory in Cerritos, California freight prepaid, and only when the product upon
examination has proven to be defective.
2

FORUSEBYQUALIFIEDPERSONNELONLY
This warranty does not apply to any machine that has been subjected to misuse, negligence or
accident.
Insta shall not be liable for the injury, loss or damage, direct or consequential, arising out of the
use or the inability to use the product.
No claim of any kind shall be greater in amount than the sale price of the product or part to
which claim is made.
This is the sole warranty given by the company, it is in lieu of any other warranties, expressed
or implied, in law or in fact, including the warranties of merchantability and fitness for a
particular use, and is accepted as such by the purchaser in taking delivery of this product.
3

FORUSEBYQUALIFIEDPERSONNELONLY
Installation
DOMESTIC – 907
Use a separate 15 amp AC
circuit. Only industrial extension
cords with proper wire size should
be used: size 18/3 wire for
distances up to 25 feet, and size
16/3 for distances up to 50 feet.
INTERNATIONAL – 907
Use a designated 16-amp AC
circuit. Only industrial extension
cords with proper wire size (2.5
sq. mm) shall be used.
IMPORTANT
The appliance must be plugged
into a proper receptacle of the
proper size and rating. Equally
important the line voltage must be
able to accommodate this
appliance as well as other
appliances operating on this
circuit.
Degree of Protection
IP (Ingress Protection) rating according to IEC
60529.
NOTE
IEC 60529 does not specify sealing
effectiveness against the following:
mechanical damage of the equipment;
the risk of explosion; certain types of
liquid conditions, e.g. those that are
produced by condensation; corrosive
vapours; funus; vermin
IP54=IP
st
Digit5
1
nd
Digit4
2
st
1
Digit
0 Non protected 0 Non protected
1
2
Protection from
solid objects
Objects greater
than 50mm
Objects greater
than 12mm
nd
2
Digit
1 Dripping water
2
Protection from
moisture
Dripping water
when tilted up to 15
deg.
Specifications
Voltage 120 Volts AC 50/60 Hertz
Model 907 1000 Watts 8.3 Amps
Voltage 230 Volts AC 50/60 Hertz
Model 907 920 Watts 4.0 Amps
Model 907
MachineWeight61 Pounds (27.7 KG)
4
3
4
5 Dust protected 5 Water jets
6 Dust tight 6 Heavy seas
-- --- 7
-- --- 8 1m + submersion
Objects greater
than 2.5mm
Objects greater
than 1mm
3 Spraying water
4 Splashing water
.15m – 1m
immersion
FORUSEBYQUALIFIEDPERSONNELONLY
Operation
1. Push ON/OFF switchto ON position.
2. Set desired temperature (See Controller
Operation).
3. Allow the machine to warm up until the selected
temperature is reached.
4. Set the desired pressure by adjusting the air
pressure regulator.
5. Select the desired timing cycle (See Controller
Operation).
6. Place the substrate on lower platen, smoothing
out all wrinkles.
7. Position transfer or lettering on substrate.
8. Swing the upper arm into position directly over
the lower platen.
SAFETY DELAY FEATURE
For operator safety the machine
shall not operate unless the upper
platen has fully reached the left
hand position. An additional delay
has been incorporated in machines
running software 2.29 (see point 9).
9. Depress and hold both start buttons, one on
each side of the machine, simultaneously until
the lower platen contacts the upper platen. The
start buttons must be held until the upper
and lower platens make contact. At this point
the machine operation is fully automatic. The
platens seal the transfer to the substrate and
then release automatically at the end of the
selected timing cycle.
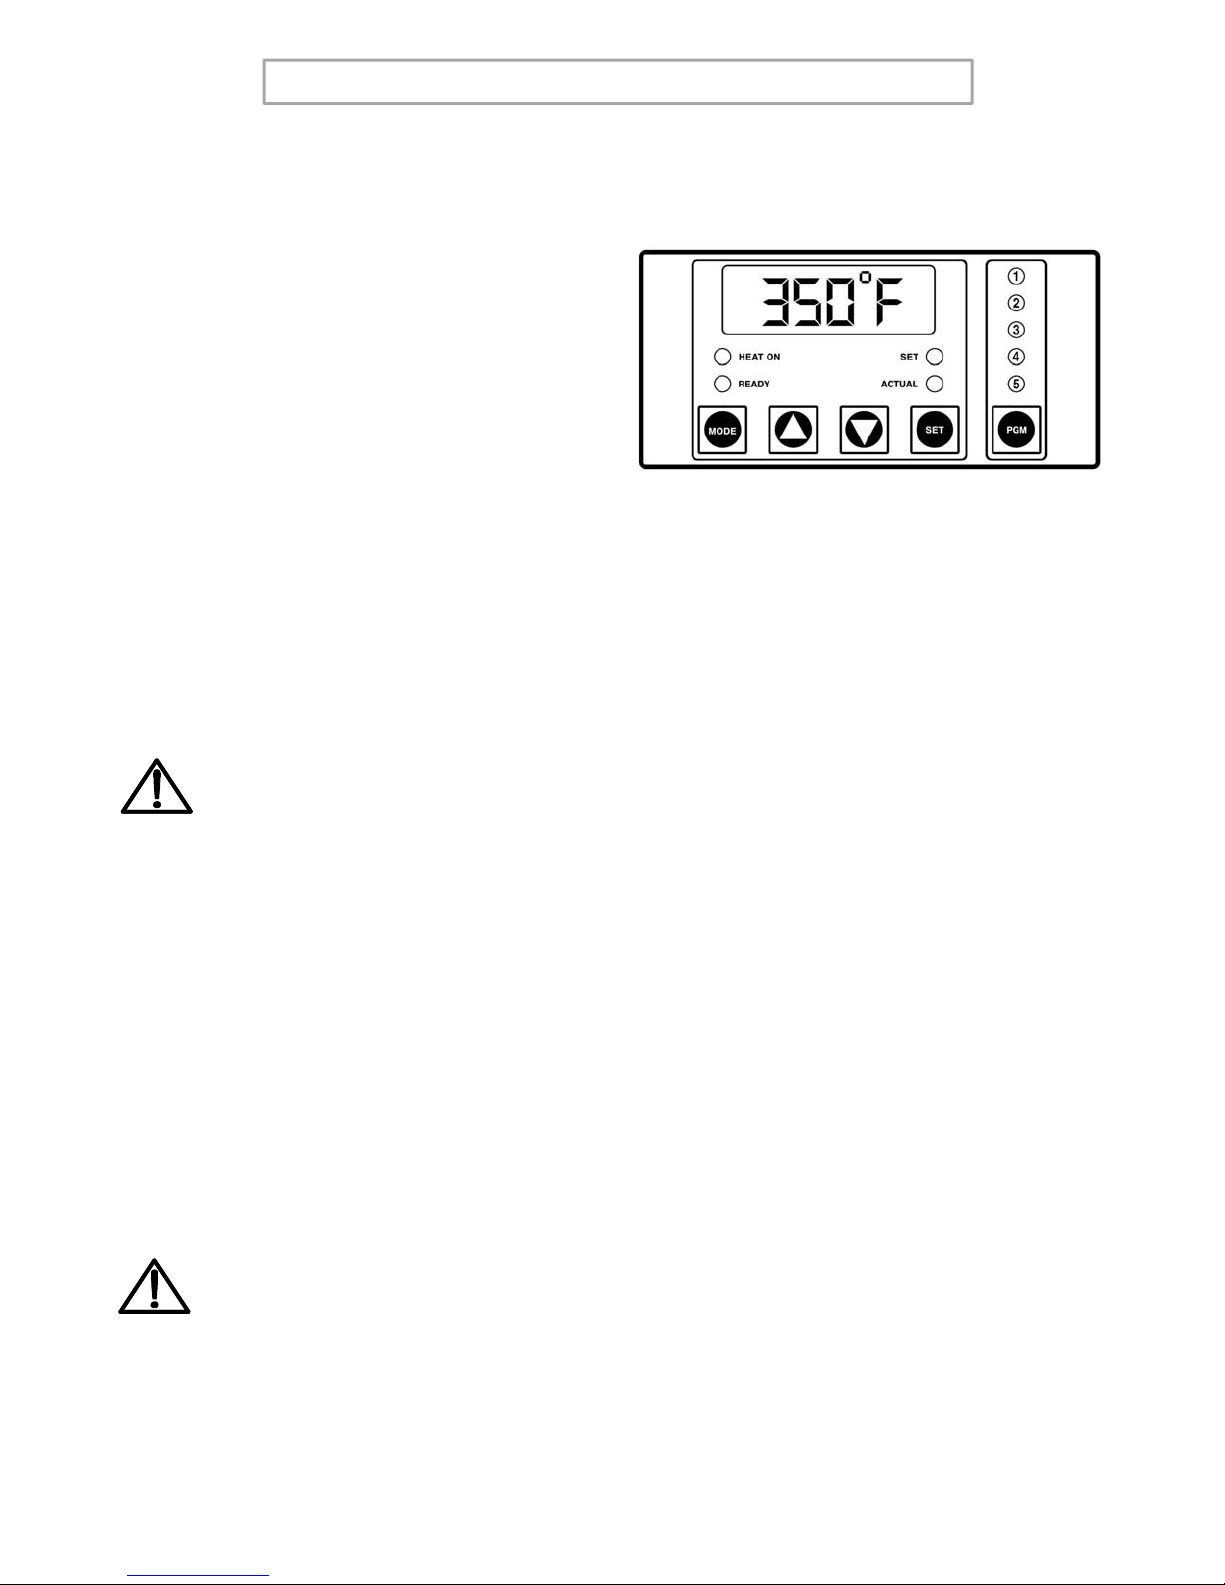
Solid State Controller
This controller has three (4) control features:
1. Temperature - Temperature may be set from
125 - 450°F (52-232°C).
2. Time - Time may be set from 1 second to 10
minutes.
3. Counter – Cycle counter counts the number of
applications from 1 to 9999 (see additional Notes
– Counter).
4. Presets ‐ Five (5) presets that can be
programmed by the user. Each preset will retain
a temperature and time setting, i.e. Program #1
could be set for 325°F and 10 seconds while
Program #2 could be set for 375°F and 15
seconds. Once the five presets have been
programmed, the user need only press the PGM
button several times until the desired program is
selected. The lit LED above the PGM button
indicates the selected program. Note: there is
also a sixth setting that is indicated by no lit
LED's.
10. Swing away the upper platen to the opposite
side and remove substrate.
NOTE
Another substrate may be prepared
on the unused platen during the
sealing operation of the used
platen.
11. The DISENGAGE button may be pushed at
anytime deactivate the machine.
5

FORUSEBYQUALIFIEDPERSONNELONLY
Controller Operation
1. Select the desired preset program by pressing
the PGM button until the LED above the PGM
button indicates the desired setting.
2. If a setting other than the programmed presets
are desired, press the PGM button until none
of the LED's above the PGM button are lit.
3. Changing the Temperature
• Press the MODE button until
temperature is displayed.
• Press and hold SET button in while
pressing the UP (↑) or DOWN (↓)
arrow buttons to the desired
temperature setting.
4. Changing the Time
• Press the MODE button until timer is
displayed.
• Press and hold SET button in while
pressing the UP (↑) or DOWN (↓)
arrow buttons to the desired timer
setting.
NOTE
When the machine is operating with
none of the LED’s lit, i.e. no presets,
the time and temperature will be saved
even if the power is turned off. The
presets will also be saved when the
power is turned off.
Setting the Presets
1. Push and hold both the MODE and PGM
buttons for 3-5 seconds until one of the
programs LED's starts to blink. This is the
programming mode.
2. A blinking LED above the PGM button
indicates which preset is active.
3. Select a program (1,2,3,4,or 5) by pressing
the PGM button.
4. Setting Temperature
• Press the MODE button until
temperature is displayed.
• Press and hold SET button in while
pressing the UP (↑) or DOWN (↓) arrow
buttons to the desired temperature
setting.
NOTE
If a Fahrenheit/Celsius change is
desired, see Additional Notes –
Temperature.
5. Setting Time
• Press the MODE button until time is
displayed.
• Press and hold SET button in while
pressing the UP (↑) or DOWN (↓) arrow
buttons to the desired timer setting.
NOTE
For operator safety the machine is
designed not to operate unless the
upper arm is directly over one of the
lower platens.
NOTE
The DISENGAGE switch (located in
the center of the instrument panel)
may be pushed at any time to
deactivate the machine.
6
6. Repeat steps 3-5 until all five (5) presets
have the desired preset (temperature/time
cycle).
 Loading...