

Page 1
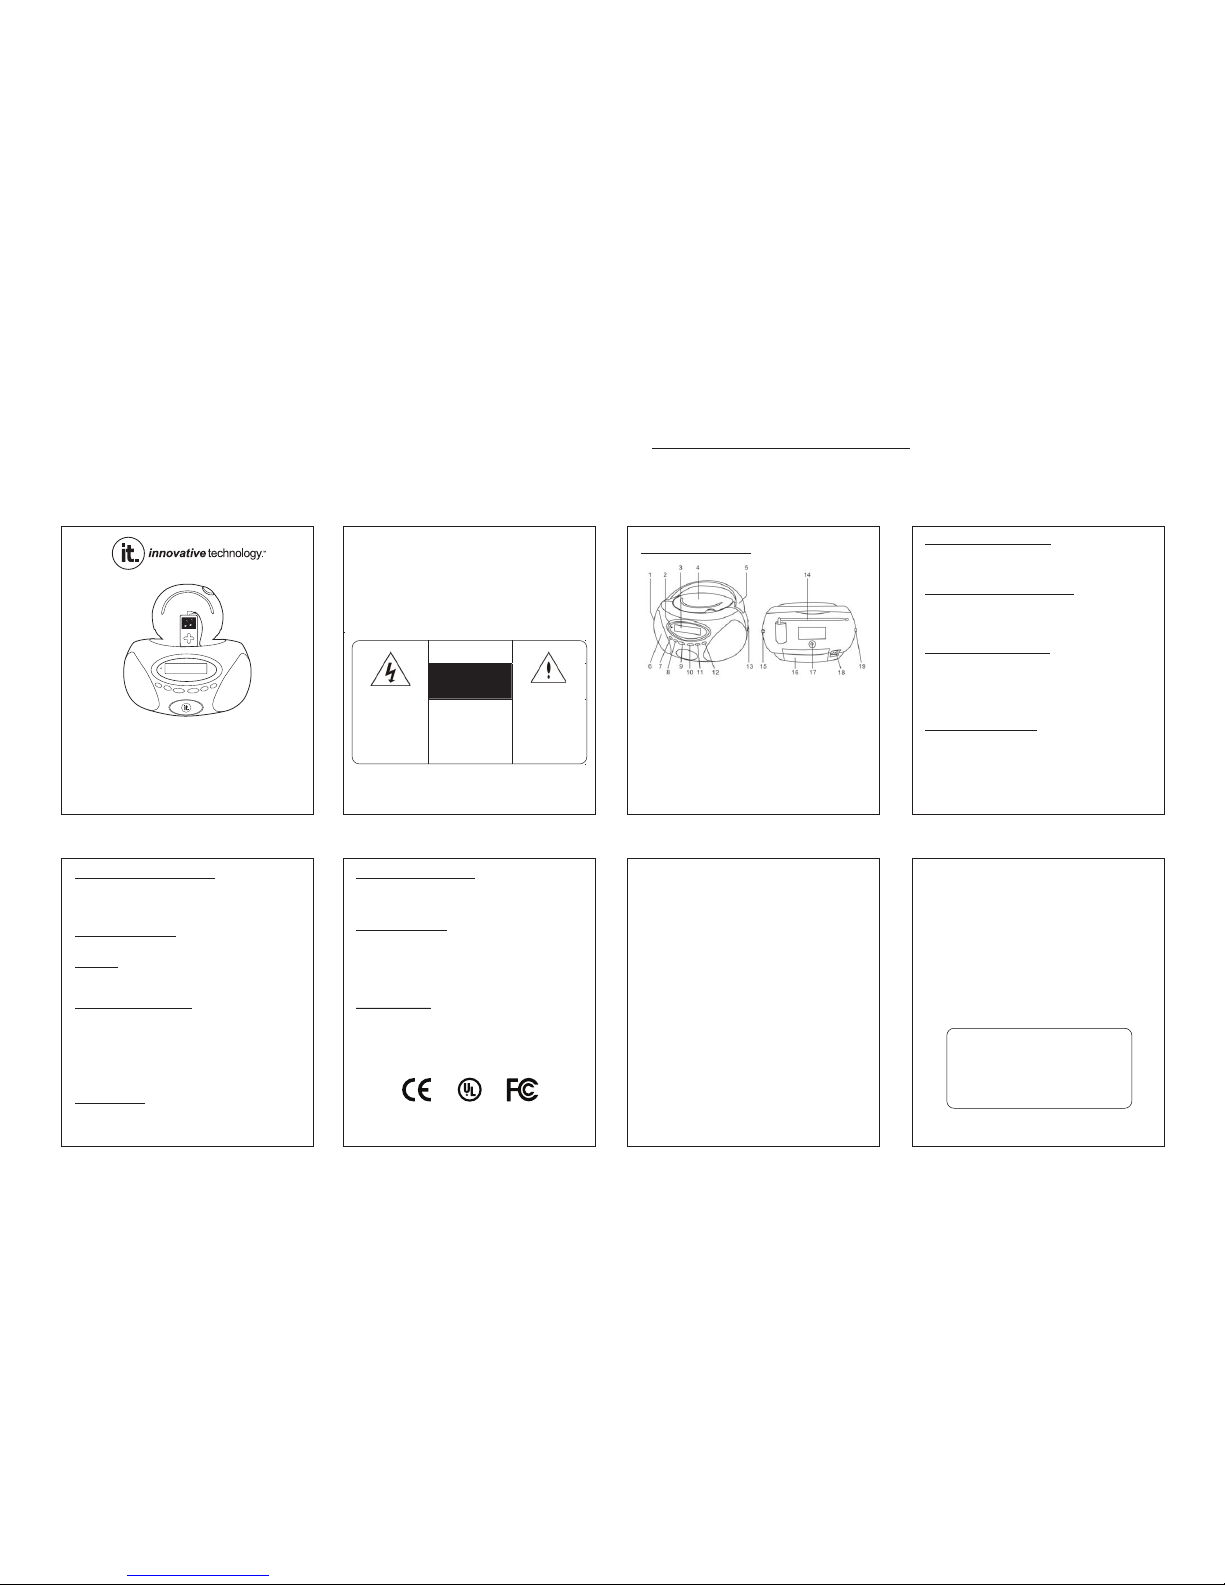
ITBB-600
INSTRUCTION MANUAL
NOTE:Please read and follow these instructions before using your unit.
1. Volume Control Knob 11. Minute Set Button
2. FM Stereo Indicator 12. Clock Button
bonK lortnoC gninuT.31 yalpsiD DCL .3
4. Aux-In Cord (Inside) 14. Antenna
hctiwS dnaB.51 eldnaH .5
tnemtrapmoC yrettaB.61 rekaepS .6
7. Time Set Button 17. Phones Jack
8. Alarm Set Button 18. AC Socket
9. Alarm On/Off Button 19. Function Switch
10. Hour Set Button
WARNING
TO PREVENT ELECTRIC SHOCK; DO NOT USE THIS PLUG WITH
AN EXTENSION CORD RECEPTACLE OR OTHER OUTLET
UNLESS THE BLADES CAN BE FULLY INSERTED TO PREVENT
BLADES EXPLOSURE.
TO PREVENT FIRE OR SHOCK HAZARD; DO NOT EXPOSE
THIS APPLIANCE TO RAIN OR MOISTURE.
CAUTION
RISK OF ELECTRIC
SHOCK
DO NOT OPEN
The lighting flash with
arrowhead symbol, with
an equilateral triangle is
intended to alert the user
to the presence of
uninsulated dangerous
voltage within the products
enclosure that may be of
sufficient magnitude to
constitute a risk of electric
shock to persons.
CAUTION: TO REDUCE THE
RISK OF ELECTRIC SHOCK,
DO NOT REMOVE COVER
(OR BACK). NO USER
SERVICEABLE PARTS
INSIDE REFER SERVICING
TO QUALIFIED SERVICE
PERSONNEL.
The exclamation point
within an equilateral
triangle is intended to
alert the user to the
presence of important
operating and
maintenance (servicing)
instruction in the literature
accompanying the
appliance.
1 2 3
LOCATION OF CONTROLS
POWERING UNIT BY BATTERY
Insert 6 x 1.5V size ‘C’ batteries into the battery compartment of the unit.
Be sure to observe the proper polarity as indicated inside the battery
compartment.
POWERING UNIT BY AC LINE CORD
Plug one end of the AC line cord into the DC power Input, and then plug
the other end into AC wall outlet. Before switching on the unit, make
sure that the voltage of your electricity supply is the same as that
indicated on the rating plate.
SETTING THE CORRECT TIME
1. Set the Function Switch to AUTO or AUX position.
2. Press and hold the Time Set button, then press the Hour Set button
to set the hour.
3. Press and hold the Time Set button, then press the Minute
Set button to set the minute.
4. Release all buttons when the correct time is set.
SETTING THE ALARM TIME
1. Set the Function Switch to AUTO or AUX position.
2. Press and hold the Alarm Set button “AL”will show on the right lower
corner of the LCD display, then press the Hour Set button to set the alarm hour.
3. Press and hold the Alarm Set button, then press the Minute Set button
to set the alarm minute.
4. Release all buttons when the correct time is set.
4 5 6
LISTENING TO THE AM/FM RADIO
1. Set the Function switch to RADIO position.
2. Set the Band switch AM or FM position.
3. Turn the Tuning Control knob to your desired radio station.
4. Adjust the sound level by rotating the Volume Control knob.
For private listening, insert the plug of a stereo headphone into the Stereo
Headphone Jack and adjust the Volume Control knob accordingly. During
the use of a headphone, the speakers are automatically disconnected.
1. Plug the Aux-in cord into the line-out jack or phones jack on your MP3 player.
2. Turn on the unit and set the Function Switch to AUX position.
3. Turn on your MP3 player and follow its playback instruction.
4. To stop this function, simply turned off your MP3 player.
STEREO HEADPHONE JACK
AUX IN CONNECTION
SPECIFICATIONS
FM STEREO INDICATOR
When turned to a FM stereo broadcast the "FM ST." LED Indicator will light up.
ANTENNA
For best reception, fully extend the FM Antenna to receive FM stations. For AM
reception, the unit has a built-in antenna, turn the whole unit for best reception.
To check the current time during listening to radio, simply press the Clock
button, the current time will show on the LCD display.
RADIO WAKE UP FUNCTION
CLOCK DISPLAY
1. Select the desired radio station and adjust the volume to the desired level.
2. Set the Function switch to AUTO position.
3. Set the alarm time as indicated at the SET THE ALARM TIME section.
4. Press the AL. On/Off button to activate the alarm function. The alarm icon will
show on the top right corner of the LCD display indicating that the alarm is ON.
5. The radio will turn on at the pre-selected alarm time.
6. To cancel the alarm, press the AL. On/Off button, the alarm icon will
disappear on the LCD display.
Frequency Range
AM 530 - 1710 KHz
FM 88 - 108 MHz
Power Supply: AC 120V ~ 60Hz
Specifications are subject to change without prior notice.
Innovative Technology Electronics Corp.
Limited Warranty
90 Days Labor, One Year Parts
Innovative Technology Electronics Corp. (IT) warrants the product to be free
from “Defects” in materials under normal use for a period of “One Year” from
the date of the original purchase. The Warranty is “Not” transferable. IT agrees,
within the initial “90 Day” period, to repair the product if it is determined to be
defective at “No Charge”. It is further agreed that IT will cover the cost to repair
or replace damaged “Parts” only for a total period of “One Year” from the date
of the original purchase. The warranty does not cover cosmetic damage,
antennas, AC cords, cabinets, headbands, ear-pads, or damage due to line
power surges, connection to improper voltage supply or settings, misuse,
mishandling, accident, acts of God or attempted repair by an unauthorized
service agent.
To obtain service, the original purchaser MUST present a sales receipt / proof
of purchase indicating date of purchase, amount paid, and place of purchase.
Send the unit prepaid to the address below in the original packaging or
reasonable substitute to prevent damage. You “Must” include your full name,
shipping address and telephone number. No return will be shipped back to a
PO Box. Please include your check or money order in the amount of $12.00,
payable to Innovative Technology Electronics Corp. to cover handling and
return shipping charges. (IT) will not be responsible for delays or unprocessed
claims resulting from a purchaser’s failure to provide any or all of the necessary
information.
Send all inquires or returns to:
Customer Service Dept.
Innovative Technology Electronics Corp.
4 Anchor Way, Port Washington, NY 11050
Tel : 1-877-ITECH-97 (1-877-483-2497)
EMAIL: [email protected]
There are no express warranties except as listed above.
REPAIR OR REPLACEMENT AS PROVIDED UNDER THIS WARRANTY IS
THE EXCLUSIVE REMEDY OF THE CUSTOMER, (IT) SHALL NOT BE
LIABLE FOR ANY INCIDENTAL OR CONSEQUENTIAL DAMAGES FOR
BREACH OF ANY EXPRESS OR IMPLIED WARRANTY ON THIS PRODUCT
EXCEPT TO THE EXTENT PROHIBITED BY APPLICABLE LAW. ANY
IMPLIED WARRANTY OF MERCHANTABILITY OR FITNESS FOR A
PARTICULAR PURPOSE ON THIS PRODUCT IS LIMITED IN DURATION
TO THE DURATION OF THIS WARRANTY.
Some states do not allow the exclusion or limitation of incidental or
consequential damages, or limitations on how long an implied warranty lasts,
so the above exclusions or limitations may not apply to you. This warranty
gives you specific legal rights and you may also have other rights, which vary
from state to state.
Model #: ITBB-600
©2009 Innovative Technology.
4 Anchor Way,
Port Washington, NY 11050
www.ithomeproducts.com
Made in China
DIE CUT (Do Not Print)
 Loading...