

InnoMax Softside Fluid User Manual
FLUID SUPPORT ASSEMBLY INSTRUCTIONS
DRAINING INSTRUCTIONS
SETTING UP YOUR FLOTATION SLEEP SYSTEM
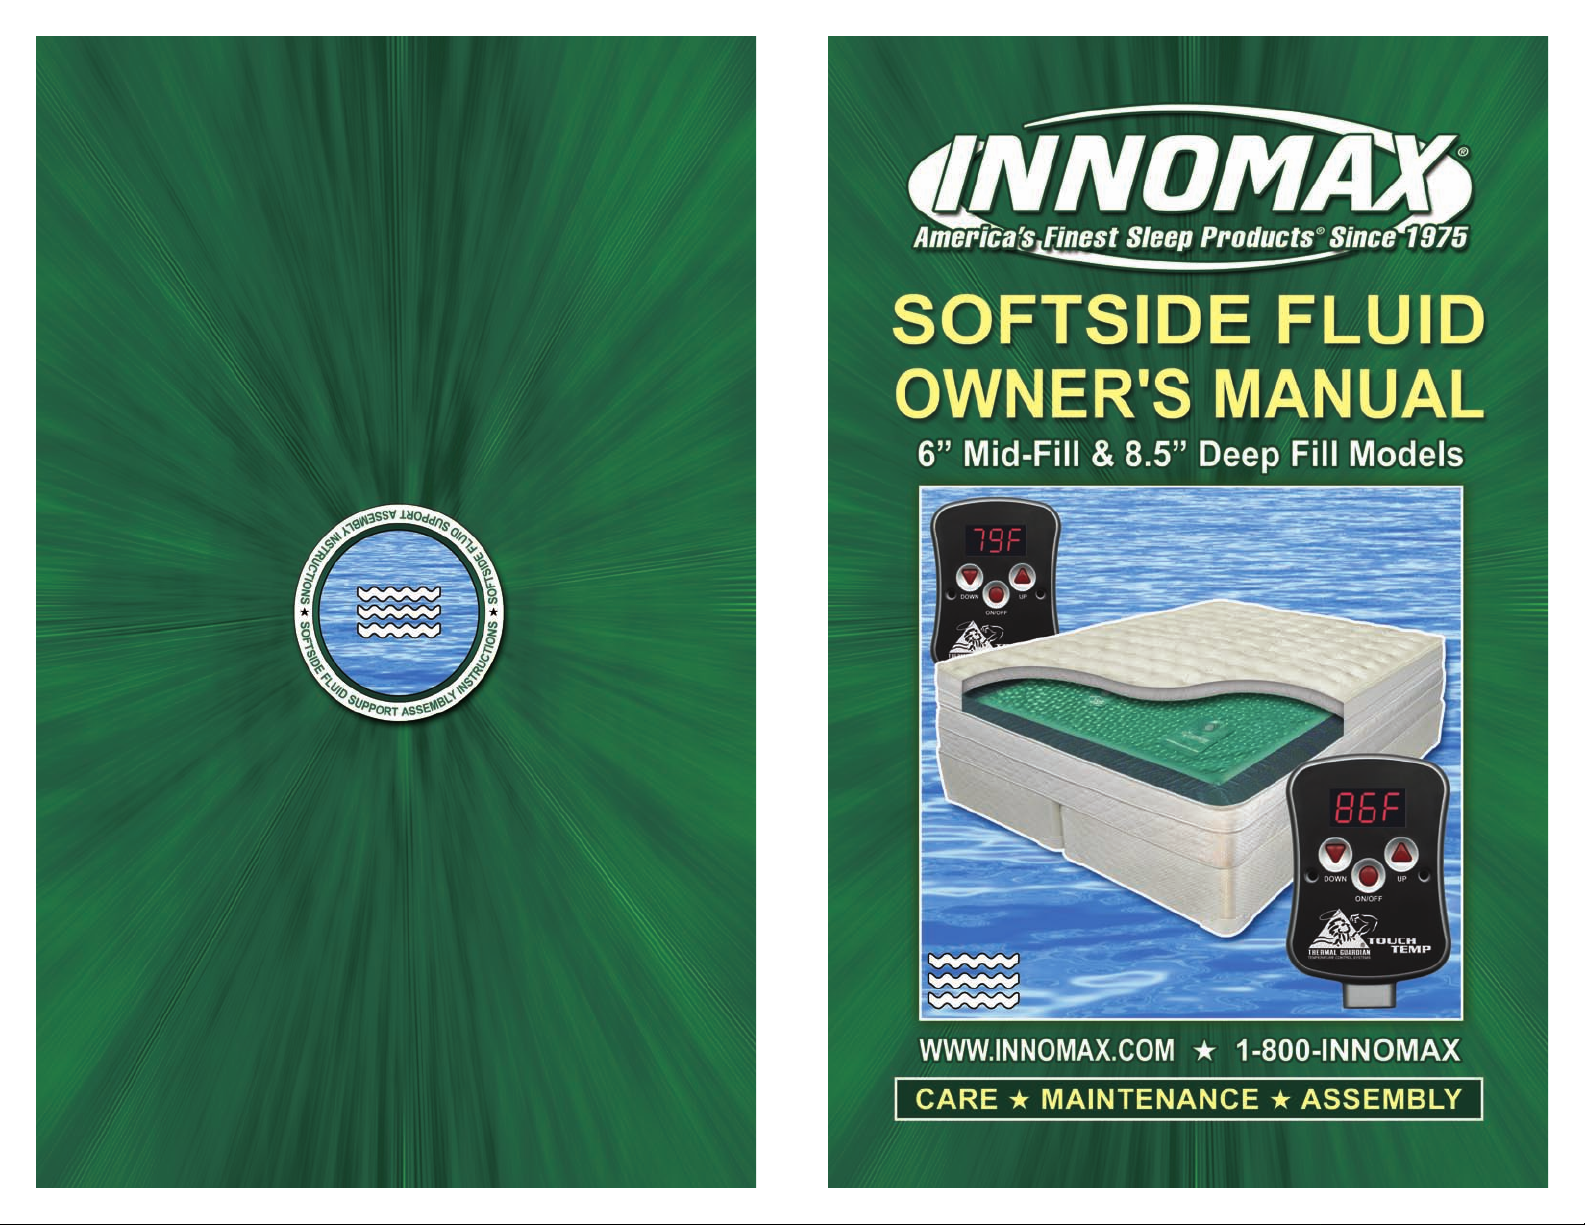
1. Unpack the Box
Take all of the components out of the box. You should have the following items:
• Power Edge Support Rail System Includes:
-Attached Head/Foot Rails
-Attached Side Rail Assembly
• The Head Rail Is Marked & Has Exit Slits For
The Power Cords
• Fluid Support Chamber(s) or Tubes
• Low Watt (120 Watts or Less) Waterbed
Temperature Control System
WARNING: Do Not Use A Standard Full Watt Heater With A Softsided Mattress. This Can
Result In Severe Damage To Your Sleep System And Void All Warranties.
• Vinyl Safety Liner
• Mattress Cover/Pillow Top Enclosure
• K or Q Split or Single T/F Foundation (Optional)
• 9 Point Center Support Metal Bed Frame (Optional Purchase)
NOTE:
fluid support system. Do not attempt to use a standard bed frame. Using any support
frame that does not have a minimum of 9 points of contact with the floor will result
in damage to your sleep system and can cause personal injury. Only use an
approved 9 Leg metal bed frame, Versaleg
with center cross supports.
2. Your entire Fluid Support System can be easily assembled. First step,
determine where your bed will be positioned. If you are
using a headboard, make sure you have enough room
between the wall and the frame before you begin to fill
your mattress.
use. This can be a center support metal bed frame, a
platform pedestal or light weight Versaleg
Assemble the metal frame or pedestal in the desired
location and place your foundation in the frame with the
open side down. Many platform pedestals don’t require
the use of a foundation. For VersaLeg
the foundation halves on the floor with the open side up.
Position the Versaleg
place one plate on each side approximately half way between the head and foot
plates. Use four of the provided screws to attach each plate to the foundation.
Repeat this process for the second foundation piece. Once the plates have been
secured, twist the threaded end of the Versaleg
It is extremely important you use the proper structural base for your new
™
support system or a platform pedestal
Assemble the support base you intend to
™
system.
™
assembly, place
™
plates on all four corners of each foundation half and then
™
into each plate. Once all have
1
been inserted, simply flip the foundation over so the (CONTINUED)
Unplug The Waterbed Heater Before Draining The Mattress
It is strongly recommended that an electric drain pump be utilized to prevent damage
to the internal support structure of your mattress. A typical electric pump will remove
nearly all of the water in a king sized mattress in 45 minutes or less. If no electric pump is
available, the use of a standard fill & drain kit will assist in removing the water from the
mattress.
Screw the siphon pump to the adapter and attach the hose to the siphon. Using the hose
adapter, attach the opposite end of the hose to the valve on the mattress. To start the siphon
action, turn on the faucet to a moderate level.
If your siphon is self priming, the pump will
soon begin to remove water. If it is not self
priming, turn the bottom of the pump to the
“fill” setting and allow water to go into the
mattress. Once the hose is free of air, twist
the bottom of the pump to the “drain” setting
to create a siphon to remove water. Continue
this until the mattress is completely vacuum
sealed and is free from water. Firmly grab the
top, internal fiber, and the bottom to prevent
shifting when folding the mattress. Once the
process is complete, remove the hose
adapter and quickly insert the cap & seal to
maintain a vacuum inside the mattress. This
will hold all of the internal components of the mattress in their desired location. When moving
the mattress, do not drag it across the floor as this can cause a friction burn in the vinyl. If the
mattress is to be stored for more than 7 days before reinstalling, it is recommended that a
bottle of Fiber Bed Conditioner be placed inside to prevent odor and bacterial growth. Do not
store the mattress in conditions below 32 degrees Fahrenheit, as this can cause the vinyl to
crack. If it is stored in cold temperatures, gently place mattress in a warm room for up to 24
hrs prior to unfolding & filling with water to minimize the possibility of a cold crack.
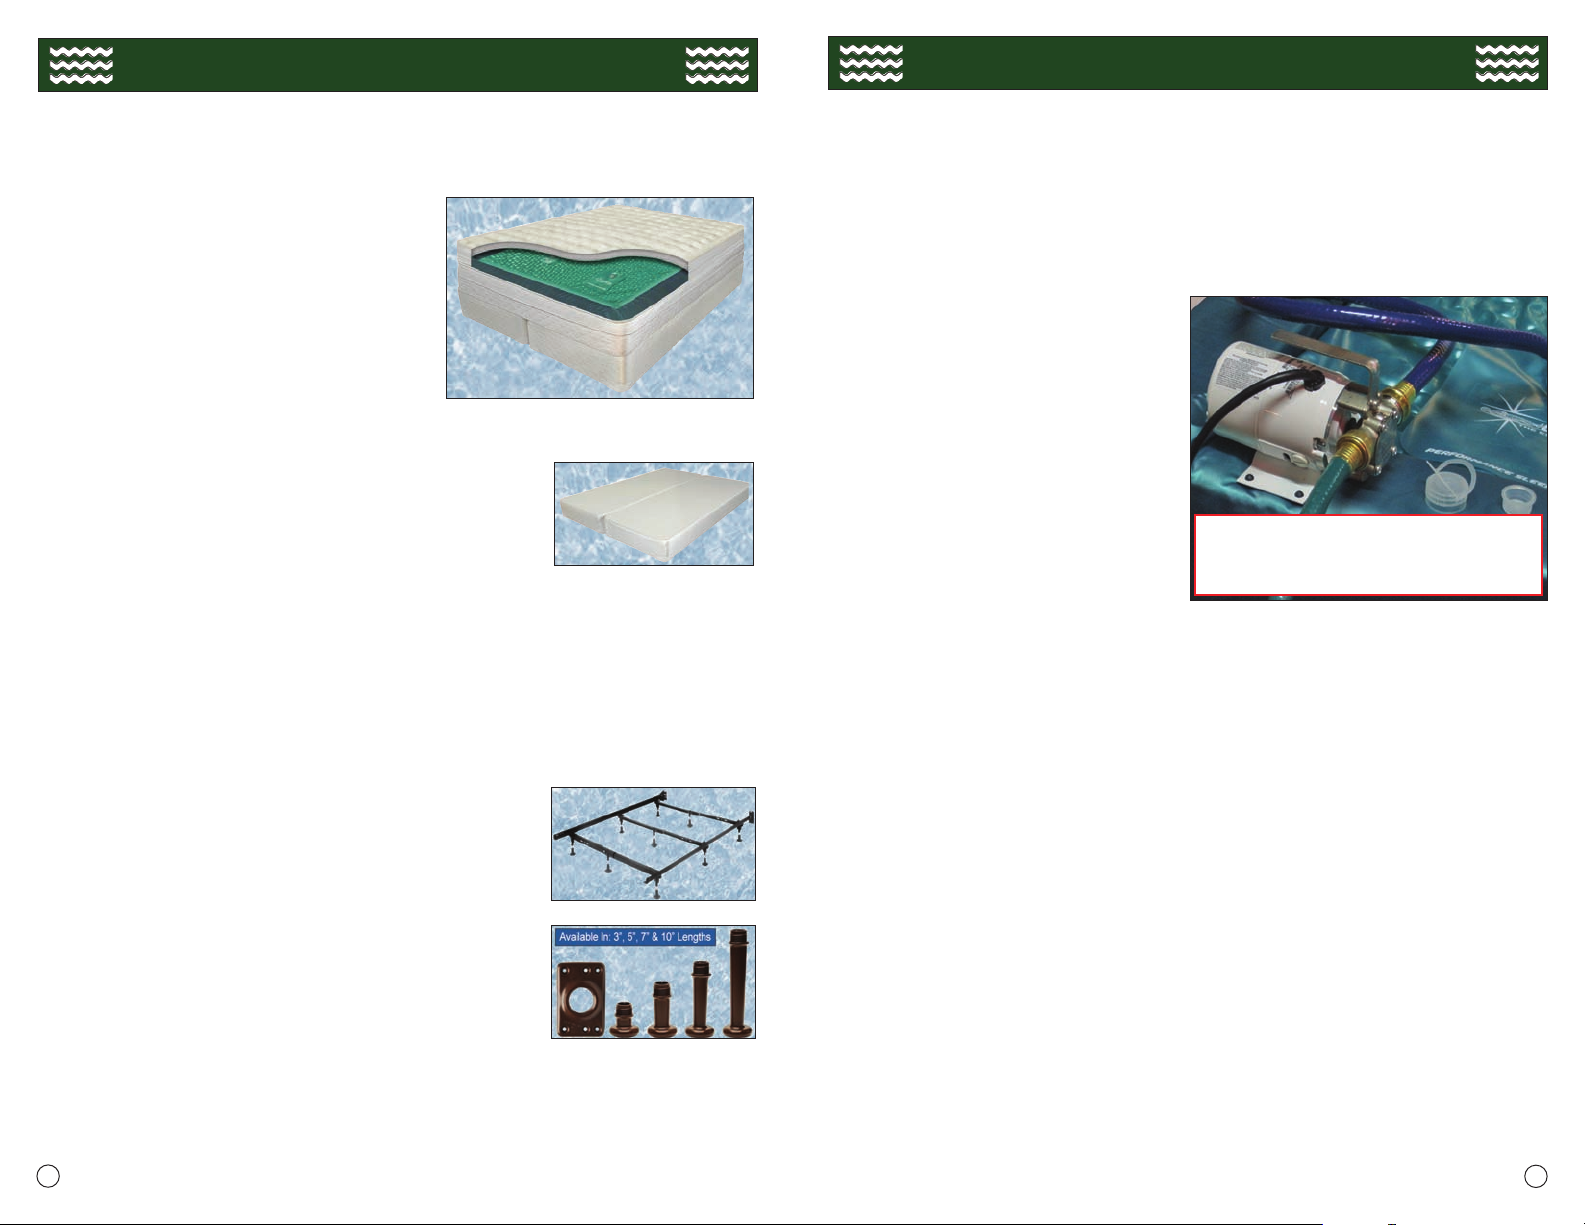
Electric Pump Usage/Draining Instructions: Unplug Heater Before Draining!
If interested in using an electric pump, please ask your dealer for more information.
1. Remove all of the air from your mattress.
2. Attach the “perfect union” connector on the
end of the clear hose on the pump to the valve
in your mattress. Make sure all washers are
used and the connections are tight to maintain
proper suction.
3. Connect your exit hose to the discharge port
on the pump. Ensure the exit hose is in the
desired location.
actually cause the hose to flop about and come
out of a normal bathtub. Do not leave the hose
unattended while indoors. Place the pump on
a towel or cardboard piece to prevent possible
damage to the floor or other surface.
4. Plug the pump into a grounded electrical
outlet. Note:
If the mattress is still too heavy to move, you can utilize a shop (wet/dry) vacuum to get the remainder of the water out
Attach the faucet adapter to the sink, taking care not to cross thread the adapter.
Contact Your Dealer For Rental Info.
or To Purchase The Drain Hero™ 10 Piece Maintenance Kit.
the pump will begin to operate immediately.
5. Allow the pump to run until the water
The pump will remove
6
The force of the water can
There is no on/off switch and
slows to a trickle.
nearly all of the water & the mattress will
become “vacuum-sealed” to ensure all
internal support features remain in their
proper location. Do not lift the head of the
mattress until the mattress is vacuum
packed, as this could damage the mattress.
6. Immediately unplug the pump. Do not run
the pump without water for an extended period
of time, as this can severely damage the pump.
7. Disconnect the perfect union connector
from the mattress and immediately insert
the cap and seal to ensure the mattress
remains vacuum packed.
 Loading...