

Page 1
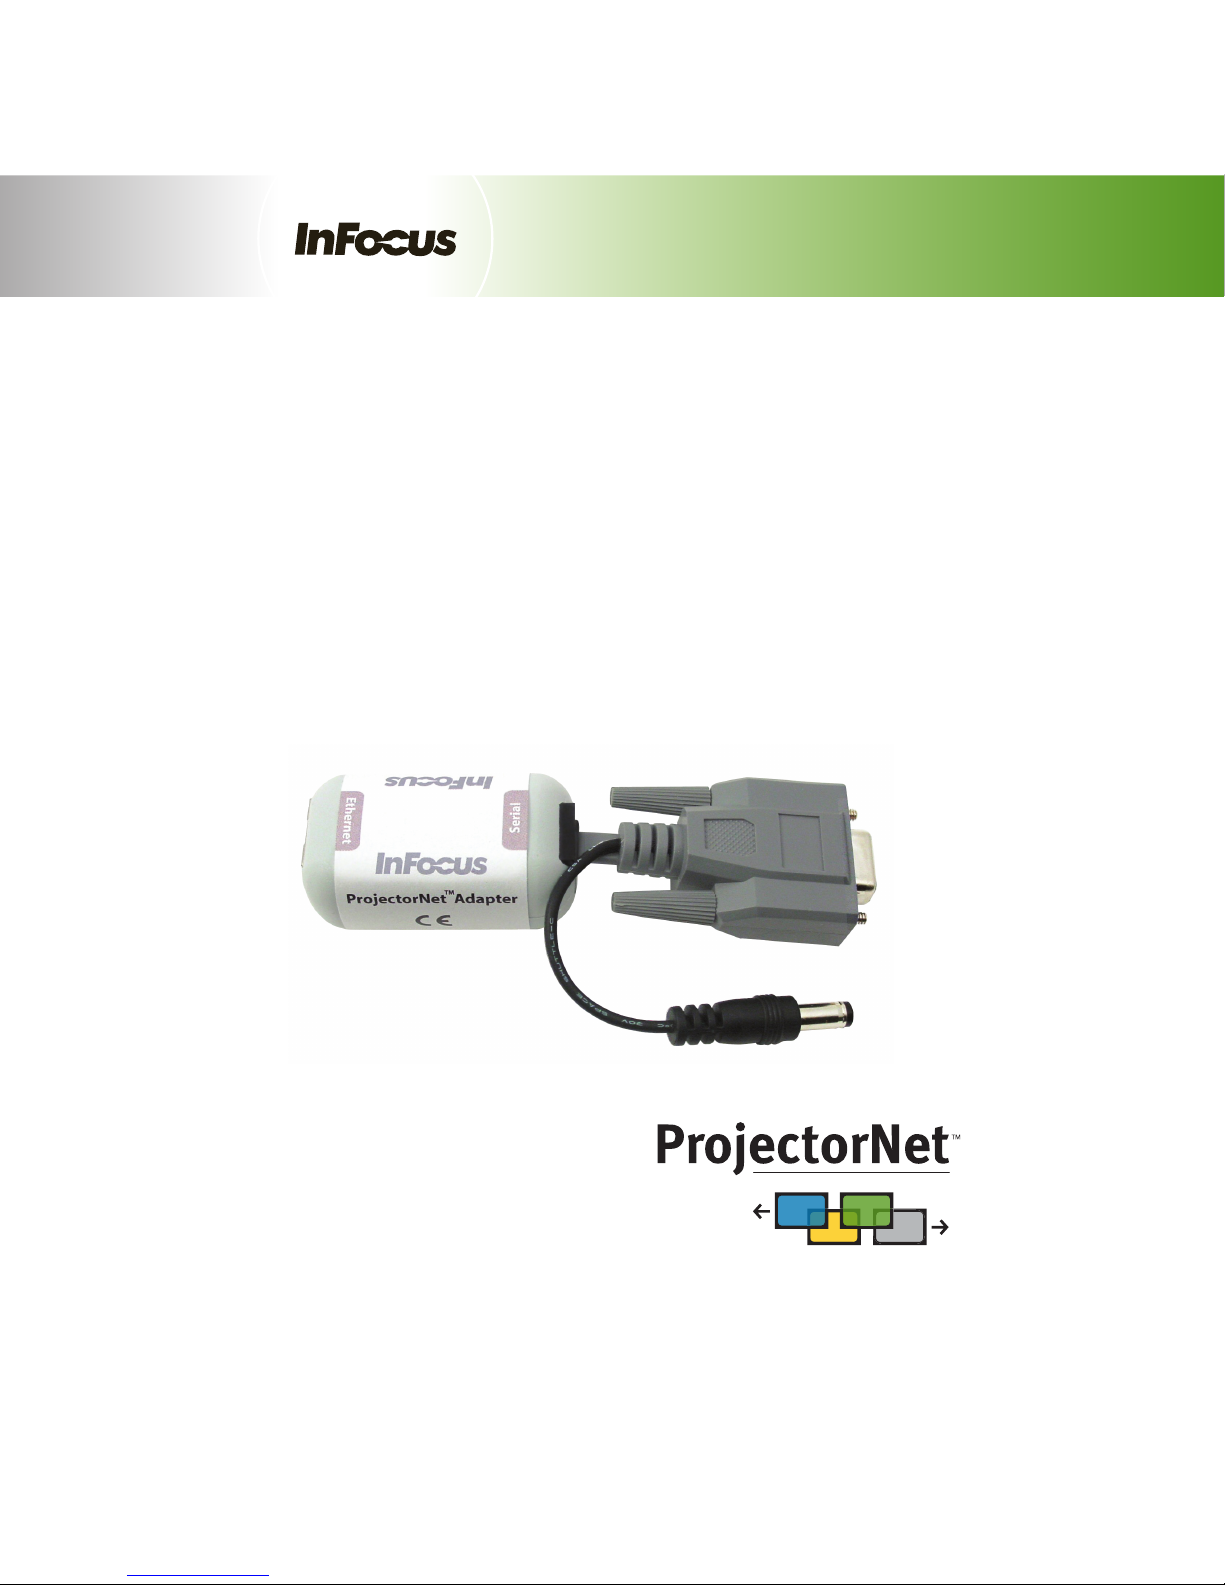
ProjectorNetTM Adapter
Quick Start Guide
Adapter
networking
Page 2

1. Quick Start
The ProjectorNet™ Adapter kit contains the following items:
• ProjectorNet™ Serial to Ethernet Adapter
• Cable Adapter, ProjectorNet™ Adapter RJ12 to 9-pin Female, with power jack
• CD with ProjectorNet™ Adapter, Device Installer, and other user guides
InFocus ProjectorNet™ Adapter Quick Start Guide Page 1 of 10
Page 3
1.1 Device Installer Software
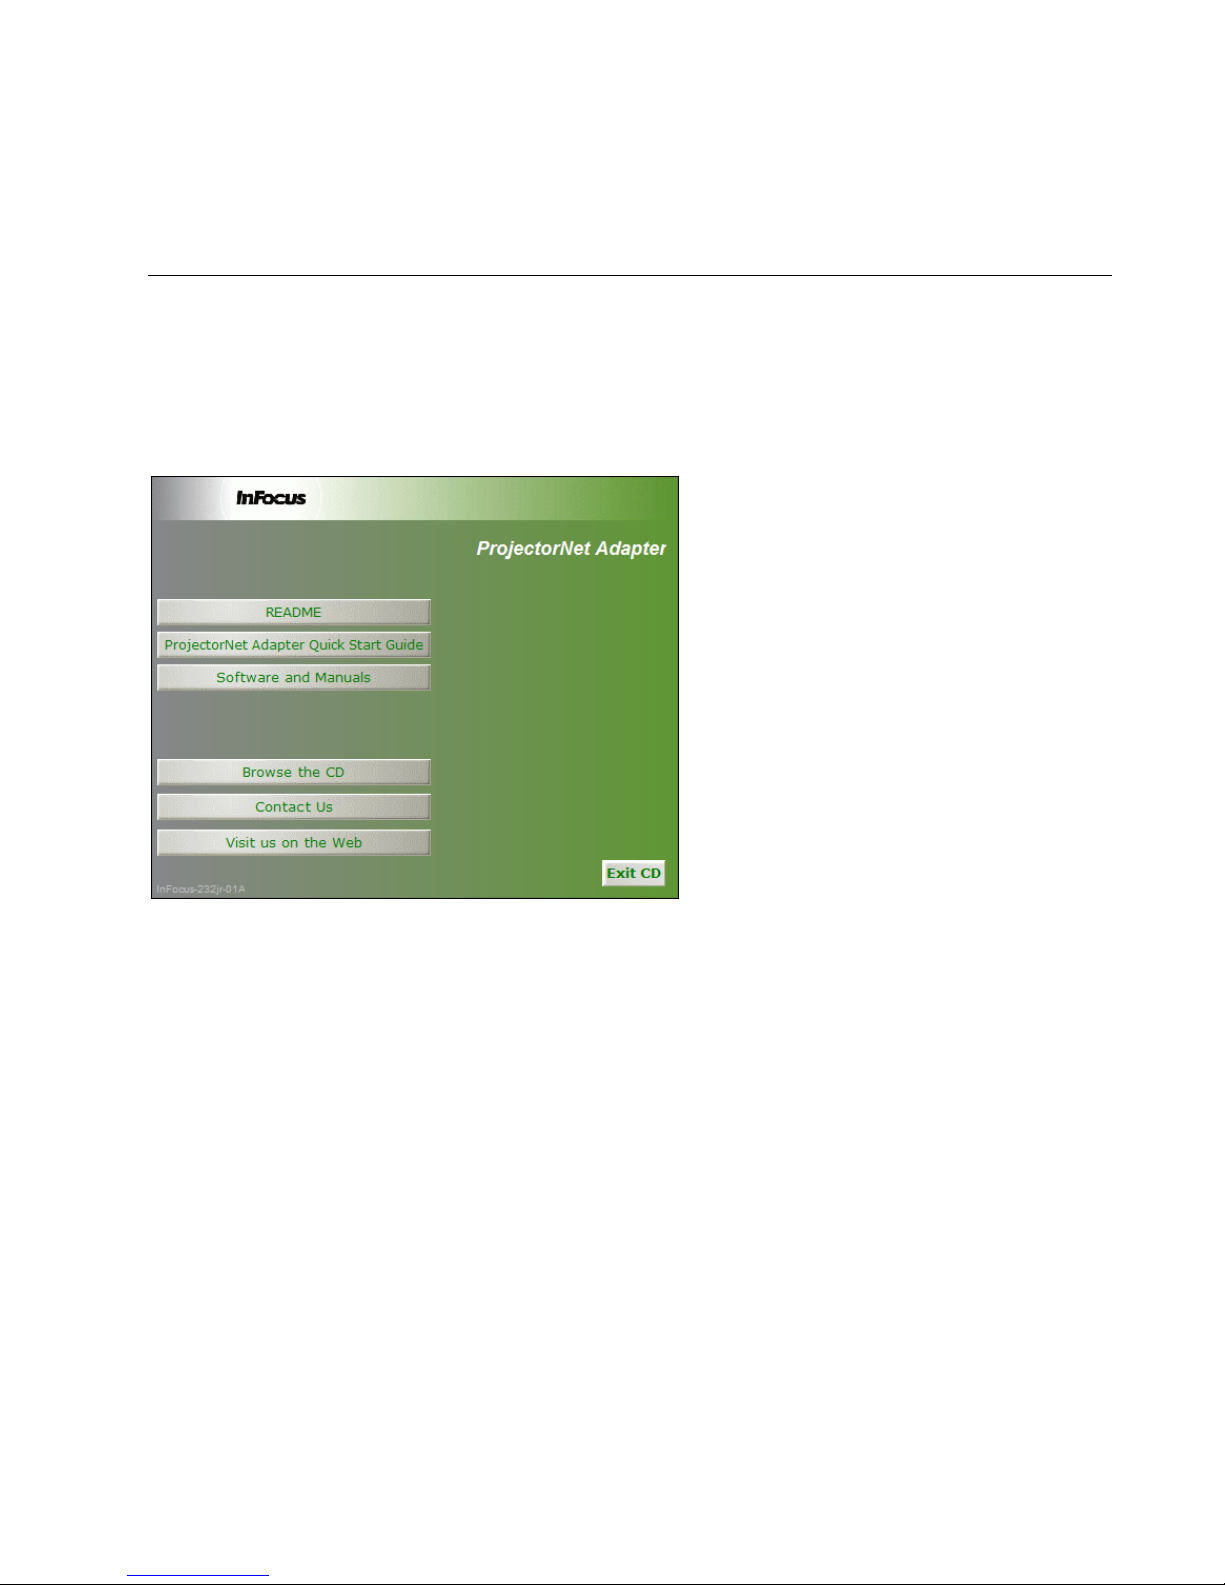
Insert the product CD into your CD-ROM drive. The CD will automatically start and display the main
window.
If the CD does not launch automatically:
• Click the Start button on the Task Bar and select Run.
• Enter your CD drive letter, colon, backslash, Launch.exe (e.g., D:\Launch.exe).
Click the README button for important information about the product.
InFocus ProjectorNet™ Adapter Quick Start Guide Page 2 of 10
Page 4
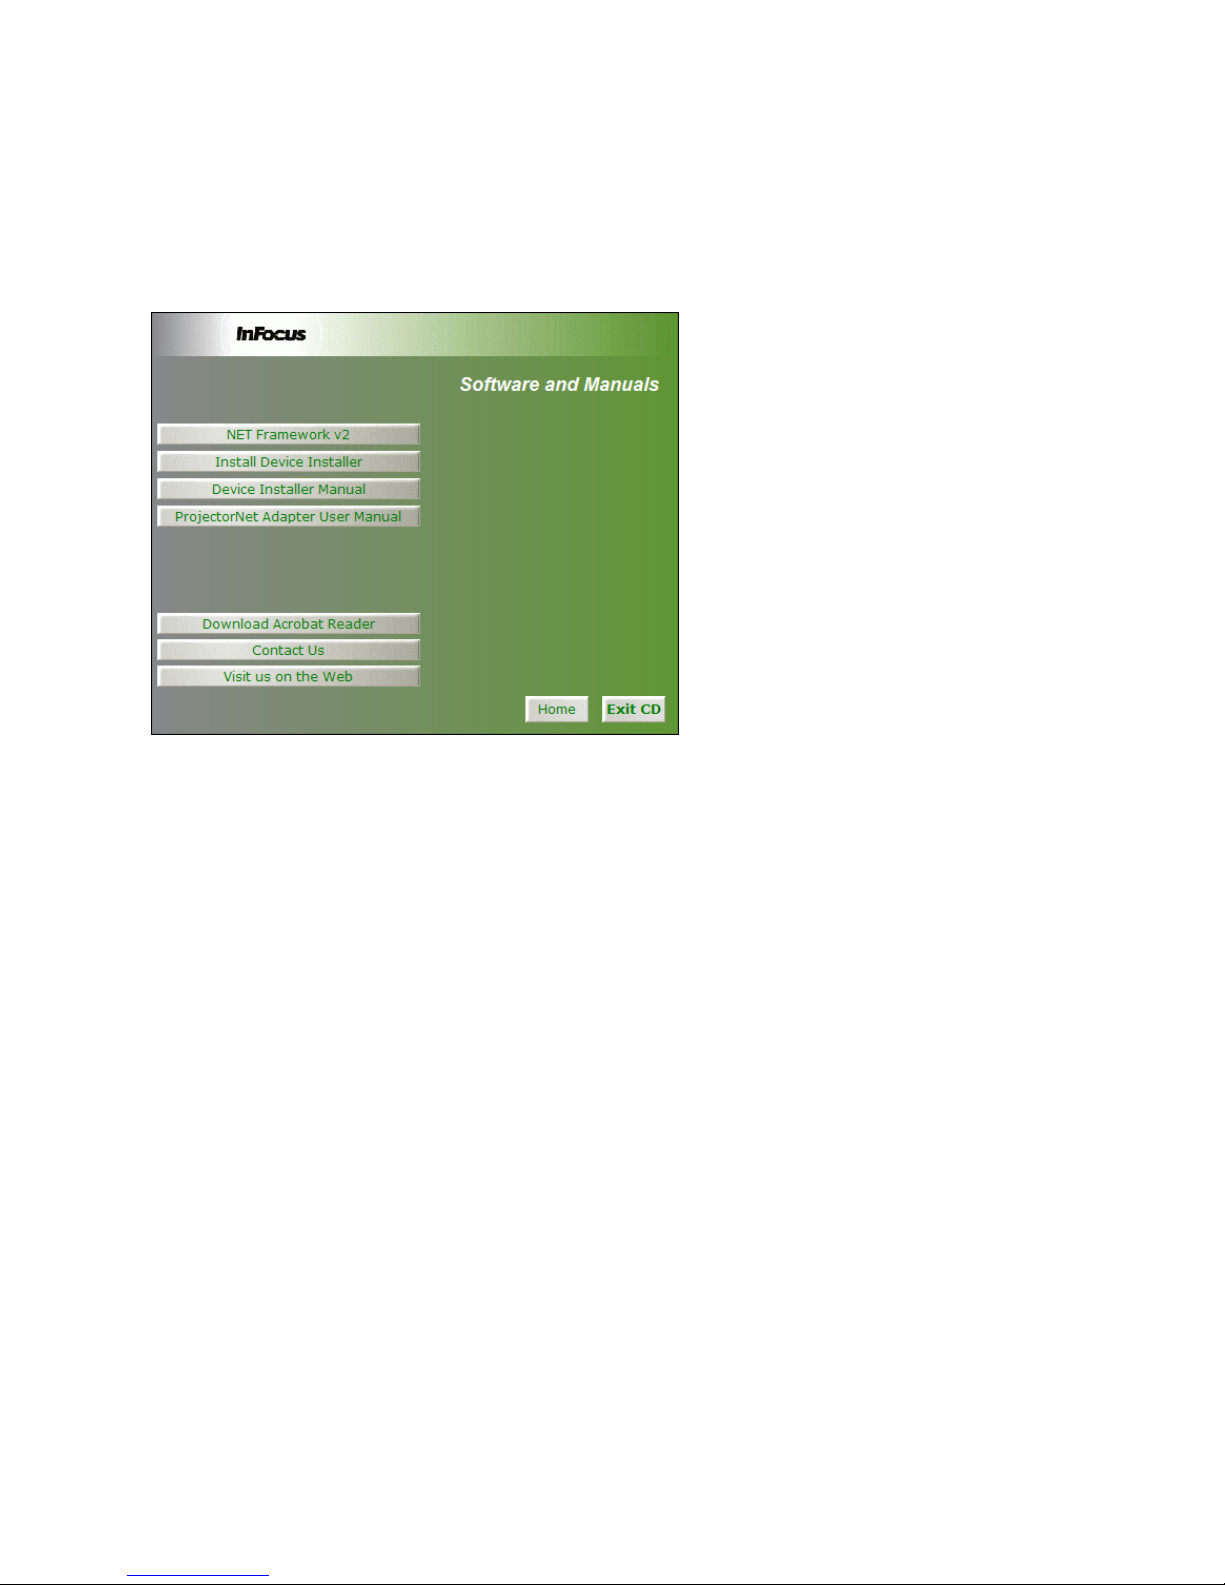
Click the Software and Manuals button to open the software installation and documentation page.
1. Click on Install Device Installer to install the software. The installation wizard window displays.
2. Respond to the installation wizard prompts.
3. Restart your system.
The following items are required to run Device Installer:
1. Windows 2000/2003 Server/XP/Vista
2. Microsoft .NET Framework v2.0
Note: If Microsoft .NET Framework v2.0 or later is not installed on your system, you will be prompted to install it before
Device Installer is installed. To install .NET Framework, click on the NET Framework v2 button
3. Microsoft Internet Explorer 5.1 or later
4. 30MB free hard drive space
1.1.1 Windows XP and Vista
The "Internet Connection Firewall" must be disabled, or else UDP Port 30718 must be available.
Otherwise, you will not be able to detect or communicate with any devices on the network.
To configure, go to the Control Panel, go to Network and Internet Connections, select the corresponding
network adapter, choose Properties, and go to the Advanced tab.
InFocus ProjectorNet™ Adapter Quick Start Guide Page 3 of 10
Page 5

1.2 Hardware Connections
The Cable Adapter has three connectors as shown in the following picture. The 6-pin RJ12 connector plugs
into the SERIAL RJ12 jack on the ProjectorNet™ Adapter, the 9-pin Female plugs into the projector RS232
port, and the power cord plugs into the +5VDC on the projector.
1. Plug the RJ12 connector into the ProjectorNet™ Adapter RJ12 SERIAL jack.
2. Attach your Ethernet cable to the RJ45 Ethernet connector on the adapter.
3. Attach the 9-pin female cable end to the serial port connector on the projector.
4. Connect the power cable to the projector +5V (or external power adapter).
Figure 1-Cable Adapter
Figure 2-Projector with ProjectorNet
™
Adapter
InFocus ProjectorNet™ Adapter Quick Start Guide Page 4 of 10
Page 6

1.3 RUN Device Installer
Click the Start button on the Task Bar and select Programs\DeviceInstaller. From the list of options, select
DeviceInstaller.
The Device Installer main dialog box appears. The software automatically looks for all devices on the
network. If you have added a device, click Search to rescan the network. One of the items in the list is
named InFocus.
Figure 3 - Device Installer Dialog Box
1.3.1 Assign IP
Select one of the items from the list by clicking it. The item will be highlighted.
Click the Assign IP icon
F7 key.
InFocus ProjectorNet™ Adapter Quick Start Guide Page 5 of 10
. You can also select Assign IP Address from the Device menu or press the
Page 7

The Assignment Method dialog will appear.
Select the Assign a specific IP address option in the dialog box. Click Next to continue. The IP Settings
dialog will appear.
In the following example, the new IP address is 172.20.206.106. Press the TAB key to advance to the
Subnet mask field. The Subnet mask will be filled in automatically. On a local network, you can leave the
Default gateway blank (all zeros).
InFocus ProjectorNet™ Adapter Quick Start Guide Page 6 of 10
Page 8

Click the Next button to continue. Click the Assign button and wait until the progress bar shows the task is
complete.
Click the Finish button to return to the main Device Installer dialog.
Click the Search button to locate the device.
Select the device from the main window list and select Ping from the Tools menu. The Ping Device dialog
box shows the IP address of the selected unit.
Click the Ping button. The results display in the Status window. Click the Clear Status button to clear the
window so you can ping the device again.
Note: If you do not receive “Reply” messages, make sure the unit is properly attached to the network and that the IP
address assigned is valid for the particular network segment you are working with. If you are not sure, check with your
systems administrator.
Click the Close button to finish.
InFocus ProjectorNet™ Adapter Quick Start Guide Page 7 of 10
Page 9

1.4 Serial Port Configuration
The serial port on the ProjectorNet™ Adapter can be configured for different applications. The default
setting is 115200 baud rate, 8 data bits, 1 stop bit, no parity, no flow control. The default setting works for
most applications.
If you need to change the setting, use the web configuration manager in Device Installer to configure the
serial port.
To open the configuration menu, double click an item from the menu. The new window will display three
tabs.
Click the Web Configuration tab. To view the Web-Manager in the current DeviceInstaller window, click
the Go button. To open the Web-Manager in a web browser, click the External Browser button.
InFocus ProjectorNet™ Adapter Quick Start Guide Page 8 of 10
Page 10

When the password dialog appears, press ENTER.
The web manager opens inside the Device Installer window. You may have to resize the window to see all
the fields.
Click the Serial Settings button in the column on the left side.
The Serial Settings dialog appears.
InFocus ProjectorNet™ Adapter Quick Start Guide Page 9 of 10
Page 11

Change the settings by clicking on the arrows to display a drop-down list and select an item from the list.
When done, scroll down to the bottom of the page and click the OK button.
Click the Apply Settings button in the column on the left side.
A message will be displayed indicating the configuration changes are being saved.
The unit is now ready to operate with the new configuration.
InFocus ProjectorNet™ Adapter Quick Start Guide Page 10 of 10
 Loading...