

Page 1
Quick
Installation Guide
Version: 2.0
Date: Aug 23, 2010
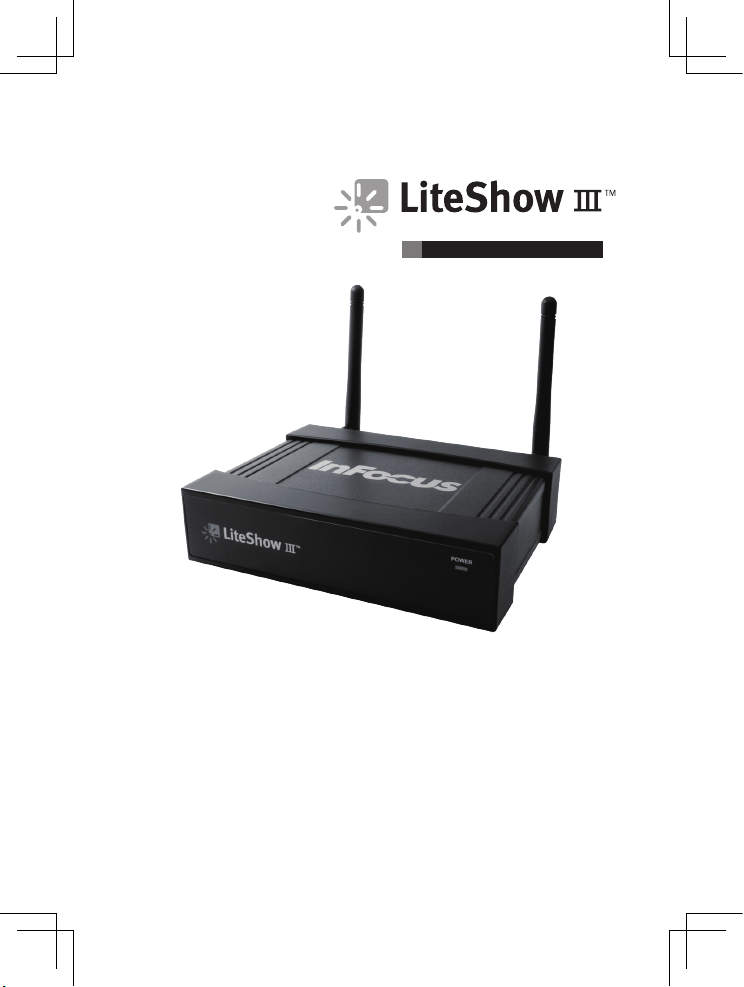
Wireless Presentaon Adapter
Model Name: INLITESHOW3
Page 2
Quick Installation Guide
1
Package Contents
� LiteShow III module
� LiteShow USB token
Client Software:
Windows, MAC, MobiShow for Smartphone
Applications:
VAC (For Audio Projection)
VDD (For Virtual Extended Screen)
IB Maker (F or changin g the LiteS how Startu p Screen)
PtG Converter (For MobiShow PtG function)
� Power Adapter (DC +5V, 2.6A)
� Antenna (2)
� Power Cord
� Mounting Screws
� Quick Installation Guide with Warranty Card
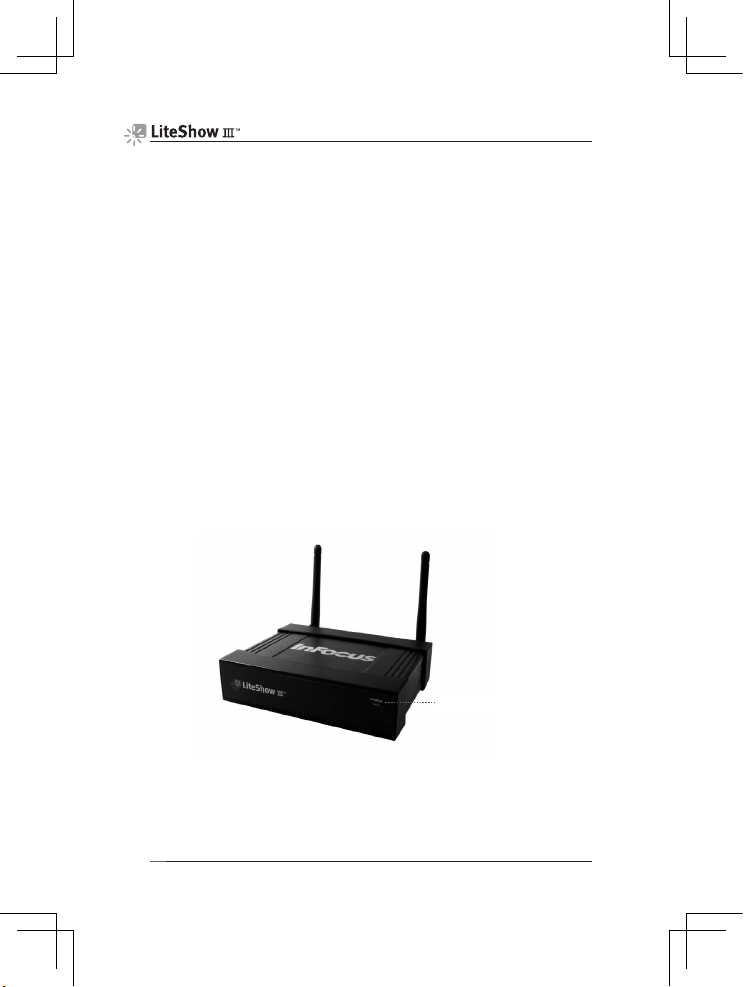
Physical Details
Front Pan el
Power LED
Page 3
Quick Installation Guide
2
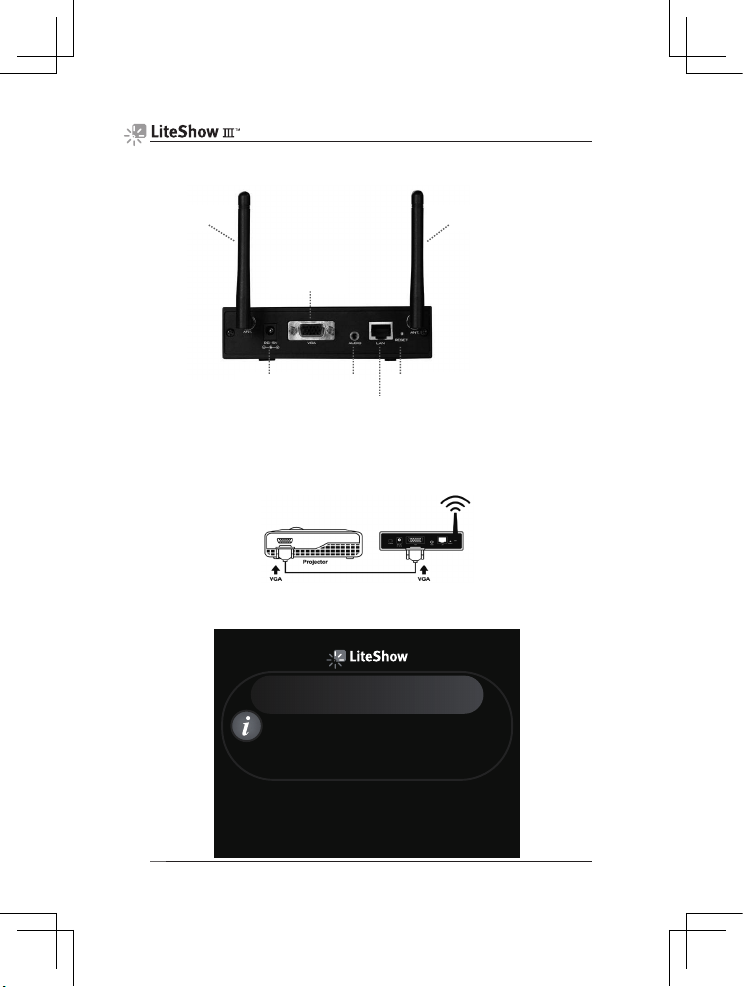
Rear Panel
Installation
1) Connect the projector’s antenna, and connect the VGA cable to the
LiteShow VGA connector. Turn the projector on.
2) Turn on LiteShow. The LiteShow instructions below will display on the
projector when LiteShow is ready for use.
Power J ack
VGA Connector
RJ-45
Antenna
Audio
Factory Reset button
Antenna
T o be gi n p roj ec ti ng o v er t he L AN , th e LI TE SH OW a pp lic at io n mu st b e ins ta ll ed a nd r un ni ng o n your co mp ute r.
This application is needed to manage the communication between your computer and the LITESHOW module.
INSTRUCTIONS
1) Download and install the LITESHOW application, if not already installed on your computer
a) Connect the LITESHOW module to a display (and to a network, if desired).
b) Tu rn on the LITESHOW module and display. The LITESHOW splash screen should appear within one minute.
c) You must be connected to the LITESHOW module through a wired or wireless LAN. For wireless LAN, connect
to the wireless network using the same SSID as shown on the display.
d) Enter the IP address displayed on the display into your web browser.
e) Login as NONE and select SOFTWARE DOWNLOAD .
f) Download the LITESHOW application.
2) Run the LITESHOW application
a) At the Access Point prompt, select the appropriate wireless connection to the LITESHOW module or choose
SKIP for a wired LAN connection.
b) Select the LITESHOW module from the Device List.
c) Enter the Login Code, if enabled.
3) Begin presenting
Server IP: 192.168.100.10
Resolution: 1280 x 800
Ve rsion: 1.0.0.0
SSID:
LiteShow3
Channel: 11
Security: None
LOGIN CODE: 1234
Page 4
Quick Installation Guide
3
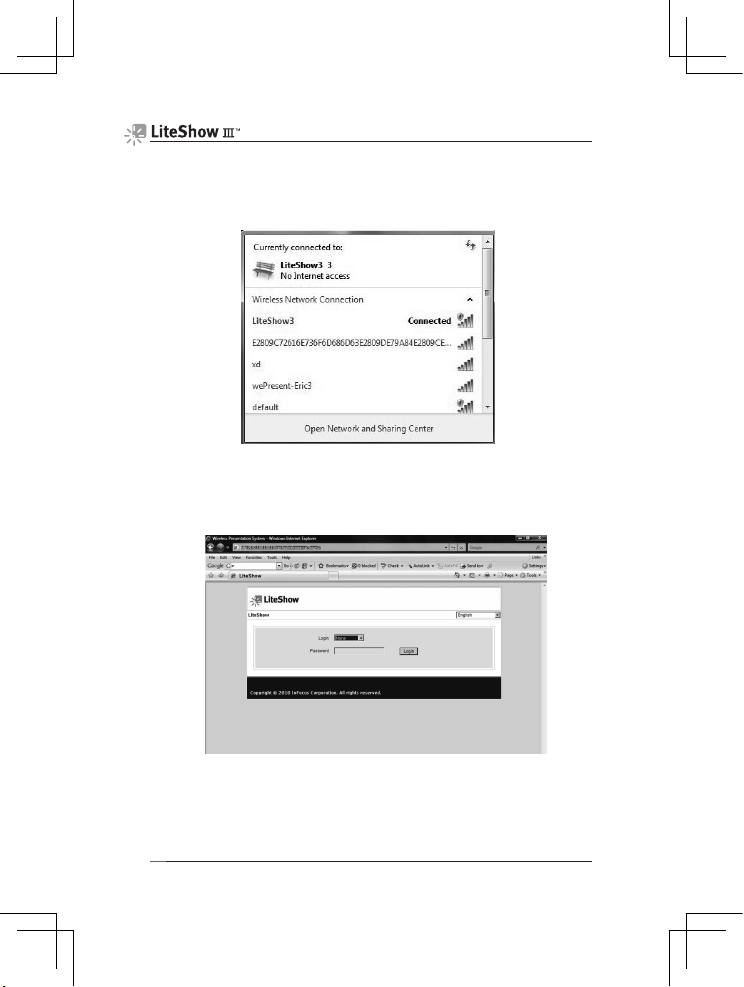
Windows 7/Vista/XP/2000
1) Verify that y our co mputer’s wireles s connect ion is e nabled and connec t to
the LiteShow wireless network.
2) Open your browser. Although the LiteShow page should display
automatically, you can also enter the IP address displayed on the projector
into your web browser.
Note: The default IP address of LiteShow is 192.168.100.10.
Page 5

Quick Installation Guide
4
3) Login as “None” (no password is required). Then download and install the
Utility for Windows, and follow the Installation Wizard instructions. (You can
also download the Utility from the LiteShow USB token.)
4) Once the installation is complete, a LiteShow shortcut will be available on
your desktop.
Page 6

Quick Installation Guide
5
5) Click the LiteShow shortcut and enter the LOGIN CODE visible on the
projector.
6) Click the button to start projection.
Note: To enabl e QuadVie w projec tion, cli ck the desired Quadr ant button
(1-4).
Windows Mobile 5/6
1) Verif y that yo ur Smartphone o r PDA’ s wirele ss conne ction i s enable d and
connect to the LiteShow wireless network.
2) Open your browser. Although the LiteShow page should display
automatically, you can also enter the IP address displayed on the projector
into your web browser.
Note: The default IP address of LiteShow is 192.168.100.10.
3) Login as “None” (no password is required). Then, download and install the
MobiShow Utility, following the Installation Wizard instructions. (You can
also download the Utility from the LiteShow USB token.)
4) Once the installation is complete, a MobiShow shortcut
will be
available on your desktop.
Page 7
Quick Installation Guide
6
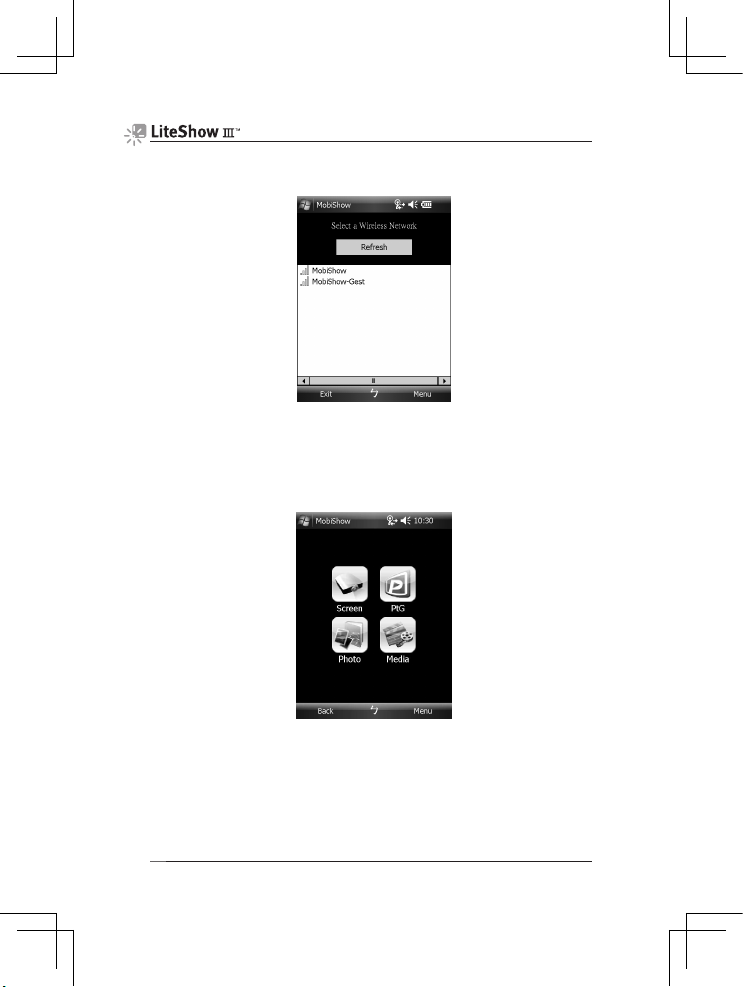
5) Click the MobiShow shortcut to launc h the client so ftware. MobiSho w will
turn on Wi-Fi on your phone and list the available Wireless Networks.
6) Connect to the desired LiteShow wireless network.
7) MobiShow will connect to that access point and search for LiteShow
devices automatically. When a LiteShow device is found, it will
automatically login and the following main menu will be displayed on your
phone.
8) Select the desired feature:
To project the screen of your phone, click on the “Screen” icon.
To do a PC-less presentation with Presentation-to-Go (PtG),
select the “PtG” icon.
To project the photos, select the “Photo” icon.
To play a video or MP3, select the “Media” icon.
Page 8

Quick Installation Guide
7
MacBook 10.4/10.5
1) Ver ify that your co mputer’s wireles s connect ion is enabled an d connec t to
the LiteShow wireless network.
2) Download and install the Mac Utility, and follow the Installation Wizard
instructions. (Or download the Utility from the LiteShow USB token.)
3) Once the installation is complete, a LiteShow shortcut will be available on
your desktop.
4) Click the LiteShow shortcut and enter the LOGIN CODE visible on the
projector.
5) Click the
button to start p rojectio n, or cli ck the de sired Quadrant
button (1-4) for QuadView.
Page 9

Warranty Card
Name
Purchase Date
Serial No.
Address
TEL
FAX
Email
Purchased at
Page 10

Warranty Policy
Before contacting Technical Support, please review the User's Manual for this
product. If you are unable to resolve the problem and/or if the product is
damaged, please contact Tech Support.
For more information, go to: http://www.infocus.com/
Disclaimer
• We will not be responsible if it’s believed the damage is caused by the customer,
or other personnel, deliberately or by accident.
• We will not be responsible for any loss caused by continuous use or inability to use
the product.
• We will not be responsible for costs due to damage other than repairs to
InFocus products. Any damage or malfunction caused to other machines linked
to InFocus products is not covered by this warranty.
Damage caused by accident, overloading, misuse, improper use or other types of
damage not related to this product quality or design.
The product is damaged by unforeseeable natural disasters (flooding, fire hazard,
earthquake, typhoon or thunder) or due to human error.
Attempt to open product housing, dismantle, attach other items or retrofit without
written permission from InFocus.
Consumables or components.
Serial number on the product or component has been removed or damaged.
The product warranty is outdated.
Claims without presenting a warranty certificate, or if presented but the warranty
certificate is not properly marked with the date of purchase, stamped by the
authorized agent or the marked information has been tempered with..
(1)
(2)
(3)
(4)
(5)
(6)
(7)
The warranty does not cover the following:
If any fault has developed during the warranty period, after confirmation by InFocus, we
will (1) Repair the product directly or (2) Replace the product with a new or remanufactured product, at InFocus' discretion.
Applicable to all products; when sending the product for services, you need to provide:
(1)
(2)
Your name, address and telephone number.
The warranty information and a proof of purchase.
Warranty Services
 Loading...