

Indesit KP 958 MS (X)/ DK, KP 958 MS / DK Installation And Operating Instructions Manual
KP 958 MS (X)/ DK

Electric-gas cooker
Installation and operating instructions
Gaskomfur med elektrisk ovn
BrugsanvisningDK
DK

1
GB
SAFETY PRECA UTIONS
Congratulations!
You have just purchased an INDESIT appliance that has been made using advanced technology and quality materials. As
time passes, you will appreciate its practicality and safety, which are constant features of our production.
1. This appliance has been designed for private, non-
professional use in normal dwellings.
2. Carefully read the recommendations in this
instruction booklet, as they give important advice
regarding safe installation, use and maintenance. Keep
this booklet in a safe place for further reference when
required.
3. After removing the packaging, check that the appliance
is intact. If in doubt, do not use the appliance and contact
professionally qualified personnel.
4. All installation and adjustment operations should be
carried out by qualified engineers in accordance with
current regulations. Specific directions are given in the
“installation instructions” paragraph.
5. Per iodically check the condition of the gas connection
pipe and have it replaced by a qualified technician as
soon as it shows any signs of wear or anomaly.
6. Under no circumstances should the user replace the power
supply cable or the gas connection pipe of this appliance.
In the event of damage or the necessity for replacement,
only contact an authorised service centre.
7. Before connecting the appliance, make sure that the data
on the rating plate (situated on the bottom part of the
appliance and on the last page of the booklet) correspond
to those of the mains electricity and gas supplies.
8. Check that the capacity of the electrical system and the
power outlets are suitable for the maximum power of the
appliance, indicated on the rating plate. If in doubt, consult
a professionally qualified technician.
9. Some parts are covered with a remov able scratch-proof
film. Before using the appliance the film should be
removed and the underlying part cleaned with a cloth and
a non-abrasive household cleaning product. When
switching on for the first time, it is advisable to heat the
empty oven at maximum temperature for about 30 minutes
to eliminate any residue from working.
10. During operation, the oven glass door and adjacent parts
of the appliance become hot. Make sure, therefore, that
children do not touch the appliance. For greater safety,
an additional child-safety device is available from our Head
Office and our Authorised Service Centres (see enclosed
list). When ordering this, please give the code: BAB -
followed by the appliance model. The model is stamped
on the plate which is visible on the back of the appliance
and in this manual.
11. Do not leave the appliance plugged in if it is not in use.
Switch off the main switch and gas supply when you are
not using the cooker.
12. The gas burners and pan supports remain heated for a
long time after use. T ak e care not to touch them.
13. To avoid accidental spillage do not use cookware with
uneven or def ormed bottoms on the burner.
14. Never use flammable liquids such as alcohol or gasoline,
etc. near the appliance when it is in use.
15. To obtain the best results with the cooktop, several
fundamental rules should be followed while cooking or
preparing food.
• Use cookware with a flat bottom to make certain that
the pot sets properly on the cooking area.
16.If the cooker is placed on a pedestal, take the necessary
precautions to prevent the same from sliding off the
pedestal itself.
17.Do not use steam cleaners to clean your oven
THESE INSTRUCTIONS ARE ONLY V ALID FOR THE COUNTRIES OF DESTINATION WHOSE SYMBOLS ARE SHOWN
IN THE BOOKLET AND ON THE APPLIANCE RATING PLA TE.
2
GB
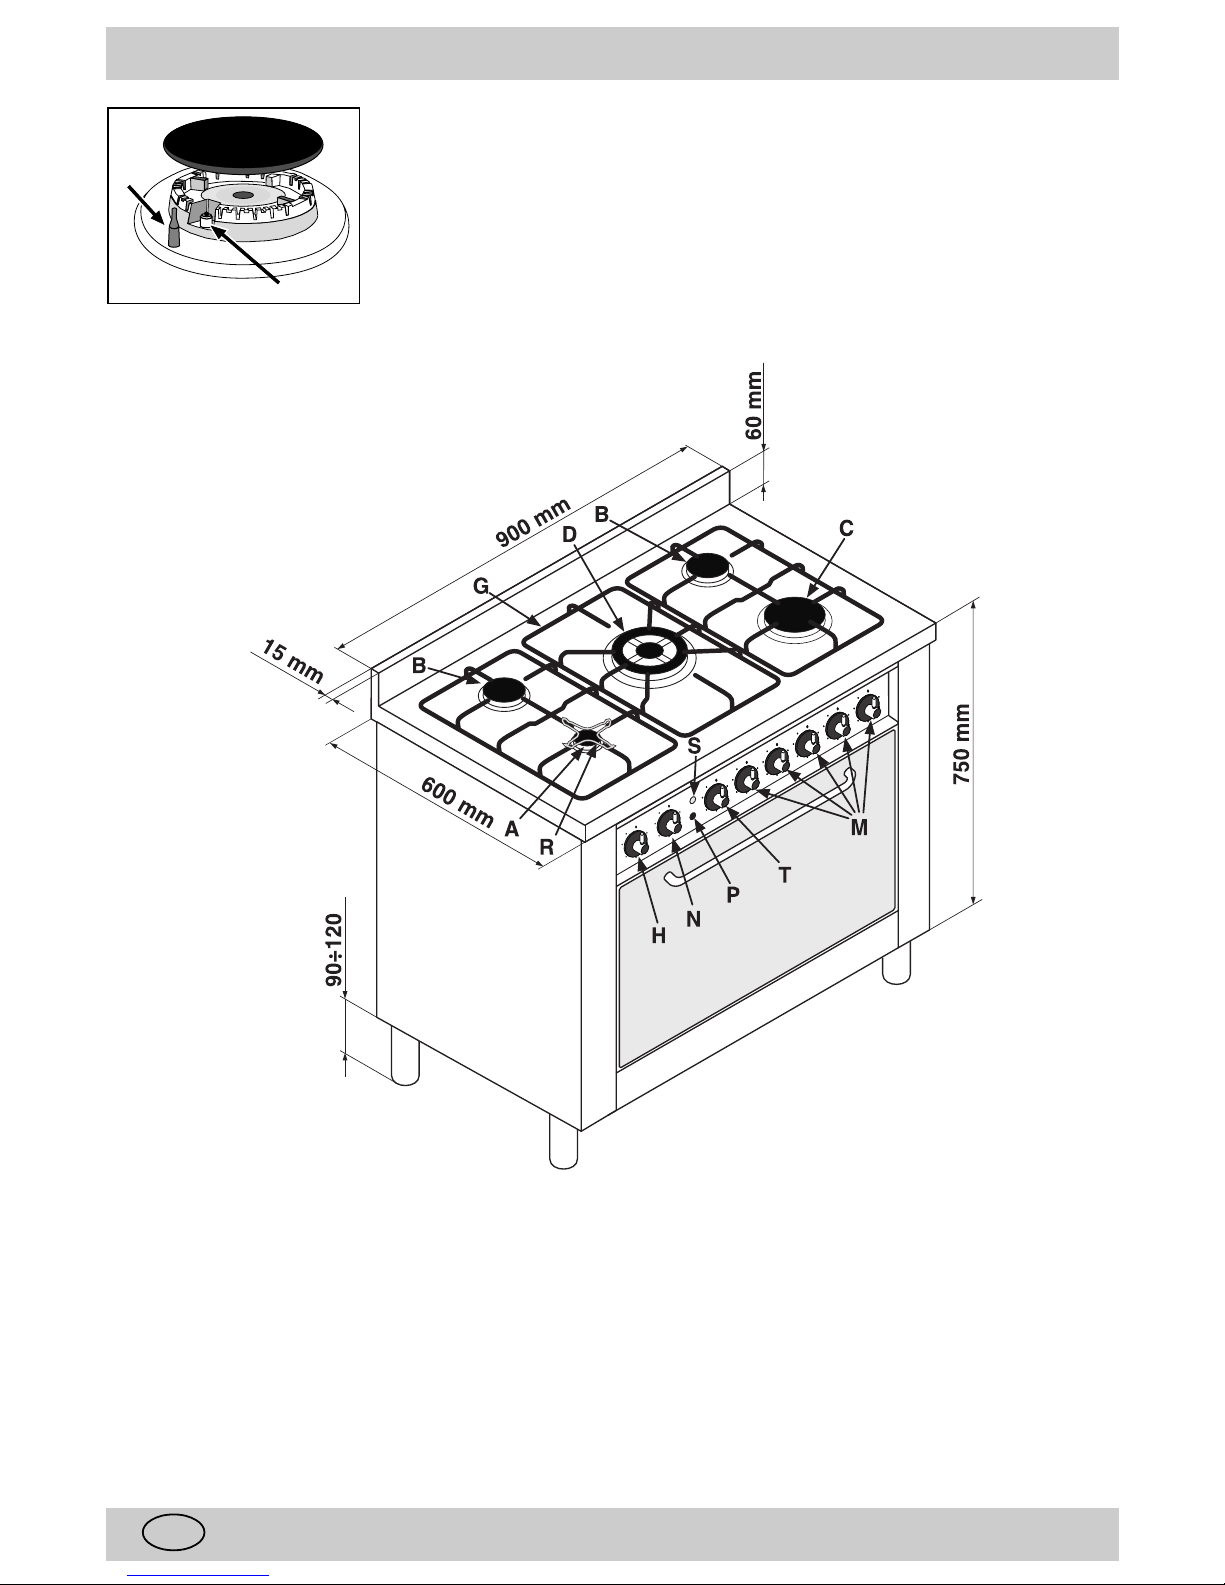
COOKER DESCRIPTION
F Safety Device - Activates if the flame accidentally goes
out (spills, drafts, etc.), interrupting the delivery of gas to
the burner.
H Electric oven selector knob (cooking function
selection)
N Electric oven thermostat knob (temperature selection)
A Auxiliary gas burner
B Semi-rapid gas burner
D T riple ring gas burner
C Rapid
M Control Knobs for Gas Burners
G Support Grid
S Electric oven operation indicator light
P Ignition Pushbutton for gas burners
E Ignitor for Gas Burners
R Pan reducing support
T Timer knob
E
F
3
GB
HOB OPERA TION
The burners differ in size and power. Choose the most
appropriate one for the diameter of the cookware being used.
Each burner can be regulated with the corresonding control
knob "M" by using one of the following settings:
Off
High flame
Low flame
The symbols near the knobs show the position of the
relative burner on the hob. The burners are fitted with automatic
ignition and thermocouple safety device, which automatically
cuts off the gas from the burner in a few seconds if the flame
accidentally goes out during operation.
Ignite a burner
To ignite a burner, proceed as follows:
• turn the relative knob counter-clockwise until the pointer is
on the high-flame symbol;
• press the knob down fully and activate the automatic gas
ignition by pushing at the same time the button "P"
(marked with the symbol );
• keep the knob pressed down for about 10 seconds with the
flame lit to allow the safety thermocouple to be heated;
• release the knob, checking that the flame is stable. If it is
not, repeat the operation.
For minimum power, turn the knob towards the low flame
symbol. Intermediate positions are possible by putting the
knob anywhere between the high and the low flame symbol.
To turn off the burner, turn the knob clockwise to the off
position " " .
Important:
• Do not activate the automatic ignition device for more than
15 consecutive seconds.
• Difficulty in ignition is sometimes due to air inside the gas
duct.
• If a burner flame accidentally goes out, the gas continues
to exit for a few moments before the safety device activates.
T urn the control knob to the off position and do not attempt
ignition again for at least 1 minute, thereby letting the gas
disperse, which could otherwise be a danger.
• When the equipment is not in operation, check that the
knobs are in the off position " " .
Using the burners
T o obtain maximum efficiency from the b urners, it is advisable
to use only pans with a diameter that is suitable for the burner
being used, so that the flame does not extend beyond the
pan base (see following table).
When a liquid starts boiling, it is advisable to turn the flame
down just enough to keep the liquid simmering.
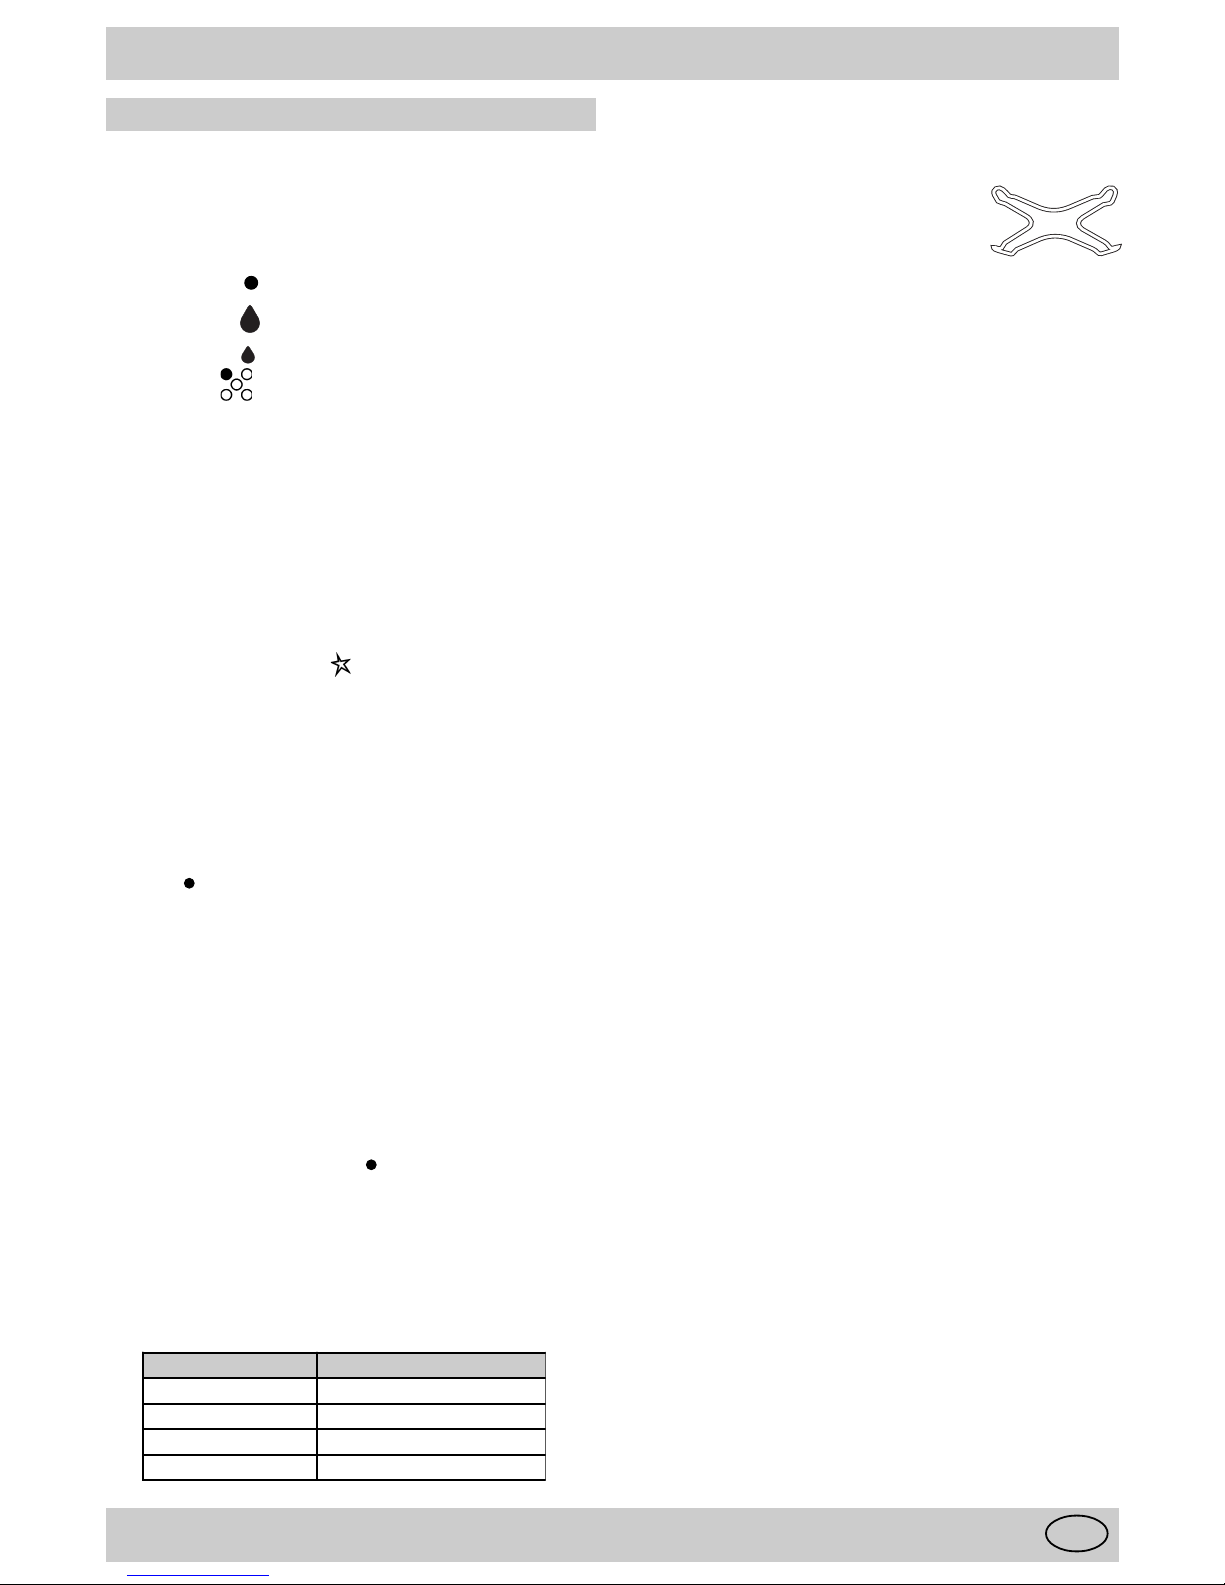
INSTRUCTIONS FOR USE
The hob is fitted with a pan reducing
support "R" , which should only be used
on the auxiliary burner "A"
Burner Diameter of the pa n in cm.
Auxiliar y A from 6 to 14
Semi-rapid B from 15 to 20
Rapid C from 21 to 30
Triple ri ng D from 24 to 30
4
GB
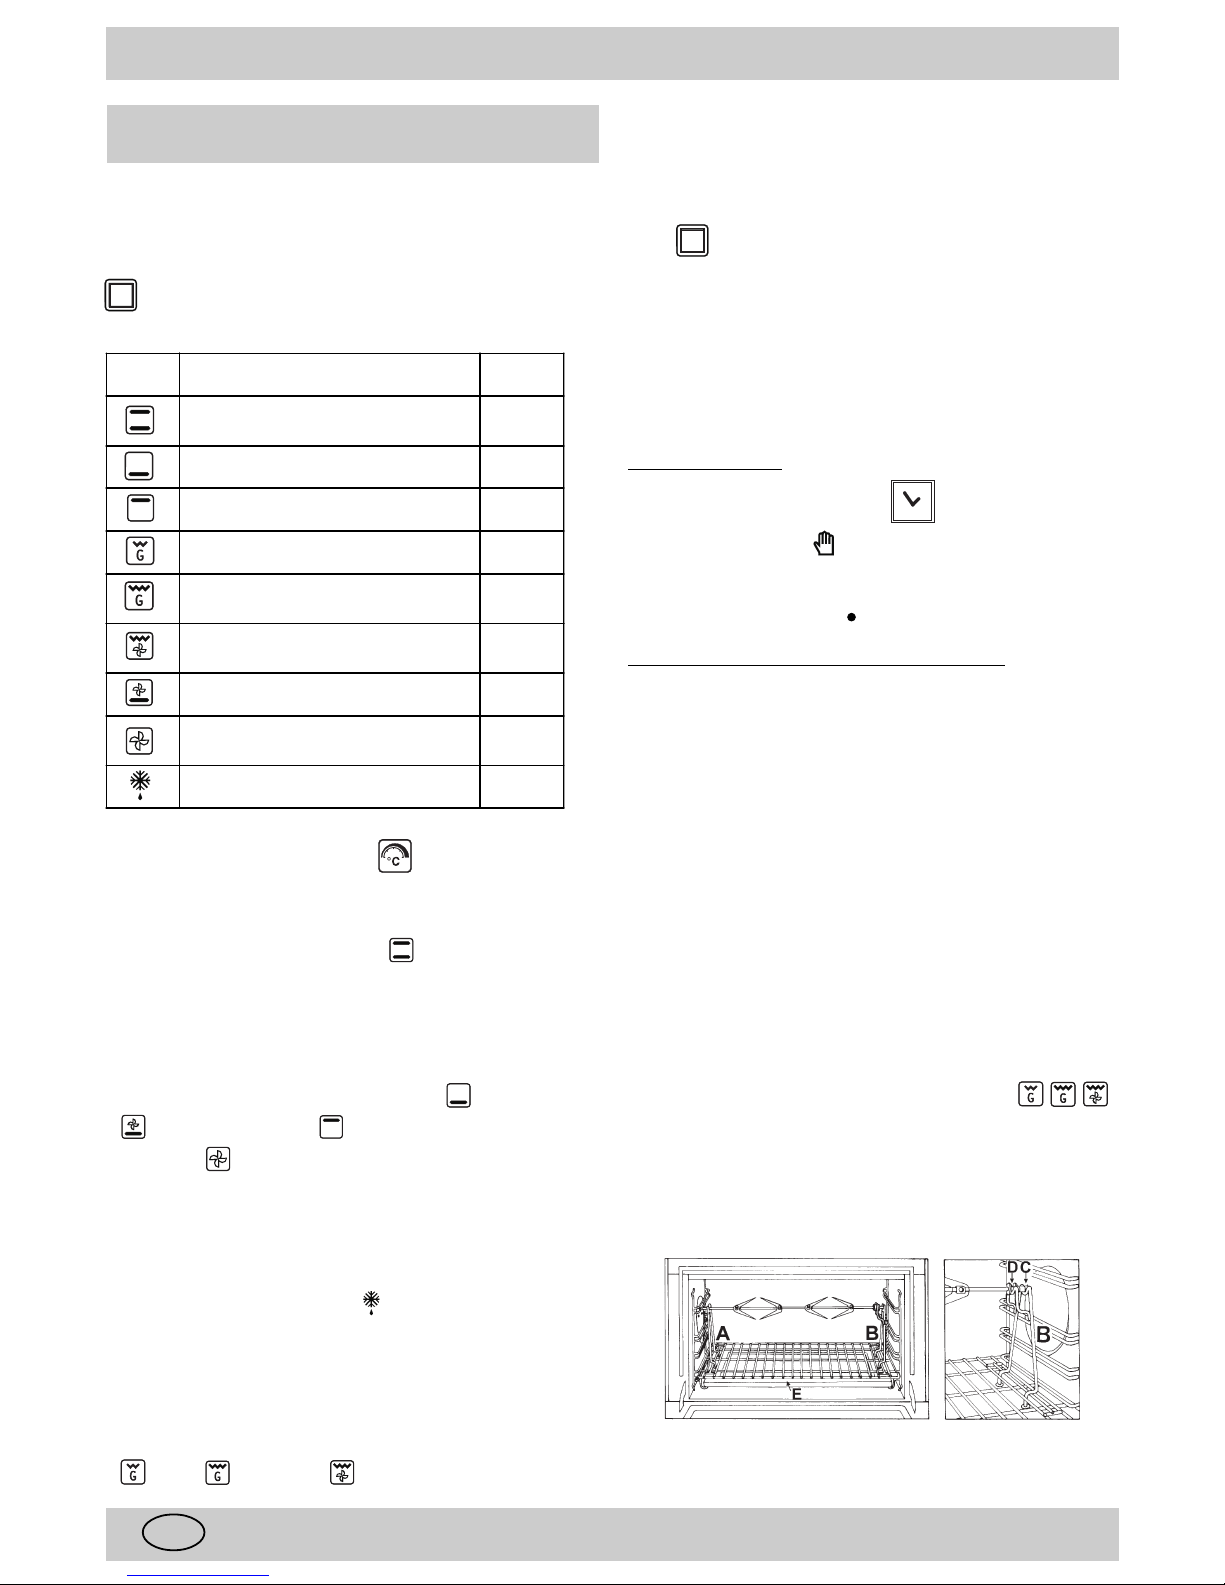
MULTI-FUNCTION OVEN
The oven offers nine combinations of heating elements; so
the most suitable combination may therefore be chosen for
each dish, with convincing results.
By turning the selector knob “H” marked with the symbol
, different cooking modes are obtained, as shown in the
following table:
After having selected the heat source, put the thermostat
knob "N" (marked with the symbol
) onto the temperature
required.
• For traditional cooking (roasts, biscuits, etc.) in
conventional mode use the
mode (hot above +
below).
Only put the food to be cooked into the oven when it has
reached the selected temperature and preferably use just
one shelf for cooking.
To provide heat only to the bottom or the top part of the
dishes, turn the selector to the position
(hot below) or
(hot below + fan) or
(hot above);
• With this
(fan assisted)mode heat is transmitted to
the food through pre-heated air made to circulate inside
the oven by a fan. The oven heats up very quickly so the
food to be cooked may be put into the oven as soon as it
is switched on. Cooking is also possible simultaneously
on two shelves.
• The “fast defrosting“ function
uses no heating elements,
just the oven light and the fan.
• Grill operation: a high heat output is used for grilling, so
that the surface of the food is immediately browned; this is
particularly indicated for meats which should remain tender
on the inside.
T o grill, turn the selector knob "H" to one of these positions:
(grill),
(maxigrill),
(maxigrill + fan)
fig.2a
fig.2b
During grilling, do not set the thermostat knob to above
200°C and keep the oven door closed.
Oven light "S"
The oven light comes on automatically when the selector
knob
is turned to any of its positions.
Minute minder "T"
To use the timer, you must wind the alarm by turning the
knob almost one complete turn clockwise; then turn the knob
back to set the time by positioning the minutes required on
the index of the facia.
Timer (only on certain models)
Manual operation
T urn the timer knob with symbol
anti-clockwise and set
the marker to symbol
(manual). Turn the oven on at the
selector knob and set the desired temperature on the
thermostat knob. To turn the oven off, turn the timer knob
back to its initial position " " .
Operation with cooking time programming
Turn the timer knob clockwise, setting the marker to the
desired cooking time (from 10 to 120 minutes). Turn the oven
on at the selector knob and set the desired temperature on
the thermostat knob. Once the countdo wn is over, a buzzer
will sound, and will stop doing so after 1 minute or if you
press any button whatsoev er .
Remember that the timer is deactivated when cooking starts
(be it immediate or programmed).
Spit - Rotisserie
Insert the meat to be cooked along the length of the spit rod,
securing it with the special adjustable forks (fig. 2a).
Introduce the supports “A” and “B” (fig. 2b) into the holes in
the drip tray “E”, rest the rod groove on the seat “C” and
insert the oven rack into the lowest guide of the oven; now
insert the spit rod into the relative hole, moving the groove
forward into seat “D” . Star t the rotisserie by turning the
selector knob to one of the following positions:
0
0) Off -
1) Top + Bottom heating
elements
2
350 W
2) Bottom heating element
1300 W
3) Top heating elemen
t 1050 W
4) Grill heating element
2000 W
5) Maxigrill (Top + Grill heating
elements)
3050 W
6) Maxigrill (Top + Grill heating
elements) + fan
3100 W
7) Bottom heating element + Fan
1350 W
8) Rear round heating element +
2
850 W
9) Fast defrosting 50 W
 Loading...