

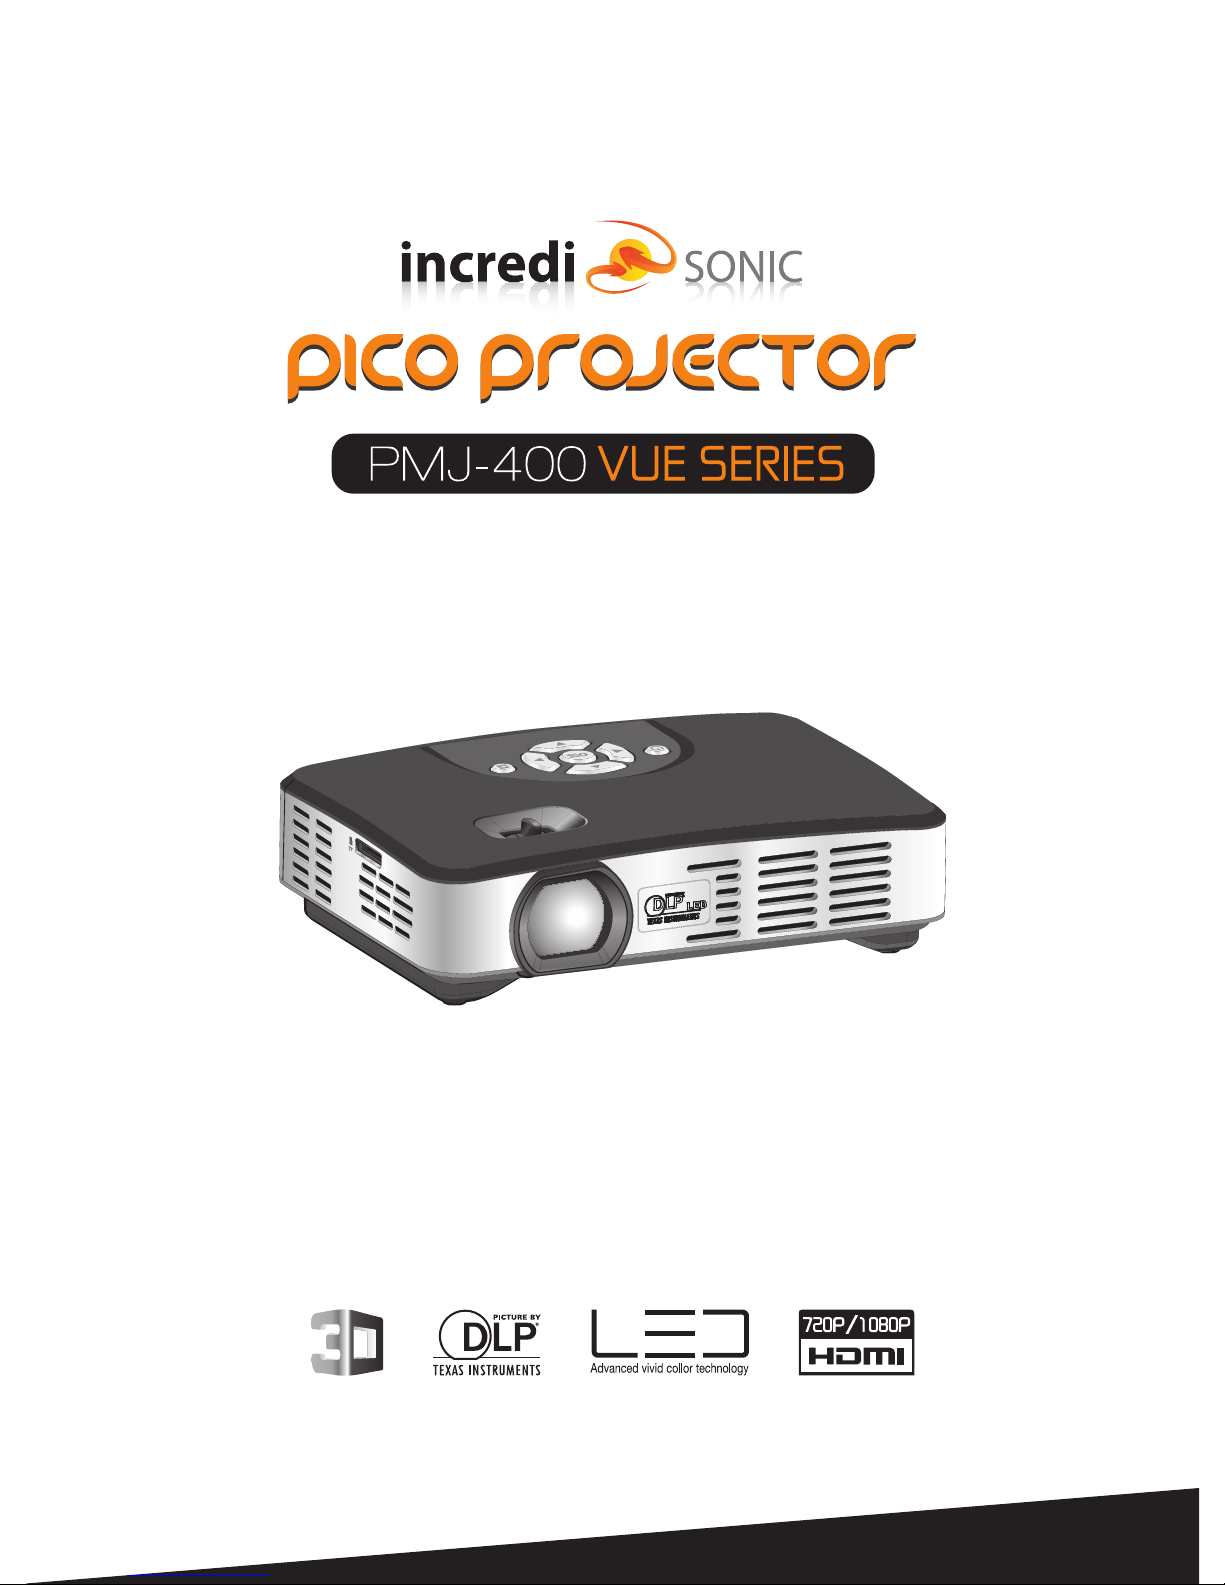
User Manual


Contents
1 Product Introduction ................................................................
2 Specifications .........................................................................
3 Package content .....................................................................
4.1 Projector ...........................................................................
4.2 Remote control ..................................................................
5 Use and connection .............................................................
5.1 VGA cable Connection ........................................................
5.2 HDMI cable Connection ......................................................
5.3 AV cable Connection ..........................................................
5.4 A/V file in the USB ...............................................................
5.5 Connect earphone ..............................................................
6 VUE projector button layout .....................................................
7 VUE projector remote control layout ..........................................
8 Play a 3D movie ......................................................................
9 Projector input source ..............................................................
10 Projector setup Menu .............................................................
11 Battery installation of remote control ........................................
12 Remote control operate range .................................................
13 Troubleshooting .....................................................................
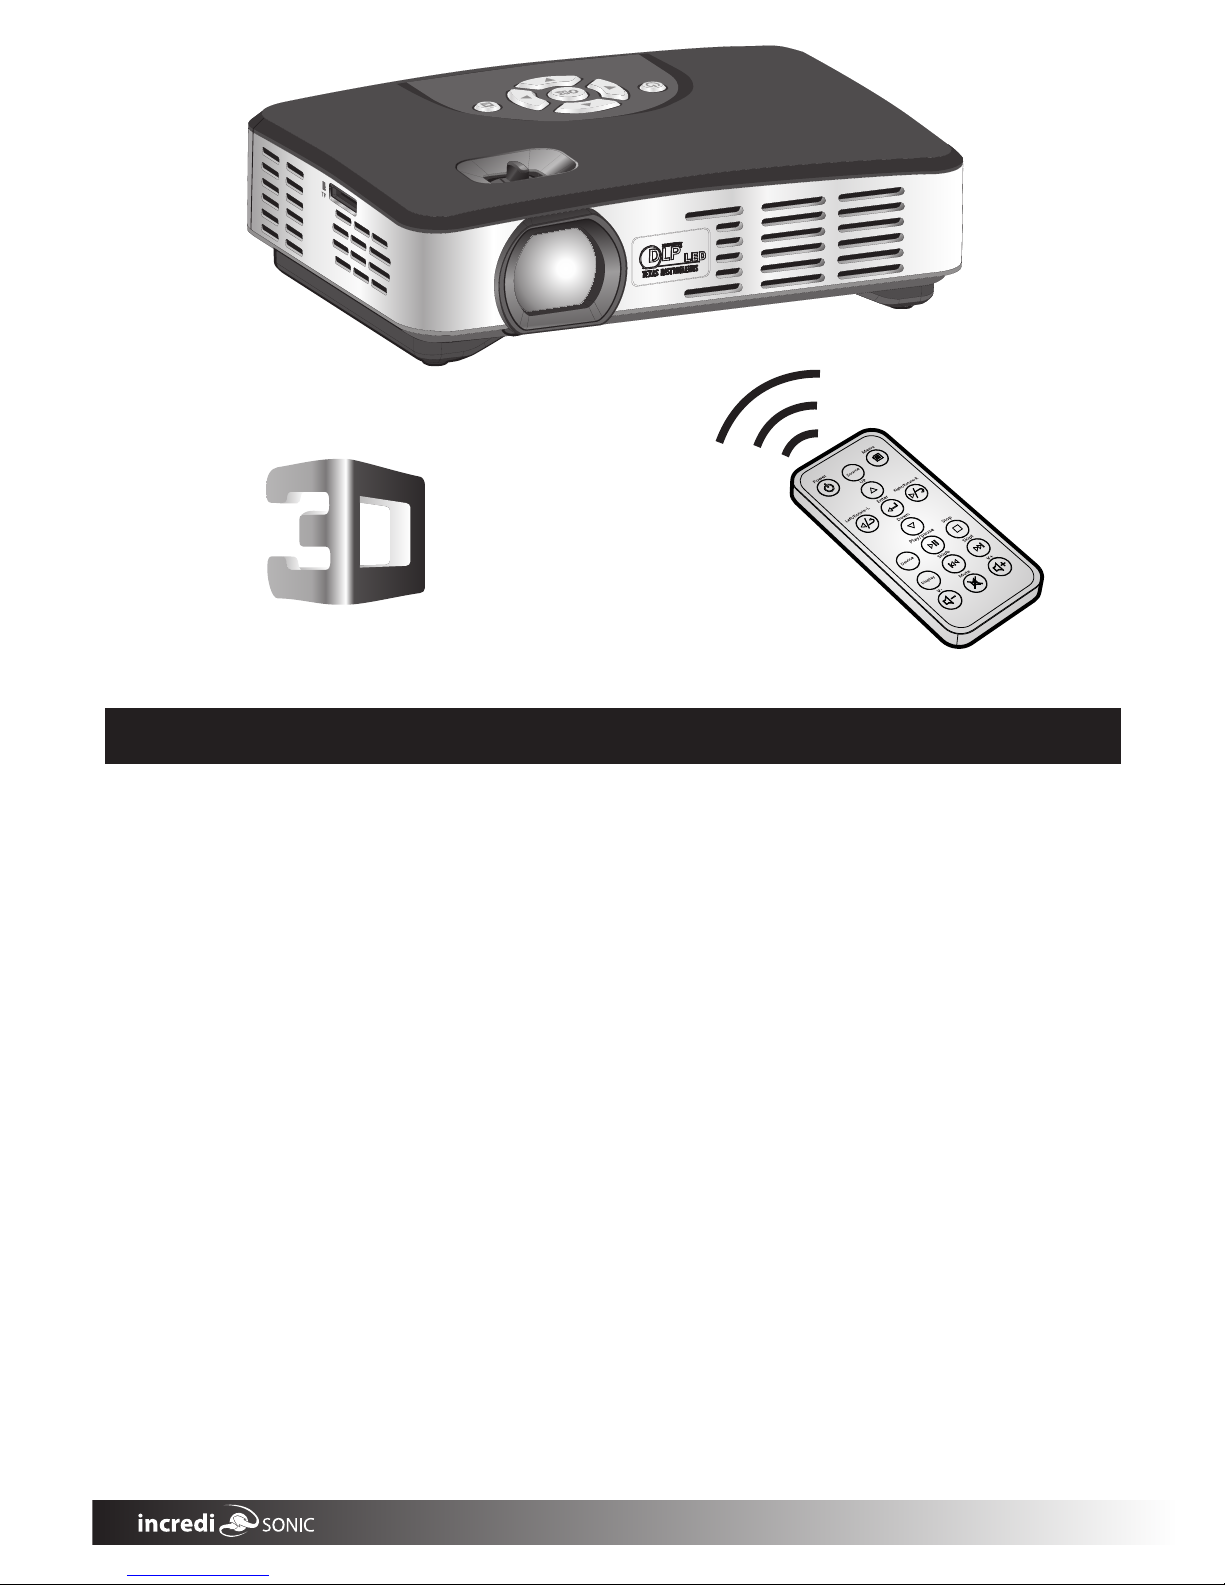
4 VUE projector, remote control and projector layout .....................
1
2
3
3
3
3
4
4
4
4
5
5
5
6
7
7
7
8
8
8
1 Product Introduction
FEATURES:
WXGA 1280x800 DLP projector, Supports 1080p/1080i/720p -Resolutions, 2000:1
Contrast, Vibrant Color Technology with 20,000 hour LEDs
Portable 1.5 lbs. Weight, Mini Projector fits nicely in laptop case, Lamp Life is
20,000 Hours & 3D Ready.
Built-in Speaker, 4:3 and 16:9 compatible. HDMI, VGA, Composite A/V
connections along with USB readers
For Business Presentations & Personal Media Sharing, USB, Plug 'n Play for
instant set up; Apple Mac and PC Compatible
Up to 160 inch image (in low-light condition)
- 1 -
1

- 2 -
2 Specication
Brightness
400 Lumens
WXGA(1280X800)
Projection Size
0.5M,19inches;1M,38inches;3M,115inches.
Light Sources
RGB LED, the life is over 20,000Hours
Project Distance
0.5-3M
Memory card capacity
Supports up to 32GB and supports TF cards
16:9 (4:3)
Aspect Ratio
Uniformity
≥80%
NTSC
>100% NTSC
Contrast Ratio
2000:1
Project Technology
DLP
19-115inches(It can be adjusted according to the light and project distance)
Power consumption
32W(S1)/20W(S2)
Power Supply
AC 100-240V~ 50Hz/60Hz;
Φ3.5mm earphone interface
VGA; AV; HDMI; USB 2.0;TF card
Input Interface
Earphone output
Speaker
3Wx1
DC 19V 3.42A;
Dimension
150 ×108mm(W)×44mm(H)mm(L)
AC Adaptor, AC cable, VGA cable, AV cable, Remote control, User manual
Standard Accessories
Weight 425g
Operating Temperature: 0 C~40 C;
Operating Relative Humidity: 35%~85% (without condensation)
Requirement Environment
Video: MPEG,MPG,AVI,MP4,XVID,DAT,RM,RMVB,DIVX,H.264
Support media data
formats
Picture: JPG, ,BMPJPEG
Audio: MP3,WMA,AAC,AC3
Native Resolution
Support HD 720p, 1080p
Lens
F/#=2.1,f=12mm
Text: TXT
.
2

4 VUE Projector, Remote control layout, and features
4.1 Pico
3 Package contents
AC Adaptor
Remote Control User Manual
Power Key
1
Right Key
5
Left Key
3
Enter Key
4
Down Key
2
Focus
8
Up Key
6
Setup Key
7
Speaker
9
HDMI port
16
DC IN port
17
TF card slot
10
Remote control
receptor
11
AV IN port
12
Earphone
13
VGA port
15
14
USB port
4.2 Remote control
- 3 -
Volume-/+
8
Menu button
9
Stop button
11
Play/ Pause button
12
Skip/Up/Down button
13
Enter
10
Power button
1
Source switch button
2
Up/Down button
3
Display button
6
Mute button
7
Right /Rotate -R
Source
Power Menu
Up
Left / Rotate -L Enter
Return
Down
Play / pause
Stop
Skipb
V-
Display
Skipf
Mute
V+
3
4
5
6
1
2
7
8
10
11
12
13
9
4
Left/Right button
Return button
5
1
2
3
4
5
6
7
8
9
10
11
12
13
14
15
16
17
button
VGA Cable
AV cable
3

The VUE can support the highest resolution; 1920x1080, the highest refresh frequency is 75Hz.
suggested resolution is 1280x800,60Hz.
When connecting to a PC, please press source switch key and choose PC-RGB, and then
press Enter key into PC-RGB mode.
When using your laptop for an input source, the following keys can be of help to switch screens:
Fn key+ F5 key (Mark small icons, for example: " ", " ", " " )
Mobile Phone
AV Cable
5 Using and connection
5.1 Using a VGA cable
Connect equipment, please press Source switch key and choose HDMI, and then press Enter key
into HDMI mode.
5.2 Using an HDMI cable
- 4 -
VGA cable
Laptop
HDMI cable
Digital Video
Camera
Set Top Box
DVD player
Laptop
5.3 Using an AV cable
Yellow
White
Red
Video Game
Console
Digital Video
Camera
Digital Video
Camera
DVD player
Special AV cable
for Equipment
When connecting equipment, please press Source switch key and choose AV, and then press
the Enter Key into AV mode.
When connected to a mobilephone, only AV mode can use AV OUT or TV OUT if the mobile
phone is able to be connected via the AV cable.
4

- 5 -
5.5 Connect earphone/speaker
(Not Included)
5.4 USB/TF memory card data projection
USB Flash Drive
Speaker
TF Card
USB connected Mouse, keyboard and other USB memory devices, please press
“set”->
“note developer option”-> set operating mode to be "host mode".
6
Projector Button Layout/Function
Power key
Setup Key
◆
Set up menu.
◆
◆
Turn VUE on/off
Short press to exit
Enter button
Sure the selected
items.
Long press to
access
source
menu
◆
◆
Left button(volume,
fast rewind)
Up button (enlarge , skip to previous )
◆
◆
◆
◆
When playing a video, press and choose previous file
When playing audio, it functions as fast rewind.
When
playing images it
will
enlarge the files
When
displaying text files, it scrolls up the files.
Right button(volume+,
fast forward )
◆
◆
◆
◆
When playing audio, it fast forwards.
When playing images, for every press,
images will rotate 90 degrees in
clockwise way.
When
displaying text, press and choose
When
displaying text, press and choose
next file.
Long press to increase the volume
◆
◆
When playing a video, it rewinds
When playing images, for every press,
images will rotate 90 degrees
counter clockwise.
◆
previous
◆
file.
Long press to dercrease the
volume
Down button (reduces , skip to next )
◆
◆
◆
When playing video, press and choose next file.
When playing audio, it fast forwards.
When displaying text files, it scrolls down the files
.
5

- 6 -
7 Remote control function
Menu Key
◆
Setup menu.
Power Key
Power
Power on/off
button.
◆
Source
Source switch button
◆
◆
◆
◆
Connect PC-PC mode.
Connect AV cable-AV mode.
Use USB flash drive/TF memory
card-Multimedia mode.
Use HDMI cable-HDMI mode.
Up
Up button
◆
◆
When playing a
When playing
video or image files, it will enlarge
the display
.
text files, it will scroll the files up.
Left/Rotate-L
Enter
Enter button
Selects Item
When playing a video,
"image function" menu
will appear.
◆
◆
Left button
When playing a video, it will rewind
When playing images, every press
will rotate the image 90 degree
counter clockwise
◆
◆
Right button
◆
◆
◆
When playing a video, it will fast
forward
When playing images, every press
will rotate the image 90 degrees
clockwise
When playing audio, it fast forwards.
When playing video images file, it will reduce
When playing text files, it can scroll down the files.
When displaying text files, will skip to
the next file
◆
When displaying text files, will skip
to the previous file
Right/Rotate-R
Down
nottub nwoD
◆
◆
◆
images.
Play/Pause
Return button
Play/Pause button
◆
Play/Pause function
◆
Execute 3D source
format and Select 2D
to 3D transfer effect.
Stop
Return
Stop button
◆
Stop function
Skipb
Display button
Skip button
◆
Chooses the
previous files
◆
Data displays when
play video /images
information.
Skipf
Display
Skip button
◆
C
hooses the
next file
Mute
Vol - button
Mute button
ontrol mute
◆
C
Volume decreases
◆
V-
Vol + button
Volume increases
◆
V+
6

- 7 -
8 Playing a 3D movie
1. When playing a 3D source from USB/VGA/HDMI, first enter the
right source to play, then press the Display button on the remote,
then according to the 3D source format (Updown / Leftright) to
select the right format and then press confirm to play.
2.
When playing common 2D sources, in the "source playing mode",by
pressing the display button, then select 2D to 3D, it will produce a
2D to 3D effect.
3.
This device's 3D display is time-sequence 3D display, you will
need to use DLP-LINK glasses to see the 3D display effect.
9 Projector input source
"Long press" the OK button or the "source button" on the remote control to enter the
projector source selection menu:
AV:
the device with AV output function, such as STB/HD player/cell
phone/camera, etc.
HDMI: HDMI source input display, use the right HDMI cable to connect
to the device with HDMI output function, such as Laptop/DVD/HD
player/cell phone etc.
PC-RGB: VGA source input display, use the standard VGA cable to
connect to the device with VGA output function, such as computer,
HD player, etc.
Multimedia: the device's default input source, to read the movie,
music photo and Text which can be supported by the device from
USB and TF card. When reading the TF card, press the left button on
the top or the remote control to choose the TF card, then press the
enter button to select.
AV source input display, use the standard AV cable to connect to
Input Source
AV
HDMI
PC-RGB
DMP(USB,SD)
OK
10 projector setup menu
1. Picture mode standard:
display mode: standard, dynamic, mild, user mode
2. Color Temperature: Enter to adjust the device's
display color effect: Medium, warm, user,
3. PC Setup: Adjust to suitable resolution when
connecting to the computer VGA output
4. Projection Type: Enter to select the device's
projection method:front-desktop, front ceiling,
back-desktop, or back ceiling
5. Sound mode standard: Enter to adjust the device's
sound mode Standard, Music, Movie, Sports, User,
Enter to adjust the device's
Picture Mode Standard
PC Setup
Sound Mode Standard
Auto Keystone On
Keystone
Osd Duration
Restore Factory Default
OPTION
6. OSD language:
7
. Auto Keystone : Enter to on/off the Keystone function
8. Keystone: Under the Keystone off mode, enter to adjust the Keystone factor manually.
9. OSD Duration: Select the menu duration time:5 sec 10 sec 15 sec
10. Restore Factory Default: Enter to select if entered the default mode or not.
Enter to select language.
, , .
Display Type
2D
2D to 3D
L
eftright 3D
Updown 3D
OK
7

- 8 -
13 Trouble shooting
VUE projector
can't turn on
Symptoms
Reasons
Solution
Images are
not clear
NO images
VUE Won't Work
No power
The lens is not focused correctly
The screen is not aligned properly
Incorrect operation
of the
USB card
/ smartphone
The input signal device is not
connected with the projector
correctly
The input signal isn't selected
correctly.
The system crashes
Ensure the AC power adapter is properlyconnected
Adjust by Focus Key
Adjust VUE projector position(0.5-3M,it is suitable)
Refer to input source's instruction manual
Using a pin, press and hold the reset button
Check the connect interface again.
Using VUE projector or remote control source
button, and then choose the right signal input
source.
No 3D effect
1.Didn't transfer to 3D mode
2. 3D glass is not power on
3. 3D glass is not match.
1. Transfer to 3D mode. 2. power up the 3D
glass 3. Glasses must be DLP Link
3D glass blinking
3D Glass's battery is low
Charge the 3D glass
o
20
o
20
<8m
<3.5m
11 Battery installation of remote control
1>Remove battery box and
plastic isolation piece
3>Restore to original
2>Replace battery
Plastic isolation piece
2
1
The battery is pre installed but to prevent any discharging before operating we have place
a plastic isolation piece, please just pull it out to operate the remote.
Notice: In the first part, press button toward arrow, press the second part button and then get it out.
12 Remote control operate range
Notice: Direct sunlight may affect the perfomance of the remote control
8

 Loading...