

Inalsa Jewel Use & Care Manual
Dear Customer,
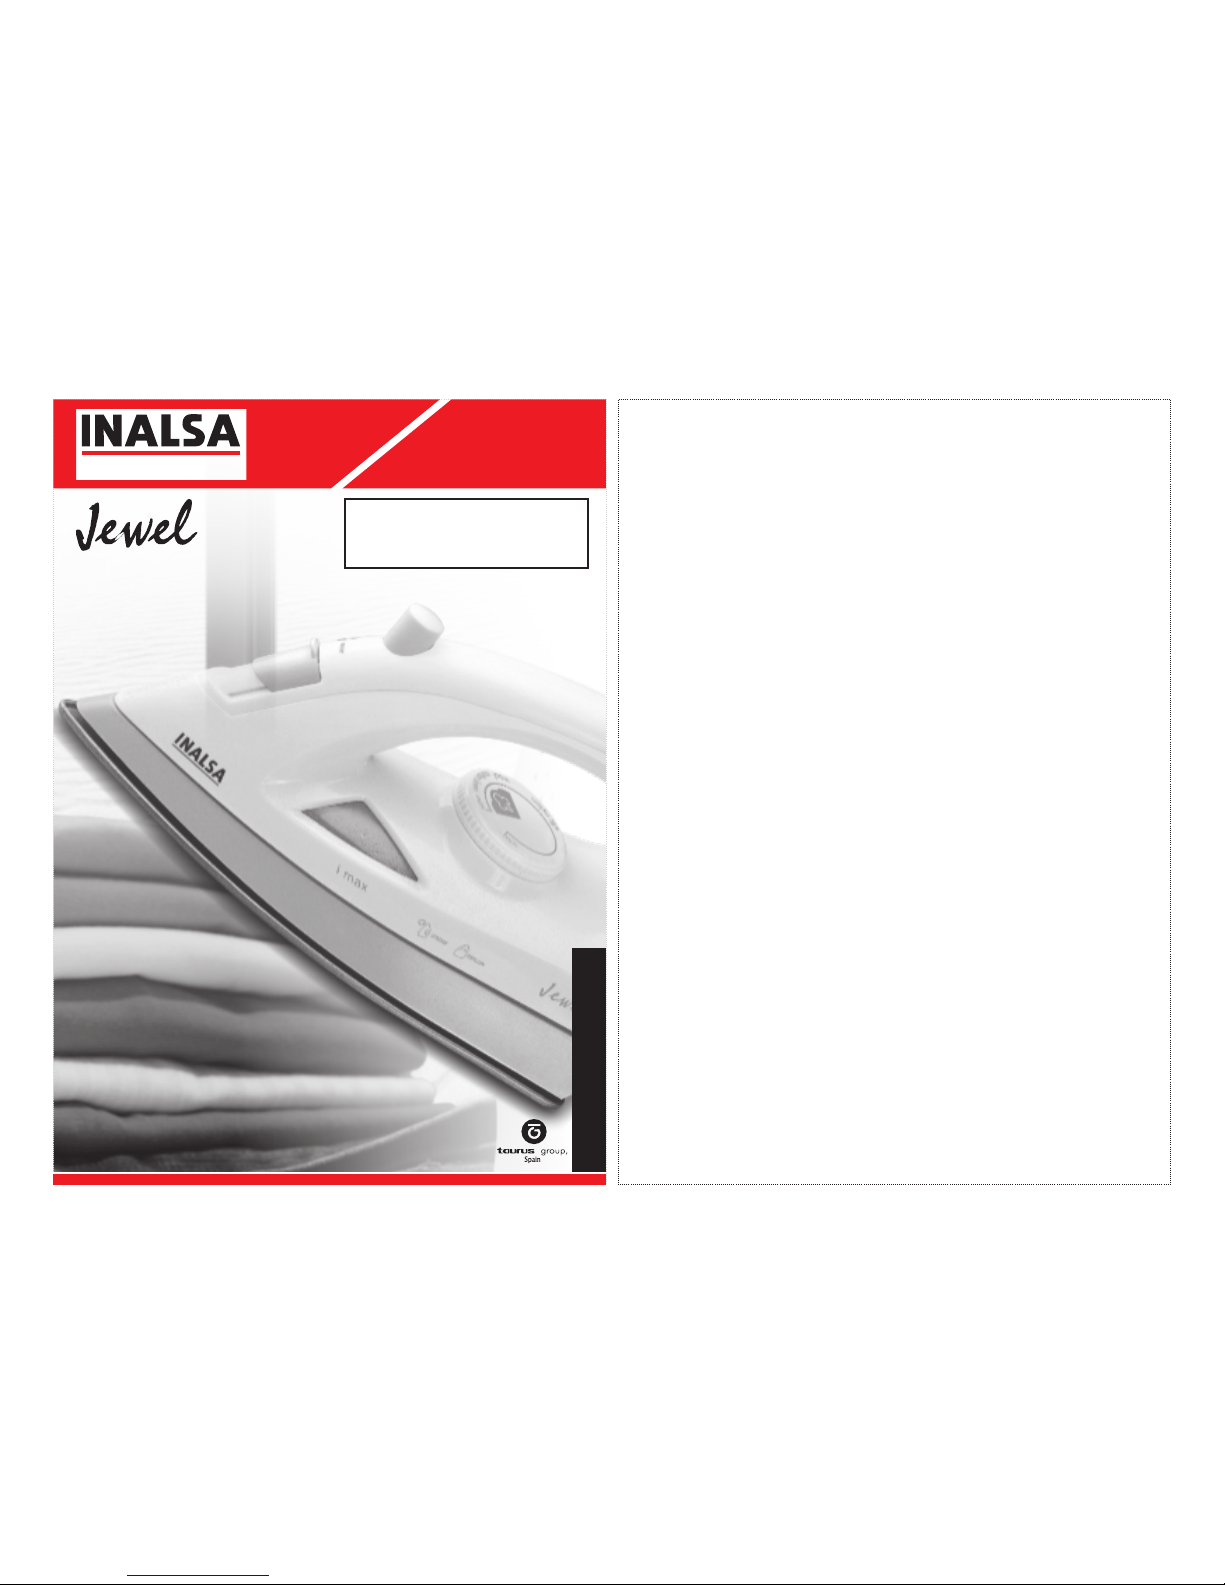
Congratulations! On the purchase of your INALSA Steam Iron, this is
designed to include many superior features that permit you the fullest
expression of your ironing skill and enthusiasm. You are now on the
threshold of a whole new world of ironing pleasure.
At INALSA, we have a reputation of manufacturing innovative, high quality
appliances such as Food Processors, Mixer Grinders, Juicer Mixer Grinders,
Cooking Ranges, Juice Extractors, Sandwich Toasters, Microwave Ovens,
Oven Toaster Grillers, Hand Blenders, Electric Kettles, Rice Cookers, and
Electric Chimneys. Your newly acquired INALSA Steam Iron bears the same
distinctive hallmark of excellence.
It is all the result of vigorous quality consciousness in INALSA's design and
development where uncompromising standards are maintained and rigid
quality control measures are exercised on raw materials, components and
finally, the finished product.
Your INALSA Steam Iron has a lot of thoughtful features built in to make your
ironing convenient. Please read these instructions carefully, so that you may
get the best out of the power packed features in your INALSA Steam Iron.
Welcome to the INALSA world of ironing pleasure!!
STEAM IRON
LVhe vk;ju
HO ME AP PL I AN CE S
The visuals are indicative only
USE & CARE MANUAL
mi;ksx o ns[kHkky iqfLrdk

Part's Identifications
Part No. Part Name
Technical Specification*
1. Water inlet cover 6. Insulation board
2. Steam on/off knob 7. Pilot lamp
3. Main body 8. Temperature control knob
4. Cord guard 9. Water tank window
5. Power cord 10. Sole plate
Part No. Part Name
Voltage 230V, 50Hz AC
Wattage 1200W
Cord Plug 6A, 3 pin, moulded plug with cotton braided cord
Sole plate coating Non-stick coated
*Due to continuous improvements in product, specifications are subject to
change without prior notice.
1. Ensure that the supply voltage is the same as that specified on rating plate.
2. The iron should always be turned off before plug in or plug out from the
mains supply.
3. Never pull the cord to disconnect from the mains supply, instead grasp plug
and pull to disconnect.
4. Never use the appliance if it is damaged in anyway.
5. When leaving, even for a short while, always unplug the iron.
6. Close supervision is necessary for any appliances being used by or near
children.
7. Do not leave the iron unattended.
8. Burns can occur from touching the hot metal parts, hot water or steam.
9. Use caution when you turn a steam iron upside down, there may be hot
water in the water tank.
10. Never immerse the iron in water or any solution.
11. Always place the iron with its back on a firm flat surface while interrupted
ironing and after use.
12. Keep the sole plate smooth; avoid hard contact with metal objects.
13. The cord should not be allowed to touch the sole plate when it is hot.
14. Remove the main plug from the mains supply before filling or unfiling the
water.
15. Prevent water overflow, do not fill over maximum level.
16. When using the iron for the first time, test on an old piece or fabric to ensure
the sole plate and water tank are completely clean.
17. Please do not use hard water as it might lead to corrosion/scaling in the iron
and subsequently the steam mechanism may stop working.
18. After the ironing is finished, the iron should be emptied and dried before
storing.
19.
20. This appliance is not intended for use by persons (including children) with
reduced physical, sensory or mental capabilities, or lack of experience and
knowledge, unless they have been given supervision or instructions
concerning use of the appliance by a person responsible for their safety.
21. Children should be supervised to ensure that they do not play with the
appliance.
Important
Some parts of the iron have been slightly greased. That is why the iron
may produce slight smoke when switched "ON" for the first time.
22. Unplug the appliance from the electric mains when not in use. Never
keep it plugged in .
23. The appliances must be used and placed on a flat, stable surface.
24. When placing the appliance on its support make sure the surface on
which the support is fitted is stable.
25. Do not use the appliance if it has been dropped if there are visible signs of
damage or if it is leaking.
1. Keep the iron upright / vertical position.
2. Set the temperature control knob to desire ironing temperature
(according to the type of fabric) Recommended temperature settings for
different fabrics are
Nylon ·
Wool · ·
Cotton & linen · · ·
1. Set the temperature control knob to desire position.
2. Keep the iron on its heel.
3. Insert the main plug into the mains supply.
4. After the indicator light goes off and on again, you may start ironing. The
indicator light will go out from time to time during ironing, this is just to
indicate the normal working of thermostat.
1. Ensure that the iron is disconnected from the power supply.
2. Turn the steam knob to no steam position.
3. Open the water inlet cover, fill the water. (Do not exceed max. level mark
on the water tank).
4. Close the water inlet cover.
5. Insert the main plug into the mains supply.
6. Set the thermostat knob at max (···) for steam ironing. Never use steam
function at any other setting of thermostat knob.
7. Wait a little while for the indicator light to go out and come on again.
8. Set the steam knob to "ON" position.
1. Before cleaning the iron, ensure that it is disconnected from the power
supply and has completely cooled down.
2. Deposits on the sole plate may be removed with a rough cloth soaked in a
vinegar water solution.
3. The sole plate may be wiped with a damp cloth and then cleaned with a
dry one.
4. Do not use abrasives on the sole plate.
1. Remove the main plug from the mains supply.
2. Pour out any remaining water in the water tank.
3. Set the steam knob to steam off position.
4. Keep the iron upright and let it cool down.
· Do not try to replace the electricity connection, in the case of breakdown
in the electricity connection, as this could be dangerous. Take the
appliance to an authorised technical service assistance. Do the same in
the case any other irregularity arises.
How to Use
Note: If sole plate does not attain the desired temperature, water
may leak from the sole plate. That is not harmful but the ironing will
not be comfortable.
Defects and Repairs
Setting temperature
Dry ironing
Steam ironing
Cleaning
Storage
1
2
3
4
5
6
8
9
7
10
 Loading...