

Page 1
INSTRUCT14
REV120111 B/MM
General Installation Instructions
Important Information:
Please check the products for transport damage and that contents are complete
before installation.
Consult a qualified plumber if you have any problems installing this product.
Complaints made following installation regarding the above cannot be accepted.
Page 2
2 of 8
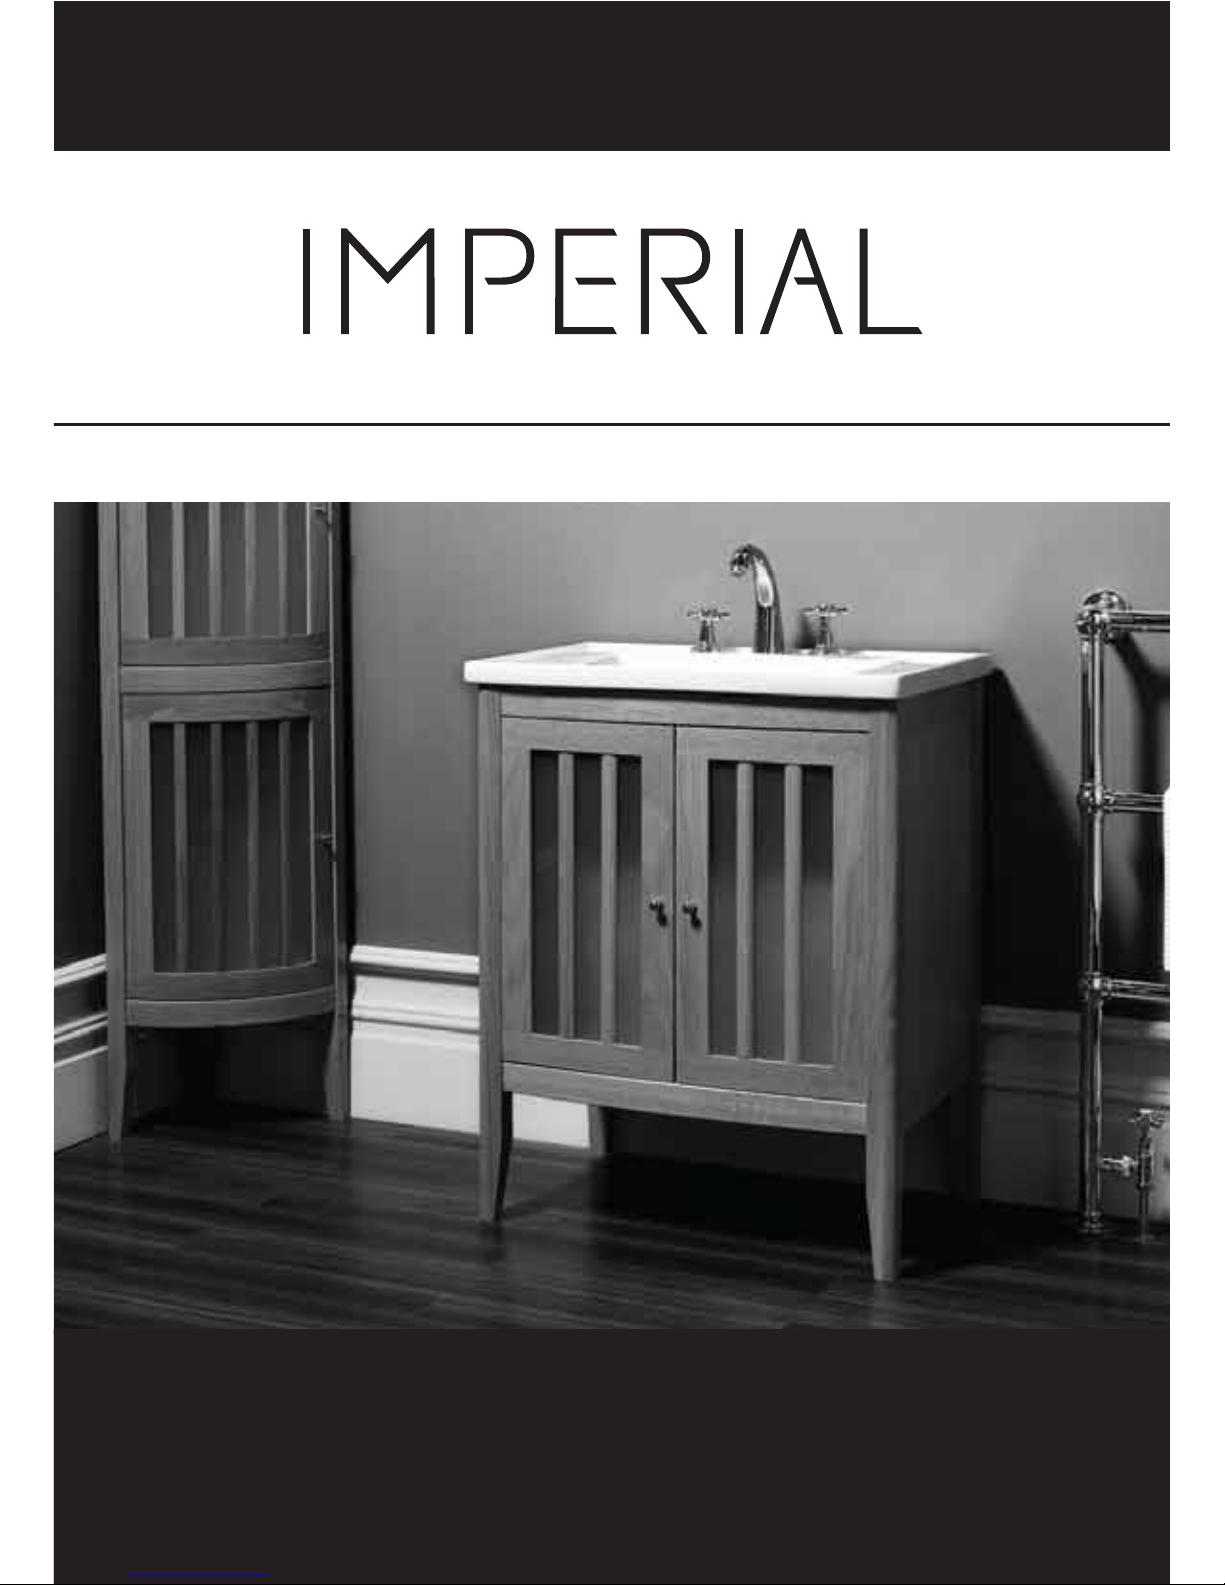
Thank you for purchasing this Imperial product. Please take a moment to
review this manual before you install your product. If you encounter any
installation or performance problems, please do not hesitate to contact us
using the phone number listed on the back cover of the booklet.
Upon receiving your product please open all cartons carefully and inspect for
any manufacturing defects or transit damage.
Imperial cannot be held responsible for damaged products after or during
their installation.
This installation guide and the fixings provided are intended for fixing into
solid walls. If you are installing this product into a stud wall structure or any
other type of non solid wall please amend your installation techniques and
fixings accordingly.
Ensure that you have a clear space within which to work.
Imperial recommed the guidence of a qualified plumber in the
installation process.
Always observe the plumbing and building requlations in the area the
product is being installed in.
General Instructions
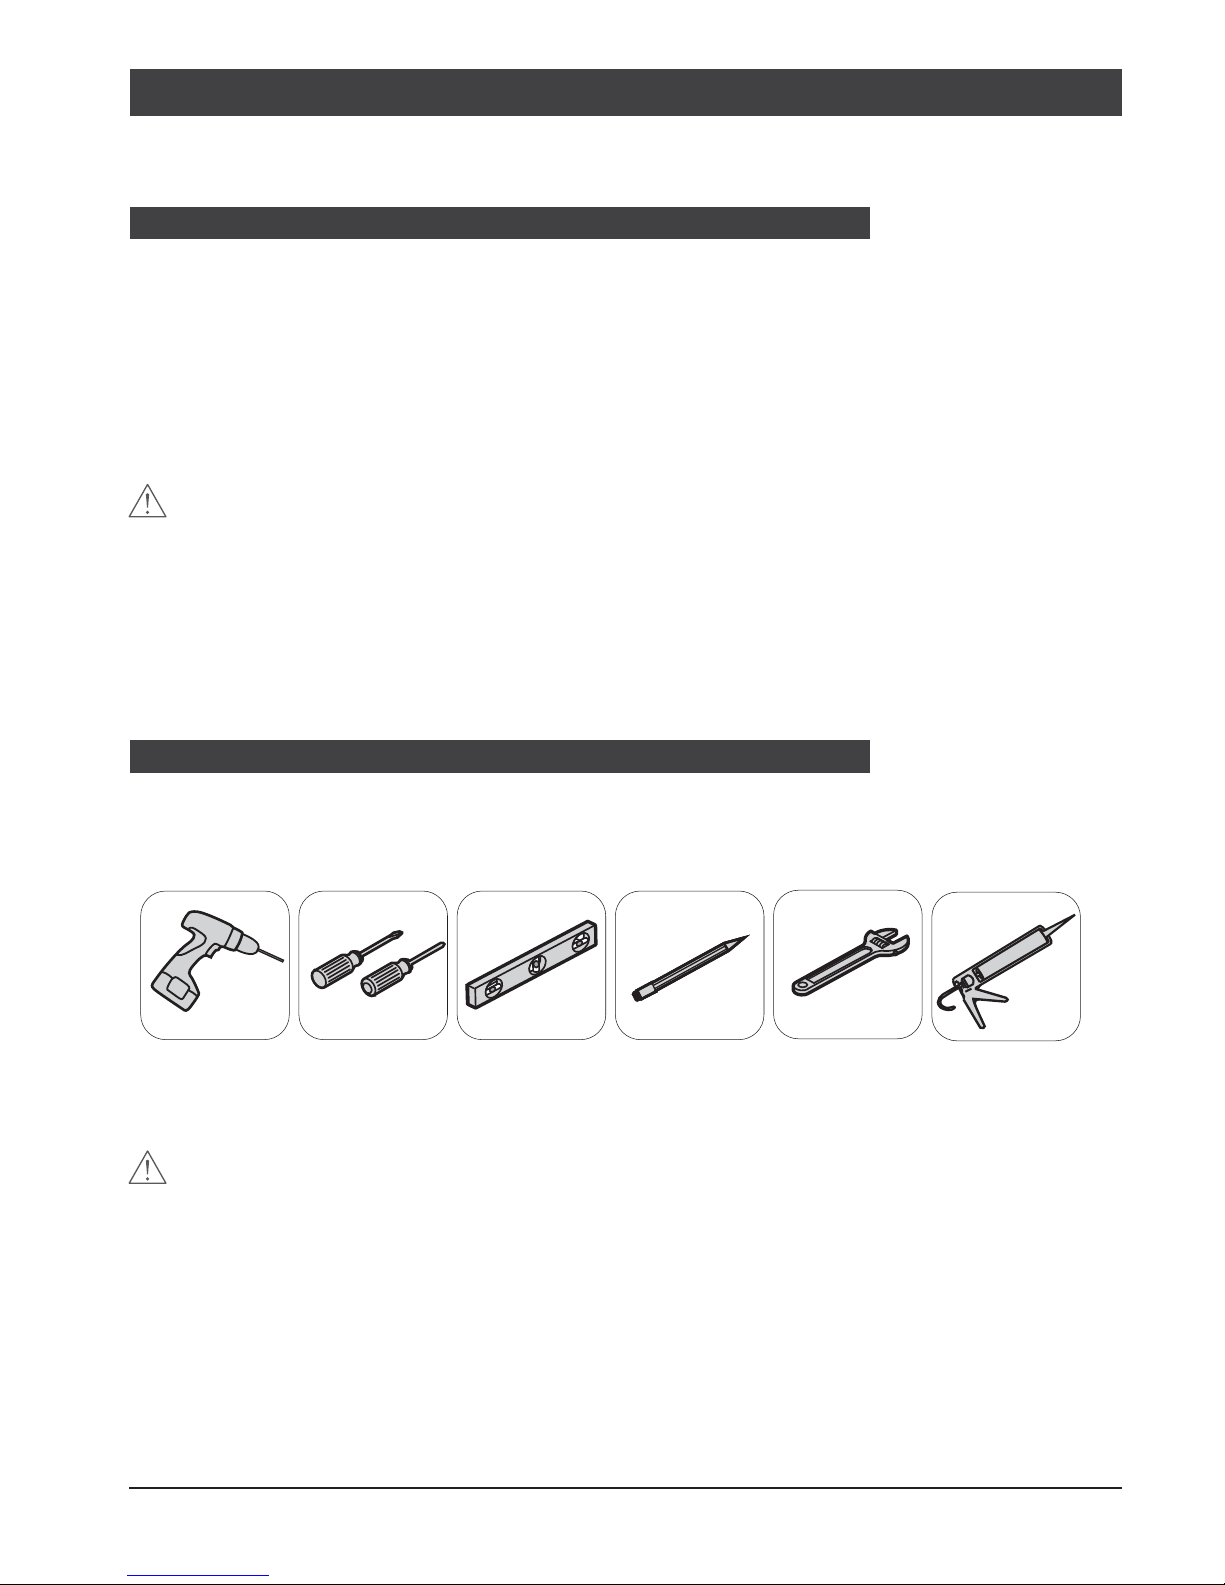
Tools Required
drill screwdriver spirit level
pencil spanner silicon
Page 3
3 of 8
• Prior to installation ensure all necessary pipework and plumbing is
carried out.
• Offer the unit up to the wall in the desired location.
• Place vanity basin onto the unit.
• Plumb the basin into all of the pipework.
• Test the installation for leaks.
• Run a thin bead of silicon around the inside of the unit and to the
rear of the basin to secure the ceramic in place.
This completes the installation of the vanity unit.
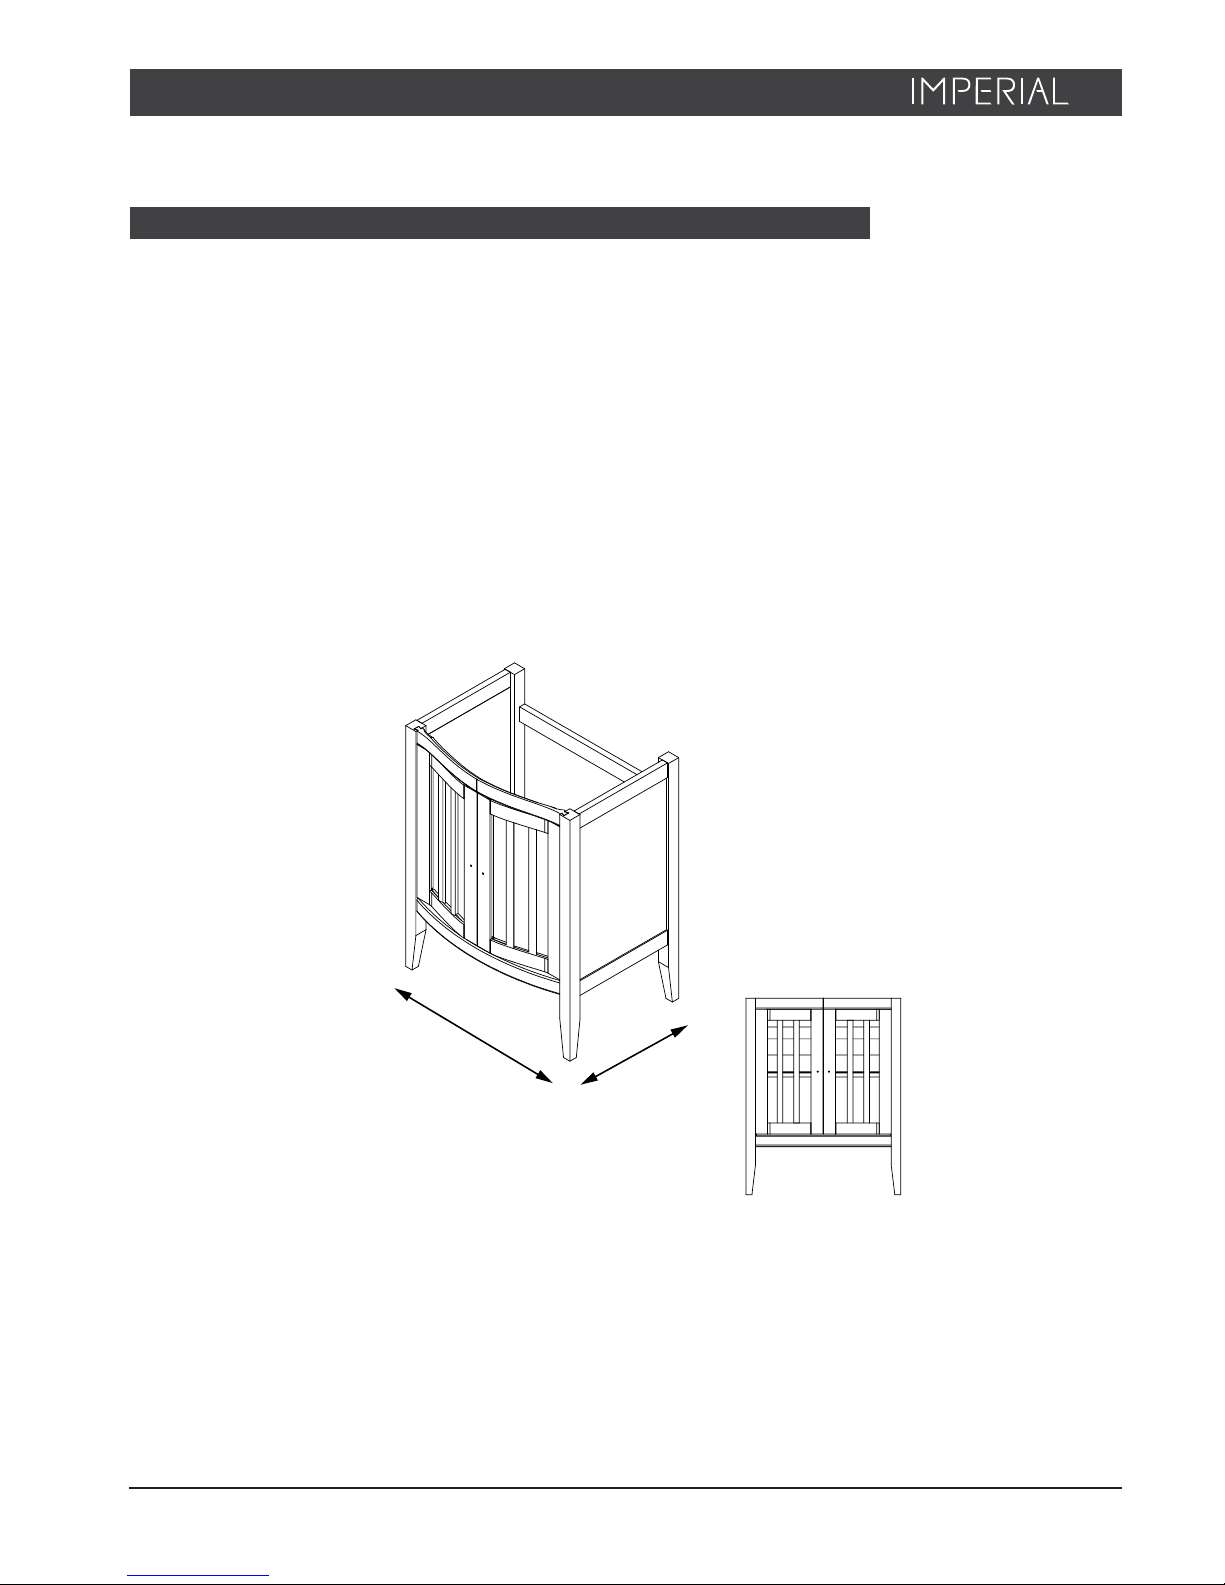
Vanity Unit
Vanity Unit
Page 4

Vanity Unit with marble top
4 of 8
• Position the marble counter top upside down on foam padding (or any soft
protective surface) to protect the marble surface. Secure the anchor into the pre
drilled holes inserting the largest end first into the marble as shown below. It may
be necessary to tap the anchor into the hole using a wooden mallet.
If this is the case do so very carefully taking care not to chip or crack the marble.
It is advisable to use a rubber mallet or use a piece of wood between the anchor
and the mallet to prevent accidental contact with the marble surface.
• Apply a continuous bead of sealant to the top surface of the basin rim where
it will contact the marble counter top. Carefully position the basin into location
and using the clamps and screws provided secure into position. Allow the sealant
to cure for an adequate amount of time before carefully turning the
• Check that the marble top sits level. Once you are fully happy with the fit of
the marble surface on the stand complete the necessary plumbing in of taps and
waste fittings.
• If necessary seal the rear of the marble to the wall with use of silicon sealant.
Marble Anchor
Marble
Ceramic
Bracket
Anchor
Screw
Page 5

5 of 8
Wall cabinet
Prior to drilling check for hidden cables & pipes.
• Offer the unit up to the wall in the desired location and mark the sets
of fitting holes with a pencil/pen.
• Remove the unit and drill appropriate sized holes for the wall fixing
(not supplied)
• Insert wall plugs and tighten screws ensuring enough of a head is left
protruding to hang the cabinet.
• Carefully lower the cabinet onto the screws and check to ensure the
unit is secure.
This completes the installation of the wall cabinet.
Care & Maintainance
Wall Cabinet
Page 6

6 of 8
Wall hung unit
• Prior to installation ensure all necessary pipework and plumbing is carried out.
• Offer the unit up to the wall in the desired location and mark the sets of fitting
holes with a pencil/pen (x3 holes inside cabinet, x3 underneath cabinet).
Prior to drilling check for hidden cables & pipes.
• Remove the unit and drill appropriate sized holes for the wall fixing
(not supplied)
• Mark out and drill holes as necessary into the wooden top of the unit for the
basin and tap.
• Insert wall plugs and secure the unit to the wall.
• Plumb in the vessel bowl and tap.
• Run the water into the bowl to check for leaks
• Seal the vessel bowl into position using a thin bead of silicon.
• Seal the rear of the unit by running a bead of silicon between the furniture
top and wall.
This completes the installation of the wall hung unit.
Wall hung unit
Page 7

7 of 8
Ceramic:
The glazed finish of your sanitary ware should be cleaned after use by applying
a little cream type cleaner. Apply using a sponge or damp cloth and rinse
thoroughly with clean water. Cleaners containing abrasive materials
should be avoided.
Metal:
Parts with Chrome/Gold finish should be cleaned with a damp soft cloth only.
The use of detergents and abrasive cleaning agents should be avoided as these
will cause damage to the finish of the metal.
Marble:
Little maintenance should be necessary other than regular cleaning. This should
be done with clean warm water and a soapless detergent of near neutral ph.
Buff up with clean dry cloth. The use of strong detergents and abrasives should
be avoided as these can damage the natural stone.
Wood:
Bathroom furniture can be wiped over using a damp cloth and dried with a soft
duster. The use of polishes using silicon or any abrasive materials can damage
the wood finish. Natural wax polishes should be used sparingly and applied
using a soft dry cloth.
Always use your best efforts to keep the wood surface dry. The finish will
deteriorate and the underlying timber could become permanently stained if
subjected to long term contact with water.
Care & Maintainance
You have just acquired a high quality and expensive piece of furniture and are
about to put it in the most hostile environment in the house! We have been
producing these fine products for many years and our experience is that they will
give years of pleasurable service if a few simple measure are taken to look after them.
Page 8

The Imperial Bathroom Company
England
www.imperial-bathrooms.co.uk
Tel: +44 (0)1922 743074, Fax: +44 (0)1922 743180
Email: sales@imperial-bathrooms.co.uk
 Loading...