

Page 1
Imperial
Kitchen Ventilation
Re-circulating Kit
Installation Instructions
&
Warranty Information
425 Apollo S treet
Brea, CA 92821
www.imperialhoods.com
(800) 851-4192
Page 2

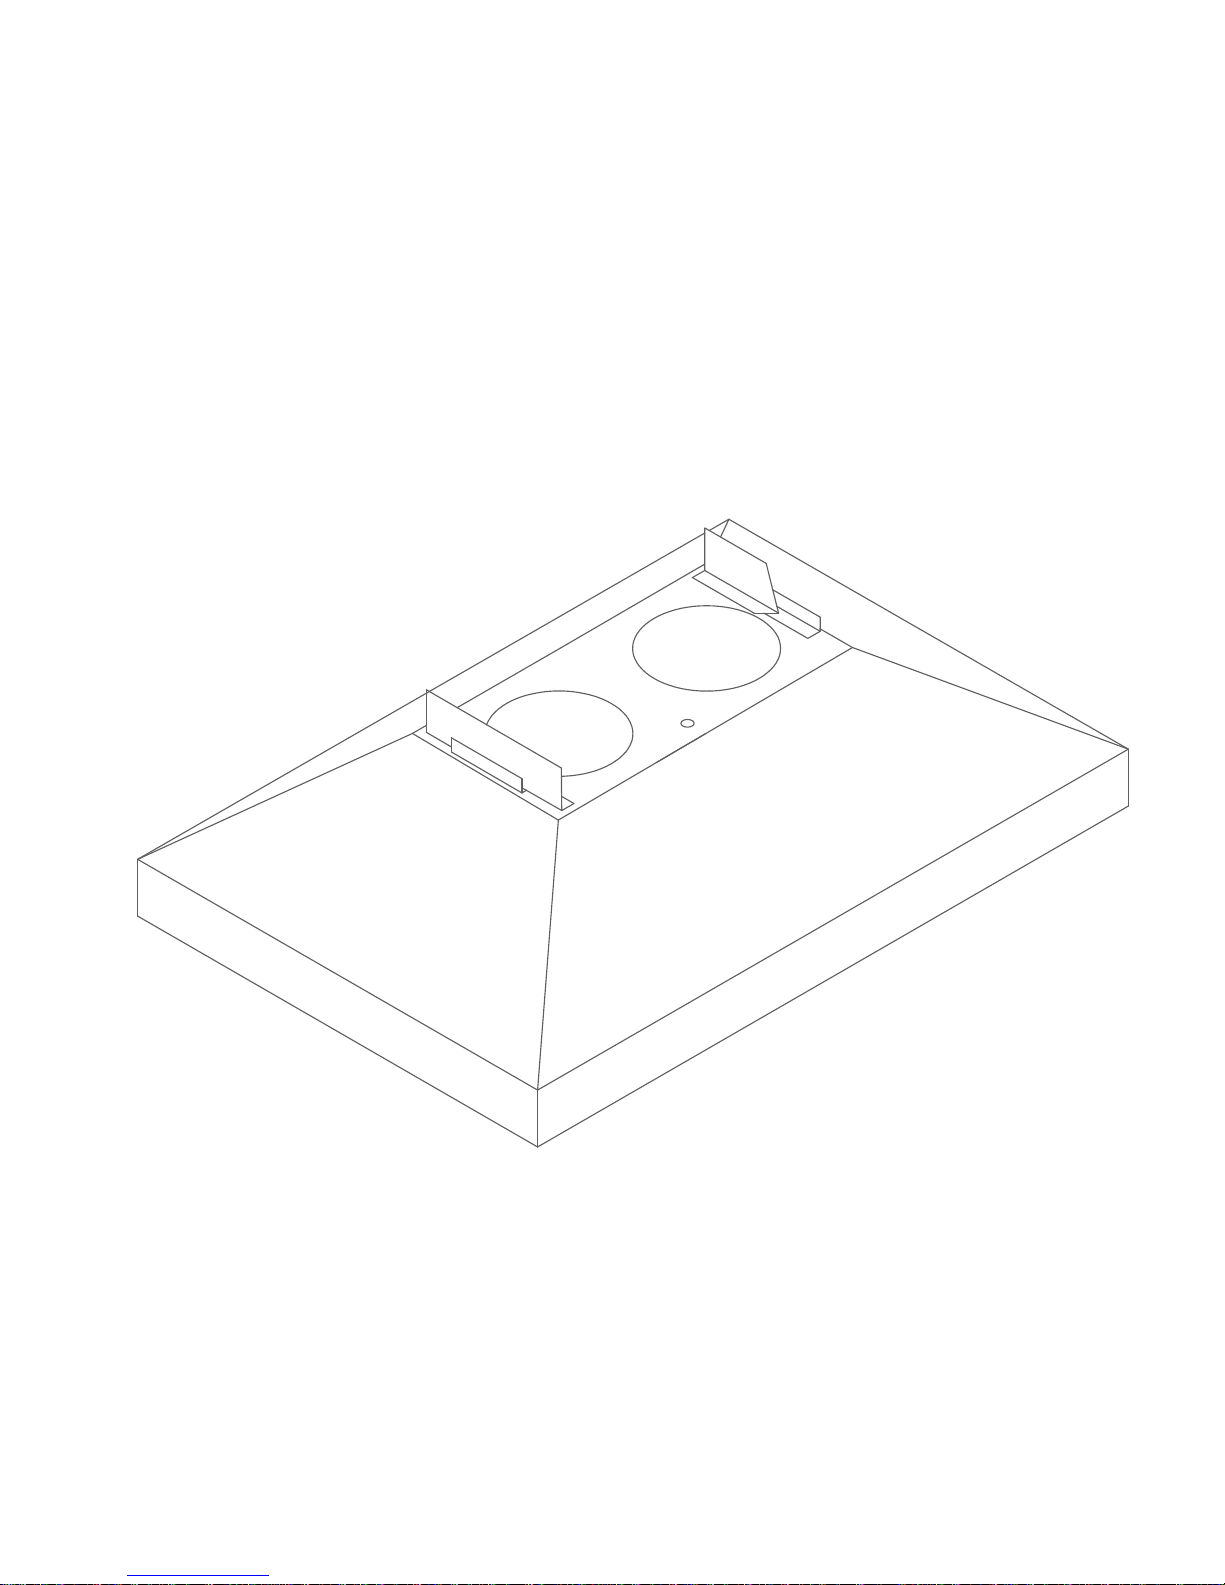
No-Vent Kit Installation Details:
MODELS
NV30, NV36, NV42
NOTE: The Charcoal Filters in the NV Kit may not
regular basis. How often depends on the amount of cooking done and the amount of grease
and odor collected. Once the Charcoal Filters is saturated it will no longer filter out odors.
The aluminum filters in the hood can be washed and will last for years with proper care.
Be sure to clean them on a regular basis.
1. Remove Back Draft Damper blades from the hood if they are in position.
2. Line up NV Brackets on the top of the hood. Positioning them between mounting the
holes and the edge of hood. Mark and drill 1/16” holes. Install brackets using #8 screws.
3. Drill four 3/16” holes into cabinet matching the location of the mounting holes on the NV
Kit. Drill out the electrical hole in the cabinet to line up with 7/8” hole in the NV Kit.
4. Check to see if the hood has mounting holes to line up with the NV Kit, if there are no
holes drill four to line up with the NV Kit Hood Mounting holes.
5. Remove front grill from the NV Kit and the Charcoal Filter. Install NV Kit to the
cabinet with four #10 screws.
6. Remove the Filters from the hood.
7. Install Electrical using 90 degree cable connector. Bring electrical through hole in the
cabinet.
8. Slide hood onto NV Kit using brackets on the hood.
9. Install long screws (with washers) through the cabinet, NV Kit and the hood and secure
with the wing nuts on the inside of the hood.
10. Replace the Charcoal filter in the NV Kit. Replace the front grill on the NV Kit.
11. Replace the filters in the hood.
be washed and must be replaced on a
 Loading...