

Impco Mobile Symphony SPM20, Mobile Symphony SPM45, Mobile Symphony SPM30, R28RTE, Hi Cool Owner's Manual
...
Owner’s Manual
Manual de Operación
CAUTION
SAVE AND READ THESE
IMPORTANT INSTRUCTIONS
Read all instructions carefully before setting up and
operating this unit. This manual was designed to provide you with important information needed to setup,
operate, maintain, and trouble-shoot your cooler.
Failure to follow these instructions may damage
and/or impair its operation and void the warranty.
U.S. Models:
SPM20, SPM30, SPM45
PRECAUCIO´N
LEA Y CONSERVE ESTE MANUAL
Lea todas las instrucciones cuidadosamente antes
de montar y operar esta unidad. Este manual fue
diseñado para proveerle importante información
necesaria para instalar, operar, mantener y detectar
problemas en su enfriador. La falla en seguir estas
instrucciones puede dañar y/o afectar la operación
del enfriador y anular la garantía.
email: customerservice@impcollc.com, Website: www.impcollc.com
1
INTRODUCTION
Evaporative cooling works on the principle of heat absorption
by moisture evaporation. Simply put, heat is removed from the
air as water evaporates. You feel this principle in action when
ou step out of a swimming pool or shower; you feel immedi-
y
ately cooler as water evaporates from the surface of your skin.
!
WARNINGS AND SAFETY RULES
WARNING…
To reduce the risk of electric shock, fire or injury:
• Read instructions and labels carefully.
• Always unplug the electric cord to your cooler before
you work on the cooler.
• Your cooler will run on 120 Volt AC, 60 Hz (cycle)
current only.
Your evaporative cooler works on the same principle. Hot outside air is pulled through water-saturated pads, where the air is
cooled by evaporation and then discharged from the cooler.
Other Symphony Units
• Plug into three-prong grounded GFCI protected
electrical receptacle only.
• Do not operate if plug or cord are damaged in any way.
• Do not step on or roll over power cord with heavy or
sharp objects.
• Do not operate unit unless all panels are securely in
place.
• Remove the plug from the electrical receptacle by
pulling on the plug and not the cord.
• Test the GFCI receptacle or breaker monthly to ensure
it is functioning properly.
• Do not operate near open containers of flammable
liquids or gases.
• Never wash your cooler cabinet with a garden hose;
water may harm the motor and pump.
• If the unit is damaged or it malfunctions, do not continue to operate it. Refer to the warranty or troubleshooting
section at www.impcollc.com
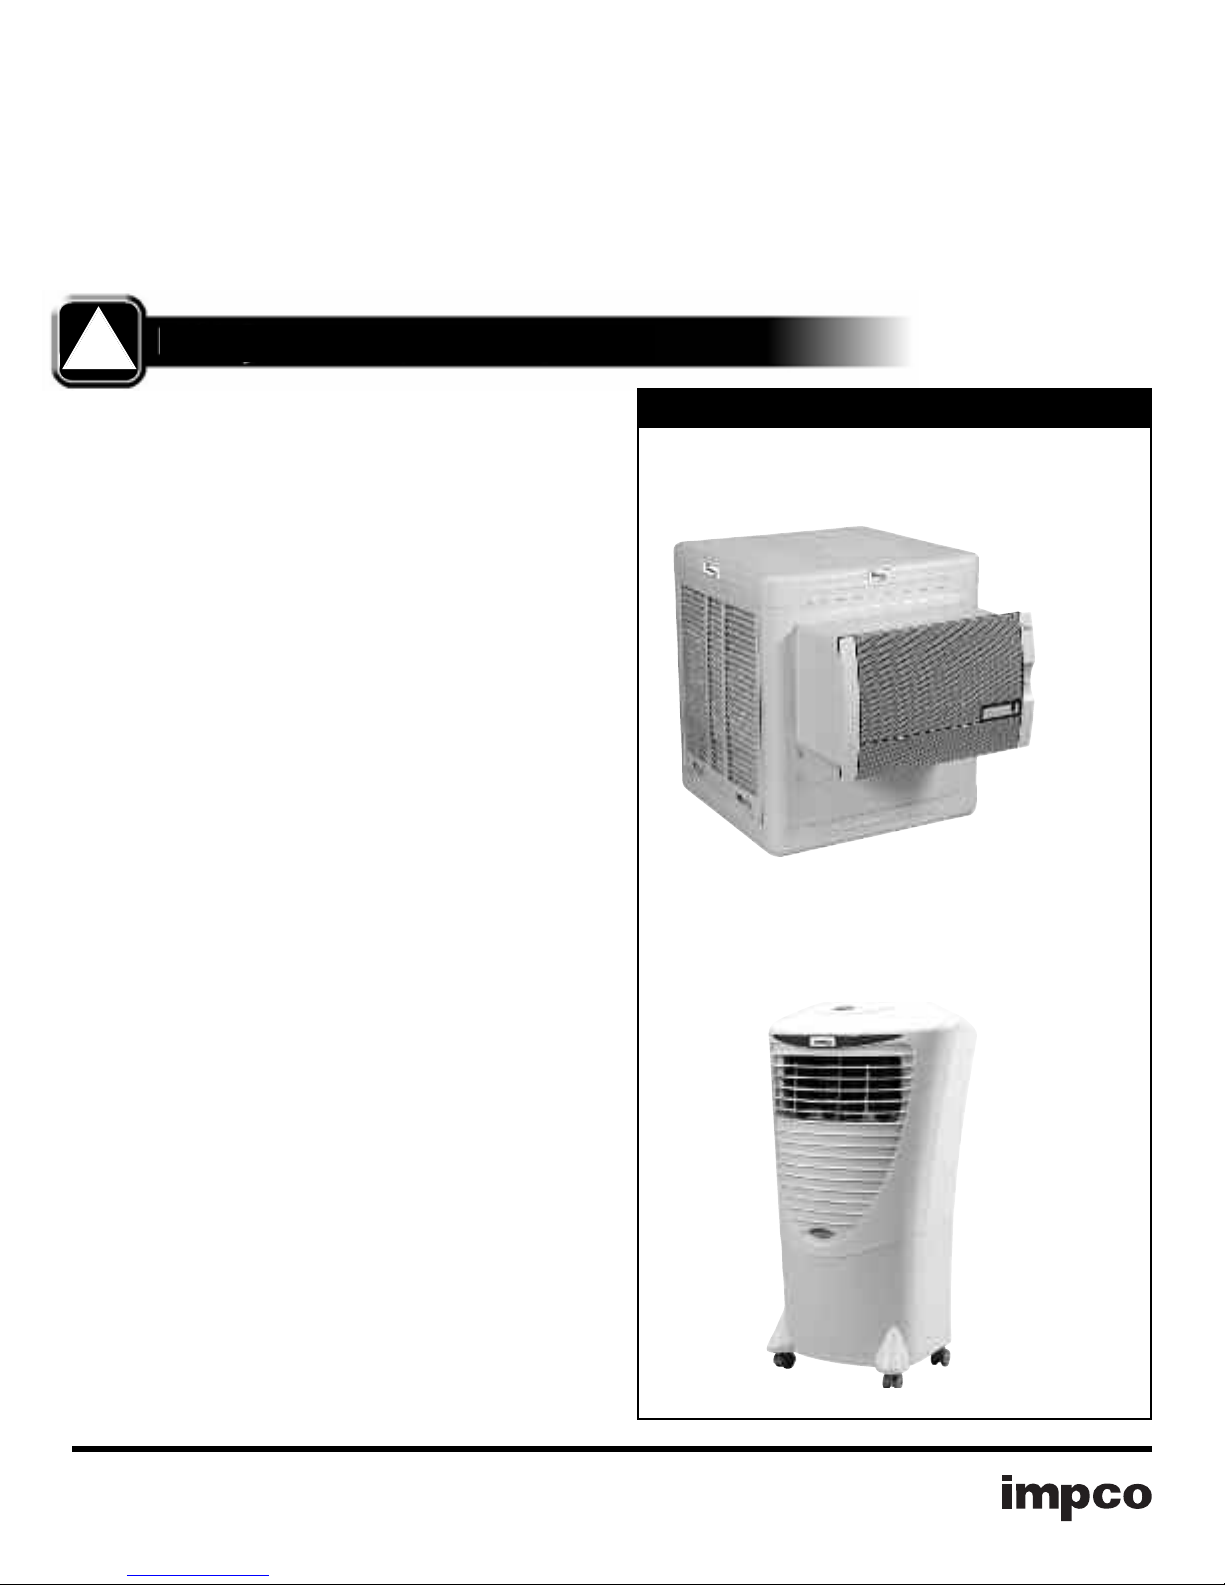
R28RTE
Hi Cool
email: customerservice@impcollc.com, Website: www.impcollc.com
2
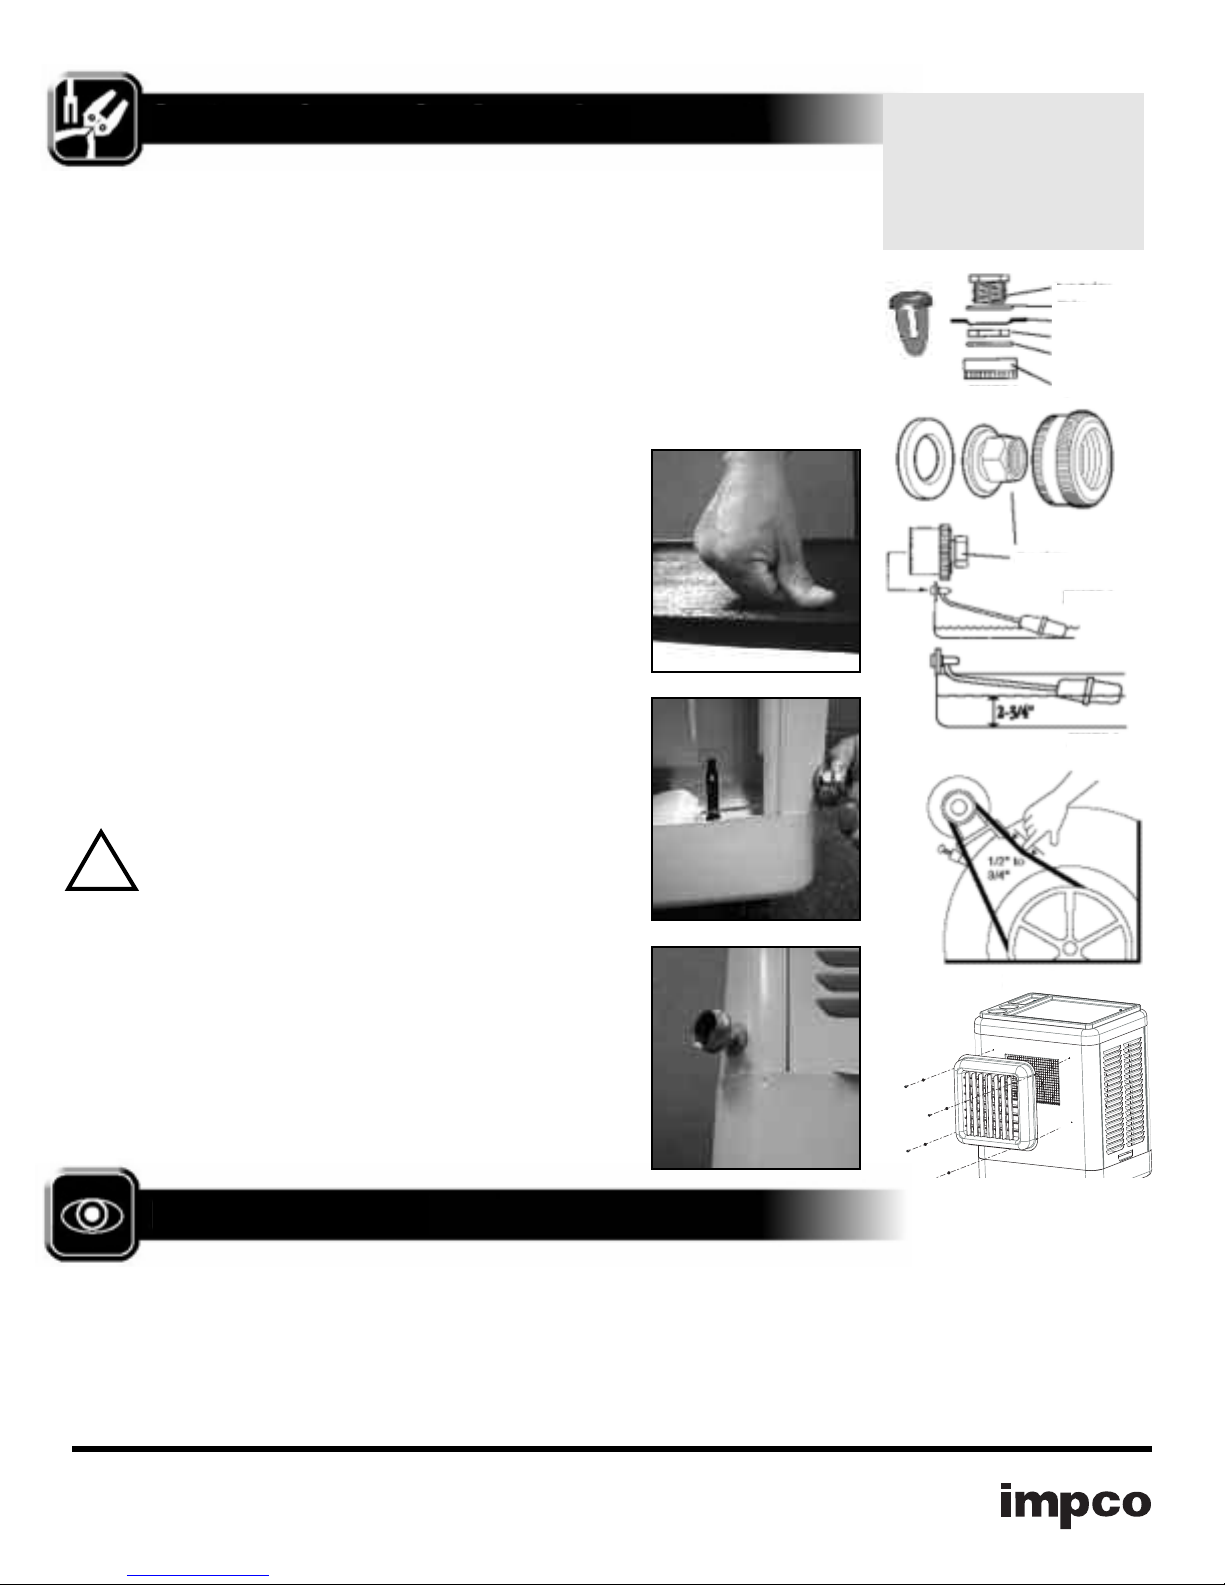
ASSEMBLY INSTRUCTIONS
Unpacking the Mobile Symphony.
(wheels), grille and the top tray inside the cabinet.
Grille Installation.
Before attempting to use your new Mobile Symphony
cooler you must complete the grille installation.
Attaching the plastic tray.
R
by lifting them up and out of the cooler cabinet. Locate the parts bag in the
cooler and attach the tray top using the push rivets provided. (Picture 1)
Installing the casters.
Some models ship with the wheels already
attached to the cabinet bottom. If wheels are not attached then locate the
wheels inside of the cooler and attach them to the cabinet bottom using the
bolts included.
Installing the grille.
Refer to the installation instructions in the grille bag.
Installing the drain bushing and standpipe.
install the drain bushing and standpipe through the hole provided in the bottom of
the cooler.
Installing the float valve and adapter.
float to the side leg of the cooler using the hole provided. The garden hose
adapter attaches to the brass inlet fitting on the float valve. (Picture 2). Verify
that the hose washers are properly in place. Position the pump snug to blower
housing to prevent contact with the pads.
Connecting to Water
.
Move the cooler to an area where it can be filled
with water and drained. The cooler should be located on level ground.
Connect to a water supply using a commercial grade garden hose (supplied by
customer) connected to the adapter on the float valve and turn on the water.
Verify water tight connections by visually examining both the float /hose connection and the drain plug. (Picture 2)
CAUTION: Water inlet pressure should be limited to a
maximum of 105 PSI or an inline pressure regulator
!
should be installed.
Adjusting the water level.
Refer to Figure 3 and set the water height as
shown by adjusting the float.
Connecting to a Power Supply.
120 Volt AC 60 Hz grounded GFCI protected electrical power sup
Improper voltage will burn out the motor and pump windings and will void the
warranty.
The unit is shipped with the casters
emove the side pad frames from the cooler
Refer to Figure 2 and
Refer to Figure 3 and attach the
Plug the grounded plug directly into a
ply.
Note:
Picture 1
Picture 2
TOOLS REQUIRED
• 3/8˝Open End Wrench
ox End Wrench
3/8
˝
B
•
• 6
˝
Adjustable Wrench
˝
• 7/16
• #2 Phillips Screwdriver
Push Rivet
Box End Wrench
Drain Bushing
asher
W
ooler Bottom
C
Lock Nut
asher Inside
W
ap
C
Figure 2
Cap
Hose Adapter
Figure 3
Figure 4
Figure 4
LOCATION
Always make sure the unit is operated on a level surface. When
using indoors, the best location for it is near a partially opened
window or door where hot outdoor air can be drawn into the
unit. This cooler is portable, but use caution when rolling the
unit to avoid splashing and spilling of water. Cool air can best
be directed through the space by using a partly opened window
or door, ideally one that is situated on the opposite side of the
Picture 3
Figure 5
space from the cooler. This allows the cooled air to be moved
through the space and exhausted back outdoors which is
critical to proper performance of the cooler.
email: customerservice@impcollc.com, Website: www.impcollc.com
 Loading...