

IMER USA Koine 35 Quick User Manual
www.imerusa.com | IMER USA (301) 336-3700
Koine 35 Quick User Guide
IMER USA
1

Koine 35 Quick User Guide
Thank you for choosing IMER USA for your mixing and pumping
needs. This is a quick user guide intended to be used as a reference and not intended to replace the operating manual. A full
understanding of the systems and operation is required for anyone using this pump.
The following pages will list the basic steps assuming that the
power requirements and water connections are satisfactory for
the performance of the pump.
Bagged materials present many dierent characteristics when
mixing, spraying or pumping. Please consult with the material
producers or IMER to learn if the Koine 35 is the right pumping
system for the material to be used.
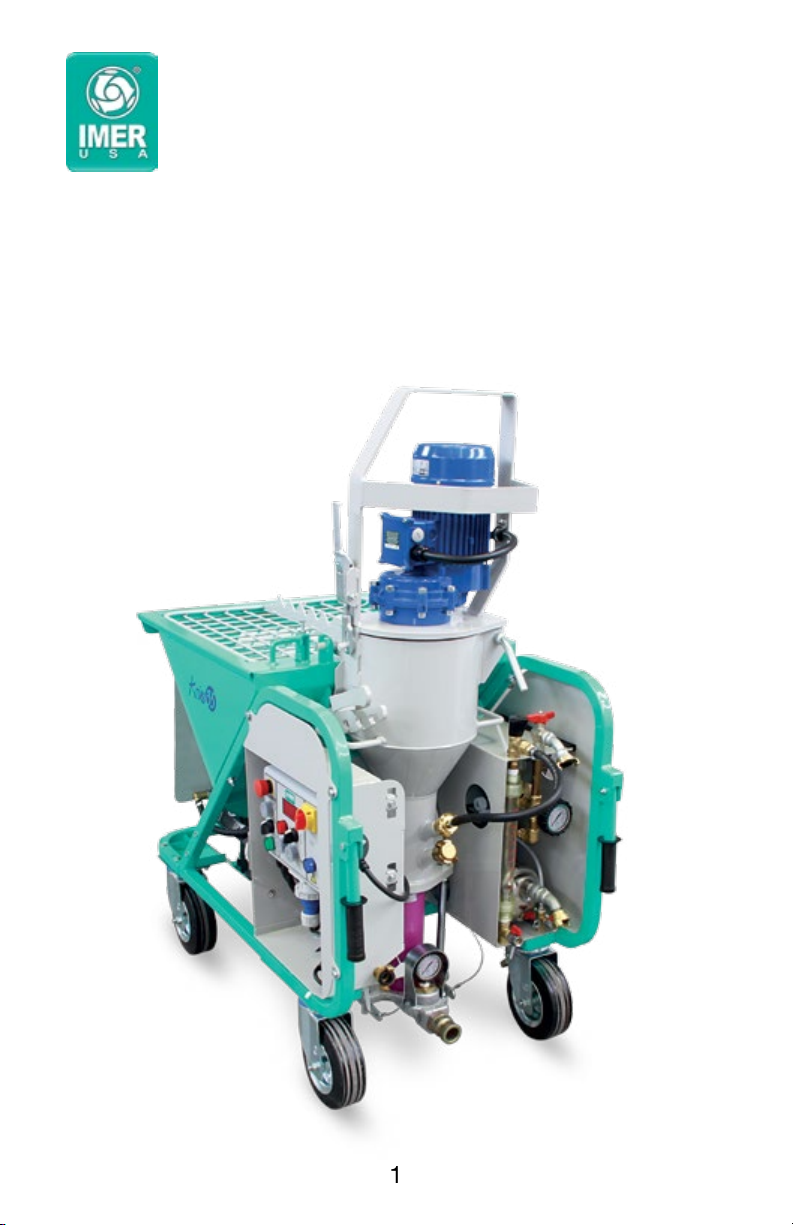
The Koine 35 is a continuous pump / mixer that can only be
used with pre-blended materials. It is not suitable for use with
bulk sand and cement. It should not be used after the product
has been mixed with an external mixer. The product to be used
should be preblended with sand and cement which is uniform in
consistency and quality.
Materials that require longer mixing times are not suitable for the
Koine 35. Mortars with more than 2.5 parts sand to 1 part cement
/ lime should not be used unless additives are mixed into the dry
powder at the time of blending.
Grouts less than 3500 PSI are not recommended. Aggregate sizes
and concentrations should be minimal. Concrete sand is about as
course of an aggregate to use.
Content
Setup–—3
Priming and Calibrating–—5
Pumping and Spraying–—9
Momentary Stoppage–—9
Clean-Up–—9
Error Codes–—12
2
www.imerusa.com | IMER USA (301) 336-3700
Setup
Step 1: Plug the 220V, single phase connection into the plug
and switch “ON” the main on/o switch (3) as shown on the
control panel (Fig. 1). A blue light (2) indicates that the power is on.
Note: A ashing blue light indicates that the power exceeds 240V and
the panel is shutting down as power is outside of the normal operating
range.
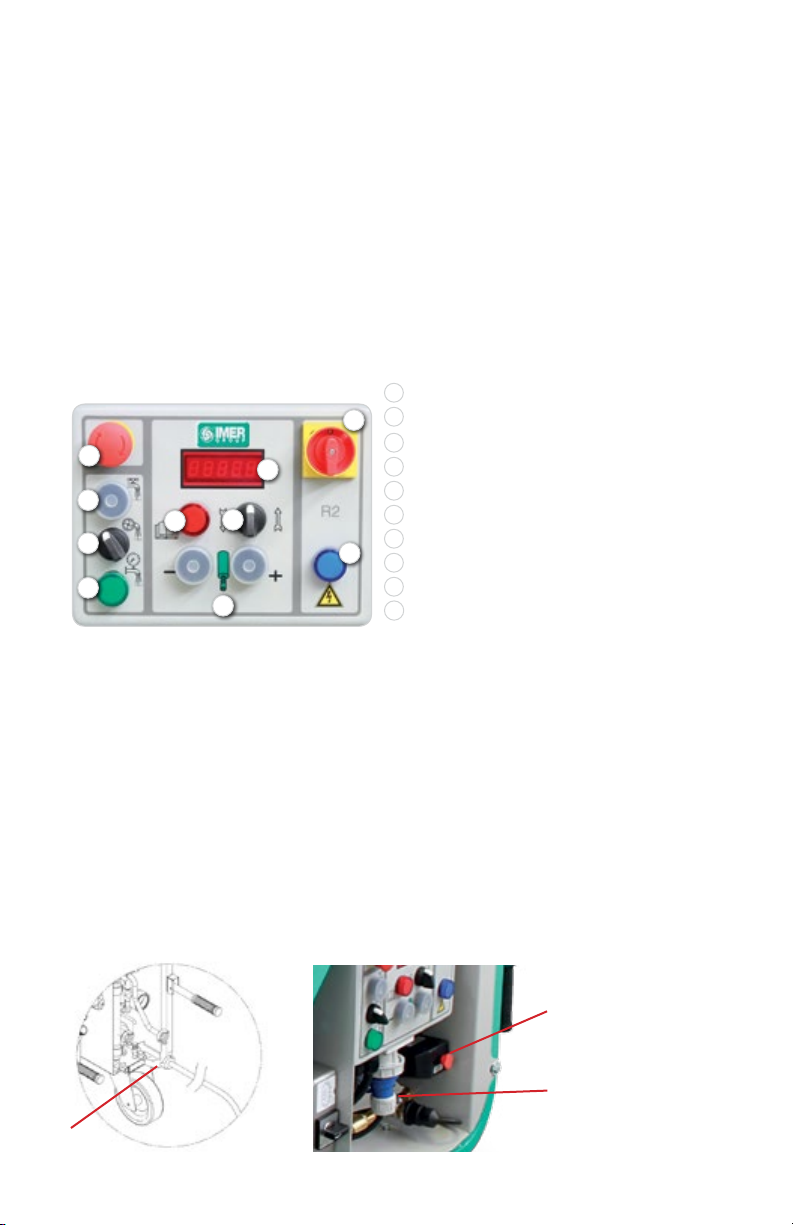
Fig. 1
Control panel
4
5
6
7
9
8
10
1
1
Smart display panel
2
3
Current indicator light
3
ON/OFF switch
4
Emergency stop button
5
Manual water control
6
Water booster pump switch
7
Water pressure indicator
2
8
Mixing chamber safety sensor
9
Forward / Reverse
10
Rotor / stator speed control
Step 2: Attach the water supply line to the bottom port of
the booster pump (Fig. 2). Water can be supplied by either a
water supply source or from a water tank with clean water.
Water booster pump switch must be turned on (Fig. 3) Pull
out the switch to enable. To use without the air compressor, remove compressor plug (Fig. 3). The air compressor is
used for spraying applications only.
Note: To use water from a water tank, the hose must be primed rst by
lling the hose completely with water.
Fig. 2 Fig. 3
Water booster
and air compressor switch.
Air compressor
plug.
Water inlet
3
Koine 35 Quick User Guide
Setup (Continued)
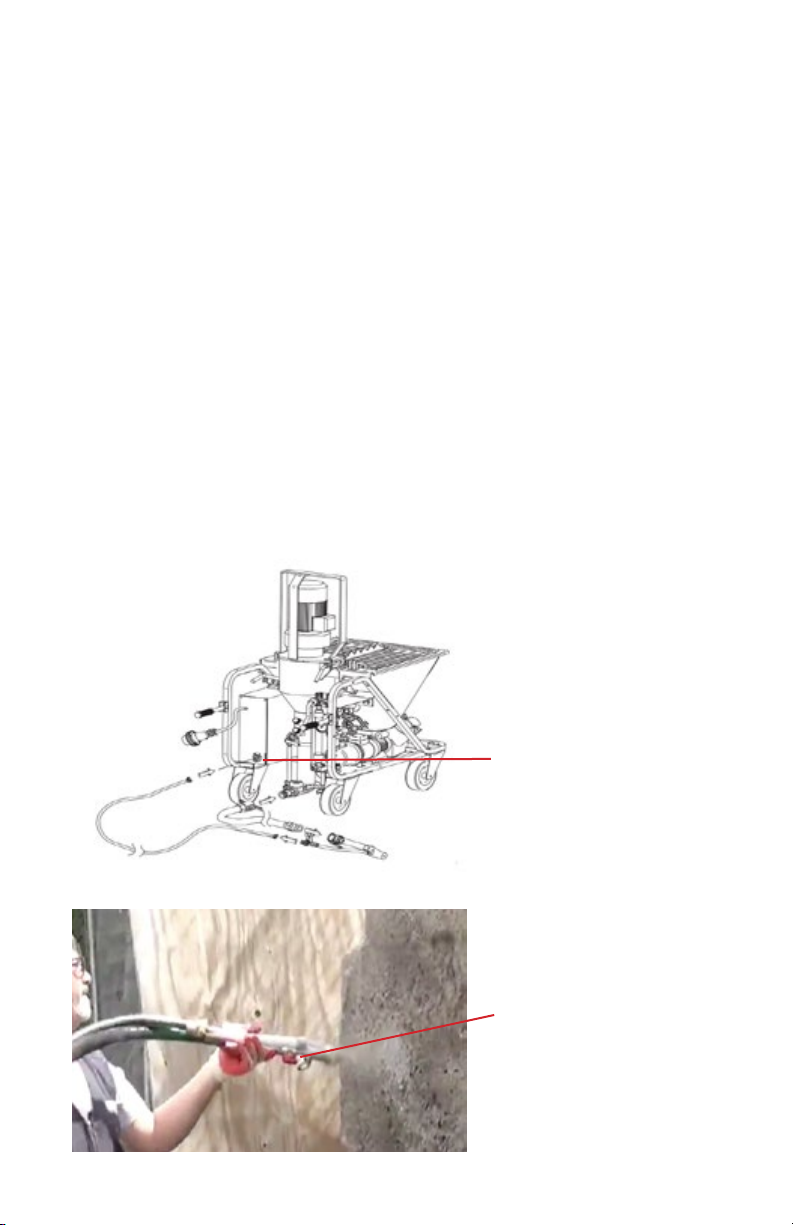
Step 4 (For Spraying): Attach the air hose to the air port
(Fig. 4) and to the spray wand. Open the air valve on the
spray wand. (Fig. 5)
There are dierent spray nozzle tips, the sizes depend upon
the application, spray pattern and volume desired. Try the
dierent nozzles and pick the one that is best for your application
Note: Air compressor and spray wand are used only for spraying applications such as reproong, plastering or stucco.The air compressor (if
supplied) can be removed from it’s cradle simply by pulling out the unit.
You should use only IMER supplied air hose and couplers. Using smaller
diameter hose or couplers will aect the operation of the compressor or
pump.
Fig. 4
Fig. 5
Air hose connection
Air valve on the
spray wand
4
 Loading...