

iMerciv BuzzClip Quick Start Manual

For the full instruction manual as well as helpful
videos full of tips and tricks, please visit
www.imerciv.com/user-guide
BuzzClip Quick Start Guide
Getting Familiar with your BuzzClip
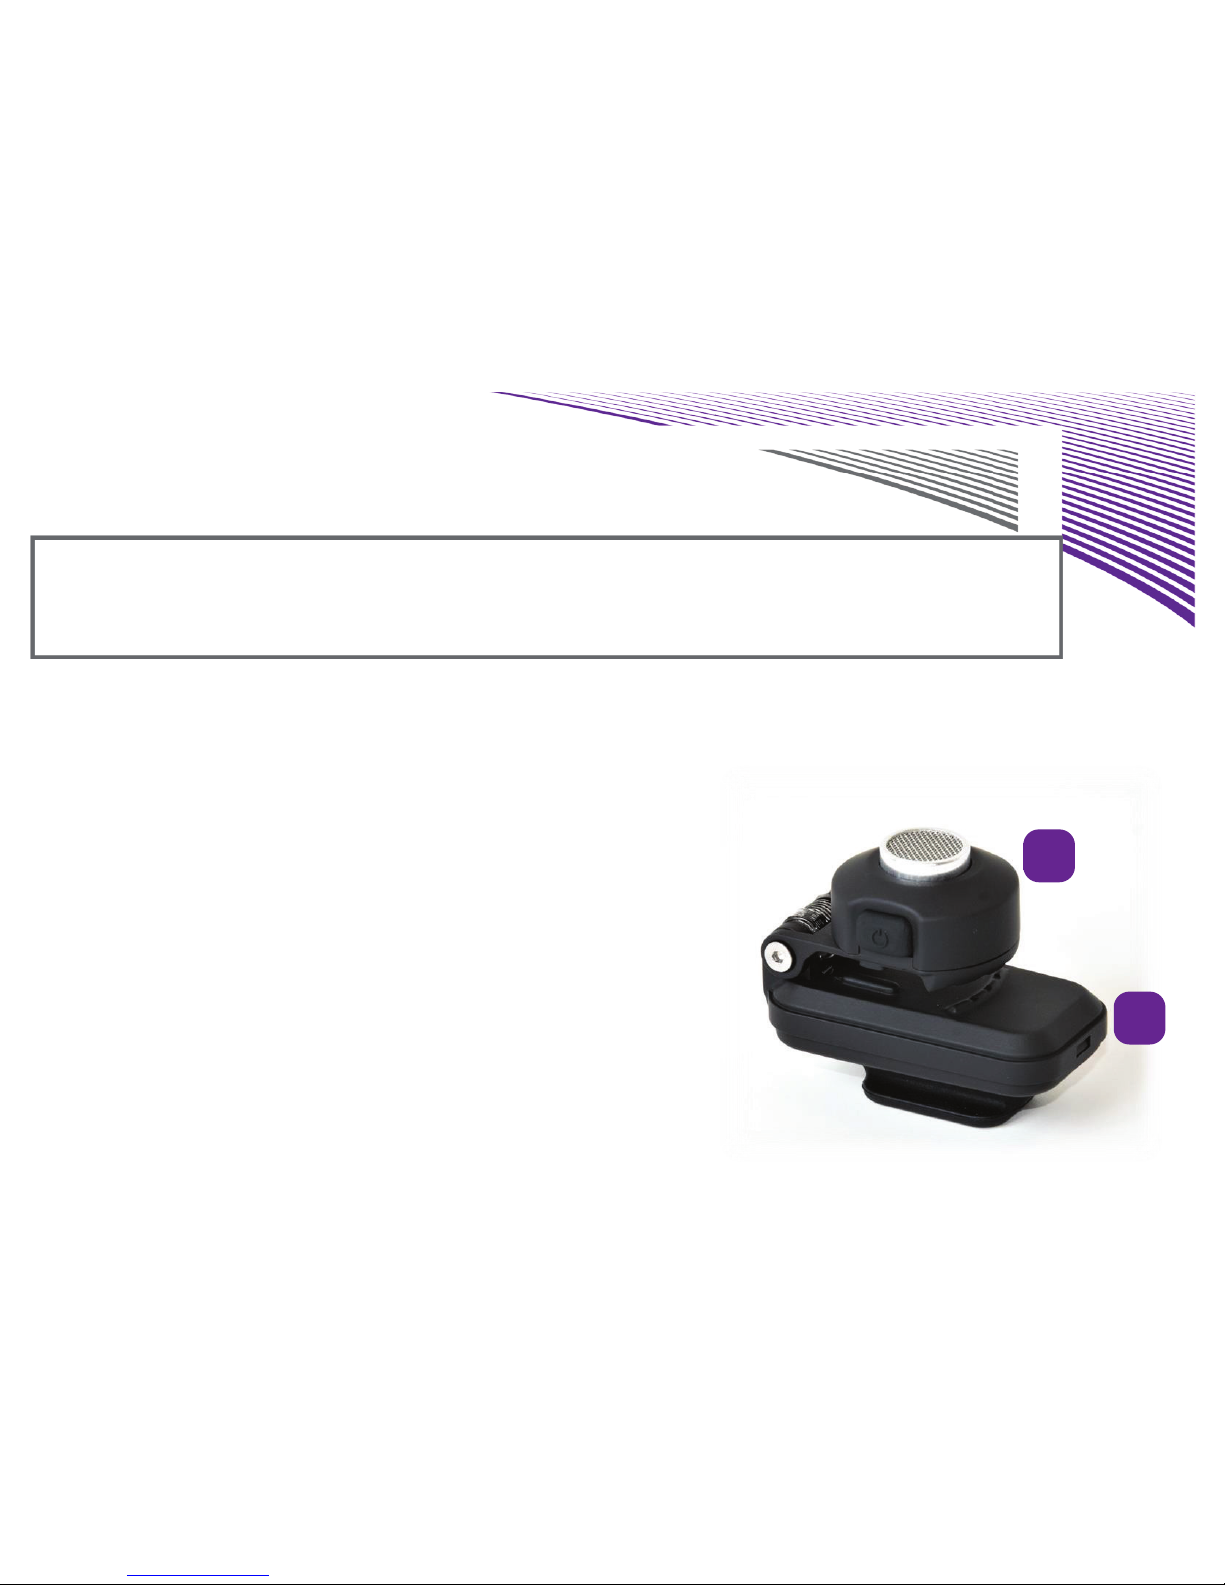
Your BuzzClip consists of 4 main parts:
The Rounded Top (A) – This is the main control panel
for the BuzzClip and it can be found at the top of the
device. The sensor is housed here and it slightly
protrudes out of it’s rounded enclosure. There are two
buttons are located to the left and right of the sensor.
The rounded top is on a hinged spring, thus this part of
the BuzzClip can be rotated and locked at a 90-degree
angle so it may also be used as a handheld.
B
A
BuzzClip Quick Start Guide
Getting Familiar with your BuzzClip
Your BuzzClip consists of 4 main parts:
The Rounded Top (A) – This is the main control panel
for the BuzzClip and it can be found at the top of the
device. The sensor is housed here and it slightly
protrudes out of it’s rounded enclosure. There are two
buttons are located to the left and right of the sensor.
The rounded top is on a hinged spring, thus this part of
the BuzzClip can be rotated and locked at a 90-degree
angle so it may also be used as a handheld.
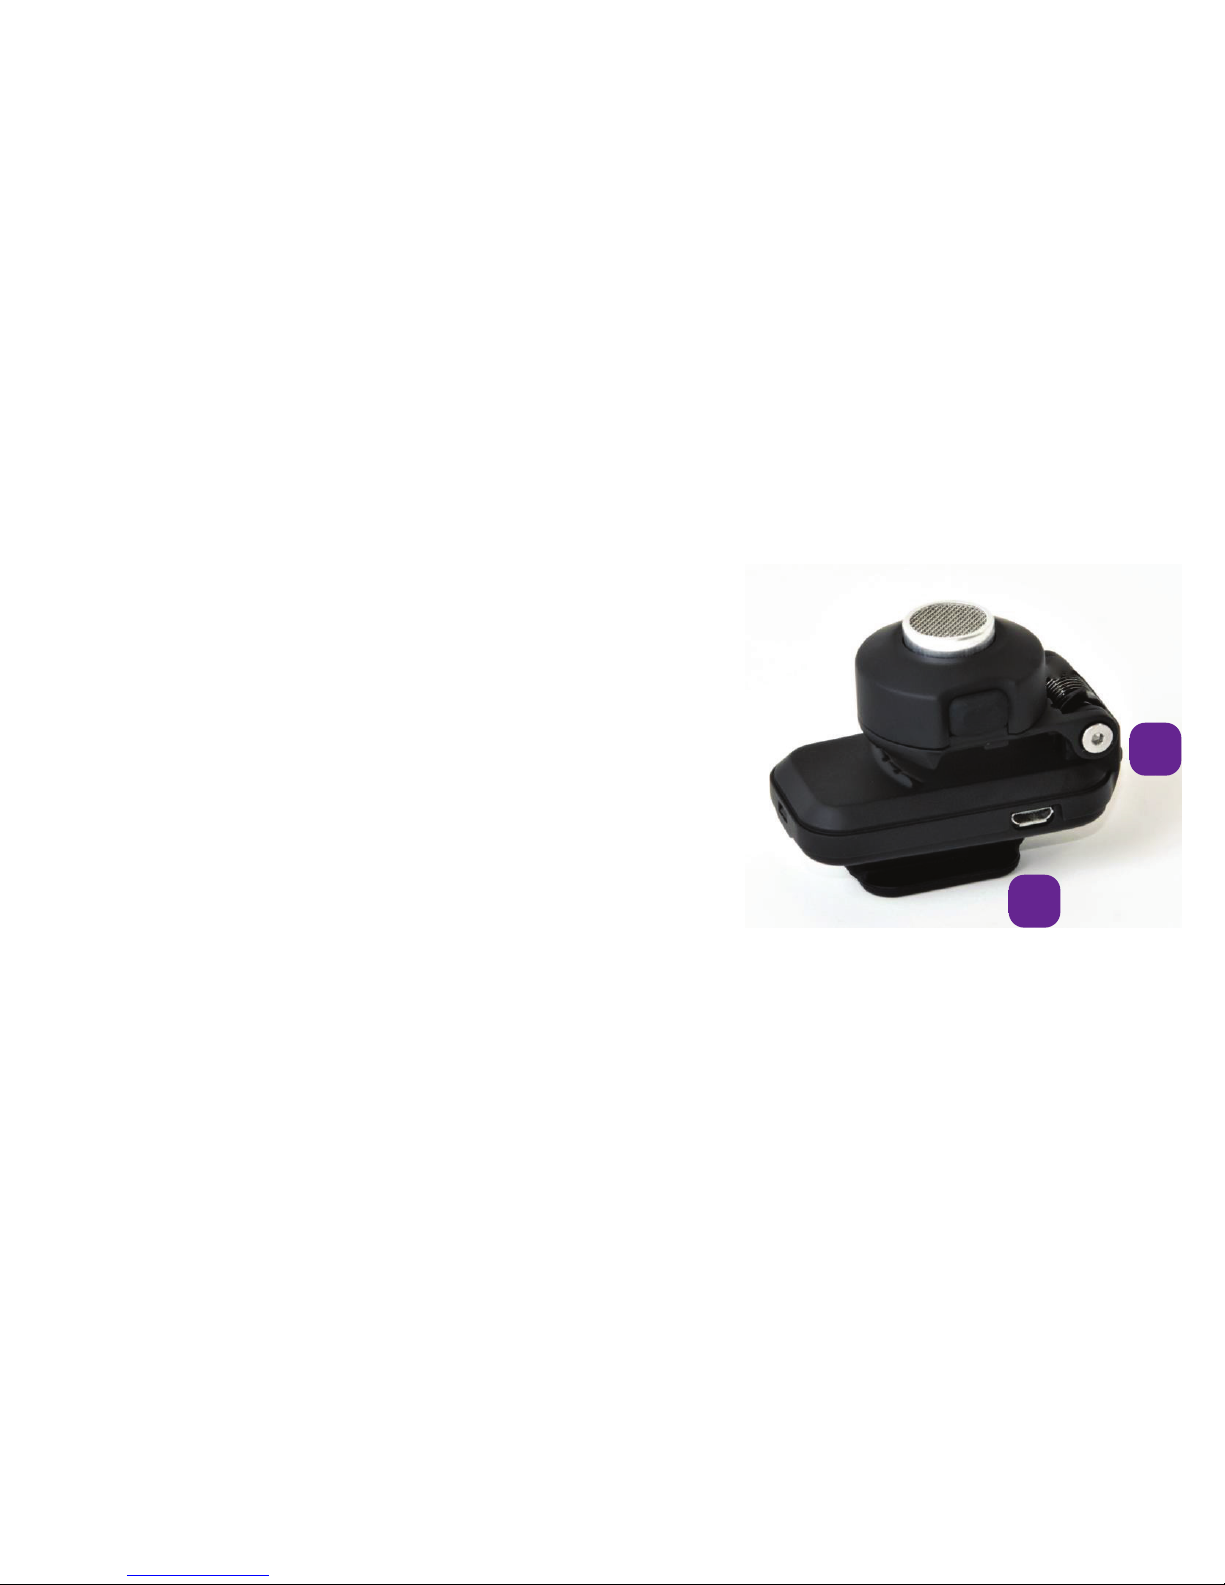
The Main Body (B) – The Main Body contains the battery, circuit board as well as the
charging port of the device. Edges of the main body have been chamfered, allowing
you to run the finger along the part in order to locate the Micro-USB charging port.
The Lanyard Loop (C) – This is a small hole or loop
located along the chamfered edge of the main body. This
hole is to attach the lanyard that is included in your box
for additional safety and security purposes (in case of
drops, etc.)
The Vibrator Housing (D) – This rubberized part is where
tactile information is delivered through vibrations. It will
always be in contact with your body, so you can easily
feel the vibrations. It is located at the back or bottom of
the device. The shape of the housing provides a stable
anchor point for when the BuzzClip is being worn.
B
A
BuzzClip Quick Start Guide
D
C
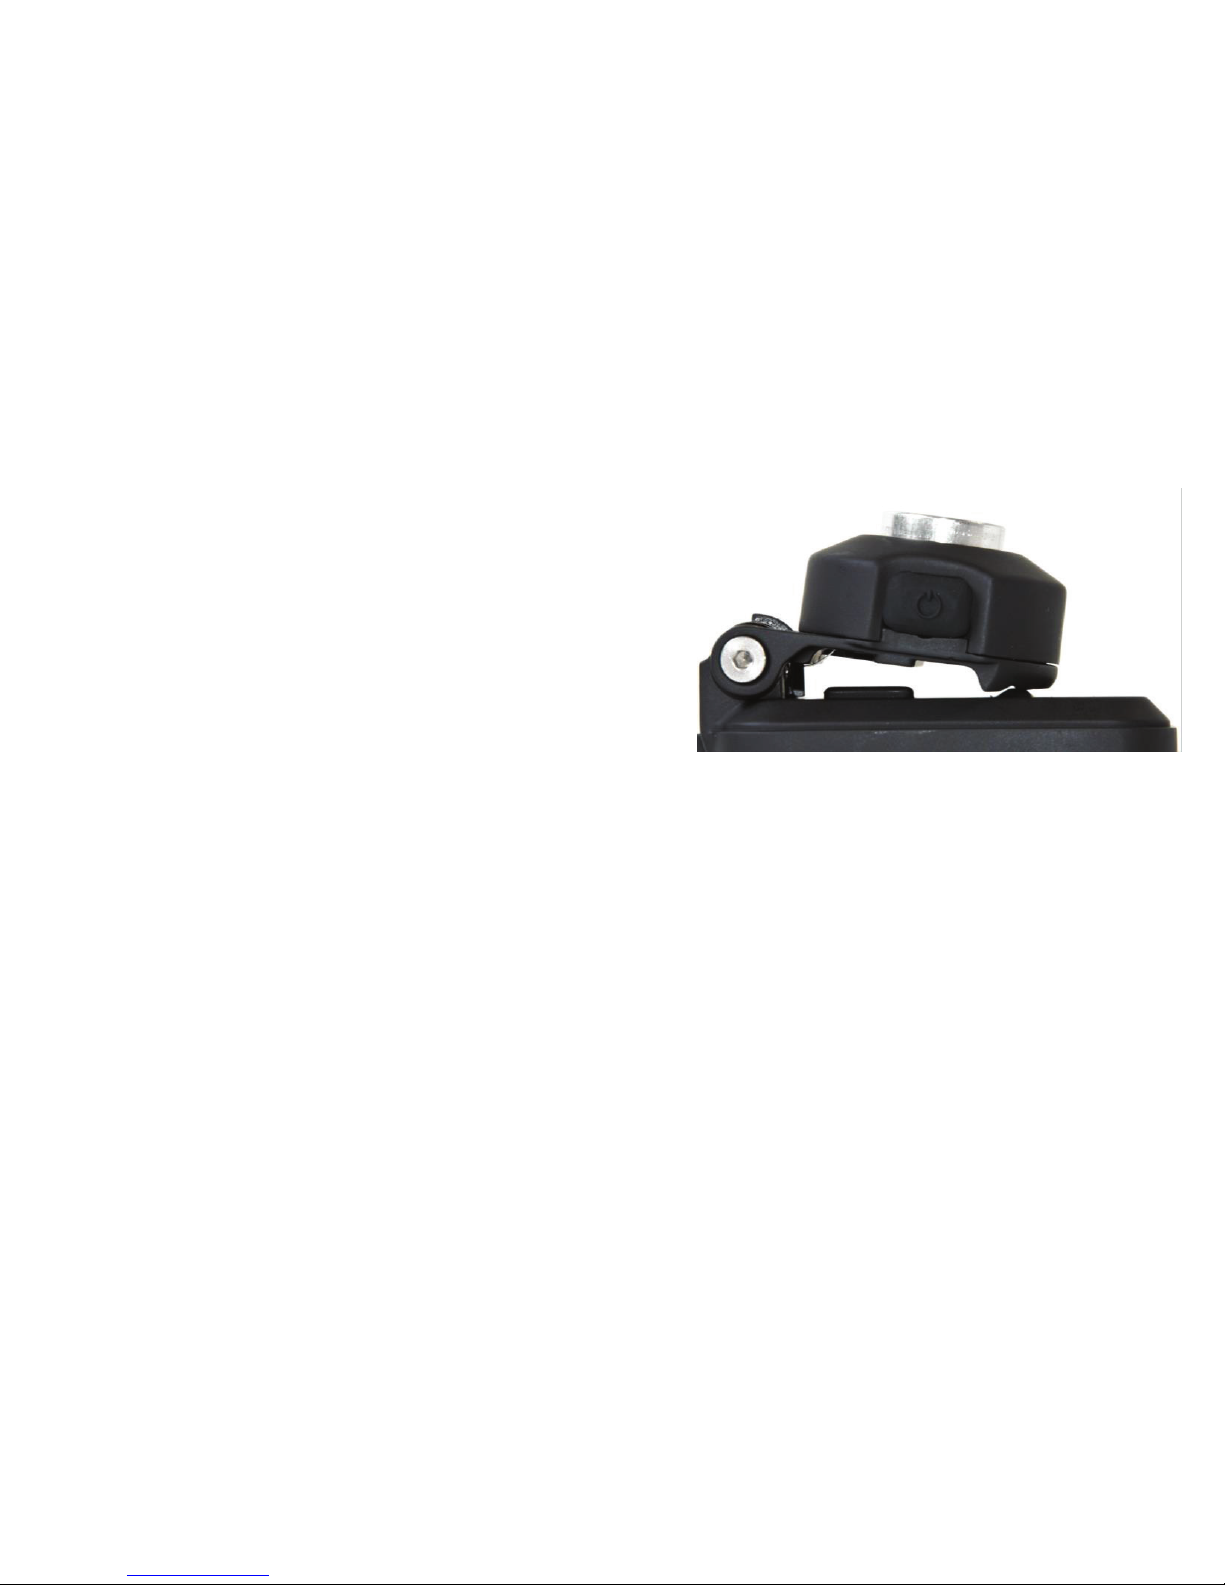
Operating your BuzzClip
Turning On your BuzzClip:
Locate the On/Off Button – With the BuzzClip in
your palm, you should be able to feel a circular ring
at the top which is the sensor. To the left of the
sensor, there is a rubberized button indented with a
tactile marking to indicate the On/Off button.
1. Press and hold this button to turn on your BuzzClip. You should then
immediately feel a series of short vibrations followed by two longer
vibrations. The shorter initial vibrations indicate the BuzzClip’s battery level:
• 4 vibrations indicate that the battery is above 75%.
• 3 vibrations indicate that the battery is between 50% -75%.
• 2 vibrations indicate that the battery is between 25% -50%.
• 1 vibration indicates that the battery is less than 25%. Charge it soon!
The two longer vibrations that follow are to let you know that the BuzzClip
is ready to go and begin detecting obstacles around you.
2. Your BuzzClip’s default starting mode is a one-meter range.
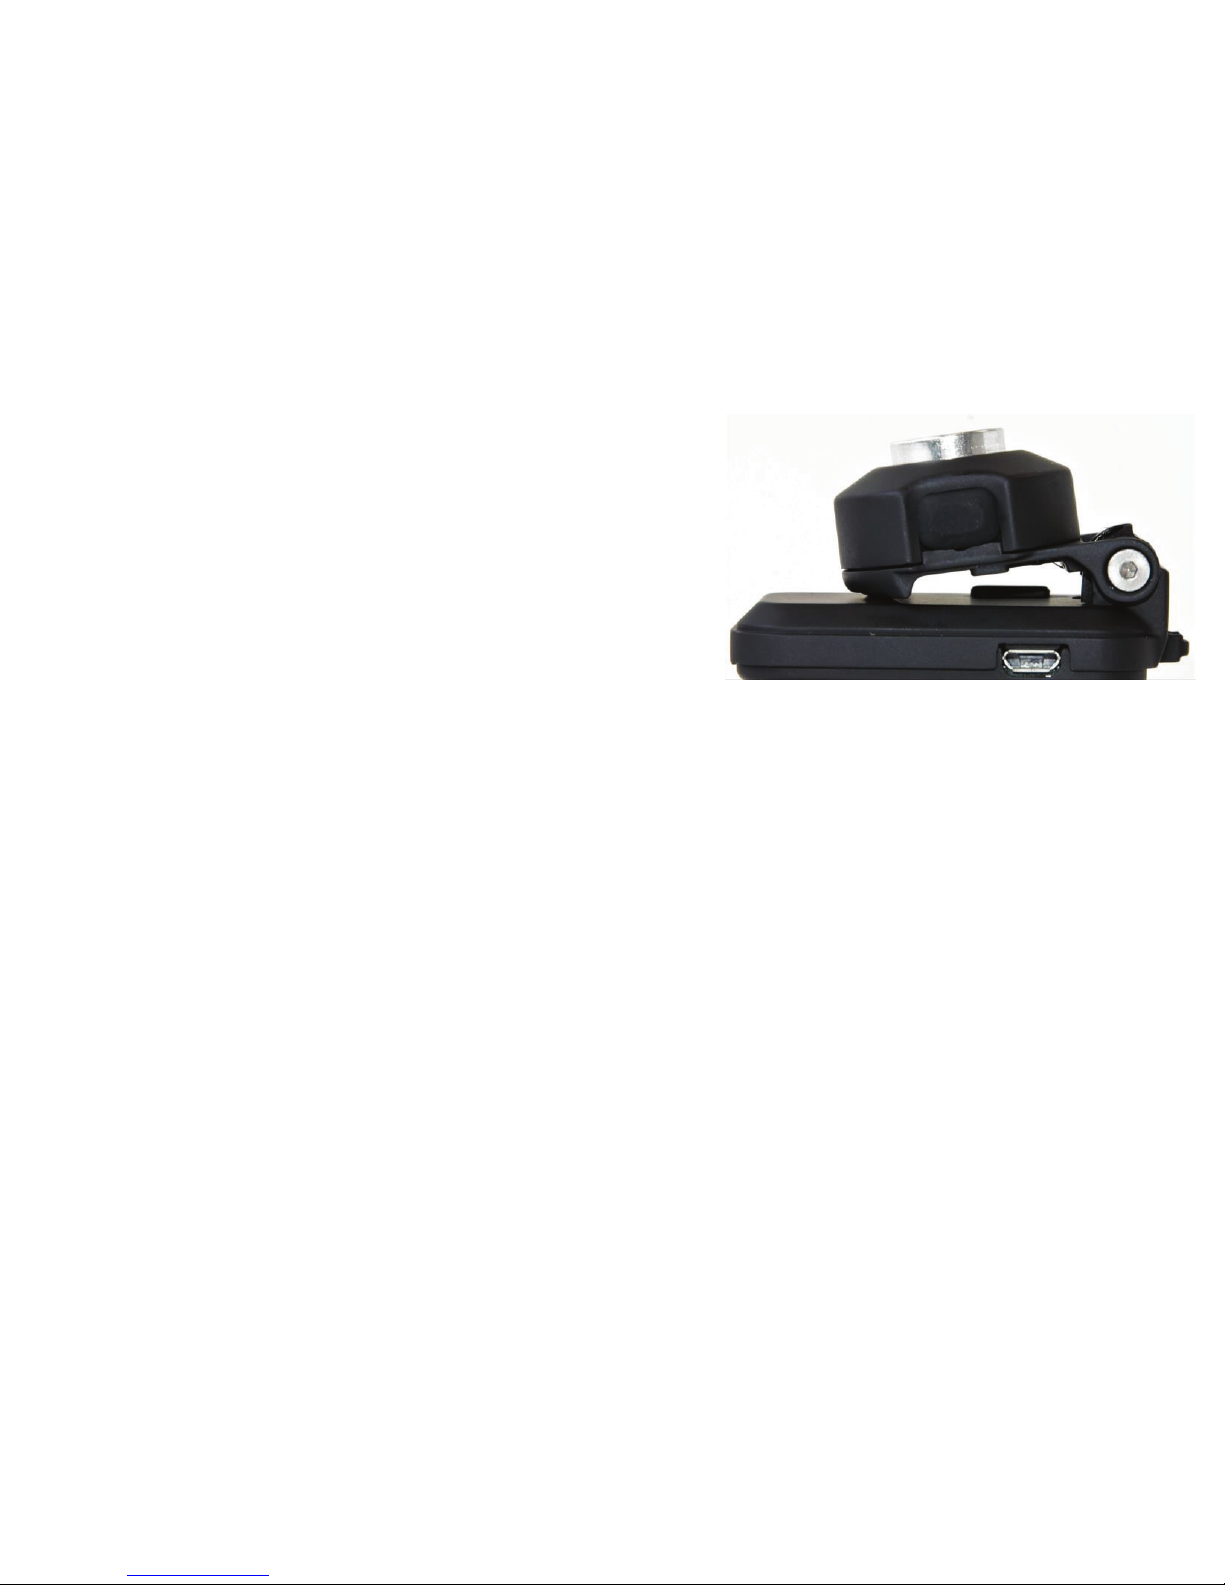
Switching Between Modes on your BuzzClip:
Locate the Mode Button – With the BuzzClip in your
palm, you should be able to feel a circular ring at the
top which is the sensor. To the right of the sensor,
there is a rubberized button with NO tactile mark. This
is the Mode button.
1. You can only switch between modes when
the BuzzClip is ON. The device comes with three-modes: a 1-meter mode, a
2-meter mode and a 3-meter mode. We suggest using the 1-meter mode
for indoor use and the 2-meter and 3-meter modes for outdoor use.
2. While the BuzzClip is ON, Press and hold the Mode button to change modes
on your BuzzClip. You should then immediately feel two short rapid
vibrations. This indicates that the BuzzClip is now in the 2-meter mode.
3. Press and hold the Mode button again and you should then feel three short
rapid vibrations. This indicates that the BuzzClip is now in the 3-meter
mode. We recommend using this mode for open areas and general
landscaping of the surrounding environment.
3. Press and hold the Mode button again and you should then feel three short
rapid vibrations. This indicates that the BuzzClip is now in the 3-meter
mode. We recommend using this mode for open areas and general
landscaping of the surrounding environment.
Turning Off your BuzzClip:
Locate the On/Off Button – With the BuzzClip in your palm, you should be able to
feel a circular ring at the top which is the sensor. To the left of the sensor, there is a
rubberized button indented with a tactile marking to indicate the On/Off button.
1. Press and hold this button to turn off your BuzzClip. You should then
immediately feel one long continuous vibration. Your BuzzClip is now Off!
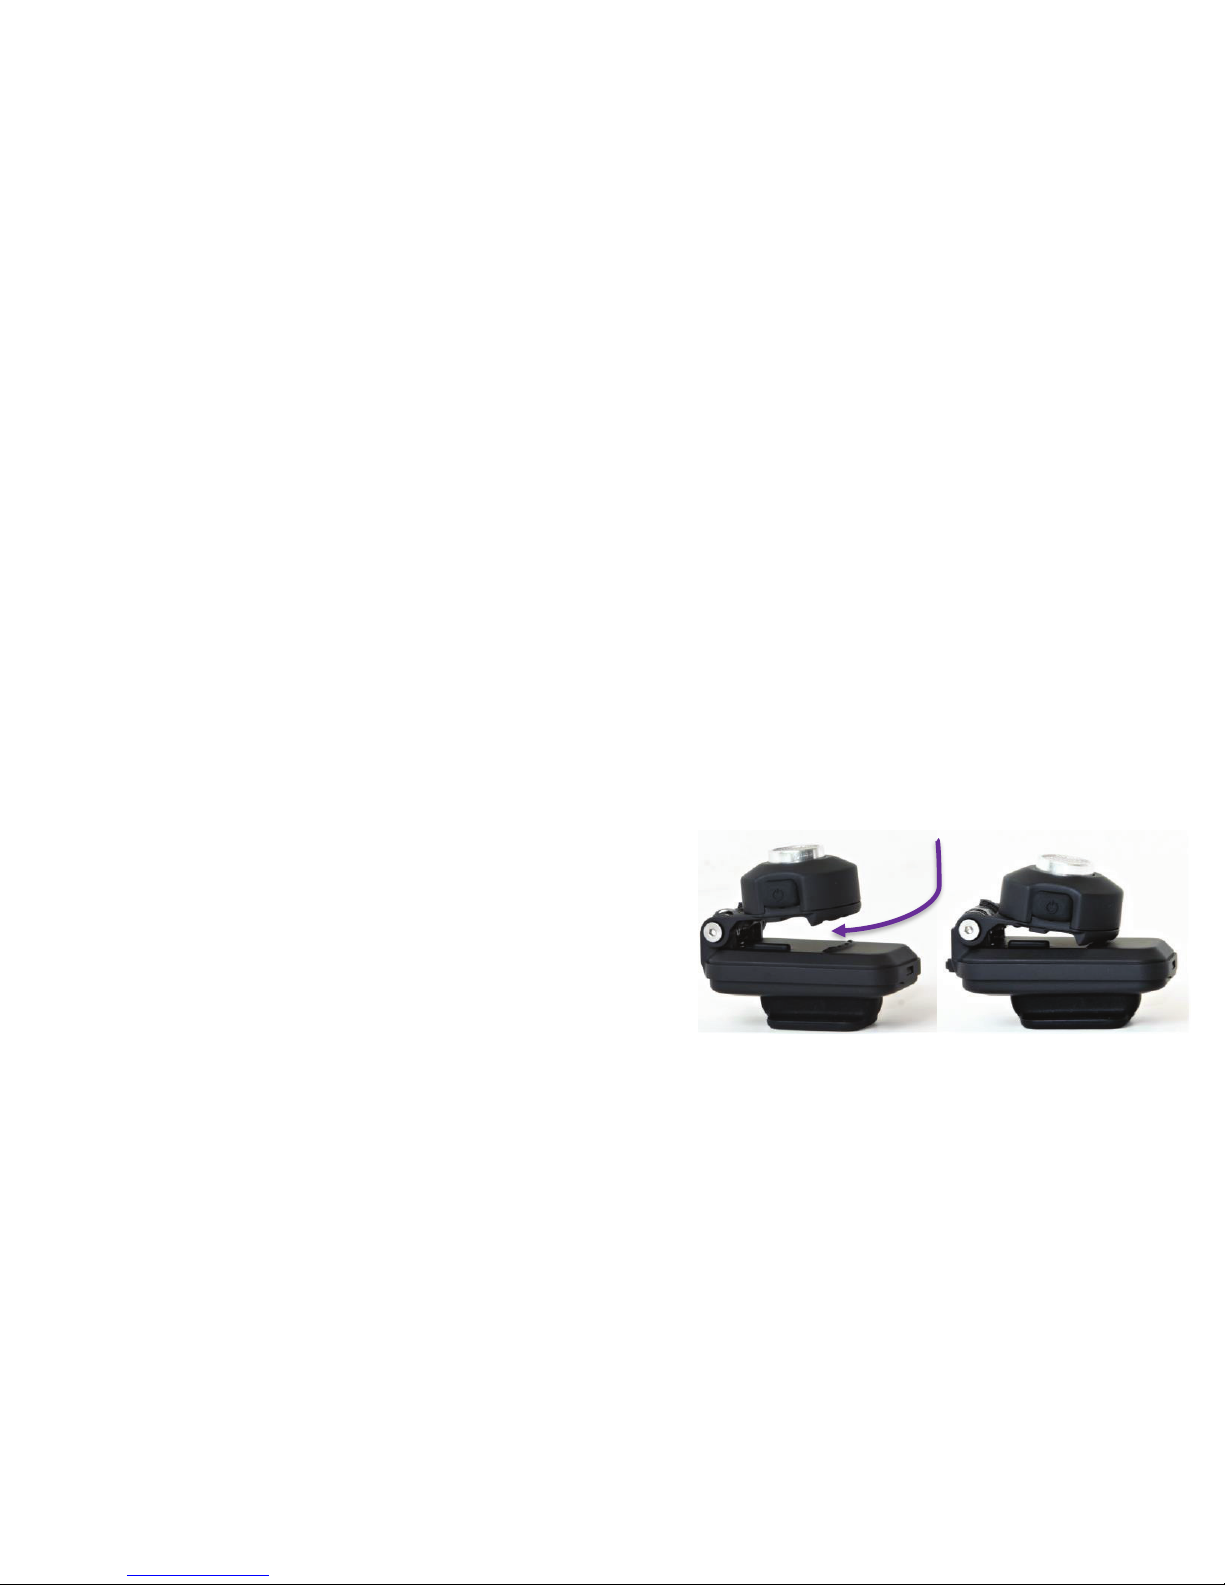
Wearing your BuzzClip
The rounded top where the sensor and buttons are
housed can be slightly pulled away or rotated from
the main body due to the hinged spring. Your clothes
are to go in between this space that separates the
rounded top from the main body of the BuzzClip.
Clothing Clothing

3. Press and hold the Mode button again and you should then feel three short
rapid vibrations. This indicates that the BuzzClip is now in the 3-meter
mode. We recommend using this mode for open areas and general
landscaping of the surrounding environment.
Turning Off your BuzzClip:
Locate the On/Off Button – With the BuzzClip in your palm, you should be able to
feel a circular ring at the top which is the sensor. To the left of the sensor, there is a
rubberized button indented with a tactile marking to indicate the On/Off button.
1. Press and hold this button to turn off your BuzzClip. You should then
immediately feel one long continuous vibration. Your BuzzClip is now Off!
Wearing your BuzzClip
The rounded top where the sensor and buttons are
housed can be slightly pulled away or rotated from
the main body due to the hinged spring. Your clothes
are to go in between this space that separates the
rounded top from the main body of the BuzzClip.
Fastening the BuzzClip:
1. The main body and the vibrator housing
always go under or between your
clothing. Only the rounded top with the
sensor and the buttons should be exposed
on the outside of your clothing (i.e. on the
lapel of a jacket, between the buttons on
a shirt or blouse, on the rounded neck of a
T-shirt, on the beltline, out of pockets, on
the sleeves of a shirt, etc.)
2. Always ensure that the sensor is exposed
outwards and is not covered by anything so that you do not receive any
false positive responses.
Clothing Clothing
3. Press and hold the Mode button again and you should then feel three short
rapid vibrations. This indicates that the BuzzClip is now in the 3-meter
mode. We recommend using this mode for open areas and general
landscaping of the surrounding environment.
Turning Off your BuzzClip:
Locate the On/Off Button – With the BuzzClip in your palm, you should be able to
feel a circular ring at the top which is the sensor. To the left of the sensor, there is a
rubberized button indented with a tactile marking to indicate the On/Off button.
1. Press and hold this button to turn off your BuzzClip. You should then
immediately feel one long continuous vibration. Your BuzzClip is now Off!
Wearing your BuzzClip
The rounded top where the sensor and buttons are
housed can be slightly pulled away or rotated from
the main body due to the hinged spring. Your clothes
are to go in between this space that separates the
rounded top from the main body of the BuzzClip.
Fastening the BuzzClip:
Clothing Clothing
3. Ensure that the sensor is as parallel to your
body as possible. For example, if you are
wearing a buttoned up shirt, make sure
that the sensor is parallel to your chest and
that it is not tilted to the left or right.
4. Ensure that you are able to operate both
buttons on the BuzzClip from where you
are wearing it.
5. Ensure that the vibrator housing on the back of the device is pressed up
against you and in proper contact with your body so that you always feel
the vibrational information delivered to you.
The BuzzClip can be worn many different ways based on one's mobility needs.
It can be easily clipped onto shirts, t-shirts, on sleeves (long or short),
sweaters, jeans, sweatpants, and more. Multiple BuzzClips can also be used at
once for greater coverage around one's body. This would give a blind or
partially sighted user much more information about their immediate
surroundings. For example, one on the chest and one of each sleeve in order to
protect your front and sides.
 Loading...