

Page 1
Imation FlashGO! 2.0 Hi-Speed
USB Flash Card Reader/Writer
User Manual
Thanks for purchasing the Imation FlashGO!™ 2.0 Hi-Speed USB Flash Card
Reader/Writer. Please read this manual carefully before using the reader/writer.
Model Name Description Built-in Flash Disk Capacity
IMN-USB-FG2 CompactFlash Card
Microdrive
SmartMedia Card
MultiMediaCard
Secure Digital Memory Card
Memory Stick Card
Driver Installation
Note: The driver should not be installed for Windows ME and XP. (See Page 4 below.)
Windows® 98/98SE/2000:
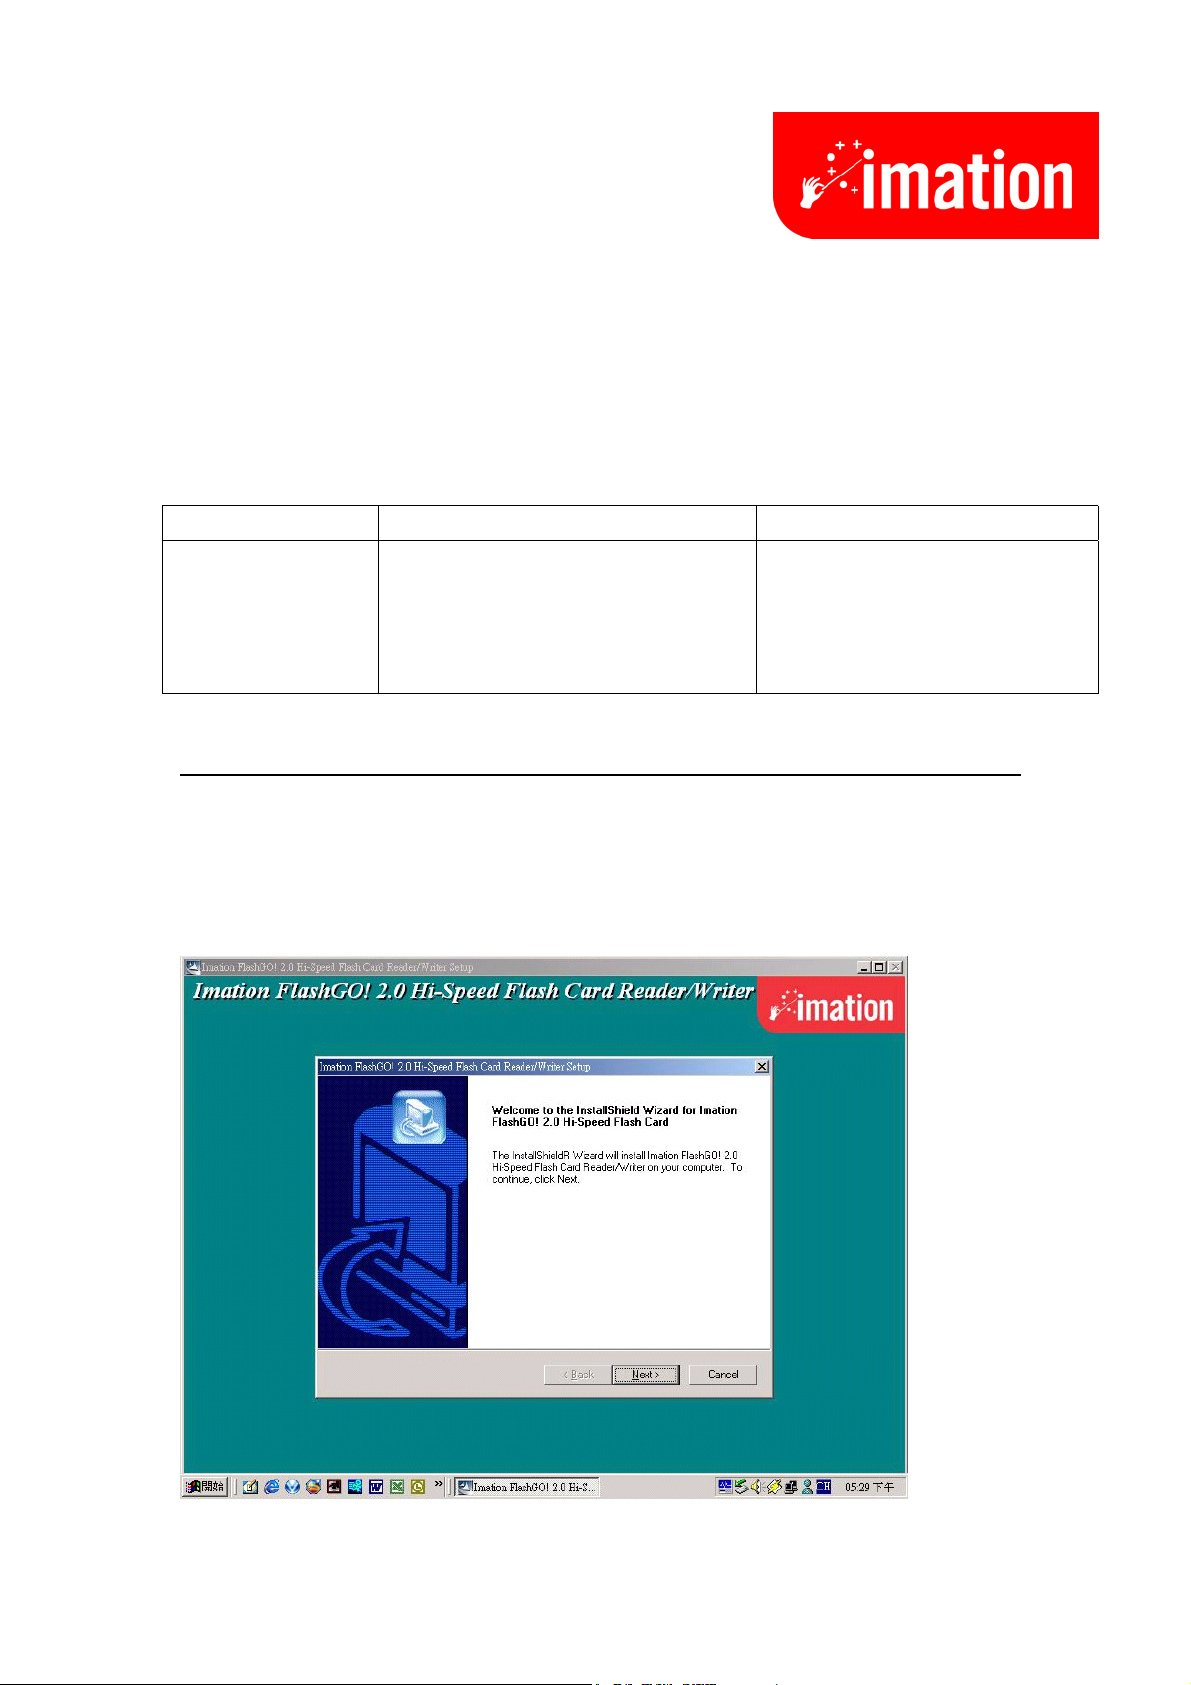
(DO NOT plug the reader/writer into USB port before completing the driver
installation.)
1. Insert the CD into CD-ROM drive. The following screen will appear. Click “next.”
None (Reader Only)
Page 1 of 8 Copyright 2002, Imation Corp. All rights reserved. December 12, 2002
Page 2
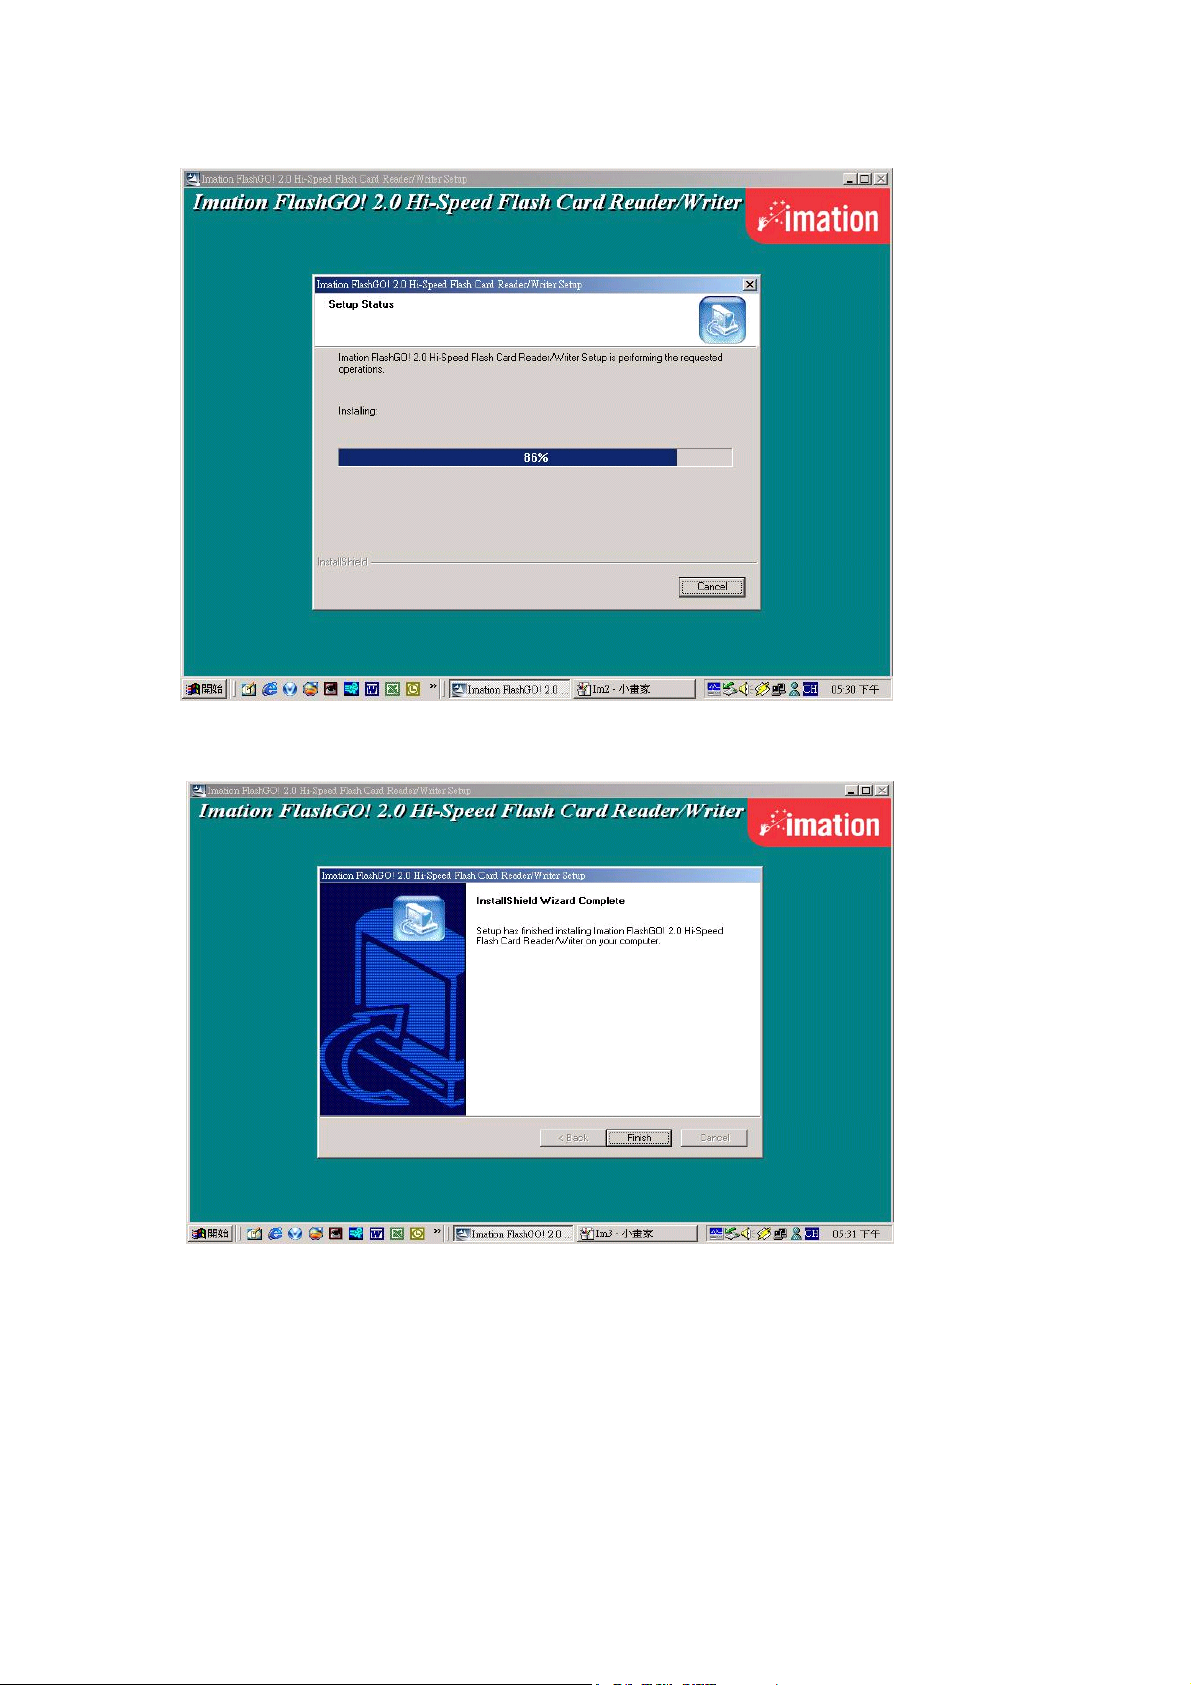
2. The driver will be installed automatically. Wait for setup to finish.
3. Choose “Finish.”
The driver has been set up successfully.
Page 2 of 8 Copyright 2002, Imation Corp. All rights reserved. December 12, 2002
Page 3
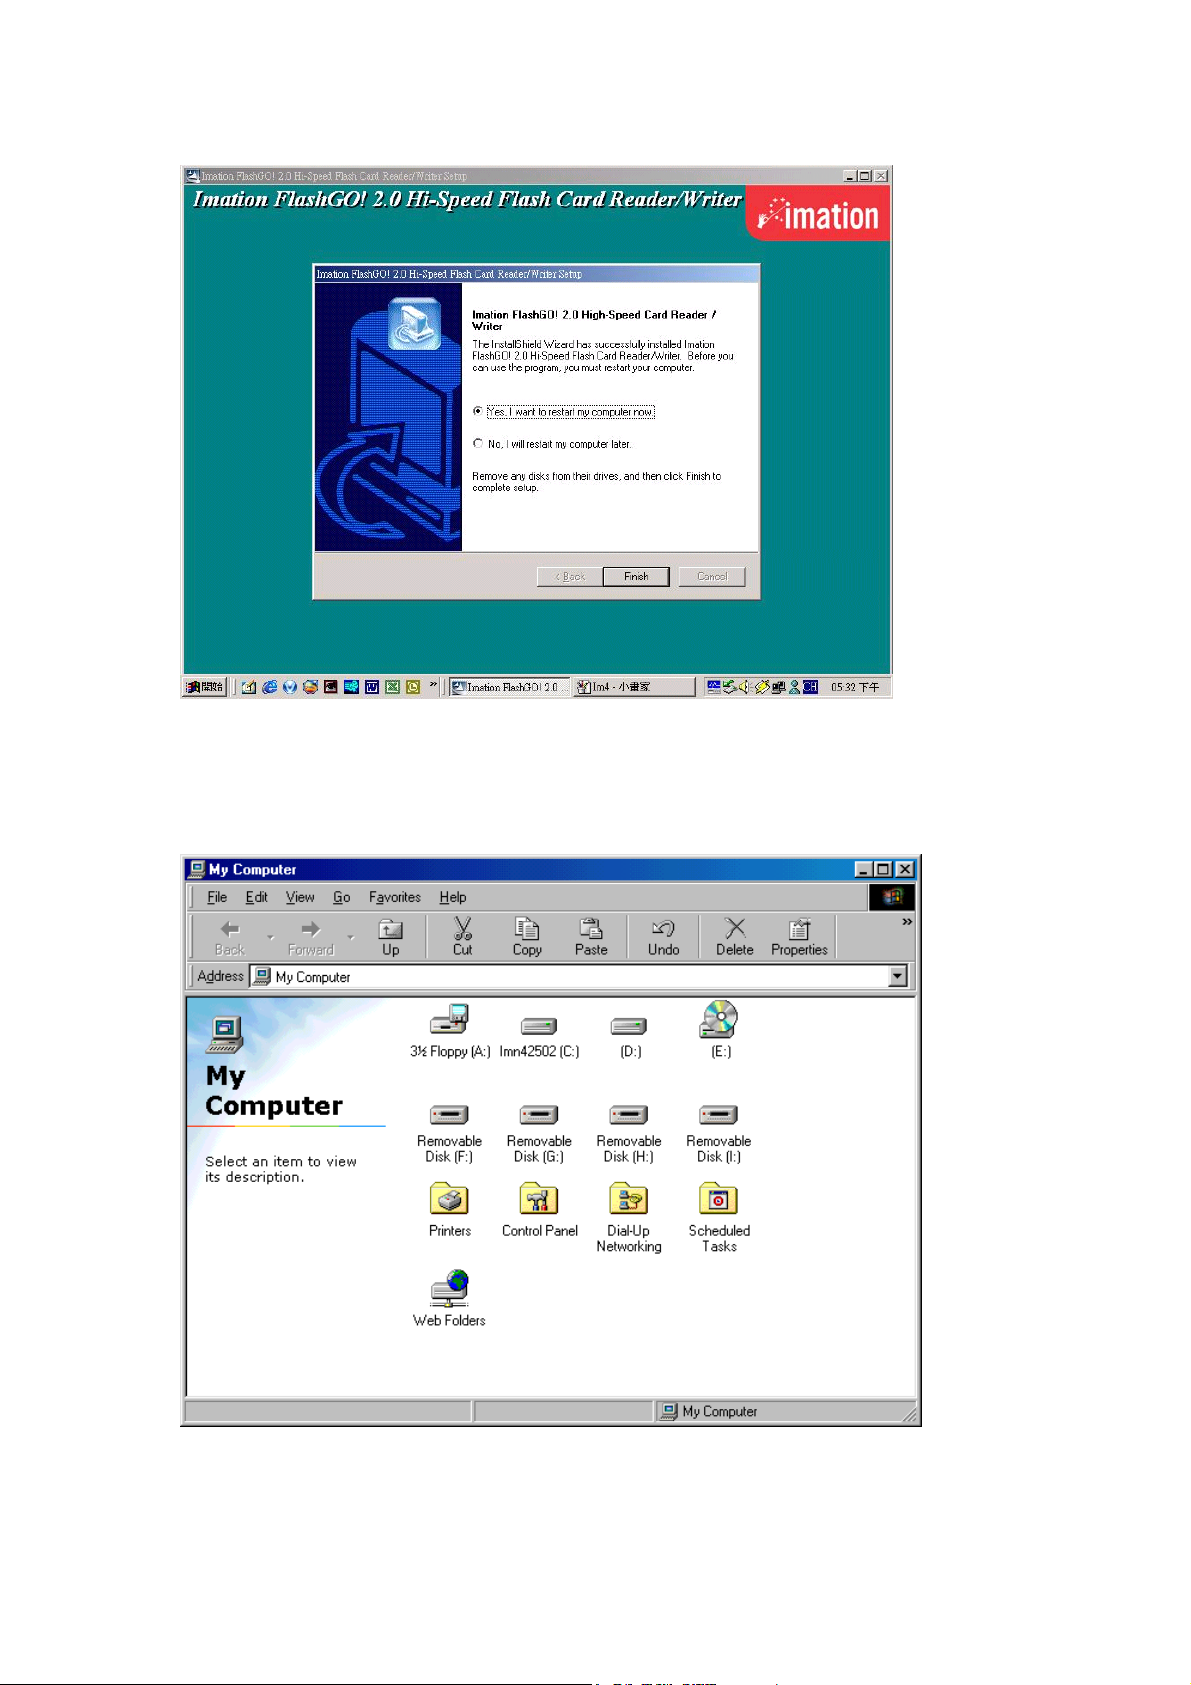
4. Restart the computer.
5. After the computer is restarted, plug the Imation FlashGO! 2.0 Reader/Writer into the
USB port. You will see four extra icons in “My Computer.” You can now insert one or
more flash memory cards and start to use the Imation FlashGO! 2.0 Reader/Writer. See
Page 4 below for the icon assignments.
(Note: If you wish to uninstall the drivers in Windows 98, 98SE or 2000, simply rerun the
Install process from the CD.)
Page 3 of 8 Copyright 2002, Imation Corp. All rights reserved. December 12, 2002
Page 4

Windows ME/XP:
You don’t need to install any drivers if your computer’s O/S is Windows ME or XP. Just
plug your Imation FlashGo! 2.0 Reader/Writer into the USB port. You will then see four
extra icons in ”My Computer,” and you can start to use the Imation FlashGO! 2.0
Reader/Writer.
Note: For Windows operating systems the icons are listed as Removable Disk (n:).
The assignments are as follows:
First icon - Removable Disk = CompactFlash (Drive E: in above example)
Second icon - Removable Disk = SmartMedia
Third icon - Removable Disk = MultiMediaCard
Fourth icon - Removable Disk = Memory Stick
If the flash card has been given a volume label ID, this label ID will be displayed with the
Removable Disk (n:) icon in Windows ME and XP. To name an inserted flash card with
these operating systems, right click the icon, select “Properties” and enter the label.
Page 4 of 8 Copyright 2002, Imation Corp. All rights reserved. December 12, 2002
Page 5

Mac® OS 10.1.2 and above:
For Mac 10.1.2 and above, you don’t need to install any driver. Plug the reader/writer
into the USB port and start using the Imation FlashGO! 2.0 Reader/Writer immediately.
Mac OS 8.6 - 9.x:
(DO NOT plug the reader/writer into USB port before completing the driver installation)
If your Mac Operating System is OS 8.6 - 9.x, please follow these steps:
1. Insert the CD into the CD-ROM drive.
2. Click the “FlashGO! 2.0 Installer” file icon.
Page 5 of 8 Copyright 2002, Imation Corp. All rights reserved. December 12, 2002
Page 6

3. Click “Continue.”
4. Click “Agree.”
Page 6 of 8 Copyright 2002, Imation Corp. All rights reserved. December 12, 2002
Page 7

5. Click “Install.”
(Note: Selecting Uninstall instead of Install in the screen above allows removing the
drivers, should this become necessary.)
6. Click “Restart.”
Page 7 of 8 Copyright 2002, Imation Corp. All rights reserved. December 12, 2002
Page 8

7. After the computer is restarted, plug the Imation FlashGO! Reader/Writer into the
USB port. For each Flash Card you insert, a removable HDD icon will appear on the
desktop. If the disks are labeled, the label name will appear in place of "Untitled."
Page 8 of 8 Copyright 2002, Imation Corp. All rights reserved. December 12, 2002
 Loading...