

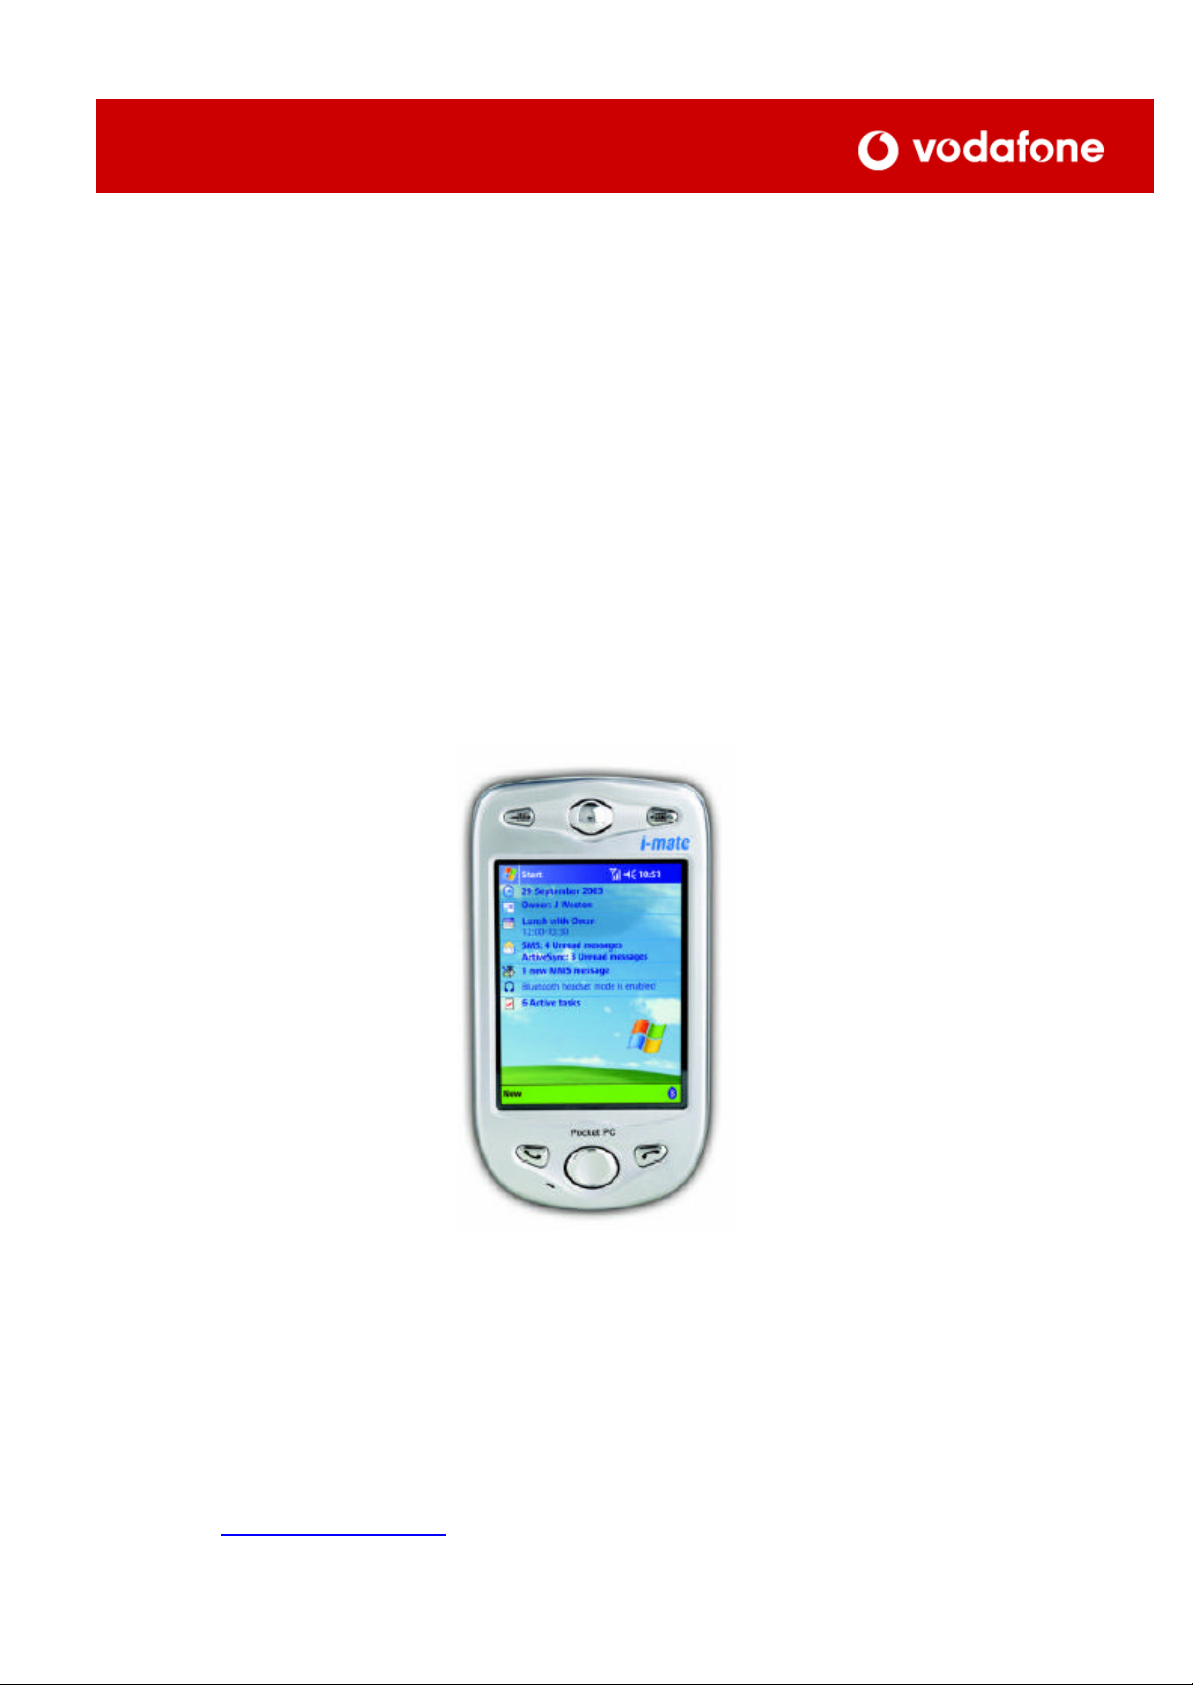
i-mate
Pocket PC
Setup Guide
For help or assistance please contact us.
In New Zealand, phone 777 free from your mobile or 0800 800 021
Phone +64 9 357 5198 from Overseas (except Australia)
Phone, toll free, +800 777 000 21 from Australia
Or visit www.vodafone.co.nz
Setting up the GPRS Data Account
It is important this data account is created first.
This data account allows the phone (when used with a PC) to access the Internet via Vodafone. The
email client also uses this.
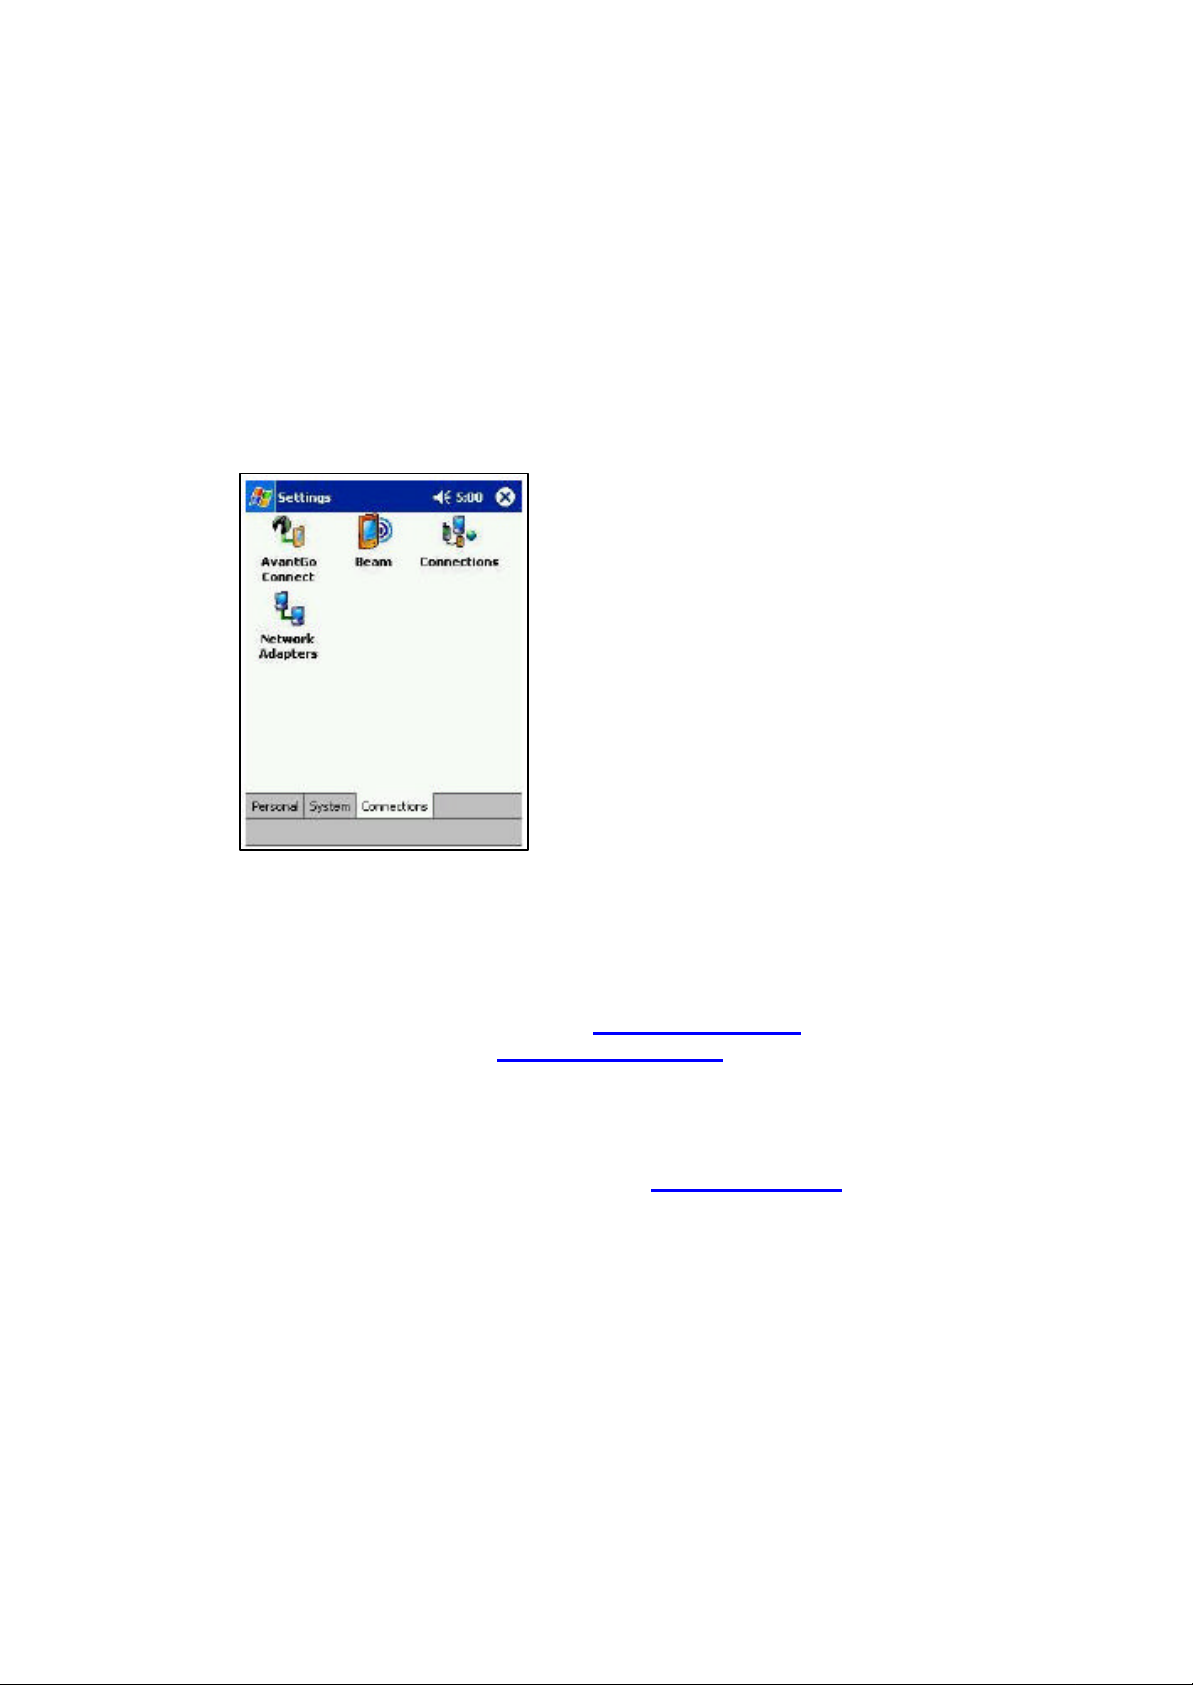
• Tap Start > Settings > Connections tab (bottom of screen) and GPRS Setting
icon.
• Go to Authentication tab and tick PAP authentication
• Click on GPRS Setting tab and tick Class B. Click OK
• Click on the Connections icon
• Click on the Advanced button – Network management
• Under “programs that automatically connect to the Internet should connect using”
• tap on New – under My ISP name enter the name for the settings as: Vodafone NZ
• Then tap on the next Tab below called Modem, and then tap on New.
• Enter a name for the connection: VFNZ Internet
• In the Select a modem field, choose Cellular Line (GPRS) and tap Next.
• Enter Access point name as www.vodafone.net.nz and click next
• Username, Password and Domain fields should be blank.
• Tap on the Advance tab and on the TCIP/IP tab tick Use Server-assigned IP
address. On the Servers tab tick Use Server-assigned as well.
• Follow the same instructions and create another Modem Connection called VFNZ
Gateway, along with the access point name live.vodafone.com
• In the connection screen tap on the setup my proxy server.
• “Tick” both of the boxes and tap on Advanced tab
• in the WAP box please enter 172.30.38.3 and the Port should be 9201
• tap on OK
• Programmes that automatically connect to a private network should connect using
e.g. Vodafone and click ok.
• To connect to your VPN (Virtual Private Newtork) – you will require the server IP
address, which should be obtained from your I.T. department. You must establish
the GPRS Internet Connection first before dialling into your VPN.

Configuration
1. Tap Start > Settings > Connections tab (bottom of screen) and GPRS Setting
icon.
2. Go to Authentication tab and tick PAP authentication
3. Click on GPRS Setting tab and tick Class B. Click OK
4. Click on the Connections icon
5. Click on the Advanced button – Network management
6. Under “programs that automatically connect to the Internet should connect using”
7. tap on New – under My ISP name enter the name for the settings as: Vodafone NZ
8. Then tap on the next Tab below called Modem, and then tap on New.
9. Enter a name for the connection: VFNZ Internet
10. In the Select a modem field, choose Cellular Line (GPRS) and tap Next.
11. Enter Access point name as www.vodafone.net.nz and click next
12. Username, Password and Domain fields should be blank.
13. Tap on the Advance tab and on the TCIP/IP tab tick Use Server-assigned IP
address. On the Servers tab tick Use Server-assigned as well.
14. Follow the same instructions and create another Modem Connection called VFNZ
Gateway, along with the access point name live.vodafone.com
15. In the connection screen tap on the setup my proxy server.
16. “Tick” both of the boxes and tap on Advanced tab
17. in the WAP box please enter 172.30.38.3 and the Port should be 9201

18. tap on OK
19. Programmes that automatically connect to a private network should connect using
e.g. Vodafone and click ok.
20. To connect to your VPN (Virtual Private Network ) – you will require the server IP
address, which should be obtained from your I.T. department. You must establish
the GPRS Internet Connection first before dialling into your VPN.
To connect :
Go to start> settings > connection tab> connections icon and on the tasks tab select Manage
existing connections. Tap and hold for one or two seconds on the name. You should see an
option to delete or connect. Select connect.
Alternatively, go to start> internet explorer > enter URL address and click the green arrow.

How to setup your i- mate Pocket PC Email Access
Before starting this setup guide, please contact your email provider and ask them to provide
the following details:
• Your full email address
• Server Type (POP3 or IMAP4)
• Incoming mail server
You will also need to have a GPRS plan setup on your Vodafone/TelstraClear account.
1. Go to the Inbox on your device; tap
Accounts and then New Account. Enter your
email address and click Next When status
is completed, click Next.
3. Select either Pop3 or IMAP4
(dependant on your email service provider.)
and name the account e.g. Your name or
ISP. Click Next
5. Untick Outgoing e-mail server requires
authentication, and Require SSL connection.
Tick only display messages from the last 3
days. From the drop down menu select
either POP3 or IMAP4 (dependant on your
email service provider.)
Please note:
To connect, you will also need to have a GPRS plan setup on your account. All new Prepay
and On Account connections have the GPRS 0MB plan by default. Other plans available to
On Account customers.
See www.vodafone.co.nz
2. Enter your name and password and
click Next.
4. Server Information: Enter the incoming
mail address for your email account. For
example pop3.****
Enter the outgoing mail address as
smtp.vodafone.net.nz The Domain field
should be blank. Tap options and set
connection from drop down box. Click Next
6. Select get message headers only from
drop down box,
Tick include 2 K and click finish.
 Loading...