


Safety instructions
Keep the unit awa y from heat sources.
Do not use the unit near water.
Avoid objects or liquids getting into the unit.
Unplug the power lead from the wall outlet if the unit will not be
used for a long period.
Mains safety
The unit uses a 230V A C 50 Hz mains supply.
If you want to change the fuse in y our digital radio, replace it with
the same type as stated on the unit. Access the fuse by removing
the mains lead, and turning the fuse holder anticlockwise using the
slot. The fuse holder will pop out enabling replacement.
When replacing the fuse in the supplied moulded mains plug,
always refit the integral fuse holder/co ver . Alwa ys fit a 3 amp fuse
either in the plug or adapter, or at the distribution board.
Do not attempt to remove an y screws or open the unit.
No user serviceable parts are inside.
For your safety, always obe y the warning:
CAUTION - RISK OF ELECTRIC SHOCK - DO NOT OPEN COVER
Copyright
Copyright 2001 by Imagination Technologies Limited. All rights reserved. No part of this publication may be
copied or distributed, transmitted, transcribed, stored in a retrieval system, or translated into any human
or computer language, in any form or by any means, electronic, mechanical, magnetic, manual or
otherwise, or disclosed to third parties without the express written permission of Imagination Technologies
Limited.
Disclaimer
Imagination Technologies Limited makes no representation or warranties with respect to the content of this
document and specifically disclaims any implied warranties of merchantability or fitness for any particular
purpose. Further, Imagination Technologies Limited reserves the right to revise this publication and to
make changes in it from time to time without obligation of Imagination Technologies Limited to notify any
person or organization of such revisions or changes.
Trademarks
VideoLogic, Imagination Technologies, and the Imagination Technologies logo are trademarks or registered
trademarks of Imagination Technologies Limited. The stylised ‘DAB digital radio’ mark is a trademark and
the ‘r’ mark a registered trademark of Digital One Ltd. All other product names are trademarks of their
respective companies.
Credits
This manual was written by Bruce Murray and illustrated by Philippa Page. It is a product of VideoLogic
Systems, Imagination Technologies Ltd., Home Park Estate, Kings Langley, Hertfordshire WD4 8LZ, UK.
Edition 1 November 2001

Contents
Introduction ................................................................ 2
Setting up ................................................................... 3
Controls and Connectors .............................................. 4
Using your Digital Radio ............................................... 5
Using the Remote Control ............................................. 8
Troubleshooting ......................................................... 10
Technical Specifications .............................................. 11
Getting Help ............................................................... 12
Useful addresses ....................................................... 12
1

Introduction
Thank you for choosing the PURE Special Edition D AB Digital Radio.
This manual provides information on setting up your unit, instructions on using it and details of
the support available.
DAB digital radio provides superb quality sound, eliminating the hiss, crackle and fade
associated with analogue radio broadcasts.
Broadcast since 1995, D AB digital radio pro vides high-detail, digital-quality sound; supports
over 150 national, local and digital-only channels; and enables broadcasters to provide
additional text information such as the station name and track information or a scrolling ticker
showing sports results, news headlines and financial information.
The Special Edition D AB Digital Radio comes with an LCD displa y and fully-featured infrared
remote control.
2

Setting up
This section provides information on setting up your digital radio read y for use.
Unpacking
After unpacking your box check that y ou hav e all of the following items. Contact us if any items
are missing or damaged.
1. One Special Edition D AB Digital Radio.
2. T wo AAA batteries for the remote control handset.
3. One infrared remote control handset.
4. One telescopic DAB indoor aerial.
5. One power lead with moulded 3-pin plug.
Connecting your aerial
You need to connect either the supplied telescopic indoor aerial or an external D AB aerial to your
digital radio to receive digital radio transmissions. T o find out about D AB cov erage in y our area,
see the list of useful addresses on page 12.
1. Screw the aerial plug onto the F-type aerial connector on the top of your digital radio.
2. For the best reception, if using the indoor aerial supplied, extend the aerial fully. Y ou may
have to experiment with different angles to find the best reception for particular services.
Connecting to power supply
Once you ha ve connected y our aerial, connect one end of the supplied power lead to the socket
on the side of your digital radio and connect the other end to a wall outlet.
3

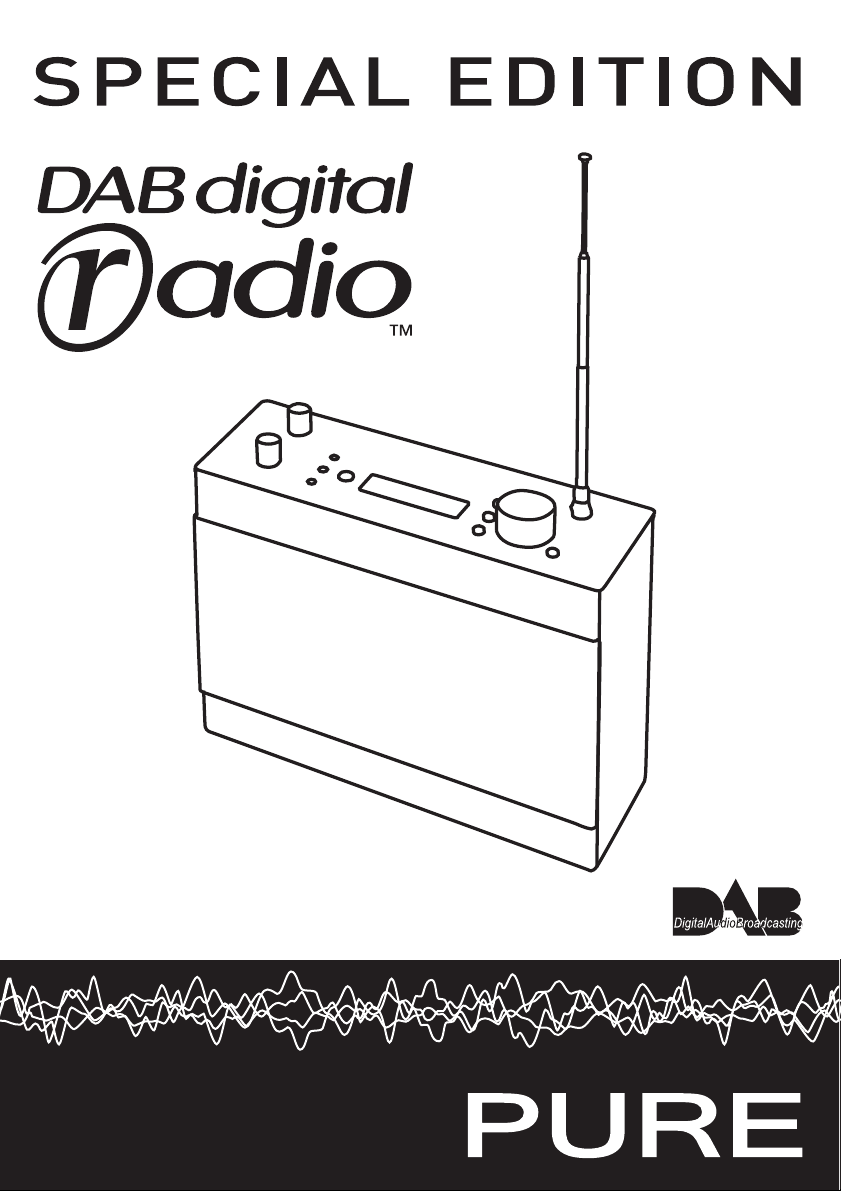
Controls and Connectors
This section provides information on the controls and connectors available on the top and side
panels of your digital radio. For information on the remote control, see pag e 8.
Top Panel
Volume control
Stereo LED indicates when stereo service is being received, see page 6
Remote sensor picks up the infrared signal from the remote
Info button changes the information mode of the display, see page 7
Brightness button changes the display brightness
Aerial socket
Autotune button provides one touch tuning, see page 5
Tuning button selects the digital radio service, see page 6
Side Panel
POWER
0I
FUSE
T160mA L 250V
230V ~ 50Hz 20W
Display button changes the main display mode, see page 6
Backlit LCD display
Remote LED indicates remote control activity
Secondary LED indicates whether secondary ser vices are available, see page 9
Tone control, adjusts bass/treble level
POWER on/off switch
FUSE holder
Mains socket for mains lead
4

Using your Digital Radio
This section provides information on using your digital radio including tuning, selecting a service,
adjusting the volume and tone levels and altering the displa y ed information.
Switching on and off
Before switching on for the first time, check that y ou ha ve attached the aerial and power lead as
described on page 3, switched the power on at the wall outlet and ensured that the volume
control is turned down.
Note that if you leav e the unit switched off for an extended period (around two w eeks or longer)
you ma y need to re-tune the unit to refresh the av ailable services.
Push the power switch on the side of y our digital radio to the I (on) position to switch the unit on.
The LCD screen will light up when the unit is switched on.
You should no w perform the tuning operation described below .
Tuning
T uning your digital radio is v ery simple. In most cases you only need to perform this operation
once, w hen you first set up the unit. The tuning facility has two modes:
Rapid - scans frequencies in the UK channel allocation. This should take around 45 seconds.
Full - scans the full range of digital frequencies in Band III. This ma y tak e several minutes.
All UK digital radio services currently available in y our area will be found using the rapid mode.
1. Ensure your digital radio is switched on and y our aerial is connected and extended. Ideally ,
position the unit near a window and awa y from other electrical items during tuning.
2. Push and release the Autotune button on the top of your digital radio once for rapid mode
and twice for full mode.
Note You can cancel Autotune b y pushing the Autotune button a third time.
The display will indicate tuning is underwa y . When finished, the name of the first service
found will be shown on the top line of the display and y ou should hear it through the
speakers. All the services found are now stored in the unit and you can select a service as
described below .
Note Like FM radio reception, DAB radio signals can be affected b y walls, metal structures and
other electrical items. If no services are found the display will show the messag e NO
ENSEMBLES. Check your aerial connection and positioning, try moving the unit near a window
and attempt the tuning process again.
You ma y want to repeat this procedure in the future if y ou mov e house, chang e your unit or aerial
position or if you want to receive a newly introduced service.
Note If reception is poor, check the signal strength and try repositioning the unit or aerial
using the signal strength indicator as described on page 7.
5

Selecting a service
Once you hav e tuned your digital radio as explained abo ve y ou can select the digital radio
service you want to listen to. Y ou use the large turn-and-push button to select a service.
1. Rotate the large tuning button to see the names of other stored services on the bottom
line of the display. Stop when y ou find the service you want to listen to.
2. Push and release the large tuning button to listen to the service you have selected.
If the service you select is in stereo, the Stereo LED will light up. If the service you select has
one or more secondary services available, the Secondary LED will light up.
See page 9 for details on selecting primary or secondary services.
Adjusting the volume and tone
Once you hav e tuned your digital radio as explained abo ve y ou can adjust the volume and
tone to your preferred levels. Y ou use the Volume and Tone controls to adjust these lev els.
1. Adjust the volume to the required level using the volume control.
2. Adjust the tone from low (more bass) to high (more treble) to suit the service.
Changing the display mode
Your digital radio displa y has four modes w hich enable you to view different elements of the
broadcast data on the bottom line of the display.
Press the Display button on the top panel of your digital radio and repeat or hold down to
cycle through the four different display modes.
Scrolling text The default mode, displa ys scrolling text messages w hich
accompany the audio, where a vailable.
Program type A label describing the type of content being broadcast by the
service.
Multiplex name Displays the name of the multiplex in which the current
service is found.
T echnical information Displays the channel label and centre frequency for the
current multiplex.
6

Viewing extra information
Your digital radio has tw o information modes which enable you to view extra information about
the current service.
Press the Info button on the top panel and repeat or hold down to cycle through the two
different information modes. Press the Displa y button to return to normal display mode.
Mode Displays the mode of the current service, Stereo (ST) or
Mono (MN) and the data rate at which the audio signal is being
transmitted. This rate is set by the broadcaster to suit the type
and quality of material being transmitted.
Signal strength Displays the strength of the signal for the current multiplex.
Maximum strength is indicated by 16 bars across the displa y .
Note If sound quality is poor, try repositioning your unit or aerial
whilst observing the signal strength indicator, y ou ma y be able to
increase reception quality .
Changing the display brightness
Your digital radio has four lev els of brightness which y ou can alter to suit y our room’s light
levels.
Press the Brightness button on the top panel and repeat or hold down to cycle through the
four levels of brightness available.
7

Using the remote control
The infrared remote control provides access to the main functions of your
digital radio and also advanced facilities such as presets and dynamic
range control. Before using your remote, insert the supplied batteries. Aim
the remote control at the sensor on the top panel.
Preset buttons
The numbered buttons (1-9) and the STORE button enable you to store
your fav ourite radio services for one-touch access.
To store a service
While listening to the service you want to store.
1. Press the STORE button.
The display shows 1-9?
2. Press a numbered button to store the service under that number.
To recall a previously stored channel
Press the numbered button under which you stored the service.
DRC button
The DRC Dynamic Rang e Control button enables you to alter the d ynamic range of the
received audio (dependent on broadcast material) by making the quieter sounds in a
broadcast more audible. This ma y be useful in noisy environments or particularly quiet parts of
programmes.
Press the DRC button to check whether DRC is av ailable for the current service then press the
DRC button again to toggle DRC on or off. The default setting is off.
MUTE button
The MUTE button is a quick wa y of reducing the output volume.
1. Press the MUTE button to mute the sound.
The display shows MUTE.
2. Press any key on the remote control or main unit to remo ve the mute and return to the
previous listening volume.
DISPLAY button
The DISPLAY button enables you to change the displa y mode. This button performs the same
function as the Display button the main unit. See page 6 for details.
Press the DISPLAY button and repeat or hold down to cycle through the four display options.
8

INFO button
The INFO button enables y ou to change the information mode. This button performs the same
function as the Info button on the main unit. See page 7 for details.
Press the INFO button and repeat or hold down to cycle through the two information modes.
PRI/SEC button
The PRI/SEC button enables y ou to select between the primary and secondary services where
secondary services are available. If a secondary service is available for the current service, the
Secondary LED will light up. Press the PRI/SEC button and repeat or hold down to cycle through
the available services.
Service select buttons
The !" and SELECT buttons enable y ou to scroll through and select services. T og ether,
these buttons perform the same function as the large tuning knob.
1. Press and release or hold down the ! or " button to scroll through the stored
services.
2. The bottom line of the display sho ws the service names.
3. Press the SELECT button to select and listen to the display ed service.
9

Troubleshooting
This section gives solutions to some of the most likely problems y ou might have with y our digital radio.
I can’t get any sound
Ensure that your digital radio is plugged in, s witched on and that you ha ve connected and
extended the aerial as explained on page 3.
Check that the volume is not set too low or that y ou have selected MUTE on the remote control.
Ensure that you hav e completed the Autotune procedure as explained on page 5.
Remote control not functioning
Check that you hav e inserted the batteries correctly and that you are not too far awa y from the
main unit (not more than 7 metres recommended).
Check that the remote sensor on the main unit is not obscured.
Check if the Remote indicator LED lights up indicating that the remote signal is being received.
Display says ‘No Service Check Setup’
Check that your aerial is connected and extended properly and try positioning the unit nearer to a
window.
Use the A utotune facility to search for services. T ry using the Full search as explained on page 5.
I can’t access secondary services
At the time of publishing not many secondary services are available. If secondary services are
available for the currently selected service the Secondary indicator LED will light up. Y ou use the
remote control to select secondary services, see page 9 for details.
Display says ‘Memory Reset Presets Lost’
This may occur if the unit has been s witched off for an extended period of time (longer than two
weeks). Use the Autotune feature as described on page 5 to refresh y our stored services if
necessary. Y ou can then re-enter your presets using the remote control, as described on page 8.
Display has gone blank
This may occur if a broadcaster chang es the label of a service or removes a label whilst you are
listening to it. As the displa y is constantly updated it therefore may g o blank. Follow the Autotune
procedure, on pag e 5, to restore all av ailable services to your unit.
I can’t hear the station I have selected on the display
To hear the station y ou need to confirm y our selection by pressing the large tuning knob , as
described on page 6.
I hear a 'burbling' sound on some stations
Although DAB is excellent at providing quality audio from v ery little signal, the quality can suffer
if the signal strength is too low . If that happens, a ‘burbling’ sound can sometimes be heard.
Positioning your unit nearer to a windo w or adjusting the aerial position ma y reduce this.
10

Technical Specifications
This section lists the technical specifications for your digital radio.
General Stereo digital radio with full Band III reception capability , for reception of
all UK DAB broadcasts. Fully compliant with ETS 300 401 and capable of
decoding all DAB transmission modes 1-4.
Speakers Tw o 3”, 5W 8Ω speakers.
Frequency Range Band III (174 - 240 MHz), with fast A utotune feature
Tuner Sensitivity -98 dBm
Integr ated DA C 24-bit 96 kHz stereo DAC
Input connectors RF F-connector 75 Ω for DAB aerial connection (aerial supplied)
Controls Power on/off (side panel)
Rotary selection switch - selects service
Autotune - tunes in unit to broadcast services
Brightness - selects between 4 levels of LCD displa y brightness
Display - selects betw een DLS (Dynamic Label Segment) scrolling text,
programme type, and service information
Info - switches LCD between displa y of signal strength indicator and
mono/stereo mode plus service’s data rate
Tone - controls bass/treble le vels
Volume - controls output volume
LCD Display High visibility STN LCD display with 16 x 2 characters and 4 user-
selectable brightness levels
Indicators Remote control activity indicator
Stereo service indicator
Secondary service availability indicator
Remote control Infrared remote control functions: service select, preset service store/
recall, DRC (dynamic rang e control), mute and primary or secondary
information display
Power supply High-performance low noise internal toroidal transformer power supply .
230V AC 50Hz. Integral main fuse holder on side of unit.
Approvals CE marked. Compliant with the EMC and Lo w V oltage Directives (89/336/
EEC and 73/23/EEC)
Dimensions 281mm (width) x 216mm (height) x 93mm (depth)
11

Getting Help
The T roubleshooting section of this manual, on pag e 10, lists some of the more lik ely reasons for
problems you might ha ve with your digital radio. If y ou still have a problem, either visit our
website at www.videologic.com or contact us using the details below for the latest support
information.
VideoLogic Systems,
Imagination Technologies Ltd,
Home Park Estate, 01923 277477 telephone
Kings Langley , 01923 270188 f ax
Herts., WD4 8LZ, UK support@videologic.com e-mail
Useful addresses
The following addresses provide additional useful information about digital radio including
coverage, available services and usage tips:
Digital Radio Development Bureau Tel: 020 7306 2630
The Radiocentre E-mail: info@drdb.org
77 Shaftesbury Avenue W eb : www.drdb.org
LONDON
W1D 5DU
Digital One Tel: 020 7288 4600
20 Southampton Street E-mail: info@digitalone.co.uk
LONDON Web: www.ukdigitalradio.com
WC2E 7QH
BBC Digital Radio Tel: 08700 100 123
Room 5661 E-mail: digitalradio@bbc.co.uk
Broadcasting House W eb: www .bbc.co.uk/digitalradio
Portland Place
LONDON
W1A 1AA
12

13

Please return your registration card to the following address to validate yourPlease return your registration card to the following address to validate your
Please return your registration card to the following address to validate your
Please return your registration card to the following address to validate yourPlease return your registration card to the following address to validate your
warrwarr
antyanty
anty
antyanty
..
.
..
warr
warrwarr
VideoLogic Systems
Imagination T echnologies Ltd.,
Home Park Estate,
Kings Langley , Herts., WD4 8LZ, UK 01923 270188 fax
sales@videologic.com 01923 277488 sales
support@videologic.com 01923 277477 support & service
www.videologic.com
11R63
 Loading...