

ILY FORTRESS CD-DVD User Manual
FORTRESS CD/DVD
Duplicator System
User Manual
Version 1.80

TABLE OF CONTENTS
Introduction 1
Specifications 1
LCD Front Panel Overview 1
Menu Overview 2-3
Functions 4
• Copy
• Test
• Copy & Verify
• Copy & Compare
• Verify
• Compare
• Set Burn Speed
• Select Source
• Edit Track
• Utility
o Prescan
o Quick Erase
o Full Erase
o Eject All Discs
o Disc Info
o Drive Info
o System Info
o Update BIOS
o Copy Count
4
4
5
5
6
6
7
7
8
9
9
9
9
9
10
10
10
10
10
• Setup
o Power on Time
o Auto Start Time
o Start-up Menu
o Display Mode
o Button Beep
o Skip Read Error
o Eject on Start
o Show Copy Time
o Reader Speed
o Compare Speed
o Change Bad Master
CD Overburn
o
o Copy CD-Text
o Show HDD Image
o Boot Password
o Setup Password
o Language
o Clear Setup
• Image Manager
o Select Image
o Disc => Image
o Set Reader Speed
o Show Image Info
11
11
11
11
11
11
11
12
12
12
12
12
12
13
o Rename Image
o Delete Image
o Show HDD Info
o Format HDD
o Load and Copy
• DisckLock
o Enable DiscLock
o DiscLock Copy
o Set Burn Speed
o Select Source
o Utility
o Setup
o Set Burn Speed
o Disable DiscLock
15
15
16
16
16
17
17
18
18
18
19
19
19
19
13 Basic Troubleshooting 20
13
13
14
14
14
14
14
15
15
Introduction:
)
)
)
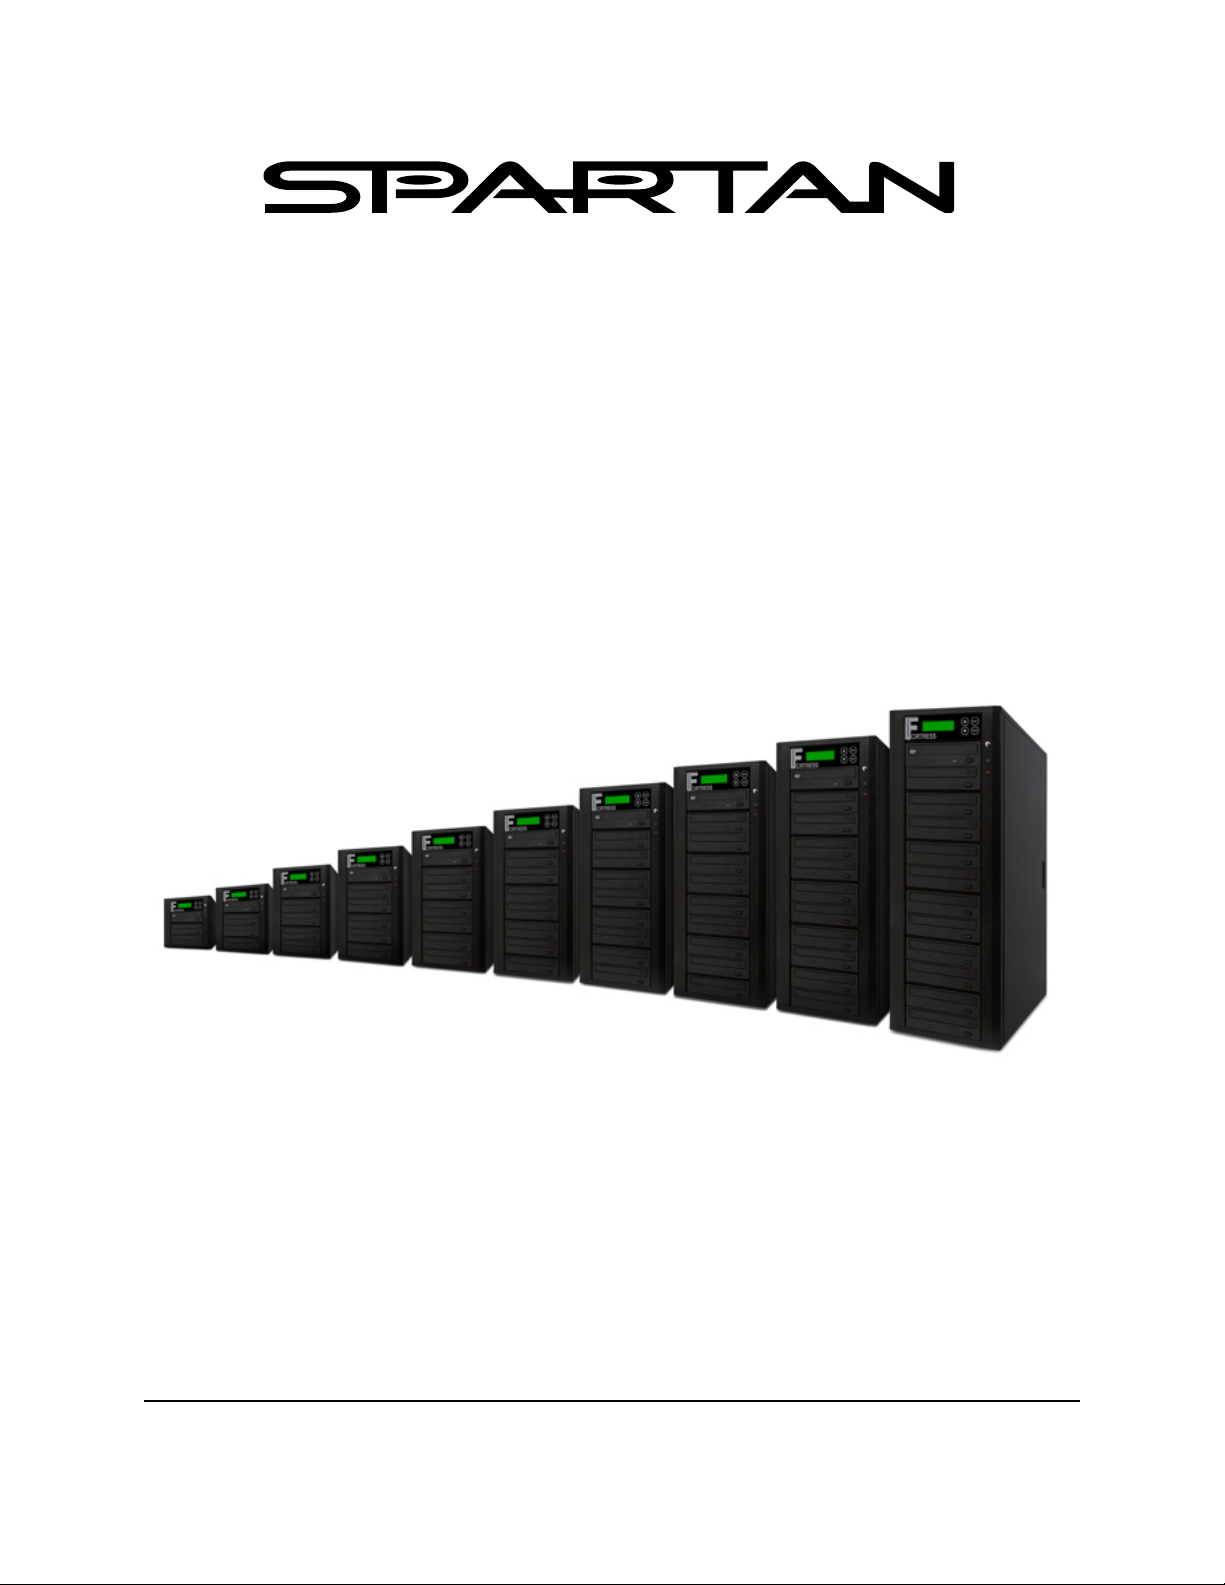
Thank you for purchasing the standalone Spartan Fortress CD/DVD Duplicator. This system is specifically
engineered to copy CD and/or DVD without additional computer or processing unit. With a simple, fourbutton interface and a LCD screen to display menu commands and real-time status, the Spartan Fortress
CD/DVD Duplicator provides a fast and reliable solution for CD and DVD duplication up to 11 targets from
one single master disc.
Operating Environment:
Temperature
Humidity
Working Temperature
Storage Temperature
Working Humidity 20%~80%
Storage Humidity 5%~95%
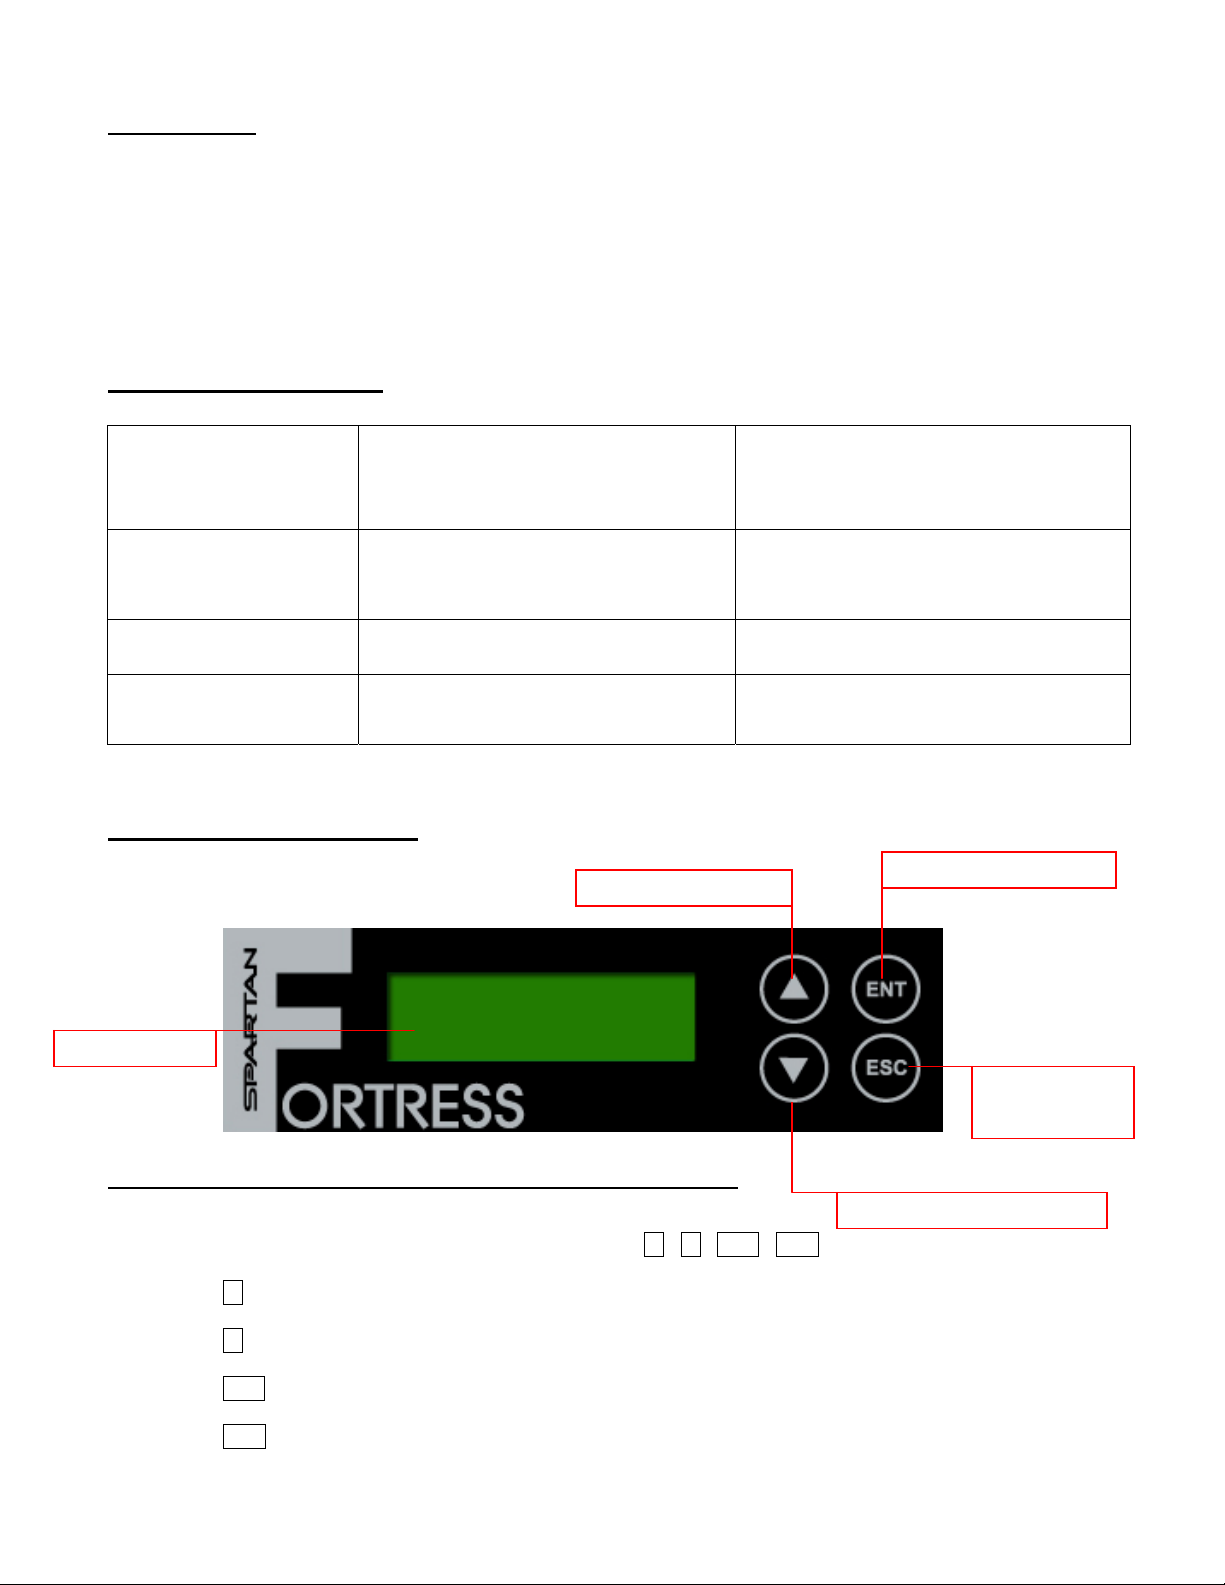
LCD Front Panel Overview:
Scroll Button (UP
0
°C ~ 60°C
32
°F ~ 140°F
-20
°C ~ 85°C
°F ~ 185°F
-4
ENT Button (ENTER
LCD Screen
Control Buttons: There are 4 control buttons: i , j , ENT , ESC
i : Up, Backward: To navigate backward in the menu.
j : Down, Forward: To navigate forward in the menu.
ENT : Enter, OK: Execute the function.
ESC : Escape, Cancel: Go back to the previous level in the menu.
ESC Button
(ESCAPE)
Scroll Button (DOWN

Menu Overview:
Below is a quick reference chart of the functions available on all models of Spartan Fortress CD/DVD Duplicators.
After the drives are successfully installed, user may access the menu functions by powering on the system.
1 COPY
Copies the master CD/DVD. All contents of the master disc will be duplicated
on to all target disc(s) simultaneously.
1
2 TEST
3 COPY & VERIFY
4 COPY & COMPARE
5 VERIFY
6 COMPARE
7 SET BURN SPEED
8 SELECT SOURCE
TRACK EDIT
9
9.1 Copy Track
9.2. Close Disc
Simulates the copy process, but no data is recorded onto the blank disc(s).
Note: Test mode can only be done with DVD-R and CD-R media only.
Copies the master CD/DVD, and then verifies the presence of data on the
copied disc(s) to ensure readability of the copied disc(s).
Copies the master CD/DVD, and then immediately follows the copy process
with a bit-for-bit comparison between the master disc and copied disc(s) to
ensure exact duplication.
Note: The “Compare” function cannot be used with audio CDs.
Verifies the presence of data on the copied disc(s) to ensure that the copied
disc(s) can be read back.
Performs a bit-for-bit comparison between the master disc and copied disc(s).
Allows the speed settings to be changed for various formats.
Allows the source drive to be changed to any of the available drives in the
duplicator, including the Hard Disk Drive (HDD).
Allows for the selection of individual track(s) from different master audio CDs to
create custom compilation.
Allows the selection of individual track(s) from the master CD and copies the
selected track(s) onto all target discs.
Closes the target discs when all of the track(s) are burned on to all target discs.
Note: The copied disc(s) will NOT play back without this step. Do NOT skip this
step.
9.3 Disc Info
UTILITY
10
10.1 Pre-scan
10.2 Quick Erase
10.3 Full Erase
10.4 Eject All Disc
10.5 Disc Info.
10.6 Drive Info.
10.7 System Info.
Displays the information regarding the track(s) on the disc(s) and how much
space is remaining on the target disc(s).
Performs a scan on the master disc before the copy process starts and ensures
the master disc can be copied in the duplicator.
Erases all rewritable media (CD-RW and DVD+/-RW, DVD+/-RW DL).
Formats all rewritable media (CD-RW and DVD+/-RW, DVD+/-RW DL).
Ejects all disc trays, including source drive.
Displays basic information of the discs inserted, such as disc type, amount of
data on disc for master disc(s) (in MB) and media book type. For blank media,
displays the media book type, available space and speed of the media.
Displays information of all drives in the duplicator including the Reader, HDD (if
present) and Writer drive(s).
Displays the duplicator controller information, such as the hardware version,
buffer memory and currently loaded firmware.
2
10.8 Update BIOS
Updates the firmware for the controller.
Note: Please make sure that the firmware is approved by the manufacturer and
compatible with the duplicator before performing the update.
10.9 Copy Count
SETUP
11
11.1 Power On Time
11.2 Auto Start
11.3 Startup Menu
11.4 Display Mode
11.5 Button Beep
11.6 Skip Read Error
11.7 Eject on Start
11.8 Show Copy Time
Counts the number of successful and failed copies of CD and DVD made by
the duplicator.
Sets system warm up time from 5 sec to 99 sec. Default is 15 seconds.
Sets auto start time from OFF (no auto start) to 99 sec. Allows the duplicator to
automatically start one of six following functions once the master disc and
desired number of target disc(s) are inserted and the drive trays are closed:
Copy, Test, Copy & Verify, Copy & Compare, Verify and Compare.
Assigns a command to be displayed first after the duplicator has been
initialized.
Sets the amount of information displayed on the LCD during the performance
of various functions.
Enables or disables the audio feedback when buttons are pressed.
Enables the option to halt the duplication process if there is an error on the
master disc. Disables the option to allow the process to continue with the same
errors as the master disc.
Allows the duplicator to eject disc tray(s) with disc present inside upon boot-up.
Enables or disables the copy time to be displayed when the copy process is
finished. Also allows for the various other timed functions to display the
completion time.
11.9 Reader Speed
11.10 Compare Speed
11.11 Change Bad Master
11.12 CD Overburn
11.13 Copy CD-TEXT
11.14 Show HDD Image
Name
11.15 Boot Password
11.16 Setup Password
11.17 Language
11.18 Clear Setup
IMAGE MANAGER
12
12.1 Select Image
12.2 Disc → Image
Sets the speed at which discs are read during various processes.
Sets the speed at which the compare process is executed.
Enables or disables changing of a master disc during the copy pro cess when
an error is detected on the master disc.
Enables or disables the duplication of overburned CDs.
Enables or disables the copying of the CD subcode (CD-TEXT) information for
audio CDs.
Allows the image name to be displayed on the LCD screen when selecting the
HDD as the source drive.
Sets password protection for duplicator boot-up.
Sets password protection for changing setup options.
Allows different language selections for LCD display.
Clears the CMOS and resets the duplicator controller back to factory defaults.
The management for various functions of the hard disk drive (HDD).
Note: For this function and submenu to be displayed, a HDD must be installed
in the duplicator.
Selects an image file as a source to be copied to the discs.
Loads an image to the HDD from a master CD or DVD as an Image file.
12.3 Set Reader Speed
Sets the speed of data loading from the master CD/DVD to the HDD.
3
12.4 Image Info.
Displays the image file information such as image order, name, file size and
type of image.
12.5 Rename Image
12.6 Delete Image
Renames the HDD image partition name up to 8 characters.
Deletes an image file in HDD. Note: A file selected as the source file cannot be
deleted until a different image is selected. See 12.1.
12.7 HDD Info.
Displays the information in HDD, such as the number of discs stored on the
HDD and the amount of space left in the HDD.
12.8 Format HDD
12.9 Load & Copy
Formats the HDD, erasing ALL data stored on the HDD.
Allows an image to be loaded onto the HDD from a master CD or DVD and
automatically copied on to the target disc(s). Select from 3 modes:
Synchronous, Load First and Off.
Functions:
1. Copy – This command will copy the master disc placed in the designated Source Drive to all target di scs
in the Writer Drives. This process burns all information contained on the master disc to the target discs so
the copies are exact duplicates of the master disc.
To Start the Copy Process:
1. Power on the duplicator (if not already on).
2. Eject disc tray of the Source Drive and place the master disc in the designated Source Drive (usually
the top). The “master disc” is the original of which copies are made.
3. Eject disc tray(s) of the Writer Drives and place blank disc(s) on the tray(s). Number of drives used
depends on number of copies desired. It is not necessary to always use all drives.
4. Use the scroll buttons to select the command “1. Copy” and press the ENT button. The drives will
automatically close trays and begin the copy process.
5. Once the copy process is completed, the disc trays will eject and the display will read “Copy Result:
Pass X, Fail Y,” with X being the number of successful copies, and Y being the number of failed
copies. To reduce copy failure, please refer to the troubleshooting section of the manual.
Î Press ENT to load
disc and execute Copy
Î
Î
Î Start copying Î
Î Analyze master disc Î
2. Test – This command will simulate the copy process and make sure all target discs are usable. The test
process does NOT burn anything to the blank disc(s). A built-in diagnostic algorism is used to verify the
chance of successful copy for each target disc.
To start the Test Process:
1. Power on the duplicator (if not already on).
2. Eject disc tray of the Source Drive and place the master disc in the designated Source Drive (usually
the top). The “master disc” is the original of which copies are made.
3. Eject disc tray(s) of the Writer Drives and place blank disc(s) on the tray(s). Number of drives used
depends on number of discs to be tested. It is not necessary to always use all drives.
4. Use the scroll buttons to select the command “2. Test” and press the ENT button. The drives will
automatically close trays and begin the test process.
4
Î Finish
and eject
discs

5. Once the test process is complete, the disc trays will eject and the display will read “Test Result: Pass
X, Fail Y, with X being the number of discs that passed the test, and Y being the number of failed
copies. Use discs that have passed the test for the actual duplication.
Î Press ENT to load
disc and execute Test
Î
Î Start simulation Î
Î Analyze source disc Î
Î Finish and
eject discs
3. Copy & Verify – This command will perform the copy process, and immediately follow with a verification
process on all target discs. This command is especially useful for audio CD duplication.
Note: The verification process uses a Disc Readability Check to individually check the presence of data on each copy. This process
does not compare the contents of duplicated discs against that of the master. It only verifies that the duplicated discs are readable.
To start the Copy & Verify process:
1. Power on the duplicator (if not already on).
2. Eject disc tray of the Source Drive and place the master disc in the designated Source Drive (usually
the top). The “master disc” is the original of which copies are made.
3. Eject disc tray(s) of the Writer Drives and place blank disc(s) on the tray(s). Number of drives used
depends on number of copies desired. It is not necessary to always use all drives.
4. Use the scroll buttons to select the command “3. Copy & Verify” and press the ENT button. The
drives will automatically close trays and begin the copy proces s.
5. Once the copy process is completed, the tray(s) will open briefly, and then automatically close again
to begin the verify process.
6. Once the verify process is completed, the trays will automatically eject discs that have passed the
Copy & Verify process.
Î Analyzing
source disc Î
Î
Î Press ENT to
load disc Î
Î Start copying Î
Î
Copy completed
and start Verify Î
Î Finish and eject discs
4. Copy & Compare – This command will perform the copy process, and immediately follows with a
comparison between the master disc and the copied disc(s) to ensure the copies are exact duplicates of
the master disc. This command is especially useful for DVDs, data CDs and video CDs.
Note: The Compare process is a bit-by-bit comparison between the master disc and the copied discs. This operation ensures that
all of the copies are completely identical to the Master disc. This command is not applicable to audio CDs.
To start the Copy & Compare process:
1. Power on the duplicator (if not already on).
2. Eject disc tray of the Source Drive and place the master disc in the designated Source Drive (usually
the top). The “master disc” is the original of which copies are made.
3. Eject disc tray(s) of the Writer Drives and place blank disc(s) on the tray(s). Number of drives used
depends on number of copies desired. It is not necessary to always use all drives.
5
 Loading...