

ikan S200D User Manual
User’s Manual for “S” and “L” series Fluorescent Lights.
The V i s u a l P r o f e s s i o n a l s
Note:
Thank you for purchasing our ikan Fluorescent lights. We know you will be satisfied
with our “S” and our “L” series lights. Please visit www.ikancorp.com for more
information on our future products including monitors, stands and light accessories.
Getting Started
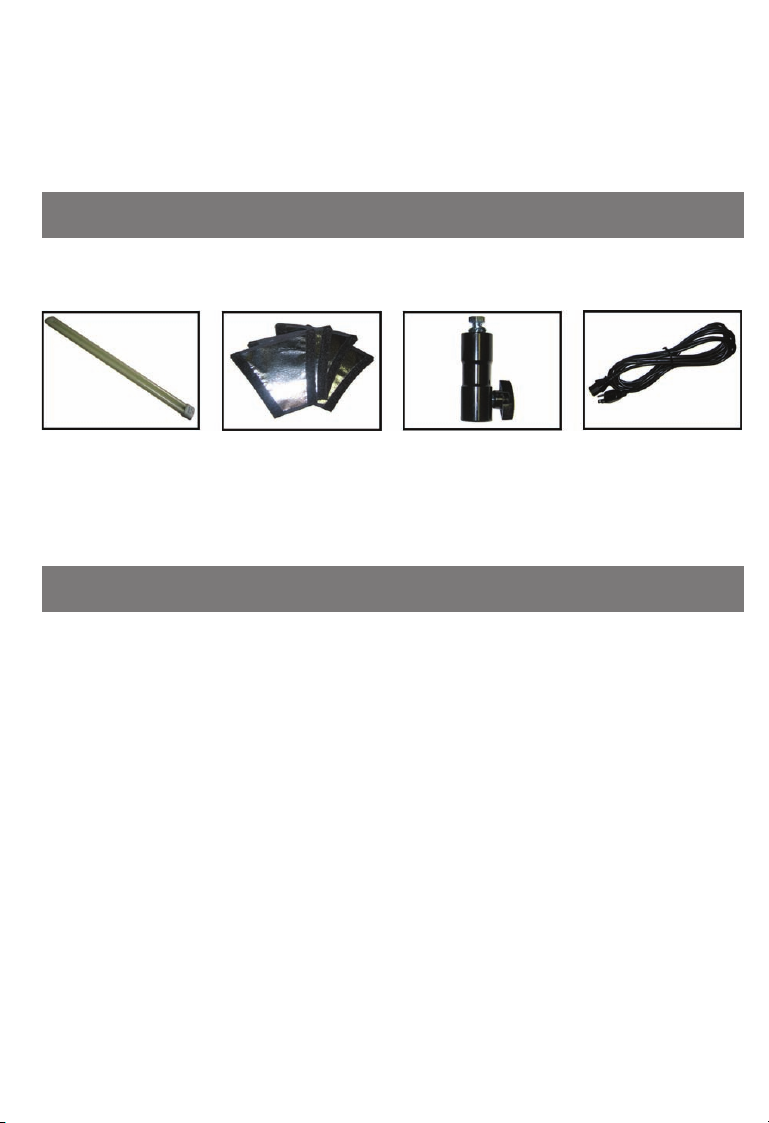
Box Includes:
55w Bulbs Reflectors Corners Stand Mount Power Cord
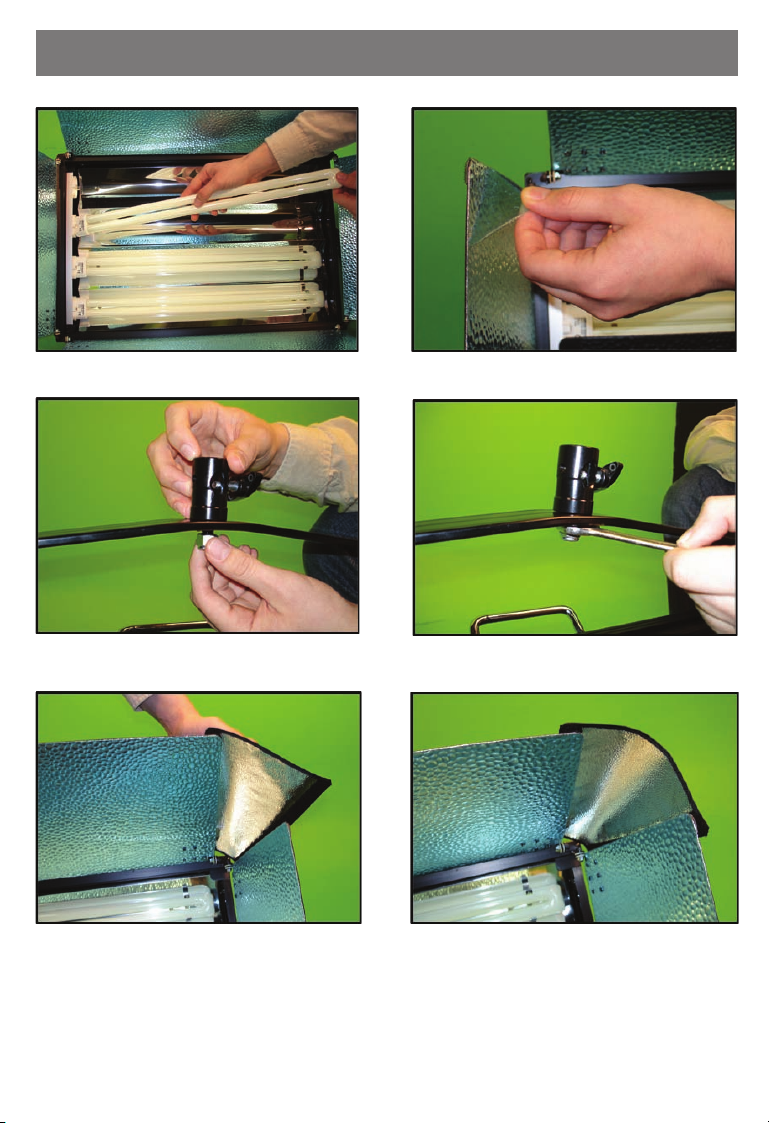
Step by Step
1. Carefully remove light from the packaging.
2. If the bulbs were not already installed proceed to install them now.
(Please refer to figure 1)
3. Remove the blue protective film from the barn doors.
(Please refer to figure 2)
4. Install stand mount on the bottom of the yoke. Use a wrench to properly tighten it.
(Please refer to figure 3 and 4)
5. Attach the reflector corners to the Velcro strips on the outer edge of the barndoors.
(Please refer to figure 5 and 6)
1.
Step by Step continued
Figure 1 Figure 2
Figure 3
Figure 5 Figure 6
Figure 4
2.
 Loading...