

iHealth Wireless Smart-Gluco Monitoring System User Manual
Wireless Smart Gluco-Monitoring System
EN
Quick Start Guide
WELCOME
Welcome to your iHealth Wireless Smart Gluco-Monitoring
System (the iHealth system). Designed to be used with the free
iHealth Gluco-Smart App (the app), the system will help you
manage your diabetes in an easy and convenient way.
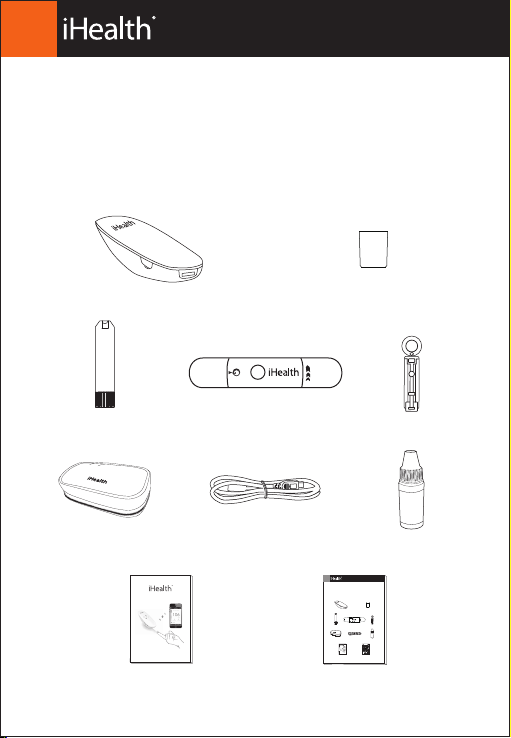
Contents of the Wireless Smart Gluco-Monitoring System
• iHealth Smart Glucose Meter (the meter)
• iHealth Test Strip • iHealth Lancing Device
• Travel Case
Wireless Smart Gluco-Monitoring System
OWNER’S MANUAL
• Owner’s Manual • Quick Start Guide
• Clear Cap for Alternate Site Testing
• Lancet
n
C
o
o
i
t
n
u
l
t
o
r
o
S
l
• iHealth Control Solution• USB Charging Cable
Wireless Smart Gluco-Monitoring System
Quick Start Guide
EN
WELCOME
Welcome to your iHealth Wireless Smart Gluco-Monitoring
System (the iHealth system). Designed to be used with the free
iHealth Gluco-Smart App (the app), the system will help you
manage your diabetes in an easy and convenient way.
Contents of the Wireless Smart Gluco-Monitoring System
• iHealth Smart Glucose Meter (the meter)
• Clear Cap for Alternate Site Testing
• Lancet
• iHealth Test Strip • iHealth Lancing Device
C
n
o
o
i
t
n
u
l
t
o
r
o
S
l
• iHealth Control Solution• USB Charging Cable
• Travel Case
Wireless Smart Gluco-Monitoring System
OWNER’S MANUAL
• Owner’s Manual • Quick Start Guide
These contents may vary according to geographic markets.
Please refer to the package contents listed on the package you
purchased.
FIRST TIME SETUP INSTRUCTIONS
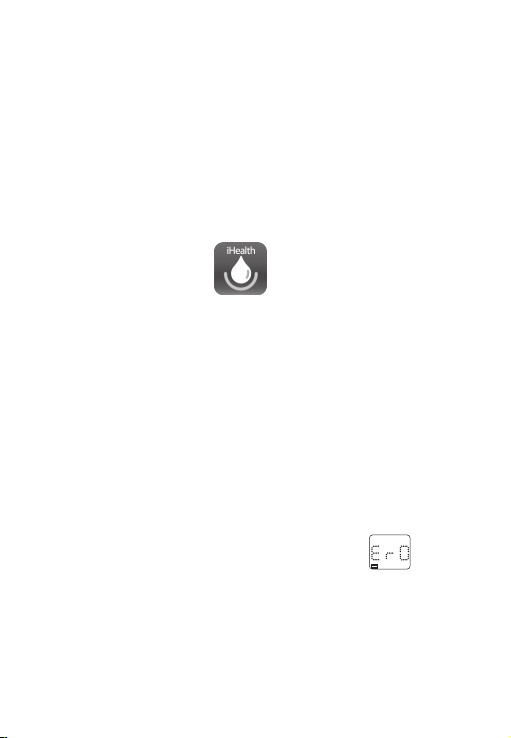
· Download the companion app
Prior to rst use, download and install the free iHealth
Gluco-Smart App from the App Store to your iOS device. Follow
the on-screen instructions to create your iHealth ID.
· Access iHealth Cloud
You can use your iHealth ID to gain access to free and secure
Cloud Services. Go to www.ihealthlabs.com and click on “Sign In”.
· Charge the battery
Out of the box
Your meter is powered by a built-in, rechargeable battery. Plug
one end of the charging cable into the side of the meter and
the other end into your computer’s USB port. Charge it for two
to four hours before rst use. A fully charged battery can
typically take up to 200 tests depending on your daily usage.
Low battery message
After you have used your meter for some time, appears
for 2 seconds when the battery in your meter is low on power.
You must recharge the battery before using it again. After 2
seconds, the meter shuts o automatically. The meter does not
take any measurement when the battery is low.
Important: If battery is completely drained, fully charge the
battery and launch the app to sync the meter before using it
again.
· Sync the meter
Prior to rst use, follow the steps below to connect the meter to
the app on your iOS device to set your meter’s time and date. By
connecting the two, the date and time of the meter will be
synced with your iOS device.
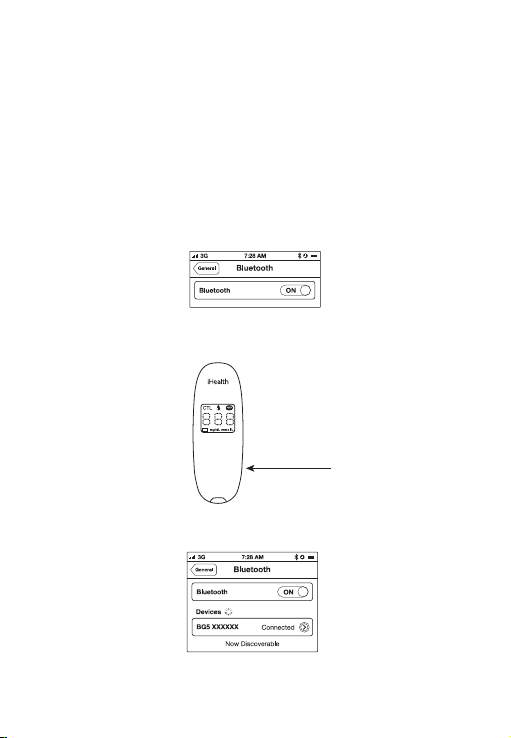
1. Enable Bluetooth on your iOS device.
2. Press and hold the “Memory” button for three seconds to turn
the meter on.
Memory button
3. Select the model name “BG5xxxxxx” in the Bluetooth menu to
pair and connect.
4. Launch the app to connect the meter to the app. The Bluetooth
 Loading...