

Page 1

PAGE 1
CareCo (UK) Ltd, Hubert Road, Brentwood, Essex, CM14 4JE
by
USER MANUAL
PRODUCT CODE WC01060.BLU
Page 2

PAGE 2
INFORMATION
Thank you for purchasing a wheelchair from I-GO. This I-GO wheelchair has been
designed and manufactured to meet our own high standards and specications.
Wehope you are happy with your purchase.
Please ensure you read this manual carefully. It contains important information on the
safe use and maintenance of your I-GO wheelchair.
Your I-GO wheelchair requires frequent maintenance. While much of this can be
doneyourself, we recommend that you have your wheelchair inspected once per year
by an expert.
Please note: We are continuously improving the quality and reliability of our products,
and therefore reserve the right to amend this manual without proper notication.
Suggestion: Information
Warning: Follow these instructions to avoid personal injury
Page 3

PAGE 3
CONTENTS
1. GENERAL OVERVIEW OF YOUR WHEELCHAIR
1.1 Components of the wheelchair
1.2 Explanation of the function and possibilities of your wheelchair
2. SAFETY REGULATIONS
2.1 General safety guidelines
2.2 Warnings for safe use
3. USER INSTRUCTIONS
3.1 Safety tips
3.2 Negotiating pavements and uneven surfaces
3.3 Going up and down ramps
3.4 Going up and down stairs
4. INSTRUCTIONS FOR USE AND MOUNTING OPTIONS
4.1 Technical specications
4.2 Unfolding and folding the wheelchair
4.3 Use of the push handles
4.4 Use of the armrests
4.5 The backrest
4.6 Using the brake
4.7 Use of the leg rests
4.8 Use of the footplates
4.9 The frame
4.10 The steppers
4.11 The wheels
4.12 The seat
5. TRANSPORT AND TRANSIT IN CAR
6. MAINTENANCE
6.1 Tyres
6.2 Brakes
6.3 Cross frame
6.4 Rear wheels
6.5 Front wheel and front castor fork
6.6 Upholstery
6.7 Cleaning
6.8 General maintenance instructions
7. TROUBLESHOOTING
8. WARRANTY
1
2
4
8
17
18
21
22
Page 4

PAGE 1
1. GENERAL OVERVIEW OF YOUR WHEELCHAIR
1. Push handles
2. Backrest
3. Armrests
4. Legrests
5. Brake
6. Stepper
7. Rear wheel
8. Front wheel
9. Footplates
4
8
9
3
5
6
2
1
7
1.1 Components of the wheelchair
You should be aware of each of the elements and parts that make up your wheelchair
before you continue reading this manual. Please note: Specications and designs may
be changed without prior notice.
Your wheelchair is equipped with a number of elements and parts. You should know
these before continue reading this manual. Designs and specications may change
without prior notice.
Page 5
PAGE 2
1. GENERAL OVERVIEW OF YOUR WHEELCHAIR
Warning
To guarantee safe use, ensure your wheelchair is kept in good
working condition.
2. SAFETY REGULATIONS
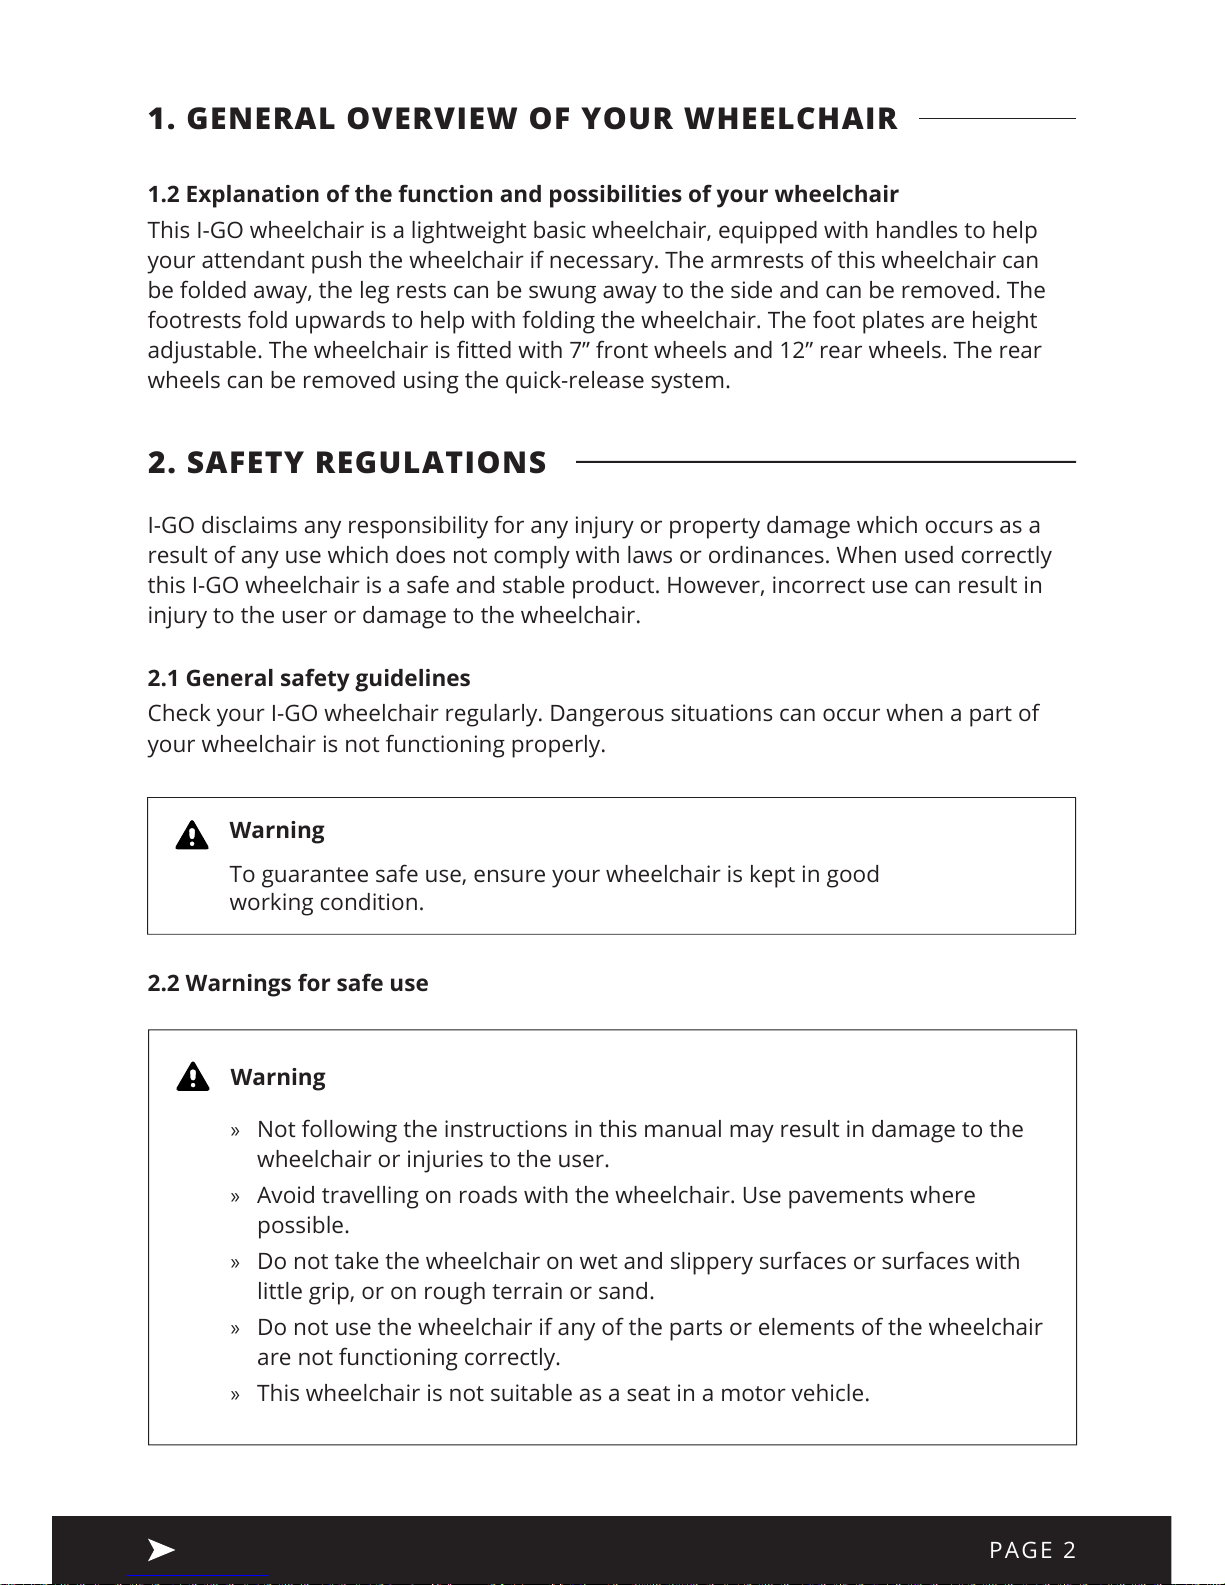
1.2 Explanation of the function and possibilities of your wheelchair
This I-GO wheelchair is a lightweight basic wheelchair, equipped with handles to help
your attendant push the wheelchair if necessary. The armrests of this wheelchair can
be folded away, the leg rests can be swung away to the side and can be removed. The
footrests fold upwards to help with folding the wheelchair. The foot plates are height
adjustable. The wheelchair is tted with 7” front wheels and 12” rear wheels. The rear
wheels can be removed using the quick-release system.
2.1 General safety guidelines
Check your I-GO wheelchair regularly. Dangerous situations can occur when a part of
your wheelchair is not functioning properly.
2.2 Warnings for safe use
I-GO disclaims any responsibility for any injury or property damage which occurs as a
result of any use which does not comply with laws or ordinances. When used correctly
this I-GO wheelchair is a safe and stable product. However, incorrect use can result in
injury to the user or damage to the wheelchair.
Warning
» Not following the instructions in this manual may result in damage to the
wheelchair or injuries to the user.
» Avoid travelling on roads with the wheelchair. Use pavements where
possible.
» Do not take the wheelchair on wet and slippery surfaces or surfaces with
little grip, or on rough terrain or sand.
» Do not use the wheelchair if any of the parts or elements of the wheelchair
are not functioning correctly.
» This wheelchair is not suitable as a seat in a motor vehicle.
Page 6
PAGE 3
2. SAFETY REGULATIONS
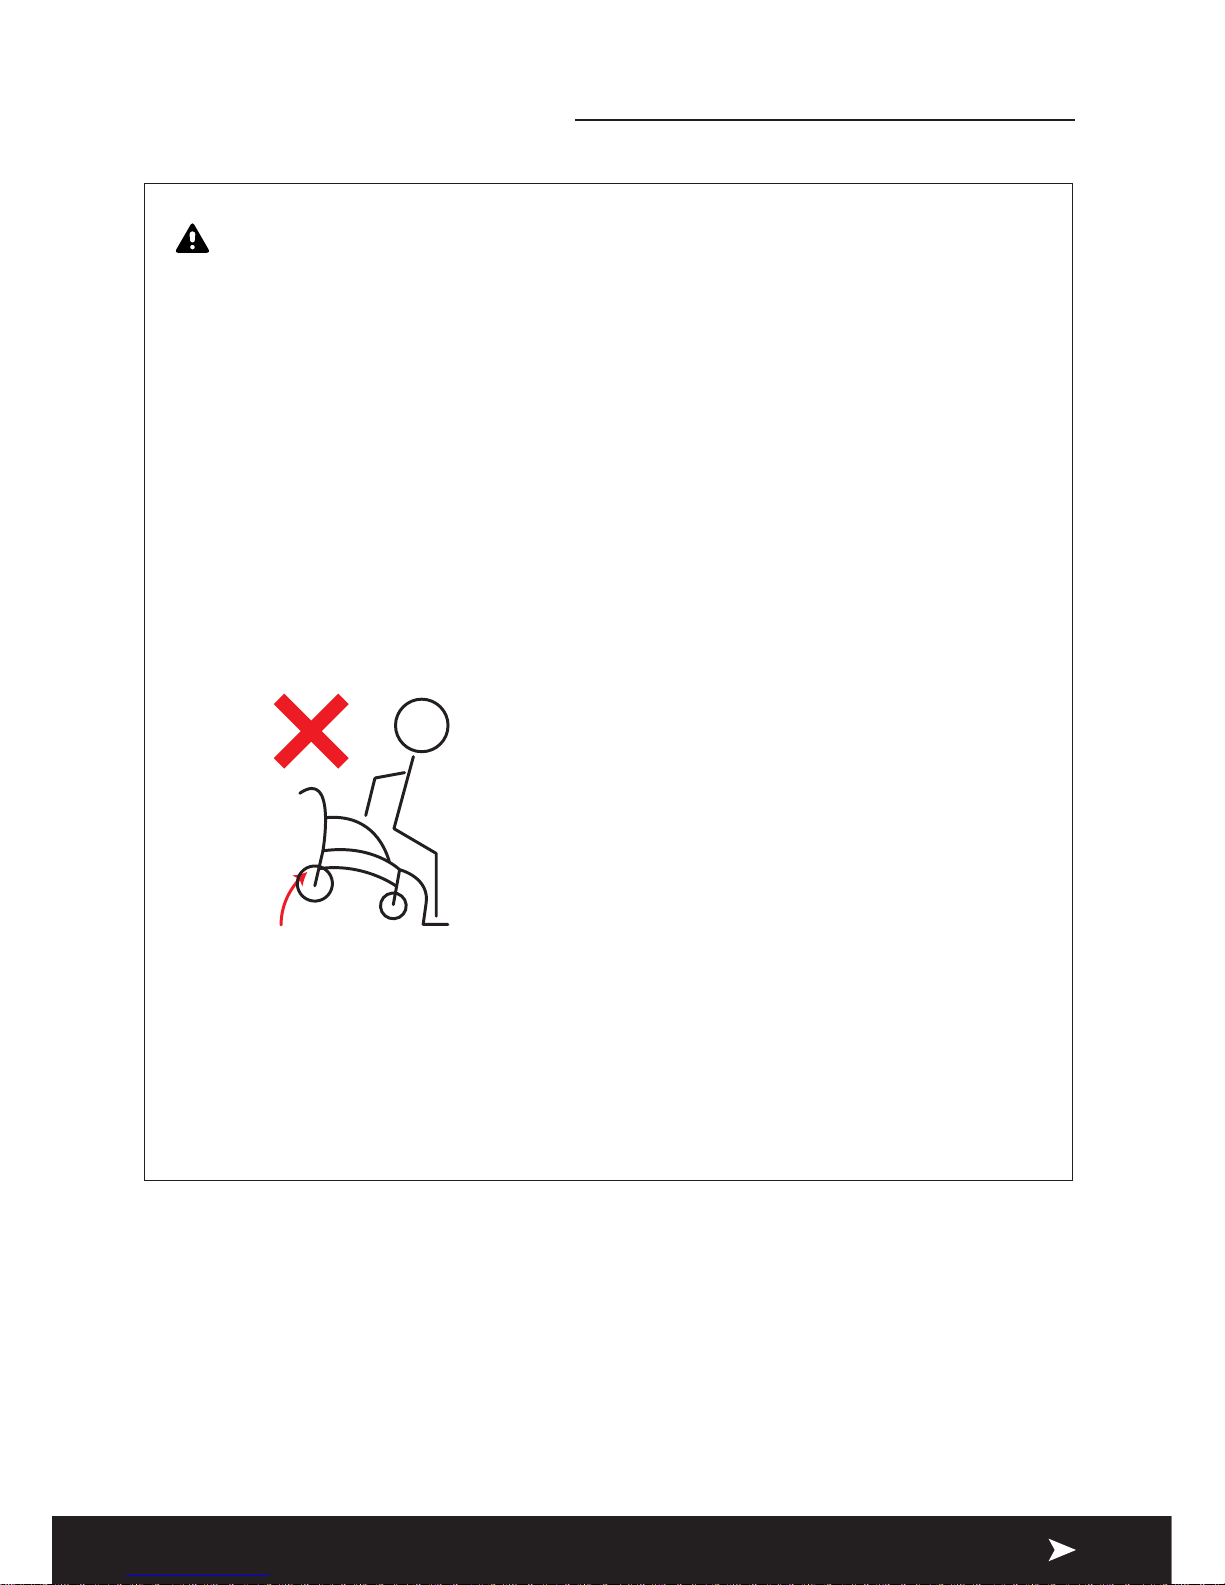
» Leaning over the back of the wheelchair can result in tipping the
wheelchair over.
» When leaning or reaching forward, place yourself against the backrest with
the castors facing forwards.
» Do not drive directly into curbs.
» Do not attach anything to the wheels. This can damage the wheelchair,
aect the balance of the wheelchair and cause injury to the user.
» Take notice of the maximum weight capacity (see section 4.1 Technical
specications).
» The footrests should have a minimum ground clearance of 7cm from the
ground for suitable protection from obstructions.
» Do not stand on the footrests. This will cause the wheelchair to tip over
and could cause injury to the user.
Figure 01
» Engage the brakes and make sure the wheelchair is on a stable, at
surface before transferring to or from the wheelchair.
» Unauthorised modication, or the use of parts not supplied by I-GO,
will invalidate the warranty and can lead to damage to the wheelchair
or injury to the user.
Page 7

PAGE 4
It is recommended that you consult a doctor or therapist for assistance in developing
safe and eective techniques for using this wheelchair in accordance with your daily
activities and physical capabilities.
3.1 Safety tips
Getting o the wheelchair, reaching and bending while in the wheelchair will cause a
change in weight distribution and in the centre of gravity of the user and the wheelchair.
The advice below will help the user to safely carry out these movements.
Transferring
Transfers to and from a wheelchair can be dicult. We recommend consulting your
physical therapist to develop a suitable technique. If you have sucient body strength,
we recommend the following technique for safe transfers:
To get out of the wheelchair:
Make sure the wheelchair is as close as possible to the place you want to transfer
to. Face the castors forward and engage the brakes. Swing away the footrests and
place your feet at on the ground. Shift your weight to the front of the wheelchair,
using the armrests for support if you need to. You can now carry out the transfer.
(You can also use a transfer board for safe and comfortable transfers.)
To get in the wheelchair:
Reverse the instructions above to safely get in your wheelchair.
Reaching:
We recommend asking for assistance to pick something up, as reaching can cause
an extreme change in weight distribution and centre of gravity.
3. USER INSTRUCTIONS
Page 8
PAGE 5
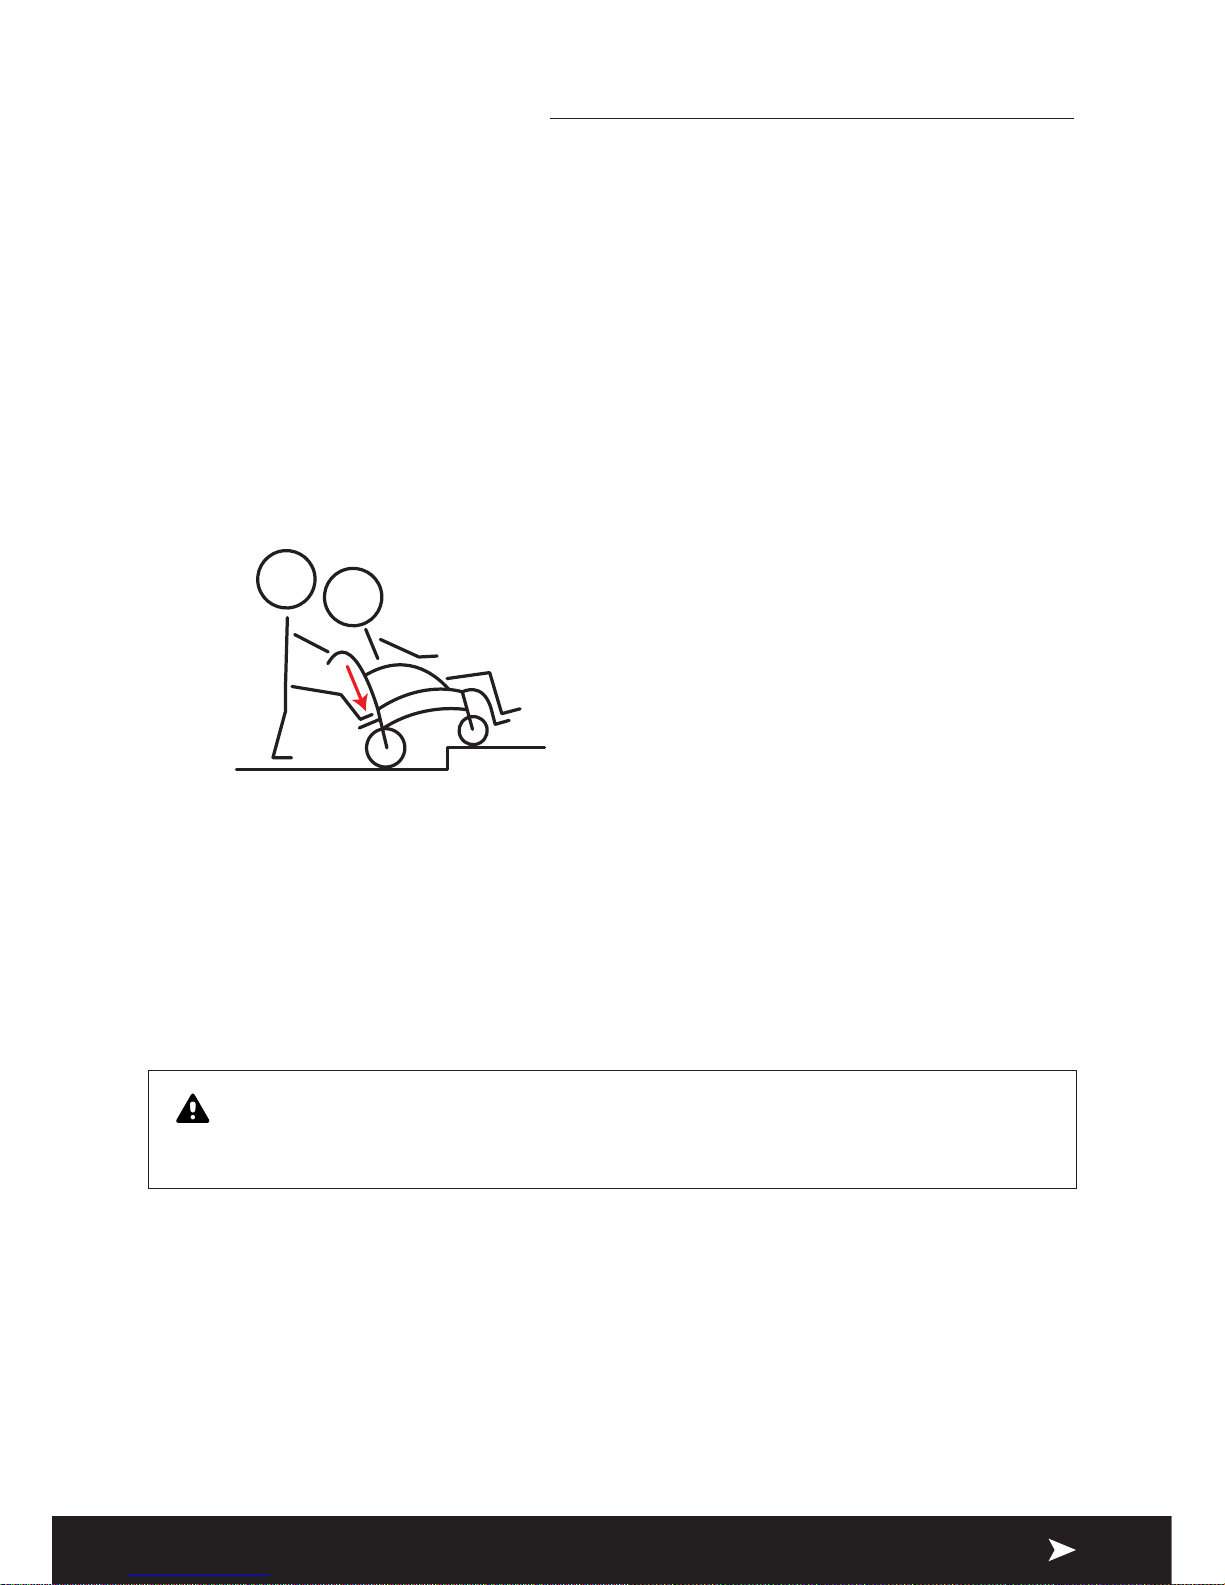
3.2 Negotiating pavements and uneven surfaces
Going up the pavement:
A wheelchair attendant can help the user in two dierent ways. We recommend using
the rst method.
1. The user and attendant face towards the pavement. The attendant must pull the
handles towards him and place his foot on the stepper, located on the rear of the
wheelchair between the wheels. This creates a leverage eect.
3. USER INSTRUCTIONS
2. The attendant stands on the pavement. Make sure the wheelchair is positioned
with the rear wheels as close to the pavement as possible. The user then leans
backwards, causing the wheelchair to tip backwards. The attendant should
make sure the front wheels are on the pavement before slowly lowering the
wheelchair.
Warning
Do not drive directly into curbs to get up on to a pavement.
Going down the pavement:
Move the wheelchair to the curb. The user leans back and the attendant tilts the
wheelchair to nd the balance point. When the wheelchair is balanced, the attendant
should move the wheelchair slowly o the curb. The attendant should only lower the
front wheels back to the ground when the wheelchair is completely o the pavement.
Page 9

PAGE 6
3. USER INSTRUCTIONS
3.3 Going up and down ramps
Inspect the ramp for slippery areas or uneven surfaces before attempting to travel on it.
Warning
Do not carry weight on the rear of the wheelchair when ascending a ramp.
This changes the balance and increases the risk of tipping.
Make sure the footplates have a minimum ground clearance of 7cm to avoid catching
the end of the slope.
3.4 Going up and down stairs
Two attendants are needed for a wheelchair user to climb stairs. The attendants should
assess the total weight to be moved before carrying out this manoeuvre.
Going up the stairs
Face the wheelchair away from the bottom of the stairs, with one attendant at the
front and one attendant at the back. The attendant at the back grabs the push handles
and tips the wheelchair back until it is balanced. The attendant at the front now holds
the side frames of the wheelchair. The attendant on the front pushes the side frames
up until they are above the rst step. The attendant at the back rises to the rst step.
Repeat this technique until at the top of the stairs. Only lower the front castors to the
ground when the attendant at the front has taken the last step.
Going downstairs
Face the wheelchair forwards. The rear attendant tips the wheelchair until it is balanced.
The front attendant supports the wheelchair by holding the side frames. Guide the
wheelchair slowly down each step.
Warning
Always hold a part of the main frame of the wheelchair. Do not lift by the
push handles, armrests or footrests.
Warning
Any adjustments made to the wheelchair can increase risk of injury or
damage to the wheelchair. Adjustments made by the user are carried out at
the user’s own risk.
Page 10

PAGE 7
4. INSTRUCTIONS FOR USE AND MOUNTING OPTIONS
This chapter explores the possibilities of the wheelchair. All settings and user
instructions will be listed.
4.1 Technical specications
Item Measurement
Total length 110 cm (incl. footrests)
Total width 63 cm
Total height 96 cm
Total weight 17 kg
User weight maximum 135 kg
Seat width 45 cm
Seat depth 43 cm
Seat height 49 cm
Back height 45 cm
4.2 Folding and unfolding the wheelchair
Folding the wheelchair:
» See image 01 to see the footrests in an unfolded position. Fold the footrests
upwards (image 02) before folding the wheelchair. Image 03 shows the footrests
folded upwards.
» Loosen the back of the seat, which is attached using Velcro (image 04).
Thisseparates the backrest from the seat of the wheelchair.
» Pull the middle of the seat at the front and back (image 05).
» The wheelchair should now be folded as shown in image 06.
Page 11

PAGE 8
4. INSTRUCTIONS FOR USE AND MOUNTING OPTIONS
Image 01
Image 05
Image 02
Image 03 Image 04
Image 06
Page 12

PAGE 9
4. INSTRUCTIONS FOR USE AND MOUNTING OPTIONS
Unfolding the wheelchair:
» Stand in front of the wheelchair.
» Press on the seat tubes (image 07) to expand the wheelchair.
» Make sure the wheelchair is folded correctly by standing in front of the
wheelchair and pushing the seat tube as far as it will go (image 08).
» The footrests can now be unfolded (image 09).
Image 07
Image 09
Image 08
Page 13

PAGE 10
4. INSTRUCTIONS FOR USE AND MOUNTING OPTIONS
4.3 Use of the push handles
The push handles of the I-GO Flyte90 are ergonomically designed (see image 10) to give
your attendant a comfortable and safe grip.
4.4 Use of the armrests
The armrests of the Flyte90 wheelchair fold backwards.
» Image 11 shows the armrests in their normal position.
» To fold the armrests, push the black lever (image 12) down, as shown in
image13.
» You can now fold the armrests down as shown in image 14.
» The armrests will not fold further than what is shown in image 15.
» To replace the armrest, push the armrest into the xing point. A click will be
heard when the armrests are xed in place.
Image 10
Page 14

PAGE 11
4. INSTRUCTIONS FOR USE AND MOUNTING OPTIONS
Image 11
Image 15
Image 12
Image 13 Image 14
Page 15

PAGE 12
4. INSTRUCTIONS FOR USE AND MOUNTING OPTIONS
Image 17 Image 18
4.5 The backrest
The backrest of the I-GO Flyte90 is attached to the tubes of the push handles. It is not
adjustable and cannot be removed.
4.6 Using the brake
Using the brake is recommended when getting on/o the wheelchair, and when leaving
the wheelchair parked.
» Image 17 shows the wheelchair without the brake applied.
» Push the lever forward as shown in image 18. The brake will now be applied.
Page 16

PAGE 13
4. INSTRUCTIONS FOR USE AND MOUNTING OPTIONS
4.7 Use of the leg rests
The leg rests of the I-GO Flyte90 are both foldable and removable. Image 20 shows the
leg rests attached to the wheelchair. Follow the below instructions to fold the leg rests
away and remove them.
» Pull / push the black lever to the side, as shown in image 22.
» The leg rests can now be pulled out (image 23).
» Pull the leg rests upwards to remove them.
» To replace the leg rests, turn them until you hear a click. The click conrms that
the leg rests are attached.
Image 20 Image 22
Image 23
Page 17

PAGE 14
4. INSTRUCTIONS FOR USE AND MOUNTING OPTIONS
4.8 Use of the footplates
The footplates are attached to the leg rests and can be folded and adjusted in height.
Folding the footplates upwards:
» Image 24 shows the wheelchair with the footplates in their normal position.
» Fold the footplates by pushing them upwards, as shown in image 25.
» Image 26 shows the footplates in their folded position.
Adjusting the footplate height:
» Use a wrench to loosen the nut, as shown in image 27.
» Adjust the height to the desired setting and tighten the nut.
Image 24 Image 25
Image 26 Image 27
Page 18

PAGE 15
4. INSTRUCTIONS FOR USE AND MOUNTING OPTIONS
4.9 The frame
The I-GO Flyte90’s frame is based on the coating principle, designed to be extra rm.
The cross-frame also provides additional rigidity to the chair, as shown in image 28.
4.10 The steppers
The Flyte90 is equipped with two steppers, as shown in image 29. These should be
used by the attendant to apply extra force when an incline is to be undertaken with the
wheelchair.
Image 28
Image 29
Page 19

PAGE 16
4. INSTRUCTIONS FOR USE AND MOUNTING OPTIONS
4.11 The wheels
Check the front and rear wheels regularly for wear.
Front wheels:
The front wheels of this wheelchair are 7” in diameter and fastened by a front fork to
the frame of the wheelchair (image 30). The front wheels help the wheelchair to steer
in the right direction. If steering is dicult or the front wheels are vibrating, you should
check that the wheels are properly set and/or adjusted.
Rear wheels:
The rear wheels of the wheelchairs are 24” PU tyres. The rims of the wheels allow the user
to propel the wheelchair. The rear wheels can be removed using the quick-release system:
» Press the black button, as shown in image 31.
» Remove the wheel, as shown in image 32.
Image 30
Image 31 Image 32
Page 20

PAGE 17
4. INSTRUCTIONS FOR USE AND MOUNTING OPTIONS
5. TRANSPORT AND TRANSIT IN A CAR
4.12 The seat
The comfortable material of the seat allows you to sit for extended periods in the
wheelchair.
Image 33
The I-GO Flyte90 wheelchair is easily transported by car. The wheelchair folds to a total
width of 30-35cm. The swing away detachable footrests also help with transportation, as
do the removable rear wheels.
Warning
Never sit in your wheelchair while it is being transported in a car.
Page 21

PAGE 18
6. MAINTENANCE
Keep your wheelchair in good working condition by having it checked regularly. We
recommend you have your wheelchair checked at least once a year.
Here are some things you can do yourself to keep your wheelchair in good condition.
6.1 Tyres
Check the tyres regularly for wear and replace them as needed.
PU tyres: PU tyres are commonly used on wheelchairs as they do not need to be
inated and are puncture-proof. However, PU tyres can wear out. Check
the tread on the tyres regularly.
6.2 Brakes
Before checking the brakes, ensure tyre pressure is correct.
Inspect both brakes for sharp rims. If sharp rims are present, the brakes should be
replaced. Ensure all parts of the brake are in the correct position and fastened securely.
» Make sure the mechanism is working smoothly. If the mechanism is sti, apply
some oil at turning points with one or two drops of WD40 oil or Teon. Remove
surplus oil and dirt.
» Make sure the brakes do not contact the wheels when the wheelchair is moving.
6.3 Cross frame
The cross frame is the basis of your wheelchair. Make sure it is in good condition at all
times.
» Check the wheelchair can be easily folded and unfolded.
» Check the wheelchair travels in a straight line while moving.
» Ensure the cross frame is not bent and shows no signs of wear.
If any of the above problems are noted, contact a qualied I-GO dealer.
Warning
Under ination of the tyres can cause malfunctioning in the brakes.
Page 22

PAGE 19
6. MAINTENANCE
6.4 Rear wheels
Adjusting the rear wheels improves the stability of the wheelchair.
» Ensure the wheels can move freely without touching any part of the wheelchair
frame.
» Ensure there is no margin on the rear wheels.
6.5 Front wheel and front castor fork
The front wheel and front castor fork should move and turn freely. This ensures a
smooth ride.
Check that the nut of the front fork is not too loose or too tight.
» If the nut is too loose, the wheels will rotate but the ride will be uncomfortable.
» If the nut is too tight, the wheelchair will be dicult to steer.
When the nut is correctly in place the front wheel should stop slowly.
If one of the exceptions noted above occurs, or if an adjustment is necessary, contact a
qualied I-GO dealer.
6.6 Upholstery
Check the upholstery of the wheelchair regularly. Torn or worn upholstery will fail to
support the maximum user weight and may lead to injury.
» Check the textile coating for worn spots and holes.
» Ensure the upholstery-mounting grommets are aligned and secure.
Page 23

PAGE 20
6. MAINTENANCE
6.7 Cleaning
Cleaning your wheelchair regularly will keep it in good working condition.
» Clean the upholstery, chassis and plastic components with mild soap and water
regularly. Do not use abrasive cleaners as they can damage the varnish. Do not
use steam or high-pressure cleaners.
» Wax the varnish of the chassis regularly. Do not use solvents, caustic chemicals,
abrasive waxes or spray silicone.
» Always dry the wheelchair after cleaning or whenever it gets wet.
6.8 General maintenance instructions
Every week:
» Check tyre pressure.
Every month:
» Check the folding and unfolding mechanisms of the wheelchair.
» Check the ‘quick-release’ mechanism on the rear wheels.
» Check that the brakes are functioning correctly.
Every three months:
» Check all bolts, screws and nuts. Tighten if necessary.
» Check spokes for correct tension.
» Check tyre tread for wear.
Suggestion
Car shampoo will also clean and protect your wheelchair.
Page 24

PAGE 21
7. TROUBLESHOOTING
Suggestion
We recommend only using I-GO replacement parts. Not using original I-GO
parts can void the warranty.
Looseness in chair
Chair squeaks or rattles
Castor utter
Wheelchair feels heavy
Sluggish turning
Chair veers left
Chair veers right
Check all nuts and bolts are tightly stuck.
Rear wheels and/or castors may be adjusted improperly. Make sure
both rear wheels and castors are mounted in identical positions.
Check for wear on the bearings.
Castor forks may be adjusted improperly.
Castor forks may be adjusted improperly.
SYMPTOM
POSSIBLE CAUSE AND CORRECT SOLUTION
Your I-GO wheelchair is built to be used immediately. Continual use necessitates regular
maintenance, particularly when factory settings have been altered.
Consult the following troubleshooting guide for a list of common problems and
suggested xes.
Page 25

PAGE 22
8. WARRANTY
Products are to be t for purpose and of excellent quality and performance. For
valid warranty claims I-GO will, at their discretion, replace / repair / refund items
mutually agreed to be defective.
The wheelchair’s warranty is as follows:
» Frame and durable parts: One year limited warranty
» Warranty Exclusion: The following non-durable items are not
covered by warranty
• Wheel Tyres / Arm Pads
• Seat Cushion
Any damage or defect of any nature occurring from the misuse, abuse of the product,
improper operation or improper storage is not covered. The warranty starts from the
date of arrival of our products.
Page 26

PAGE 23
9. NOTES
Page 27

PAGE 24
9. NOTES
Page 28

 Loading...