

Page 1
37030-GB.fm5 Page 11 Thursday, June 8, 2000 9:32 AM
TABLE OF CONTENTS GB
BEFORE USING THE APPLIANCE PAGE 12
SAFEGUARDING THE ENVIRONMENT PAGE 12
PRECAUTIONS AND GENERAL HINTS PAGE 13
HOW TO OPERATE THE REFRIGERATOR
COMPARTMENT
HOW TO OPERATE THE LOW TEMPERATURE
PAGE 14
COMPARTMENT
PAGE 15
HOW TO DEFROST AND CLEAN THE APPLIANCE PAGE 16
CARE AND MAINTENANCE PAGE 17
TROUBLESHOOTING GUIDE PAGE 17
AFTER SALES SERVICE PAGE 18
INSTALLATION PAGE 18
ELECTRICAL CONNECTION PAGE 19
11
Page 2

37030-GB.fm5 Page 12 Thursday, June 8, 2000 9:32 AM
BEFORE USING THE APPLIANCE
Your new appliance is exclusively for
domestic use.
The low temperature compartment, if pr esent,
can be used for making ice cubes, storing frozen
foods and freezing fresh and cooked food
(in the compartment only).
Defrosting is a manual procedure.
The refrigerator compartment,which has
an automatic defrost feature, is used for the
storage of fresh food and beverages.
To get the most out of your new appliance,
read this user handbook thoroughly, as it
contains a description of the appliance and
useful tips for storing food.
SAFEGUARDING THE ENVIRONMENT
1. Packing
The packaging material is 100% recyclable
(marked with the recycle symbol).
Follow local regulations for disposa l.
The packaging material (plastic bags,
polystyrene parts, etc.) is potentially dangerous
and must be kept out of reach of children.
2. Product
The appliance is made using recyclable
materials and must be scrapped in accordance
with local waste disposal regulations.
Make the appliance unusable by cutting off the
power cord. Dispose of this appliance correctly.
Take it to an authorised colle ction centre for the
recovery of refrigerant gas.
Keep this handbook for future consultation.
1. After unpacking the appliance, make sure
that the door shuts properly.
Any damage must be reported to your dealer
within 24 hours after delivery of the applian ce.
2. Wait at least two hours without moving
the appliance before connecting it to the
power supply.
3. Appliance installation and electrical
connections must be carried out by a
qualified technician in accordance with the
manufacturer’s instructions and local
regulations.
Information:
This appliance does not contain CFCs
(replaced with R134a) or HFCs
(replaced with R600a - Isobutane).
For more information, refer to the rating plate
affixed to the appliance.
12
Page 3
37030-GB.fm5 Page 13 Thursday, June 8, 2000 9:32 AM
PRECAUTIONS AND GENERAL HINTS
• Use the refrigerator compartment only for
storing fresh foods and the low temperature
compartment only for making ice cubes, storing
frozen food and freezing fresh food (
compartment only).
• Do not cover or obstruct the air vents of
the appliance.
• Do not store liquids in glass containers in the low
temperature compartment - danger of bursting.
• Do not eat ice cubes or ice lo llies after tak ing them
out of the low temperature compartment - risk of
“cold” burns.
• To avoid the risk of children becoming trapped or
suffocating, do not allow them to play or hide inside
the appliance.
• Before cleaning or carrying out maintenance,
always unplug the appliance or switch the power
supply off.
• The power cable can only be replaced by an
authorized person.
Declaration of conformity
• This appliance is intended to come into contact
with foodstuffs and conforms to D.L. 108 of
25.01.1992 (European Directiv e 89/1 09/ EEC ).
Information
Appliances with isobutane (R600a)
Isobutane is a natural gas having low environmental
impact. Caution is required, however, because
Isobutane is inflammable. Therefore, ensure that the
pipelines of the re frigeran t circ uit d o not ge t dam aged.
13
Page 4

37030-GB.fm5 Page 14 Thursday, June 8, 2000 9:32 AM
HOW TO OPERATE THE REFRIGERATOR
COMPARTMENT
Switching on the appliance
Switching on the appliance
Depending on the model , yo ur appliance is fitted with
external controls (A) or internal controls (B).
Plug in the appliance.
If your appliance is equipped with external controls (A):
• The light, located below the control panel,
switches on when the refrigerator door is opened.
• The green light (A2) switches on, indicating that
the appliance is in operation.
For appliances with internal controls (B), when the
refrigerator is connected to the electrical power supply
the interior light will switc h on when the door is opened
unless the thermostat knob is set to l.
The thermostat (A1-B1), fitted in the refrigerator
compartment or on the front panel of the appliance, can be
used to adjust the temperature of the refrigerator
compartment and that of the low temperature
compartment (if pres ent ).
Temperature adjustment
1. To ensure co rrect op eration and th e best poss ible
food storage in both compartments, set the
thermostat in accordance with the indications
on the enclosed product chart.
2. To alter the temperature in the compartment set
the thermostat knob to:
• on lower numbers 1-2 if you require
HIGHER TEMPERATURES;
• on numbers 3-4 for INTERMEDIATE
TEMPERATURES;
• on higher numbers 5-7 (MAX) for LOWER
TEMPERATURES.
Thermostat setting on l: all functions of the applia nce
including the interior light are sw it ch ed off.
Note:
Internal temperatures are affected by room
temperature, frequency of door opening and the
position of the appliance. Thermostat settings must be
regulated according to these factors.
Using the refrigerator compartment
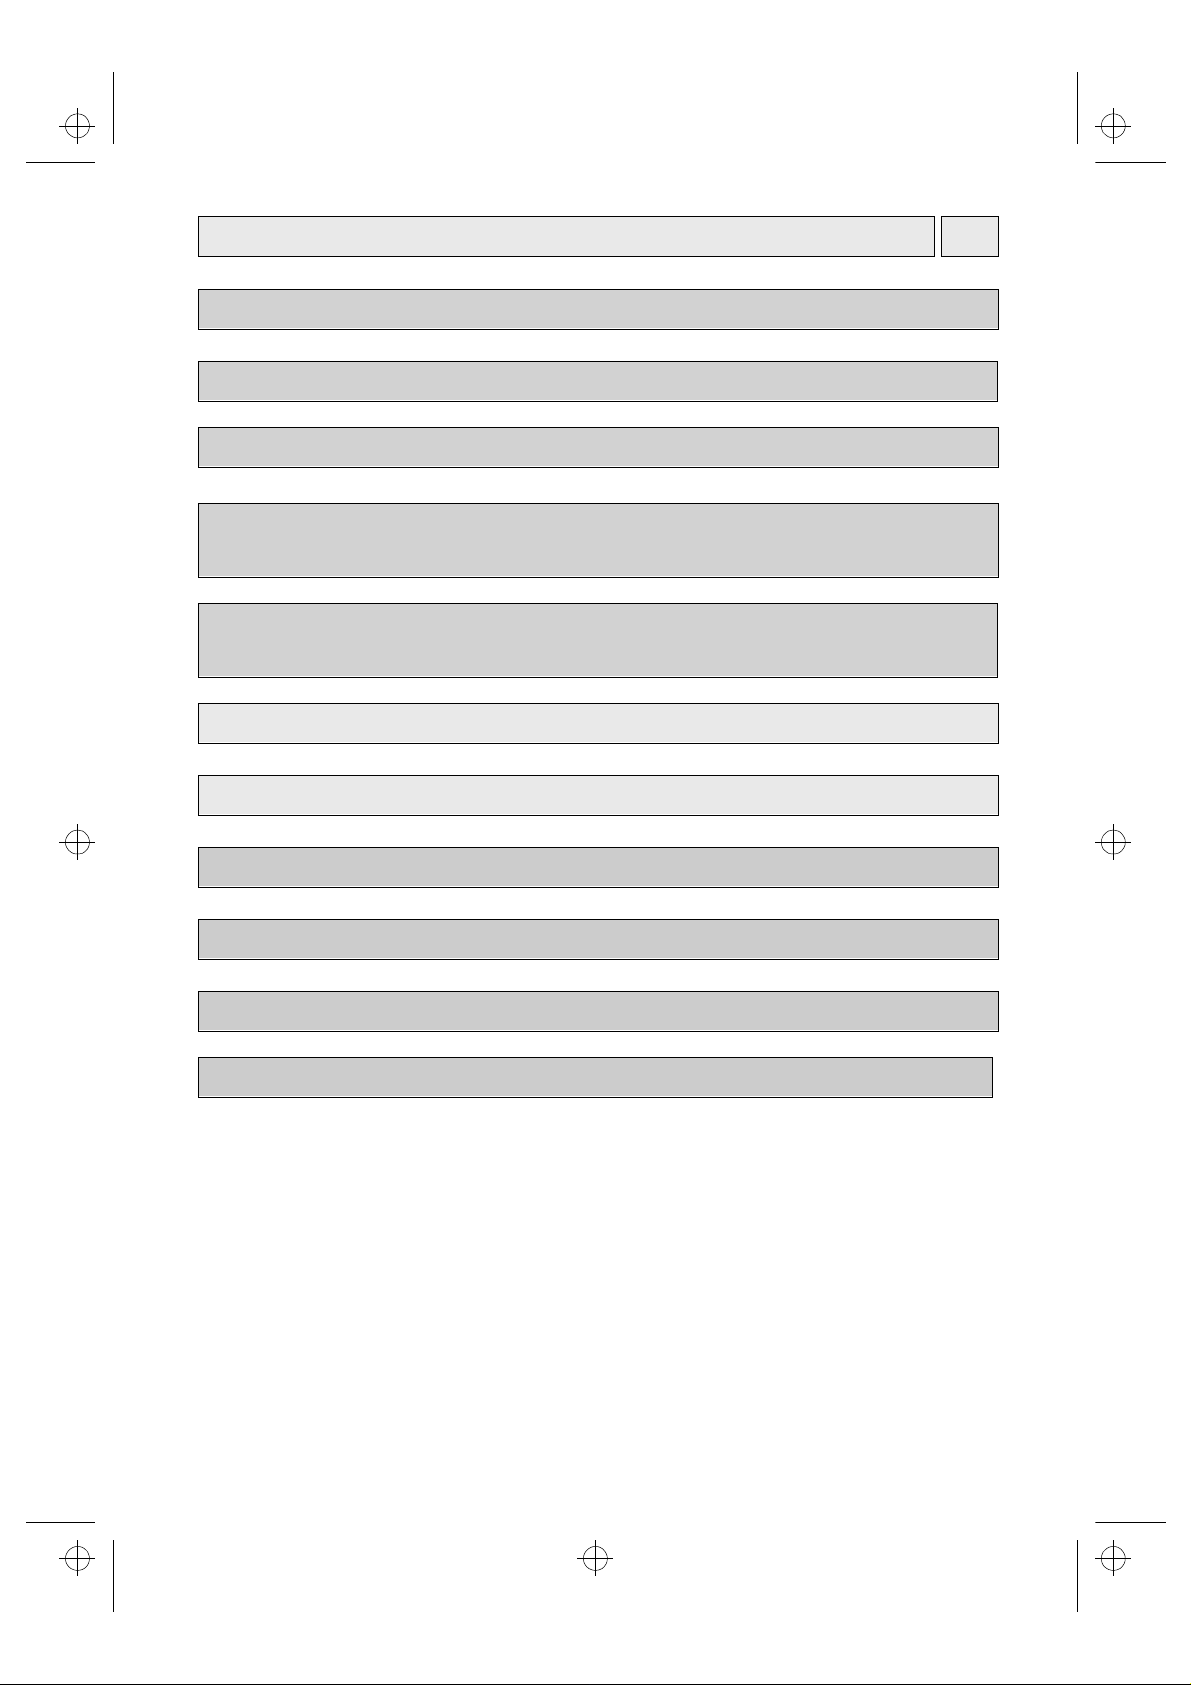
Position the food as shown in the figure.
A Cooked food
B Fish, meat
C Fruit and vegetables
D Bottles
E Dairy products
Notes:
• The space between the shel ves and the rea r wall
of the refrigerator compartment must be
unobstructed to allow air circulation.
• Do not place the food in direct contact with the rear
wall of the refrigerator compartment.
• Do not pla c e hot food in the refriger ator.
• Store liquids in closed containers.
Caution
Storing vegetables with high water content can cause
condensate formation in the crisper: this will not
affect the refrig erator 's effic iency .
14
A
B
2 1
3
4
2
1
Off
5
6
Max
A
B
E
D
C
Page 5

37030-GB.fm5 Page 15 Thursday, June 8, 2000 9:32 AM
HOW TO OPERATE THE LOW TEMPERATURE
COMPARTMENT
The low temperature com partment is at ,
or at .
In compartments at or frozen
foods can be stored for the period indicated
on the package. If the low temperature
compartment is set at , it can also
be used for freezing fresh food.
The quantity of fresh food that ca n b e frozen
in 24 hours is shown on the rating plate.
Note:
In the event of a power failure, the low
temperature compartmen t m ain tai ns t he c orre ct
storage temperature. However, avoid opening
the compartment door during this period.
Freezing fresh food
(in the compartment only)
Important
• Before freezing, wrap and sea l fresh fo od in:
aluminium foil, cling film, air and water-tight
plastic bags, polythene containers with lids
or special freezer containers.
• Arrange food to be frozen in the top
compartment leaving sufficient space around
each pack for the air to circula te.
• For most efficient freezing, set the thermostat
half a notch back towards the lower numbers
when food items are inserted into the low
temperature compartment.
• The food will be completely frozen in 24 hours.
For appliances with the compartment.
The table alongside shows the recommended
maximum storag e time for f rozen fresh foods.
When purchasing frozen food products:
• ensure that the packaging is not damaged
(frozen food in damaged packaging may
have deteriorated). Avoid packages that are
swollen or show evidence of damp areas
indicating that the food may have thawed
partially during its period of storage.
• When shopping, leave frozen food
purchases till la st and transp ort t he prod ucts
in a thermally insulated bag.
• Place the items in the low t emperature
compartment as soon as you get home.
• If food has thawed, even partially,
do not re-freeze it. Consum e within 24 hou rs.
• Avoid subjecting foods to temperature
variations. Observe the “be st before” date on
the package.
• Always observe the storage information on
the package.
Making ice cubes
• Fill the ice cube tray 2/3 full of water and
place it in the low temperature compartment.
• Do not use sharp or pointed instruments to
detach the ice tray if it is stuck to the shelf.
• Bend the ice tray slightly to remove th e cubes.
.
MONTHS FOOD
15
Page 6

37030-GB.fm5 Page 16 Thursday, June 8, 2000 9:32 AM
HOW TO DEFROST AND CLEAN THE APPLIANCE
Before servicing or cleaning the appliance,
unplug it from the mains or disconnect the
electricity supply.
Defrosting of the refrigerator compartment is
completely automatic.
Droplets of water on the rear wall of the refrigerator
compartment indicate that the periodic automatic
defrost cycle is in progress.
The defrost water is routed to a drain outlet and into a
container on the compressor from which it evaporates.
Clean the defrost water drain outlet regularly using the
tool supplied with the applianc e. This preca uti on
ensures that defrost water is removed correctly from
the interior of the refrigerator compartment.
Defrosting the low temperature compartment
Defrost the low temperature compartment once
or twice a year or when the formation of ice
is excessive.
It is perfectly normal for ice to form in the low
temperature compartment . The amount and speed
at which the ice forms depends on ambient
conditions and the frequ ency with which the do or
is opened. Ice formation is co ncentrated at the top
of the low temperature compartment an d does not
affect the efficiency of the appliance.
If possible, defrost the low temperature
compartment when it is nearly empty.
• Remove the food from the low temperature
compartment, wrap in sheets of newspaper
and group together in a cool place or in a
portable cooler.
• Leave the door open to allow the frost to melt.
• Clean the interior with a sponge soaked in
warm water and/or neutral detergent.
Do not use abrasive products.
• Rinse the interior and dry thoroughly.
• Put the food back into the low temperature
compartment.
• Close the door.
• Plug in th e appliance.
• Switch the appliance on.
16
Page 7

37030-GB.fm5 Page 17 Thursday, June 8, 2000 9:32 AM
CARE AND MAINTENANCE
• Periodically clean air vents and the
condenser at the rear of the appliance with
a vacuum cleaner or a brush.
• Clean the outside using a soft cloth.
Prolonged disuse
1. Empty the refrigerator.
2. Disconnect the app lia nc e from the ma ins .
3. Defrost and clean the interior.
4. Leave the door open to preven t oxid ation a nd
the formation of mould and u npleasant odours.
5. Clean the appliance.
• Clean the low temperature compartm ent interior
(if present) during the defrosting operation .
• Periodically clean the inside of the
refrigerator compartment with a sponge
moistened with warm water and/or neutral
detergent. Rinse and dry with a soft cloth.
Do not use abrasive products.
• Clean the outside wi th a soft cloth mo istened
with water. Do not use abrasive products,
scouring pads, stain rem overs (e.g. aceto ne,
trichloro-ethylene) or vinega r.
TROUBLESHOOTING GUI DE
1. The appliance is not working.
• Is there a power failure?
• Is the plug properly inserted in the socket?
• Is the mains power switch set to ON?
• Has the fuse blown?
• Is the power cord in perfect condition?
• Is the thermostat set to l (Stop)?
2. Temperature inside the compartments is
not low enough.
• Is the door closed properly?
• The food is stored inside the appliance
incorrectly and obstructs proper closing of
the door?
• Is the appliance installed next to a heat
source?
• Is the thermostat setting correct?
• Are the air circulation grilles blocked?
3. Temperature inside the refrigerator
compartment is too low.
• Is the thermostat setting correct?
.
4. The appliance is excessively noisy.
• Has the appliance been installed correctly?
• Are the pipes at the back touching or
vibrating?
5. Water collects at bottom of refrigerator
compartment.
• Is the defrost water drain blocked?
6. Excessiv e frost build-up in the low
temperatu re compartment.
• Is the door closed properly?
• Does the food sto red inside o bstruct proper
closing of the door?
Note:
• Gurgling and hissing noises due to
expansion in the refrigerant circuit are
normal.
17
Page 8

37030-GB.fm5 Page 18 Thursday, June 8, 2000 9:32 AM
AFTER SALES SERVICE
Before calling After Sales Service:
1. See if you can solve the problem yourself
with the help of the Trouble-shooting guide.
2. Switch the appliance on again to see if the
problem persists. If it does, switch off and
wait for about an hour before switching on.
3. If the problem persists, contact
After Sales Service.
Specify:
• the nature of the fault,
• the model,
• the service number (the number after the
word SERVICE on the rating plate on the
inside of the appliance),
• your complete address,
• your telephone number and area code.
Note:
The direction of door opening can be
changed. If this operation is performed by
After-sales Service it is not covered by
the warranty.
INSTALLATION
• Install the applia nce away from hea t sources.
Installation in a hot environment, direct
exposure to the sun or installation near heat
sources (heaters, radiators, cookers)
will increase power c onsumpti on and s hould
therefore be avoided.
• If this is not possible, the following minimum
distances must be respected:
• 30 cm from coal or petroleum stoves;
• 3 cm from electric and/or gas cookers.
• Fit the spacers provided on the c ondense r at
the rear of the appliance (see figure).
• To optimize appliance efficiency, leave a 5
cm gap above the appliance and make sure
that adjacent kitchen units are sufficiently
distanced to allow air circulation.
• Install the refrigerat or in a dry, well-ve ntilated
place. Make sure it is level. Adjust the front
feet if necessary.
• Clean the inside.
• Fit the accessories.
Electrical connection
• Electrical connections must be made in
accordance with local regulations.
• Voltage and power consumption are indicated
on the rating plate inside the appliance.
• Appliance earthing is
The Manufacturer declines all liabilities
for injury to persons and animals or
damage to property resulting from failure
to observe these regu lations.
compulsory by law.
• If the plug and socket are not of the same
type, have the socket replaced b y a qualif ied
electrician.
• Do not use extension leads or adapters.
Disconnecting the appliance
It must be possible to disconnect the appliance
by unplugging it or by means of a two-pole switch
fitted upline of the socket.
18
Page 9

37030-GB.fm5 Page 19 Thursday, June 8, 2000 9:32 AM
ELECTRICAL CONNECTION
For Great Britain only
Warning - this appliance must be
earthed
Fuse replacement
If the mains lead of this appliance is fitte d with a
BS 1363A 13amp fused plug, to chan ge a fuse in
this type of plug use an A.S.T.A. approved fuse
to BS 1362 type and proceed as follows:
1. Remove the fuse cover (A) and fuse (B).
2. Fit replacement 13A fuse into fuse cover.
3. Refit both into plug.
The wires in the mains lead are coloured in
accordance with the following code:
BLUE - “NEUTRAL” (“N”)
BROWN - “LIVE” (“L”)
GREEN AND YELLOW - “EARTH” (“E”)
1. The GREEN AND YELLOW wire must be
connected to the t erminal in the plug whi ch is
marked with the letter “E” or by the Earth
symbol 4 or coloured green or green and
yellow.
2. The BLUE wire must be connected to the
terminal which is m arked with the letter “N” or
coloured black.
3. The BROWN wire must be connecte d to the
terminal which is mark ed with the lette r “L” or
coloured red.
Important:
The fuse cover m ust be refitted whe n changing a
fuse and if the fuse cover is lost the pl ug must not
be used until a correct replacement is fitted.
Correct replacement are identified by the colour
insert or the colour embossed in words on the
base of the plug.
Replacement fuse covers are available from
your local electrical store.
Connection to a rewirable plug
If the fitted plug is not suitable for your socket
outlet, then it shou ld be cut off and dis posed of in
order to avoid a possib le shock hazard should it
be inserted into a 13A socket elsewhere.
A suitable alternative plug should then be fitted
to the cable.
For the Republic of Ireland only
The information g iven i n resp ect of Great Brita in
will frequently appl y, but a thi rd ty pe of plug and
socket is also use d, the 2-pi n, side ea rth type. In
this case, the wire which is coloured GREEN
AND YELLOW must be conn ected to the EARTH
contact, and the two wires to the two pins,
irrespective of colour. The supply to the socket
must be fitted with a 16 amp fuse.
19
 Loading...