

IDW GS-2.5-N23EB, GS-2.5-023EB, GS-2.5-A23EB, GS-2.5-223EB Instruction Manual
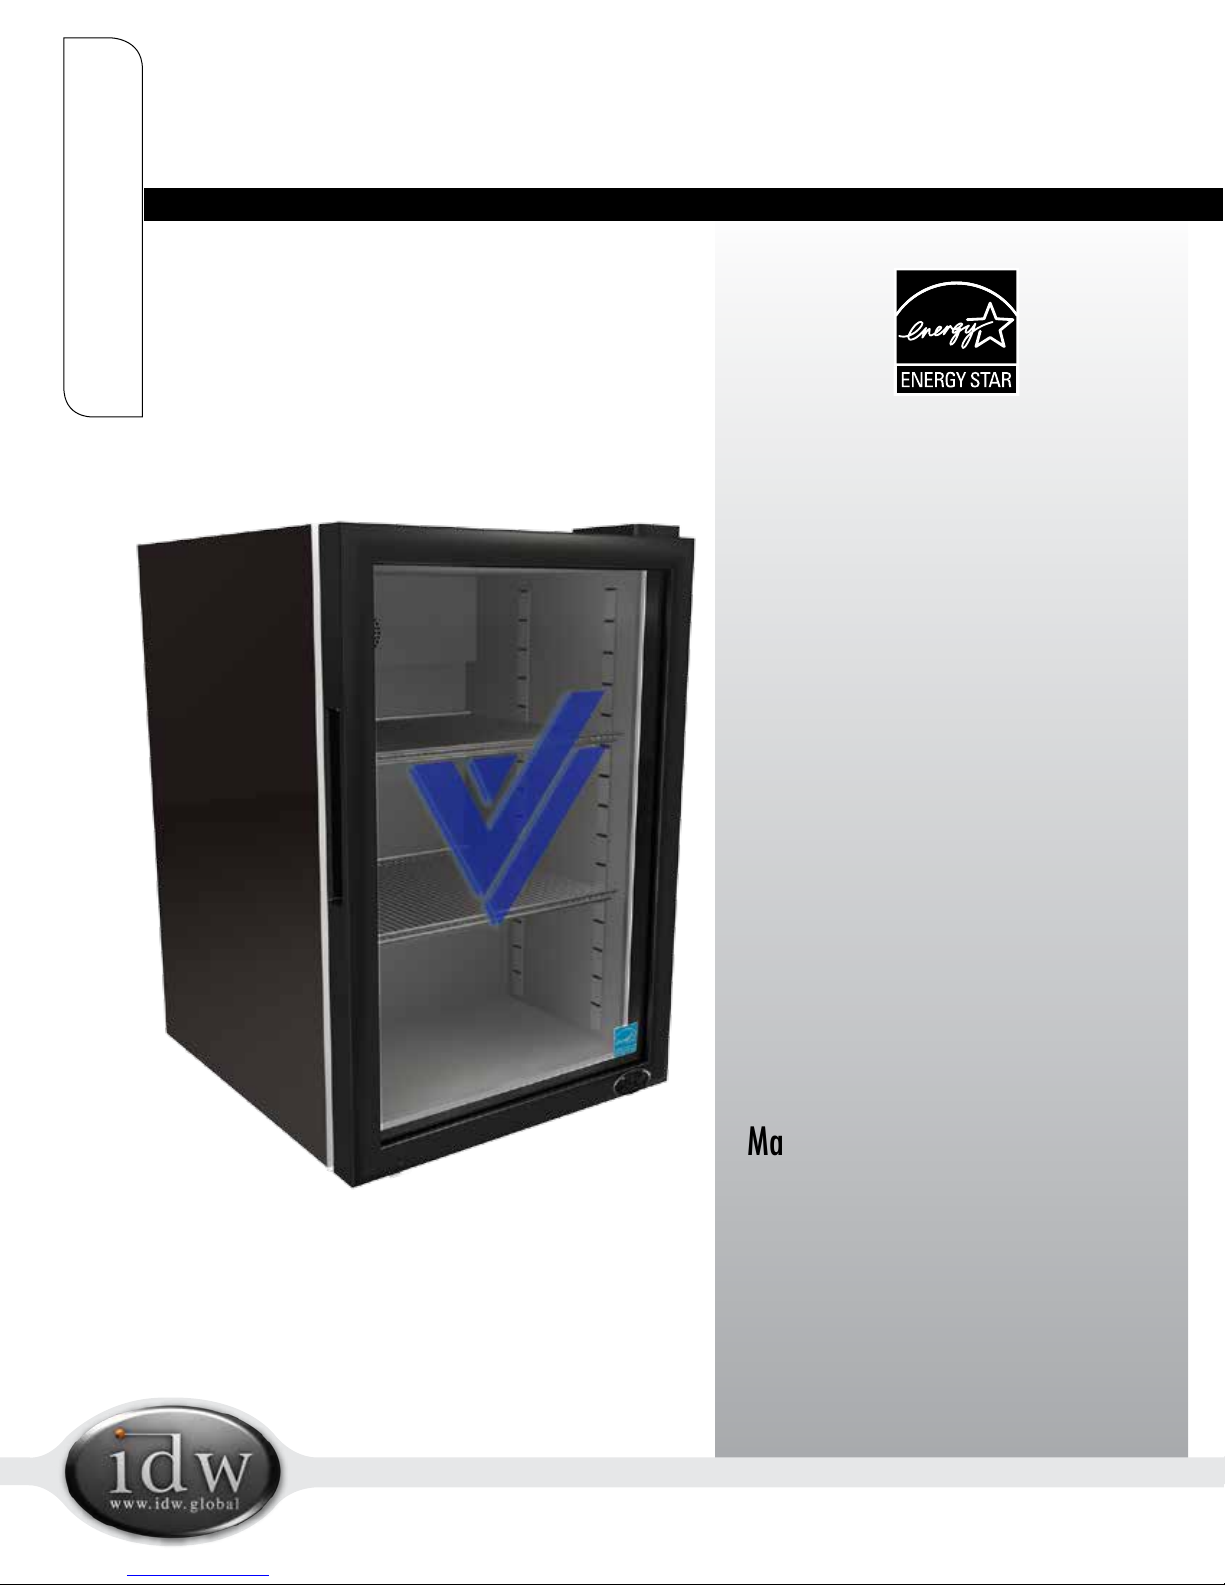
G-Series Cooler
GS-2.5
COUNTERTOP COOLER
Manual is for the following model:
GS-2.5-023EB
GS-2.5-N23EB
GS-2.5-223EB
GS-2.5-A23EB
Instruction Manual

Manual is for the following model:
GS-2.5-023EB
GS-2.5-N23EB
GS-2.5-223EB
GS-2.5-A23EB
Instruction Manual
GS-2.5

GS-2.5
FOR YOUR FUTURE REFERENCE
• This easy-to-use manual will guide you in getting the best use of your cooler.
• Remember to record the model number and the serial number. This information can be found on the
inside of your cooler.
• Keep your receipt with this manual for future warranty service.
Model #:
Serial #:
Date of Purchase:
TABLE OF CONTENTS
Parts and Identication ......................................... 2
Safety Instructions ................................................. 3
Installation ........................................................... 3
Electric Connection ................................................ 3
Start ..................................................................... 3
Maintenance ......................................................... 4
Cleaning ............................................................... 4
Condenser Maintenance ........................................ 4
Light Replacement .................................................4
Power Failure ........................................................4
Moving the cooler .................................................. 4
Drip Pan ............................................................... 4
1
Troubleshooting .................................................... 5
Refrigerant ........................................................... 5
Specications ........................................................ 5
Switch Function ..................................................... 6
Flammable R600a Warnings ................................. 6
Circuit Diagram ..................................................... 7
Innovative DisplayWorks
Instruction Manual
SAFETY INSTRUCTIONS
To reduce the risk of re, electric shocks, or injury when using your cooler, please note the following basic precautions:
• Never clean appliance parts with fl ammable fl uids.
• Do not store or use gasoline or any other fl ammable vapors and liquids in the vicinity of this or any other appliance.
The fumes can cause a re or explosion.
• As with all electrical appliances, please consult a licensed repair technician for any repairs.
• Do not block the ventilation holes located on the top of the cabinet.
INSTALLATION
• Keep cooler in an upright position for 1-hour prior to use. This is essential for proper operation. If the cooler is
transported in the horizontal position, the cooler must be returned to the upright position and not plugged in for 1
hour.
• Remove all the packing material before using your cooler.
• Clean the interior surface with a soft cloth and lukewarm water.
• If the cooler is transported in the horizontal position, check the drain pan and ensure that it is properly positioned
above the compressor.
• For proper operation, place the cooler on a dry, level surface.
• Place the cooler at least 4” away from any walls. Otherwise, this could cause damage to the electrical cord and block
the air circulation to the appliance.
• Do not block the air intake that ventilates the condenser unit.
ELECTRIC CONNECTION
• This model operates with an 115V/60Hz power supply. Check the electrical outlet for proper voltage.
• Warning: Plug unit directly into wall outlet. Do not use an extension cord or any other multiple connectors.
• For your safety, plug the unit into a grounded wall outlet.
START
• Plug the cooler into the electrical outlet. For optimum performance, run cooler for 3 hours prior to use.
• Temperature Control: Do not adjust the temperature control. The temperature control is factory set to provide
maximum performance. If really necessary, you can turn the thermostat by screw driver clockwise to have lower
temperature inside the cooler
LIGHT CONTROL
• The inside light is controlled by the magnetic switch.
BEFORE USING, PLEASE READ ALL INSTRUCTIONS
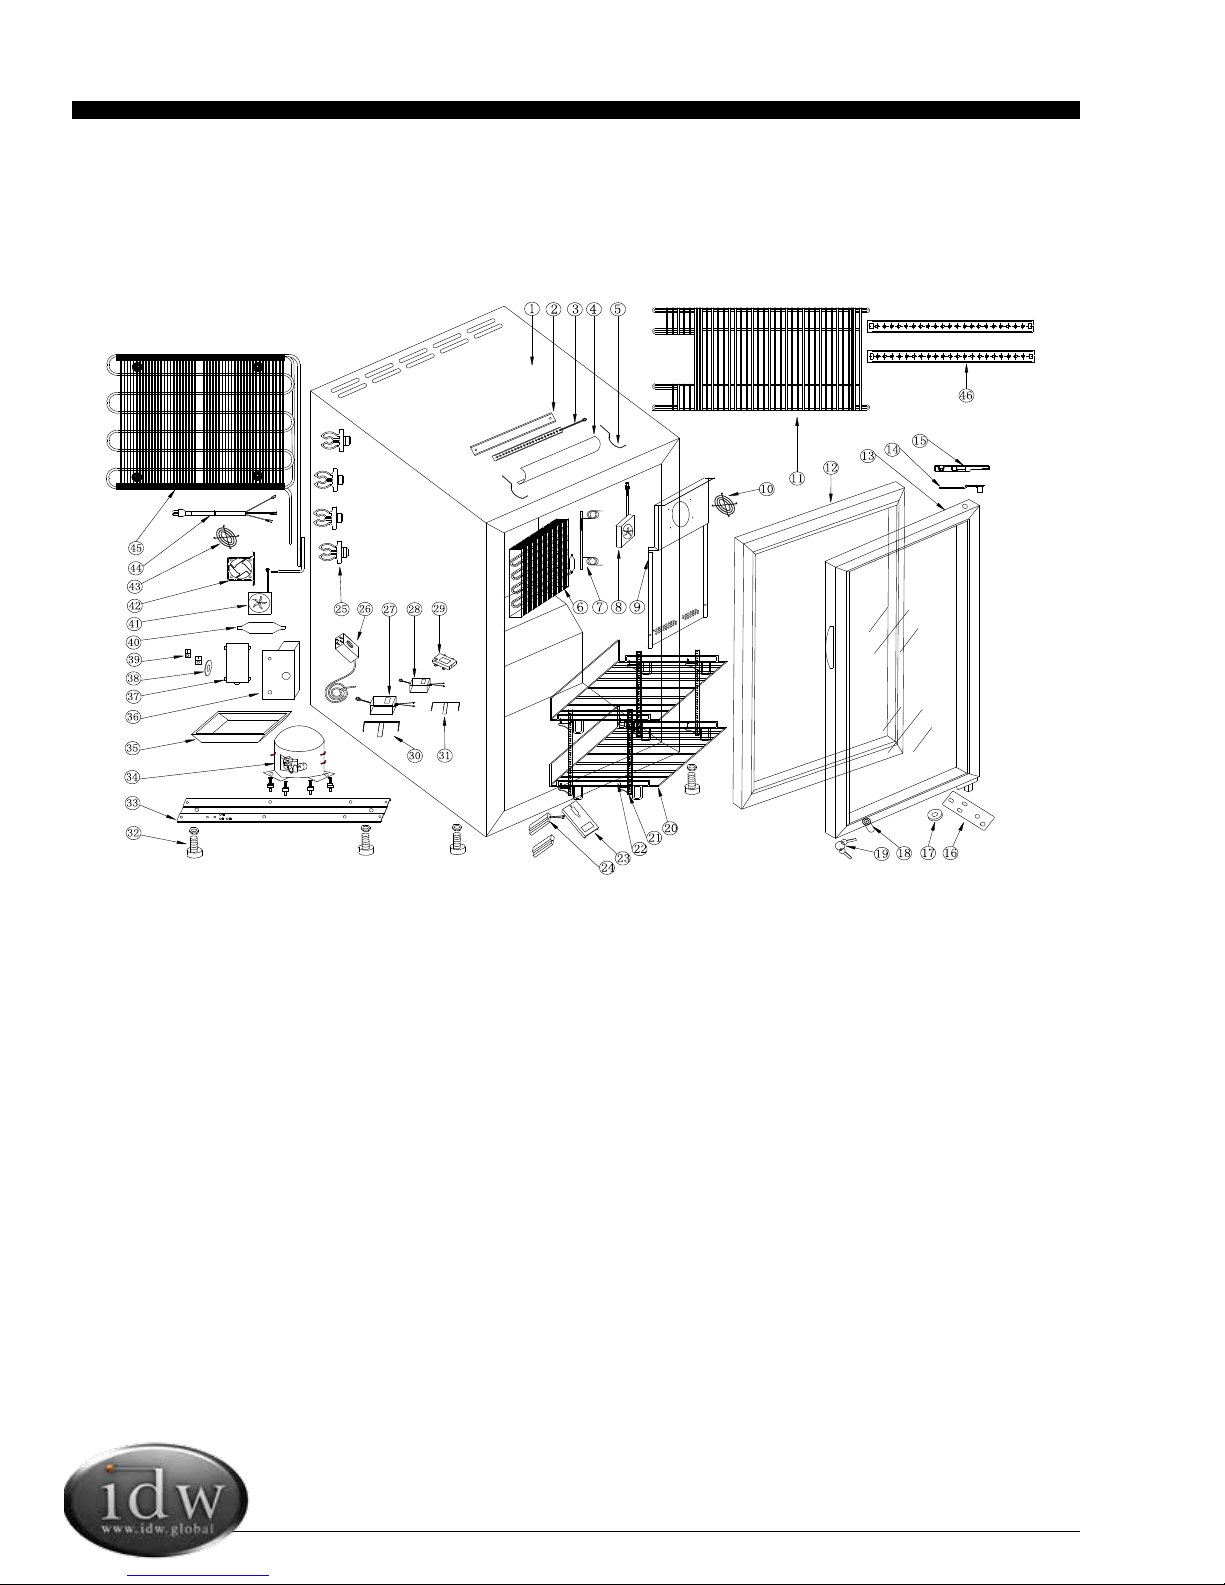
PARTS & IDENTIFICATION
GS-2.5
1. Cooler Cabinet
2. Interior Light Bracket
3. Interior LED
4. Interior Lampshade
5. Interior Lampshade Board (2)
6. Evaporator
7. Circle Pipe
8. Evaporator Fan
9. Evaporator Safeguard
10. Evaporator Fan Cover
11. Rear Grill
12. Door Gasket
13. Glass Door
14. Top Hinge
15. Hinge Cover
16. Bottom Hinge
17. Bottom Hinge Washer
18. Door Lock
19. Key (2)
20. Large Shelf (2)
21. Pilasters (4)
22. Shelf Clip (8)
23. Lockpin
24. Magnetic Switch
25. Condenser Support (4)
26. Thermostat
27. Transformer 1A
28. Condenser Fan Transformer
29. Junction Box
30. Transformer Box
31. Transformer Box
32. Foot (4)
33. Compressor Panel
34. Compressor
35. Drip Pan
36. Thermostat Box
37. Thermostat Box Cover
38. Thermostat Label
39. Door Light Switch (2)
40. Filter Drier
41. Condenser Fan
42. Condenser Fan Cover
43. Fan Cover
44. Power Cord
45. Condenser
46. LED Lights (2)
2
 Loading...