

ididit Retrofit Steering Column 1965-66 Mustang User Manual

Retrot Steering Column
Installation Instructions
for 1965-66 Mustangs
www.ididitinc.com
610 S. Maumee St., Tecumseh, MI 49286
PH: (517) 424-0577 FAX: (517) 424-7293
Revised 1/22/2014
Instruction #: 8000000011
(A)
(B)
(D)
(C)
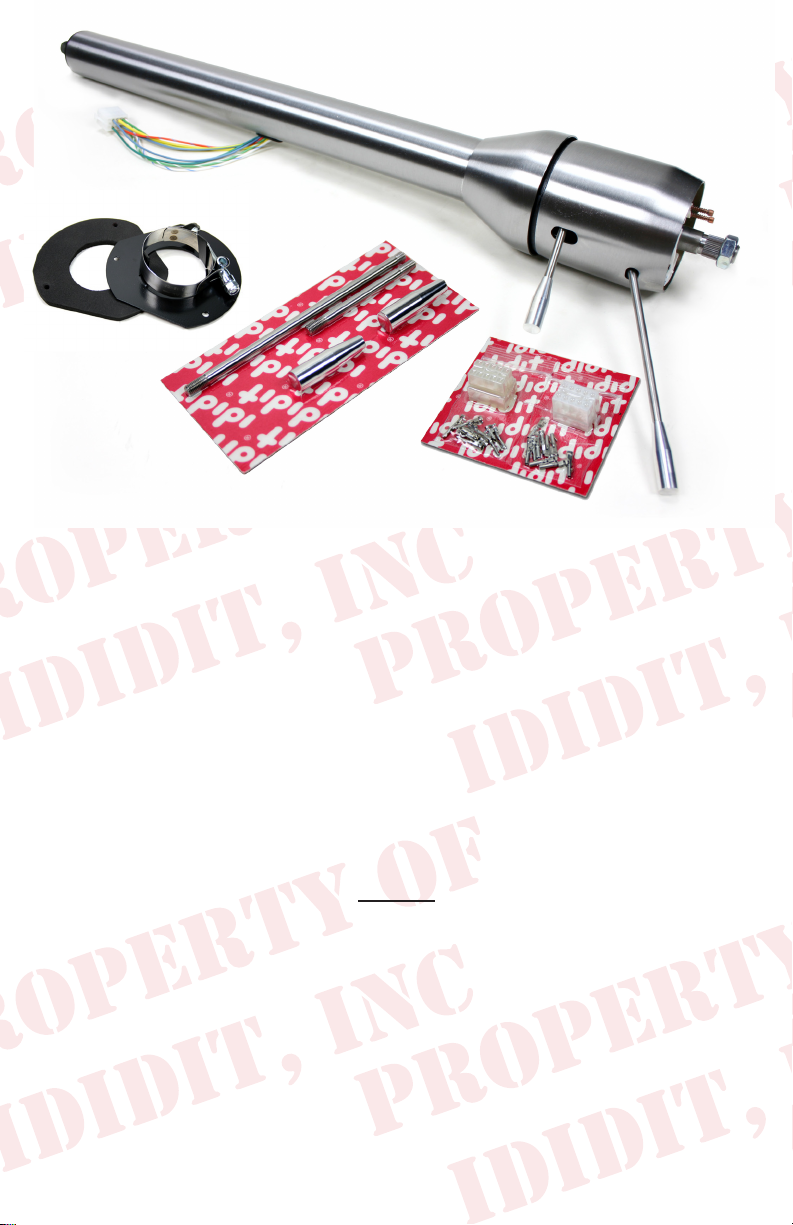
These are the components that come with the column.
(Paintable Steel Column pictured)
(A) Column
(B) Floor Mount Plate with Clamp & Gasket
(C) Male & Female Wiring Plugs with Terminals
(D) Instructions & Dress Up Kit (Dress Up Kit pictured with column)
We will work through this installation using all these parts. For instruction
purposes we will assume the car is all original and has a factory manual steering
gear box and an OEM harness. On the last page there will be a summary for
other applications, such as a rack and pinion or aftermarket gear boxes. There
will also be instructions for aftermarket steering wheels.
INDEX
REMOVAL............................................................................ 2
MODIFYING YOUR SHAFT..............................................3
WIRING INSTALLATION............................................4 & 5
COLUMN INSTALLATION.........................................5 & 6
KNOB & LEVER INSTALLATION.....................................6
STEERING WHEEL INSTALLATION................................7
USING SOMETHING BESIDES A STOCK BOX?..........7
1.
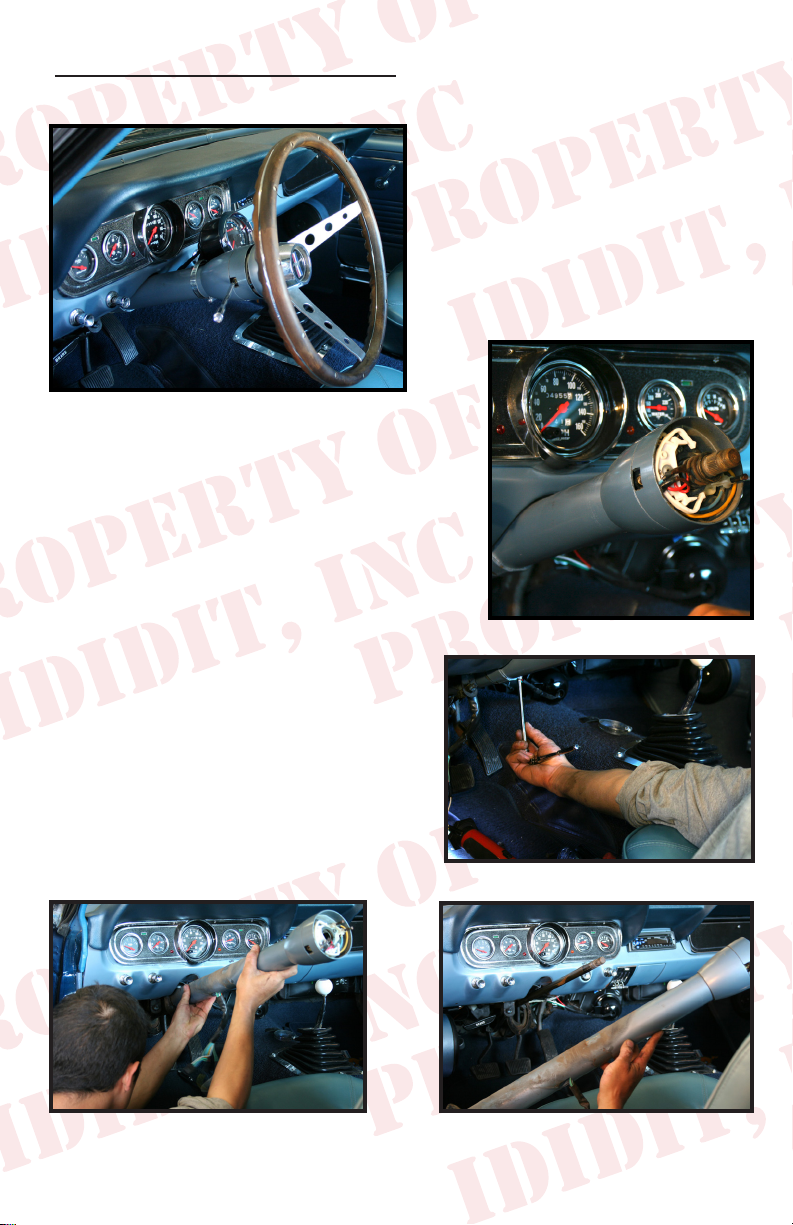
REMOVAL of OEM Column:
Disconnect positive battery cable.
Now go under the dash and disconnect
the wire plug from the column to the under dash harness.
Remove the three screws that hold the
gasket to the re wall.
Now you can remove the two bolts from
the dash mount. (See Figure 2)
To remove the horn button on your
stock steering wheel, push it in, then
rotate counter clockwise.
Remove the nut and use a wheel puller to pull the original steering wheel
off the original column. (See Figure 1)
(Figure 1)
You will want to rotate the column left
and right to loosen and then pull the
column back toward the driver to remove it from the car. There will still be
a ¾” round shaft sticking into the driver
compartment from the gear box. (See
Figure 3 & 4)
(Figure 3)
(Figure 2)
(Figure 4)
2.
 Loading...