

ididit 727-904 User Manual
Cable Shift Installation Instructions for:
ididit Column to Chrysler 727/904 Trans
www.ididitinc.com
ididit is...
Your Steering Column Specialist
For #’s
2801700010 & 2802700010
ididit inc. 610 S. Maumee St. Tecumseh, MI 49286
PH: 517-424-0577 FAX: 517-424-7293
Instruction # 8000010142 REV 01/13
ididit Column to C-6 Trans
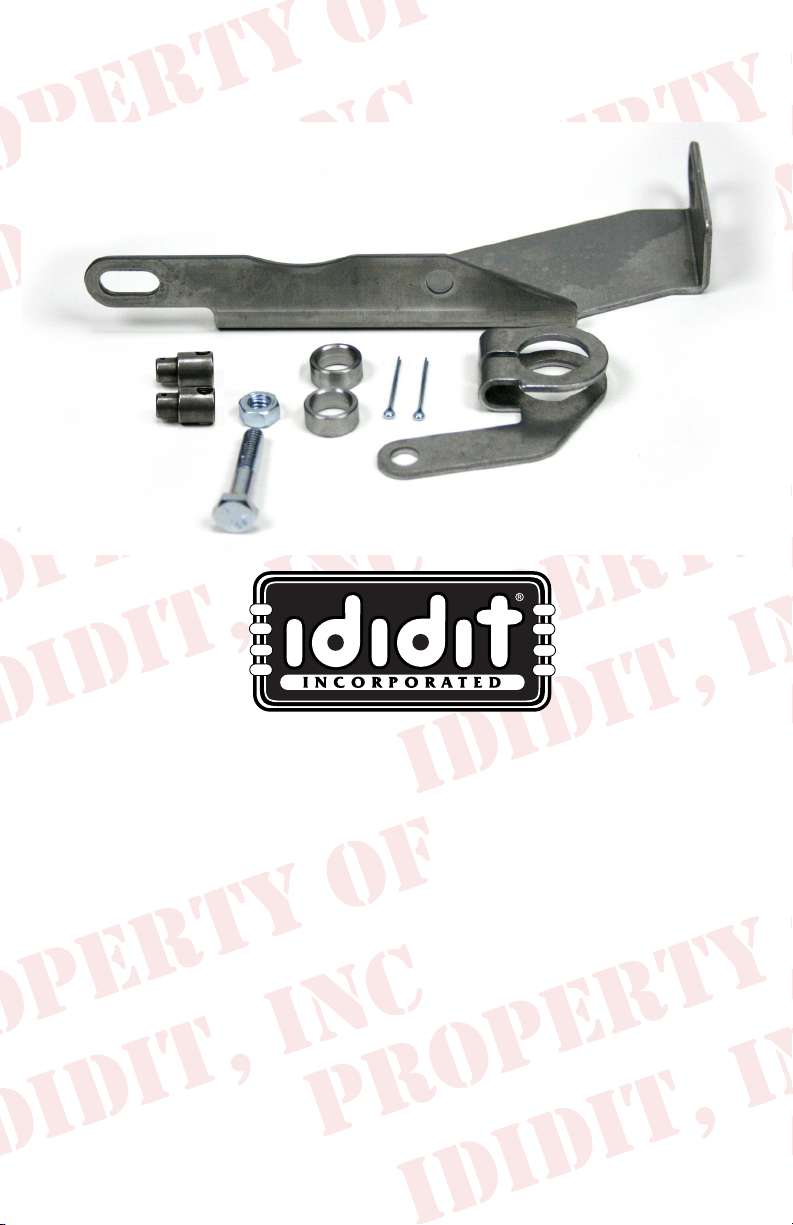
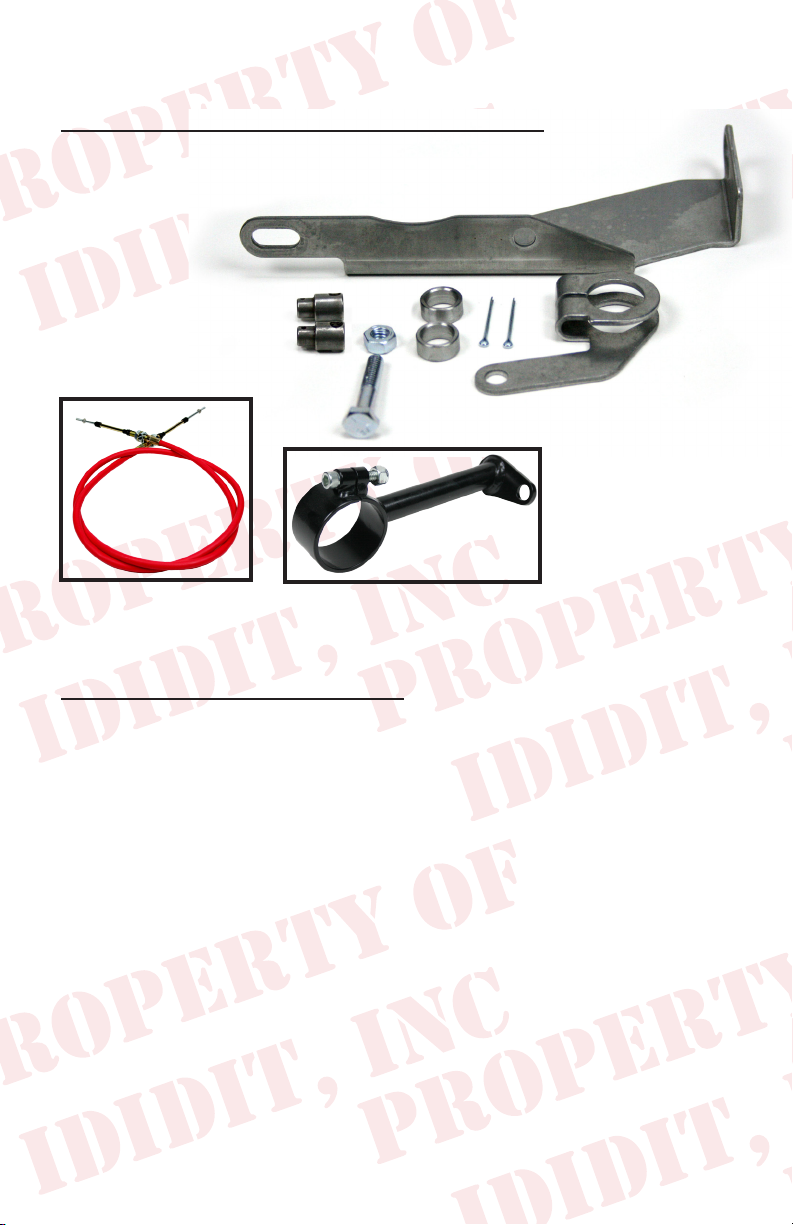
Your kit should contain the following parts:
A.) Transmission Lever
B.) Pan Bracket
C.) Trans Lever Bolt & Nut
D.) Cotter Pins
E.) Swivels
F.) Spacers
H.) Shift Cable
I.) One Piece Bracket
F.
E.
C.
B.
D.
A.
H.
I.
Before installation please read:
Melted Cables: If your cable is too close to your exhaust it will melt or
become brittle. If this is the case you will need to make a heat shield. Do
not wrap the cable as this retains heat. Heat will destroy the cable.
Kinked Cables: Do not kink the cable anywhere along its length. If the
cable has a kink it will lock up. The cable should be kept straight for 2”
on each end where it leaves the bracket. Either of the above could damage
the cable, shifter, and/or transmission in one shift.
Cable Adjustment: If you do not adjust the cable correctly you could
damage the cable, shifter and/or transmission. Put the transmission in
Low gear and the shifter in Low gear, set the swivel so it slides in and out
of the correct hole freely. Then move the transmission and shifter to Park
(all the way the other way). Rotate the cable swivel until it slips in and out
of the hole freely. Now go back and forth between Park and Low gear and
ne tune the adjustment. See instructions for further detail.
1

1. Remove the 4 screws from the shift lever at the
bottom of the steering column and set the screws
and the lever safely aside.
2. Take the cable bracket and
loosen the nut and bolt so that
the clamp will loosen a little.
Put the clamp on the column
with the small end appx. 5
o’clock looking at the column
from the front of the vehicle.
(Actually, anywhere would work
because the clamp is indexable).
The hole on the small end of the
clamp should face the front of
the vehicle. Do not tighten yet.
3. The gearshift lever will need a hole drilled exactly
2” from the center of the large hole towards the
linkage hole, in the center of the shift lever arm.
The hole should be 5/16” or .312 in diameter, no
larger!
4. If your designer eye tells you that you want to cut
off the access of the shift arm that is ne. Take a
look at the diagram to the right to see how we did
this.
5. The cable is the next
Trim if you want to!
piece that you are looking
for. Notice that both ends are the same. We
did that so that you could be right the rst time.
You will need to take the small nut and the
rubber boots off so that you can get one large
nut and washer off. Put the cable through he
bracket from the bottom side of the bracket and
reinstall the large nut, washer and boots. Try to center the nuts and
washers on the available threads. This is important later.
2
 Loading...