

iDevices HVAC Installation Manual

Welcome To
INSTALLATION GUIDE

2 3
Introduction
From removing your old thermostat, to installing
your new iDevices® Thermostat, this easy-tofollow guide will take you through the process,
step by step.
If at any time you require assistance, please
contact our Customer Experience Team.
Call: 888.313.7019
Email: Support@iDevicesinc.com
Visit: iDevicesinc.com/Support
Please visit iDevicesinc.com/Compatibility to
see if your HVAC system is compatible.
Contents
Introduction ........................................................ 3
In The Box .......................................................... 4
Display ................................................................ 5
Before You Start .................................................. 6
Installation Overview .......................................... 7
Professional Assistance ....................................... 7
Abbreviations ..................................................... 8
Installation Details ............................................ 10
Wiring Chart ..................................................... 11
Connecting To The App
And Wi-Fi® Network ......................................... 14
Conguring The Thermostat
For Your HVAC System ..................................... 15
Set In-App Preferences ..................................... 15
Wiring Congurations ...................................... 18
Troubleshooting & Support .............................. 23
4 5
75
AUTO
Cooling
76
o
AUTO
o
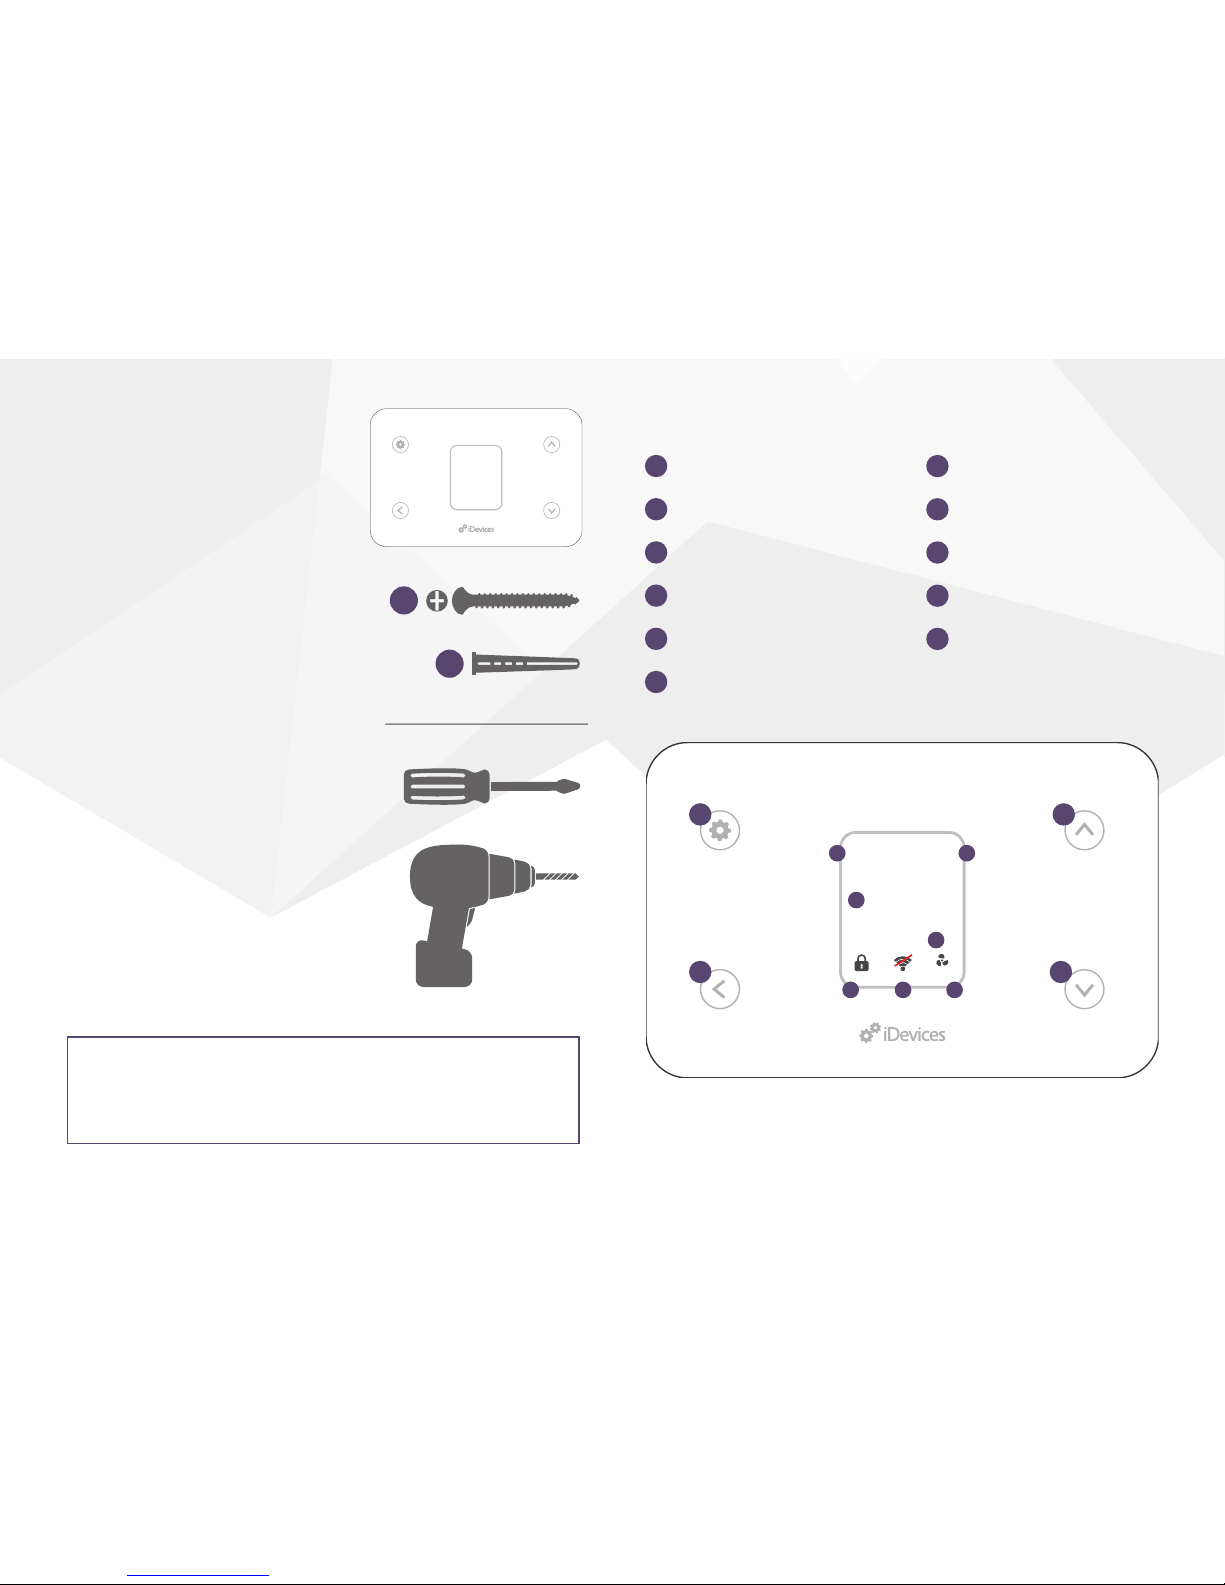
Getting to Know the iDevices Thermostat
1
System Mode
2
Ambient Temperature
3
Desired Temperature
4
HVAC State
5
Button Lock
6
Connection Status
7
Fan Mode
8
Settings/Select
9
Back
10
Temp/Navigate Up
11
Temp/Navigate Down
1
2
3
4
765
In The Box
- iDevices® Thermostat
- Mounting Hardware
Requires
- Home Wi-Fi® Network
- Free iDevices®
Connected App
- 24VAC Common Wire*
- Compatible Mobile Device
(Visit iDevicesinc.com/
Compatibility)
Tools
- Phillips Screwdriver
- Drill With 3/16” Bit
x2
x2
*Don’t have a 24V C-wire?
No problem. The iDevices® Wire Adapter Kit may be your
solution. Please contact our Customer Experience team to
learn more.
8
9 11
10

6 7
Before You Start
1. Read through this Installation Guide in its
entirety before starting installation of your
iDevices® Thermostat or removal of your
old thermostat. Incorrect installation can be
dangerous and can damage your iDevices
®
Thermostat and HVAC system. If you’re not
comfortable performing the installation,
contact a local HVAC contractor.
2. Turn the power to your HVAC system
and old thermostat OFF!
3. Ensure you do not have electric baseboard
heating. The iDevices® Thermostat is not
compatible with these systems.
4. Check that your mobile device is compatible
with the iDevices® Thermostat at
iDevicesinc.com/Compatibility.
5. If this is a new installation, you will need to
install the iDevices
®
Thermostat 4 – 5 feet
above the oor, in accordance with applicable
building codes. It should be installed in an
area with good airow. Avoid areas behind
doors, near corners, heating or cooling
vents, heat generating devices or
direct sunlight.
Installation Overview
1. Turn the power to your HVAC system OFF!
2. Remove the faceplate of your old thermostat
and photograph the existing
wiring conguration.
3. Disconnect your old thermostat’s wall
plate and secure the wires.
4. Mount your iDevices® Thermostat mounting
plate and attach wires to match your
system’s conguration.
5. Attach your iDevices® Thermostat to the
mounting plate.
6. Turn the power back ON.
7. Download the free iDevices® Connected app.
8. Connect your iDevices® Thermostat to your
home network and pair it to your iDevices®
Connected app.
9. Set up and customize your iDevices®
Thermostat within the iDevices®
Connected app.
Professional Assistance
Your safety comes rst! If you don’t feel
comfortable installing your iDevices® Thermostat,
contact a local HVAC contractor.
 Loading...