

Page 1
How-to Note: Configuring Recorders for
Savant Integration [Ethernet]
[ 1-Jul-16]
IC-TV HDMI Wireless Mini-TV for HDTV [IC-TV MINI]
This guide will step you through installing and configuring the IC-TV HDMI Wireless Monitor Dongle for HDTV.
[This note applies to IC-TV HDMI Wireless Monitor Dongle for HDTV only.]
Step 1: Open the ICTV box. See Figure 1-1.
Figure 1-1
Step 2: Verify that the following are included within the ICTV box. See Figure 2-1:
o 1) Instruction Manual
o 2) ICTV module
o 3) AC Power Adapter
o 4) USB type-b mini (5pin) to USB type-A cable
o 5) HDMI type-A to HDMI type-c mini cable
o 6) USB type-b mini (5pin) to USB type-A female cable
Page 2
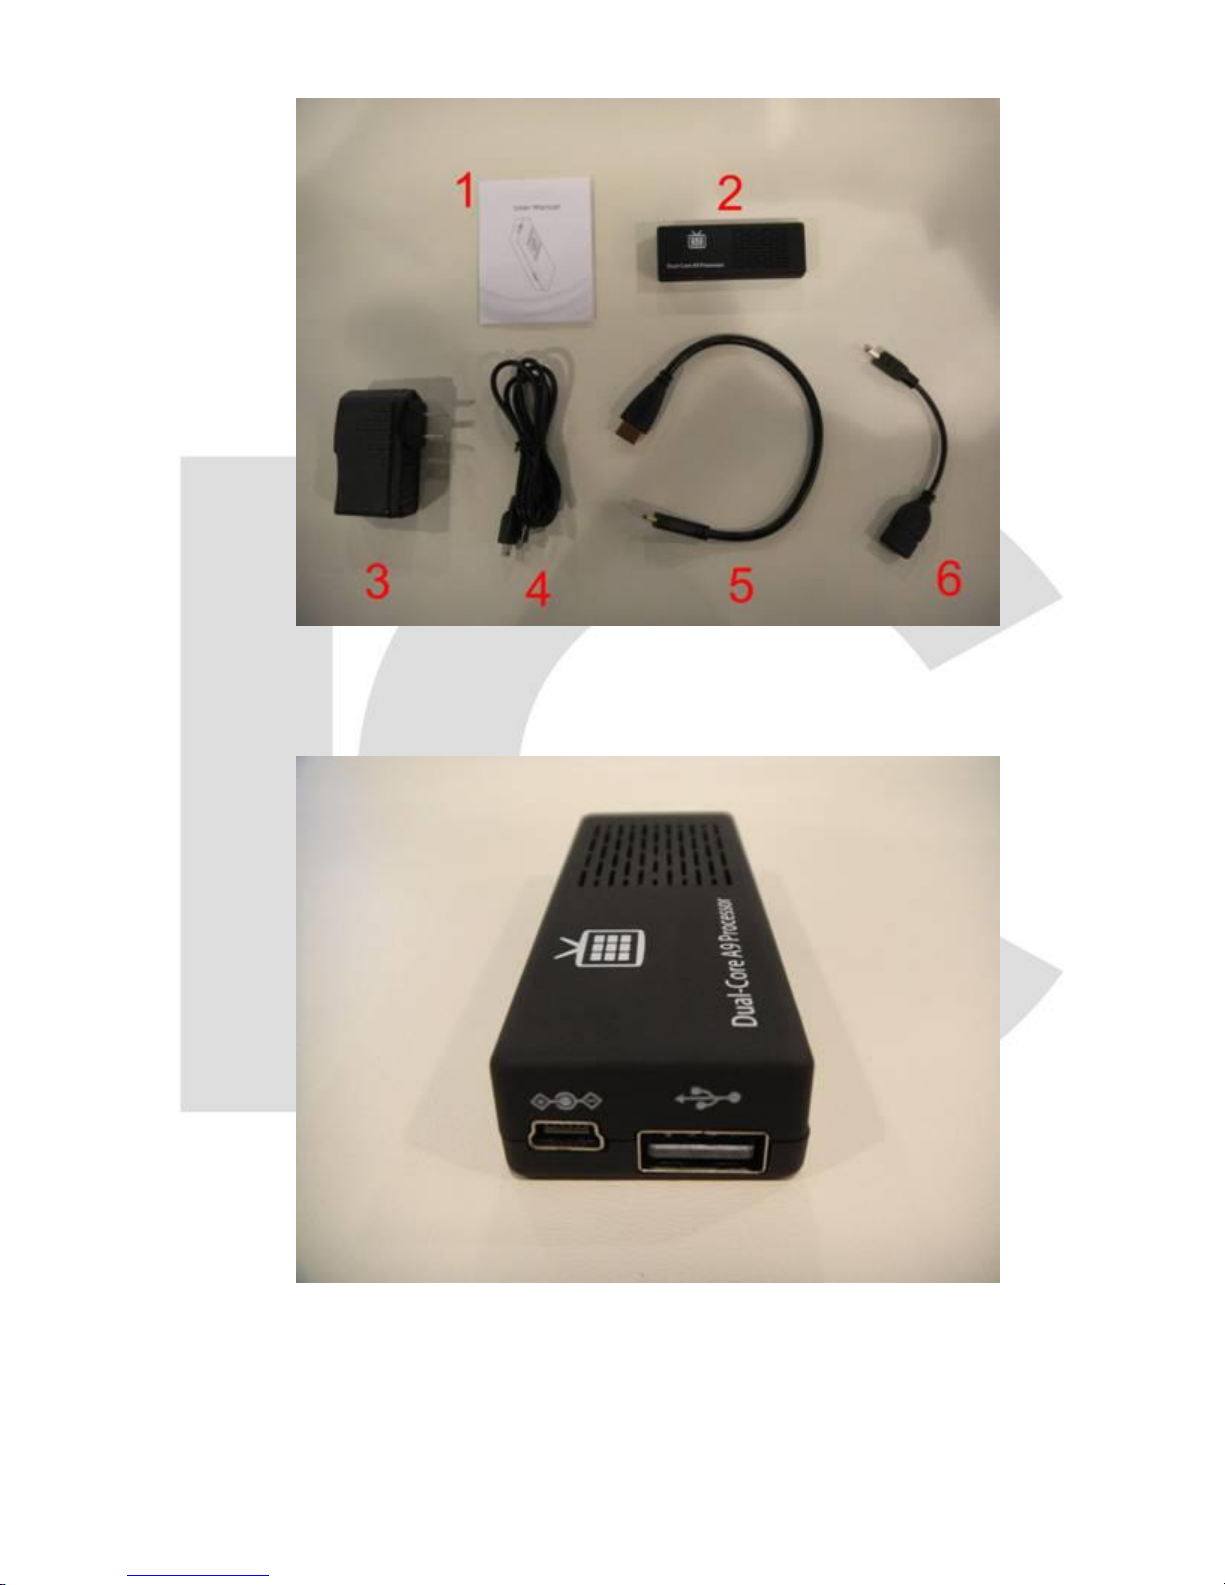
Figure 2-1
Step 3: Remove the ICTV module from the box. See Figure 3-1.
Figure 3-1
Step 4: Connect the ICTV’s USB Power cable (See Figure 4-1) to either a 5V USB port (Figure
4-2) or an AC Adapter (Figure 4-3).
Page 3
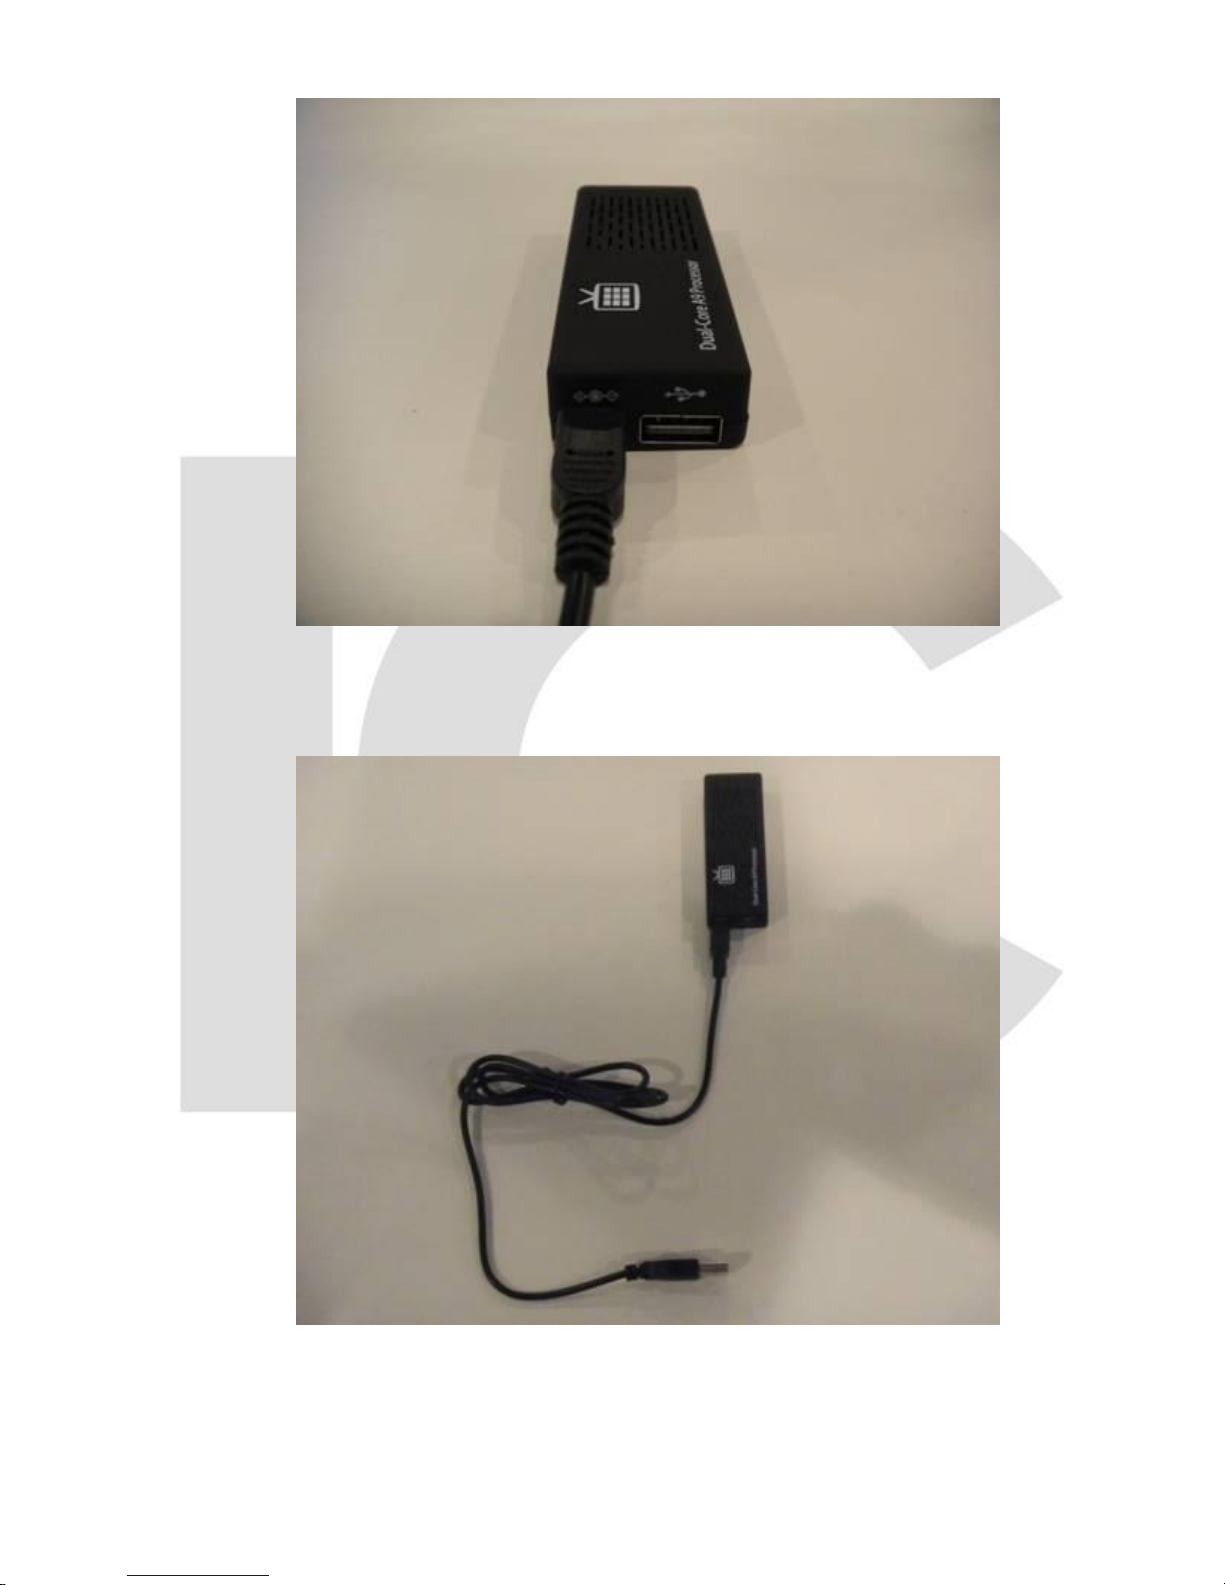
Figure 4-1
Figure 4-2
Page 4
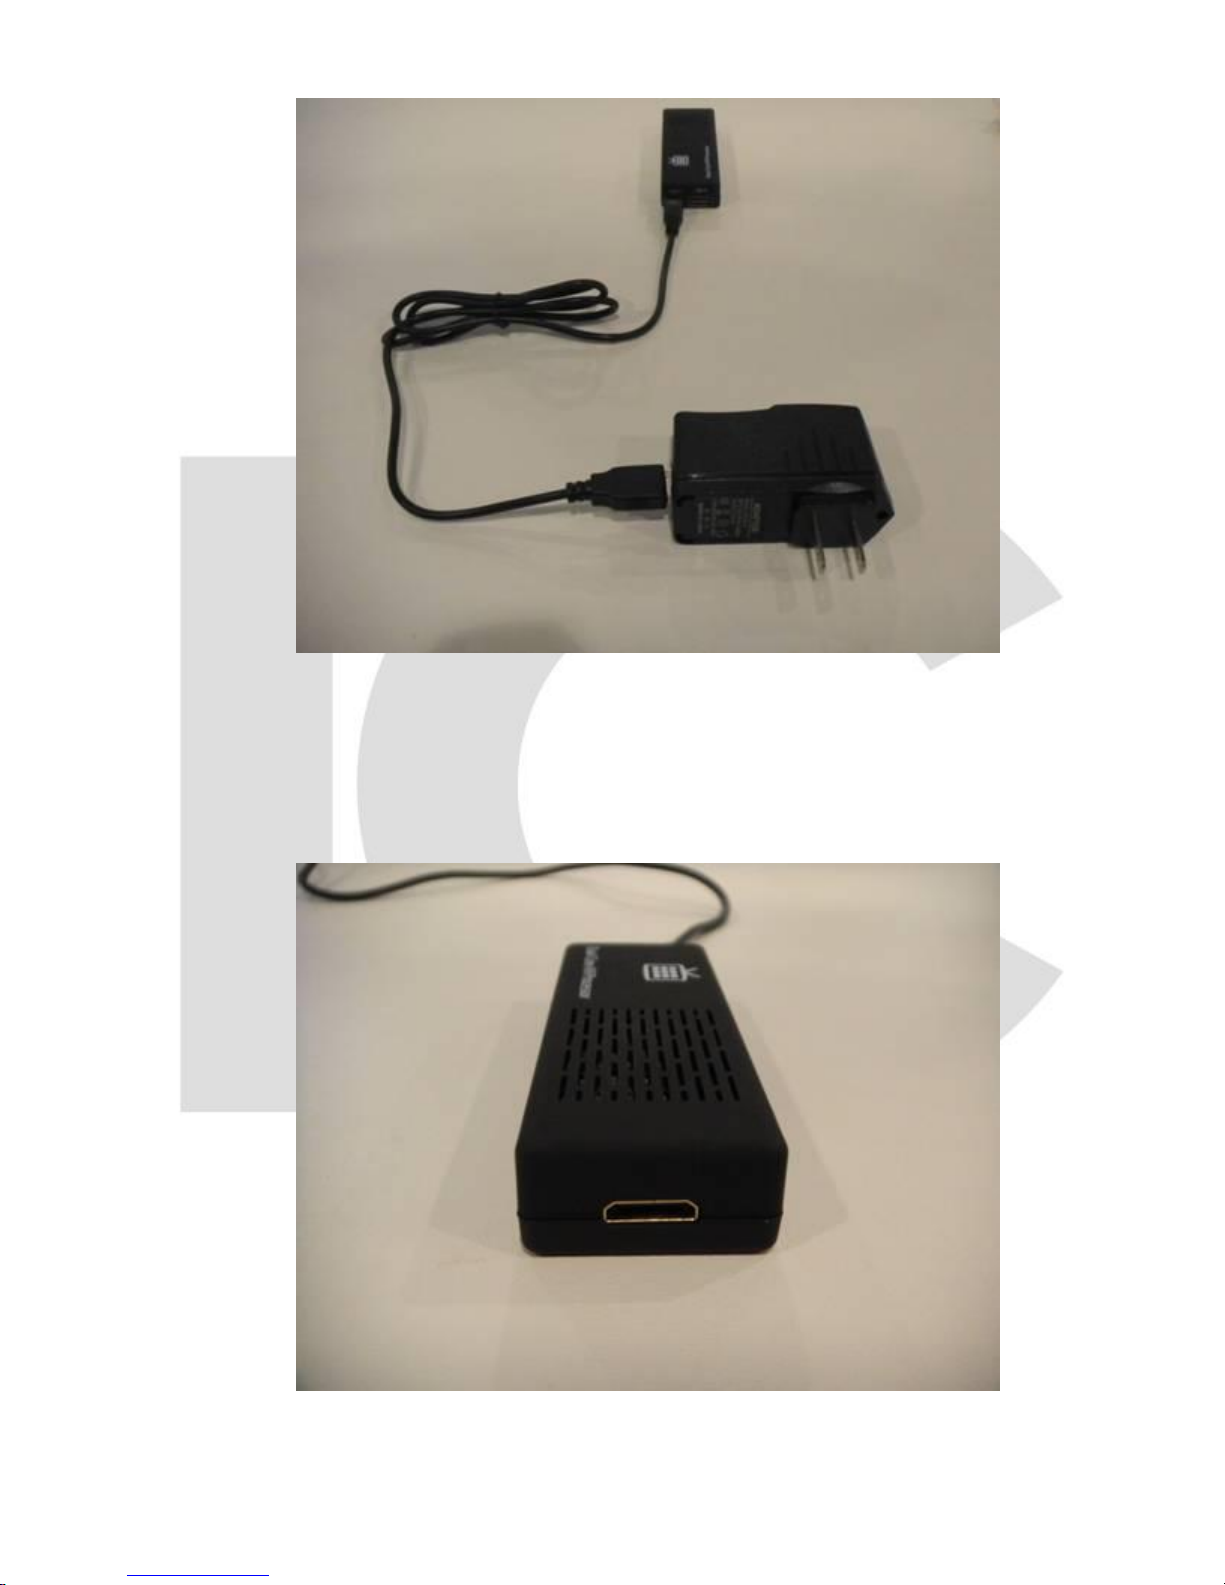
Figure 4-3
Step 5: Connect the ICTV’s mini HMDI port (See Figure 5-1) to the HDMI port on the HDTV
(See Figure 5-2).
Figure 5-1
Page 5

Figure 5-2
Step 6: You will need to control the ICTV module using the method of your choice. A mouse
with standard USB connection or touchscreen TV can be used to control the module. See
Figure 6-1.
Figure 6-1
Page 6

Step 7: Once all connections are made and the ICTV module is fully powered and operating, it
is necessary to connect to the local Wi-Fi network. Click or Tap on the Settings Icon. See
Figure 7-1.
Figure 7-1
Step 8: In the Settings Menu, click or tap on Wi-Fi under the WIRELESS & NETWORK
subheading. Verify that ICTV’s Wi-Fi adapter is set to ON and connected to an available Wi-Fi
network. Refer to the local Network Administrator for proper Wi-Fi configuration settings for
access to the intended Wi-Fi network. See Figure 8-1.
Figure 8-1
Step 9: Tap the Home icon on the System Bar to return to the Home Screen. See Figure 9-1.
Page 7

Figure 9-1
Step 10: Select the ICRSS App launcher by tapping or clicking on the icon. See Figure 10-1
Figure 10-1
Step 11: The ICRSS App will load to the Live Preview Screen. See Figure 11-1.
Page 8

Figure 11-1
Step 12: In order to display a camera feed, a device must first be configured and a camera
selected. Tap or Click on the Settings Icon. See Figure12-1.
Figure 12-1
Step 13: Tap or Click on Device List from the Settings Menu. See Figure 13-1.
Page 9

Figure 13-1
Step 14: Tap or Click on Add button in the upper-right corner to add a new DVR device. See
Figure 14-1.
Figure 14-1
Step 15: Enter a custom DVR Title. An On-Screen Keyboard is provided for input. See Figure
15-1.
Page 10

Figure 15-1
Step 16: In each field, enter the necessary information. This information is available is on the
intended DVR in the Network Settings Menu. An example of a DVR’s Network Settings Menu
is shown in Figure 16-1.
Figure 16-1
Step 17: After entering the proper network information when adding a new device it is also
necessary to add an account that has already been registered on the DVR. Enter an
appropriate Username and Password for the DVR. The default account uses the same
password as the username, for example: admin – admin.
Page 11

Step 18: Once all information is entered, click or tap on the Save button in the upper-right
corner of the screen. See Figure 18-1.
Figure 18-1
Step 19: After saving the device’s information, the screen will return to the Device List Menu.
Tap or click on the Back button to return to the main Settings menu. See Figure 19-1.
Figure 19-1
Step 20: Tap or Click on Live Preview as shown in Figure 20-1. The Live Preview screen will,
by default, contain 4 viewing areas. See Figure 20-2.
Figure 20-1
Page 12

Figure 20-2
Step 21: Tap or Click once on the Plus Icon in the center of the selected viewing square. See
Figure 21-1.
Figure 21-1
Step 22: Select the intended Device and Camera to view.
Step 23: The camera stream will now be visible in the selected viewing square. See Figure 23-
1.
Page 13

Figure 23-1
Step 24: Repeat Steps through to add more camera streams to the monitor. See Figure 24-1.
Figure 24-1
IC Realtime LLC
www.icrealtime.com
3050 N Andrews Avenue Extension | Pompano Beach, FL 33064 | (866) 997-9009
Designs and specifications subject to change without notice. Copyright © 2015 IC Realtime, LLC. All rights reserved.
 Loading...