

P.1
Packing List
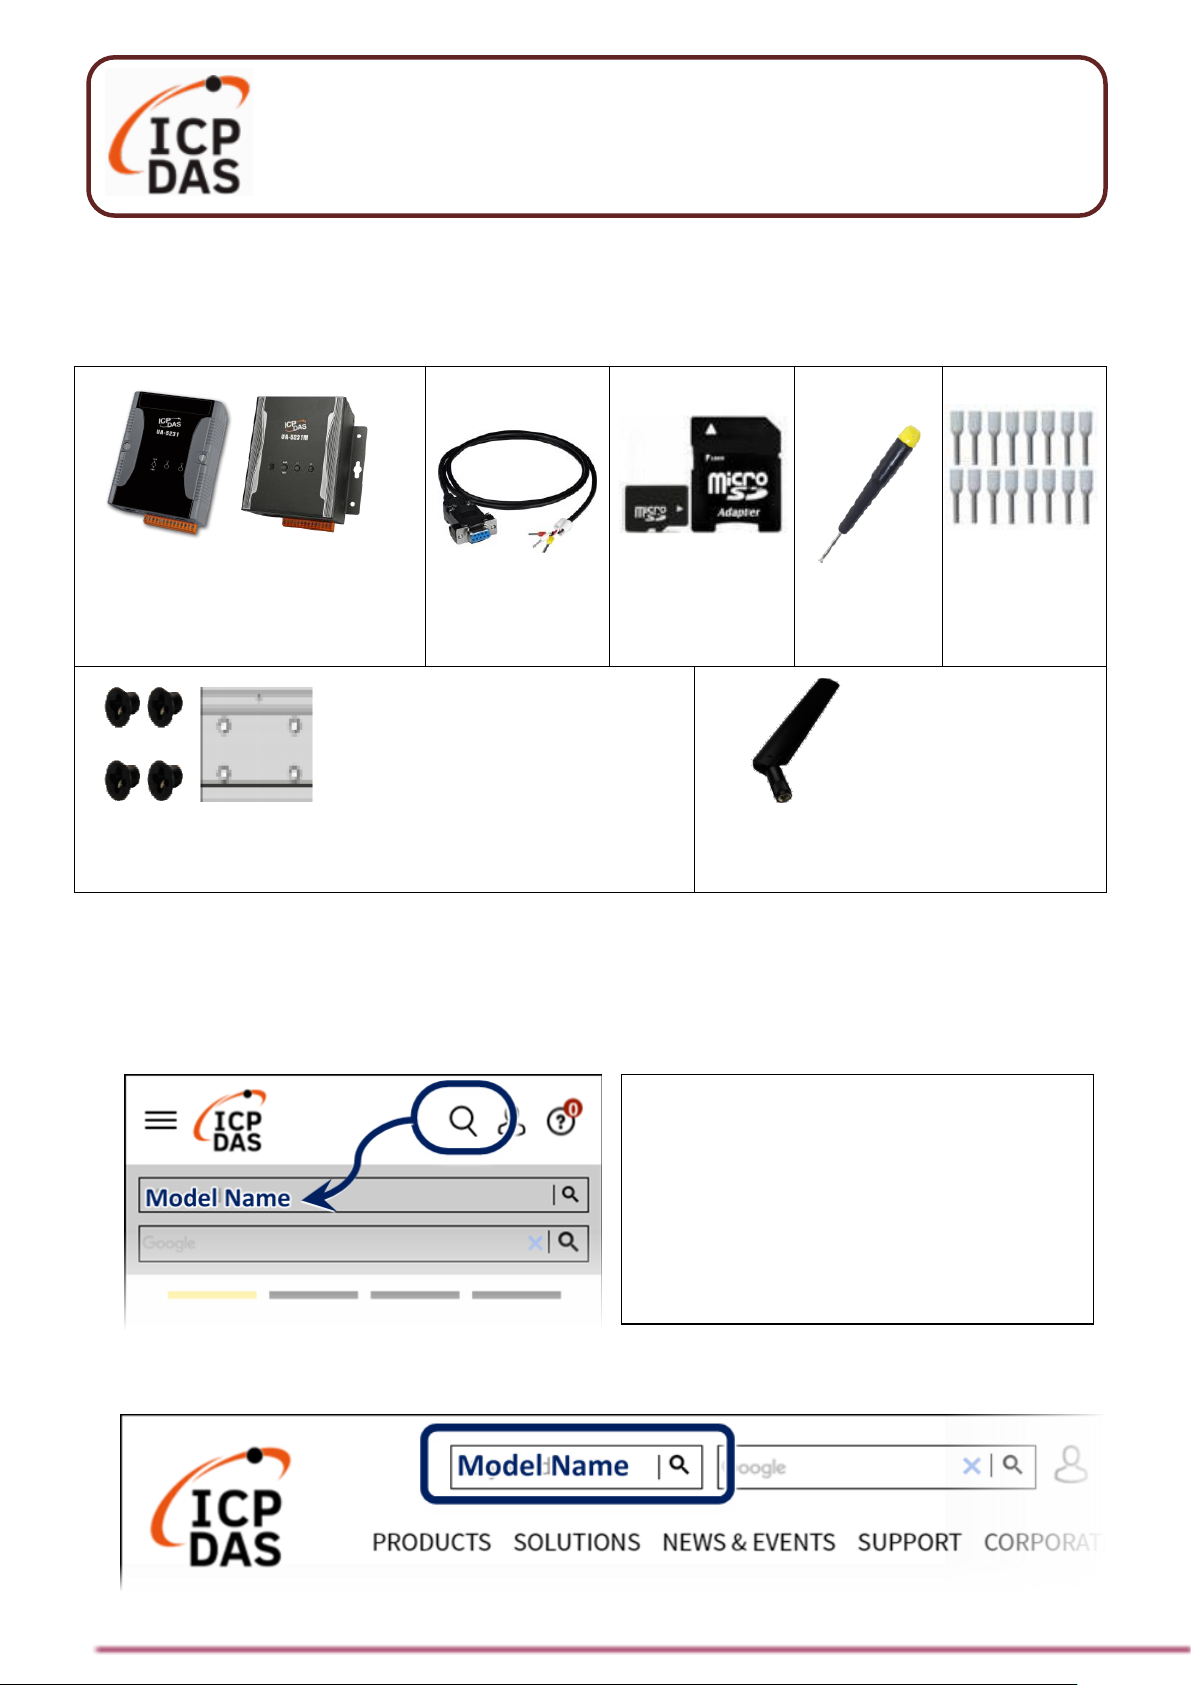
The shipping package includes this document and the following items:
UA-5231 or UA-5231M
UA-5231M-3GWA
UA-5231M-4GE/4GC
CA-0910
Cable
MicroSD
Card
Screw
Driver
Pin
Terminal
x 16
M3x6L Screw x 4
44mm DIN-Rail Clip x 1
(UA-5231M, UA-5231M-4GE/4GC,
UA-5231M-3GWA Only)
GSM Antenna
(ANT-421-04)
(UA-5231M-4GE/4GC,
UA-5231M-3GWA Only
Technical Resources
How to search for drivers, manuals and spec information on ICP DAS website.
For Mobile Web
For Desktop Web
UA-5200 Series Quick Start
v1.6, 03/2021
Technical Support
service@icpdas.com
https://www.icpdas.com
P.2
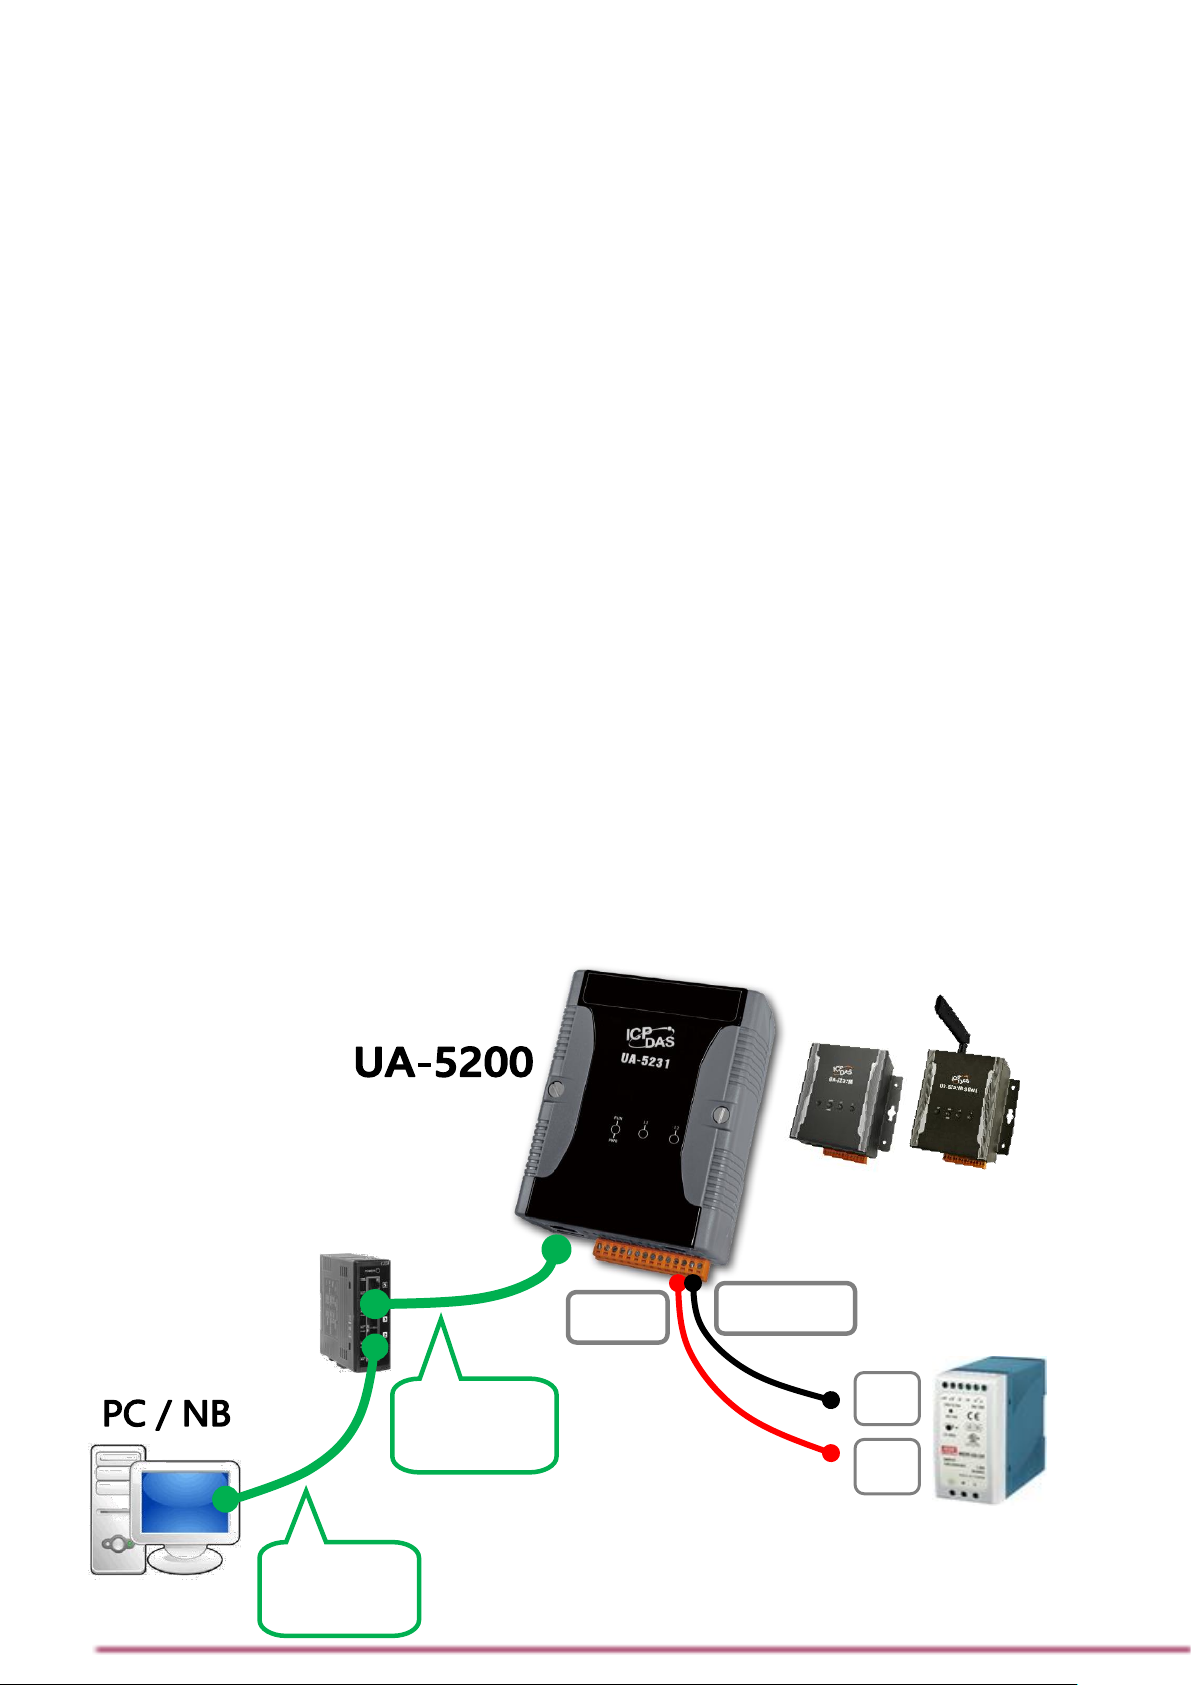
1. Preparations for Devices
Prepare one UA-5200 (Ex: UA-5231), and the following:
1. PC/NB: Can connect to the network and set the network
2. Ethernet Hub or Switch (Ex: NS-205A)
3. Power Supply: +12 ~ +48 VDC (Ex: MDR-60-24)
2. Hardware Connection
Connect the UA-5200 with the RJ-45 Ethernet port to an
Ethernet hub/switch and PC. You can also link directly the
UA-5200 to PC with an Ethernet cable.
After power is connected, please【wait 1 minute】for UA-5200
start-up procedure. When the "RUN/PWR" light starts flashing,
it represents the boot is complete.
Power Supply
(12 ~ 48 VDC)
Ethernet
Cable
Ethernet
Cable
Hub/Switch
P.GND
PWR
+
V
-V

P.3
3. Network Connection
Factory Default Settings of UA-5200
Network
IP
192.168.255.1
Assign UA-5200 a
new IP setting
according to your
case.
Netmask
255.255.0.0
Gateway
192.168.1.1
Web UI
Account
Username
root
After login, change
the username /
password to use
other functions.
Password
root
1.
Change PC’s IP setting to be in the same network with UA.
Ex: (Write down the PC original IP settings before modify.)
IP
192.168.255.10
Subnet mask
255.255.0.0
Gateway address
192.168.1.1
2.
Make sure the PC and UA is connecting through Ethernet.
And then open a PC side browser (Ex: Chrome, IE…). Type
http://192.168.255.1 in the URL address. Use default
Web UI username/password root/root to login the system.

P.4
3.
Change the default Username/Password in the 【System
Setting】【Account Setting】 to use other functions.
4.
Click 【System Setting】【Time Setting】, check if the UA
time is correct. If not, modify or set Time Synchronization.
5.
Click【System Setting】【Network Setting】【Network
Setting(LAN1)】to change the IP setting by user network.
6.
Save the IP setting, restore the PC original IP settings, and
type the UA new IP in the browser to login the Web UI of UA-
5200. And then configure user’s UA project.
 Loading...