

Page 1
G-Board
USB MIDI foot switch pedal controller
N16549
Page 2

Important Safety Instructions
1. Read these instructions.
2. Keep these instructions.
3. Heed all warnings.
4. Follow all instructions.
5. Do not use this apparatus near water.
6. Clean only with dry cloth.
7. Do not block any ventilation openings. Install in accordance with the manufacture’s
instructions.
8. Do not install near any heat sources such as radiators, heat registers, stoves, or other
apparatus (including amplifiers) that produce heat.
9. Only use attachments/accessories specified by the manufacturer.
Page 3

Contents
Introduction
What's in the package
1
Features
Front Panel Layout
Side Panel Layout
Getting Started
Connecting your G-Board controller
Installing iMap Software for Mac OSX
Installing iMap Software for Windows
Assigning MIDI functions with iMap
TM
iMap G-Board software panel
TM
TM
TM
Firmware upgrade
Restore the factory default settings
Daisy chain your G-Board to other i-series controllers
Specifications
2
2
3
3-4
4
5-6
7
7-8
9
10
10
11
Services
12
Page 4
Introduction
Thank you for purchasing the ICON G-Board USB MIDI controller. We sincerely trust this
product will provide years of satisfactory service, but if anything is not to your complete
satisfaction, we will endeavor to make things right.
In these pages, you'll find a detailed description of the features of the G-Board, as well as
a guided tour through its front and side panels, step-by-step instructions for its setup and
use, and full specifications.
You'll also find a warranty card enclosed---please don't forget to fill it out and mail it so
that you can receive online technical support at: www.icon-global.com. And so we can
send you updated information about these and other ICON products in the future. As
with most electronic devices, we strongly recommend you retain the original packaging.
In the unlikely event the product must be returned for servicing, the original packaging
(or reasonable equivalent) is required.
With proper care and adequate air circulation, your G-Board will operate without any
trouble for many years. We recommend that you record your serial number in the space
provided below for future reference.
Please write your serial number here for future reference:
Purchased at:
Date of purchase:
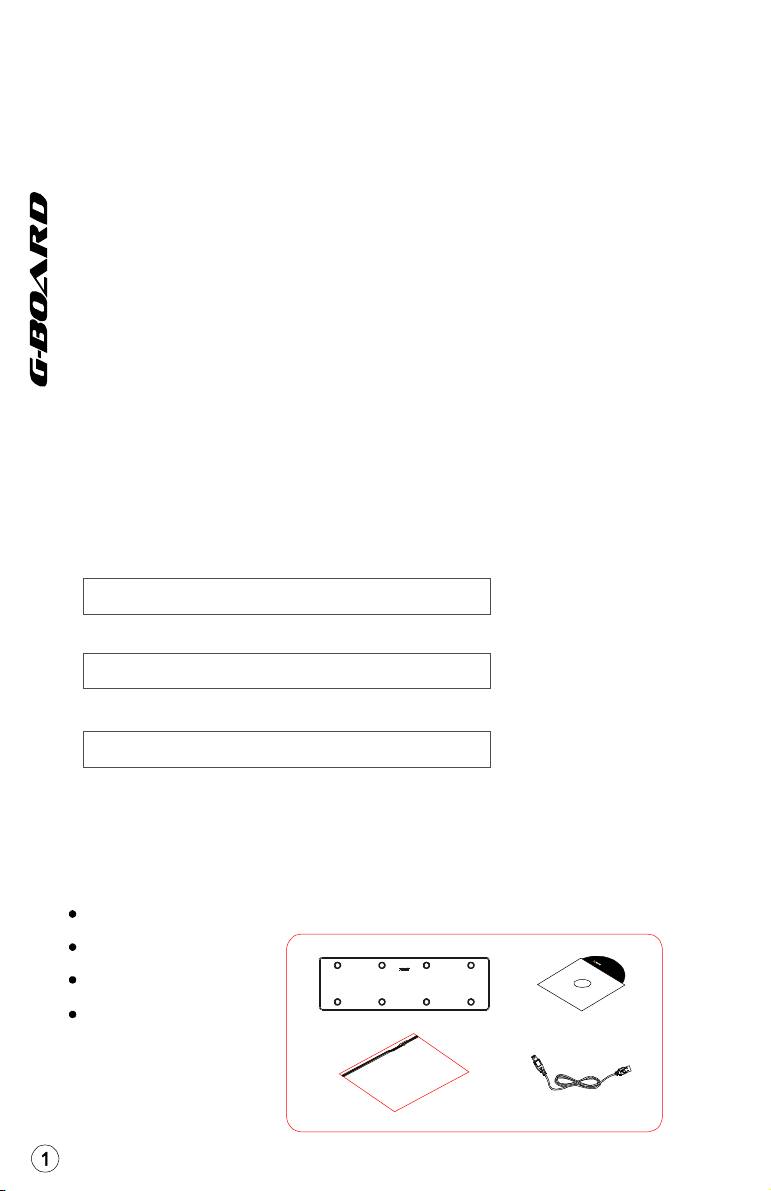
What's in the package?
G-Board USB MIDI controller x 1
Software CD x 1
Quick Start Guide
USB2.0 Cable
G-Board
Quick Start Guide
Software CDG-Board
USB2.0 Cable
Page 5
Features
8 robust metal click type foot switches
Ideal for guitarists
Extremely compact and perfectly match with MacBook
Class-compliant with Windows XP, Vista (32 bit / 64 bit), and Mac OS X
USB bus-powered
2xUSB Connectors for daisy chain with other i-series controller
Available in Black and White
Difference colors aluminum cover is available (optional)
Custom laser-engraving service for aluminum cover is available at
on-line purchase (optional)
TM
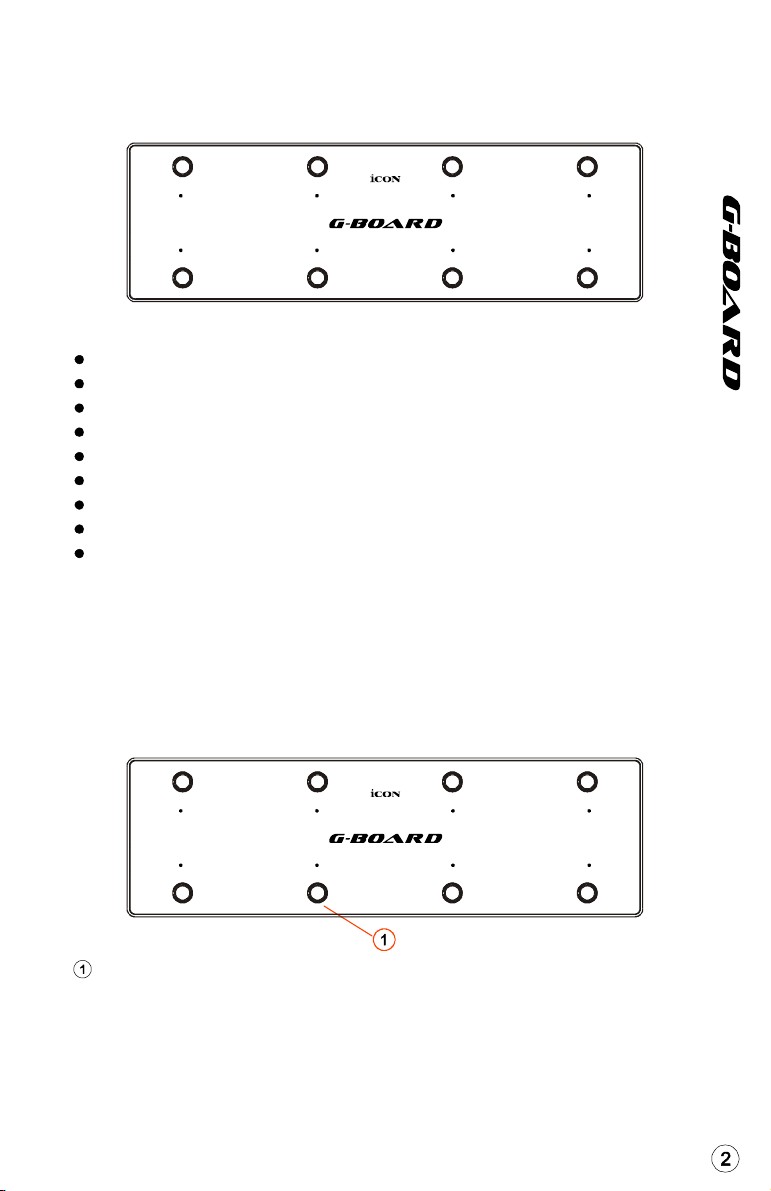
Front Panel Layout
8 foot switches
Assignable foot switches to control different functions of a DAW or
other application. The foot switches may be assigned using a midi
function or with the iMap software provided.
Page 6

Side Panel Layout
iconnet
USB port (B-Type)
Functions as a MIDI port to your notebook (or computer) and compatible
software. Also provides power to your G-Board.
USB port
Use to daisy chain with the second unit of G-Board or any i-series
controllers such as iPad
Note: For recommendations on the combination and daisy chain sequence of
different i-series controllers, please visit the ICON website at the following
link: www.icon-global.com
Getting Started
Connecting your controllerG-Board
Connect the to your Mac/PC via the USB port
Choose a USB port on your Mac/PC and insert the wide (flat) end of the
USB cable. Connect the cable's small jack end to the . Your Mac/PC
should automatically “detect” the new hardware and notify you that it is
ready to use.
a
G-Board
G-Board
iconnet
b
Diagram 1Diagram 2
Page 7

Assign the MIDI messages to G-Board
Refer to page.7 for “Assign the MIDI messages with “iMap” software.
TM
Installing iMap Software for MAC OSX
TM
Please follow the procedures below step-by-step to install your iMap
software to Mac OS X
Turn on your MAC.
Insert the Utility CD in your
CD-Rom and double click
“iSeries iMap” icon.
Diagram 1
iMap “Device select” window pop-up, click the device button
accordingly to launch the iMap software.
Tips: By “drag and drop” the “iseries iMap” icon into the “Applications”
folder, you could create a “ iMap” shortcut on your Mac's desktop.
TM
TM
Page 8

Installing iMap Software for Windows
TM
Please follow the procedures below step-by-step to install your iMap
software.
Turn on your PC.
Insert the Utility CD in your CD-Rom
After you have inserted the CD into
your CD-Rom, an installation screen
should appear as shown in diagram 1;
click "iMapinstallation".
(Note: If the installation screen not
appear automatically go to the CD
folder and double click on "Setup")
TM
Diagram 1
Setup Wizard appear
Setup wizard appears, please click
"Next"
TM
Choose Install Location
Choose your preferred install
location for iMap or use the
TM
default location and click "Next"
Create a shortcut on your desktop
Please untick the box if you do
not want to place a shortcut icon
on your desktop for iMap,
TM
otherwise click "Next"
Diagram 2
Diagram 3
Diagram 4
Page 9

Installing iMap Software for Windows
iMap started to install
The iMap installation has now
TM
TM
TM
started, wait for it to finish. Then
click "Finish"
Installation finished
Click "Finish" to complete the
TM
iMap software installation.
(continues)
Diagram 5
Diagram 6
Page 10

Assigning MIDI functions with iMap
TM
You can use iMap to easily assign the MIDI functions of your G-Board.
TM
iMap G-Board software panel
TM
Master/Slave selector
Select “Master” if you use it as a standalone device and select “Slave” if
you are cascading it as a salve unit with another ICON i-series controller.
Mode
Mackie Control & Preset
GTR
Abelton Live
Logic (Mackie Control)
Samplitude/Cube (Mackie Control)
Select your preferred mode.
User define
Select the preferred MIDI message type from the Note value, CC
number or Program change for assigning the foot switches.
CC Number
Note Value
Program Change
Assign the MIDI channel and CC number to the foot switches.
Assign the MIDI channel and Note value to the foot switches.
Assign the MIDI channel and program number to the foot switches.
Page 11

TM
iMap G-Board software panel
(continues)
“Save file” button
Click this button to save your current settings for the G-Board.
The file is an “.G_Board” file.
“Load file” button
Click this button to load a previously saved “.” setting file for
G_Board
your G-Board.
“Send Data” button
Click this button to upload the iMapsoftware settings to your
TM
G-Board via USB connection.
(Note: You must have connected your G-Board to your Mac/PC, otherwise
the settings upload will not be successful.)
“MIDI Devices” button
Click this button, a MIDI device select
iCON G-BOARD
window will appear as shown in diagram1.
Please select“ICON G-Board” for the MIDI
Out Devices.
Diagram 1
Firmware Upgrade button
“”
Click this button to enter into the firmware upgrade window for
G-Board. Please refer to P.9 for the firmware upgrade procedure.
Page 12

Firmware upgrade
Diagram 2Diagram 1
Step 1:
Connect the ICON product using a USB connection. Press the “MIDI
Device” button at the top to select your connected ICON product as the
“MIDI In and Out” device at the pull-down menu.
Note: If your connected ICON product model name does not appear on the
pull-down menu, select “USB Audio” as the MIDI In and Out device.
Step 2:
Step 3:
Click the “Update” button.
Press the “MIDI Device” button at the top to select your connected
ICON product as the “MIDI In and Out” device at the pull-down menu.
Step 4:
Step 5:
Click the “Open File” button to browse the new firmware file.
Click the “Upload” button to upload the firmware.
Warning:The firmware upload process “MUST” be completed and not be
interrupted during the file uploading, otherwise the firmware
may not be rewritten again.
Page 13

Restore the factory default settings
To restore your G-Board settings to factory default, simply import the
“Factory Default” setting file into your G-Board with the original
setting of the iMap software.
Daisy Chain with G-Board or any
i-series Controllers
You may daisy chain i-series controllers including G-Board. As i-series
controller is USB bus-powered the stability depends on the total power
demand of the chain. Please visit our website for recommendations on
daisy chain sequence for different i-series controllers.
Connect the first of the i-series controllers to your Mac/PC
via the USB port
Select a USB port on your Mac/PC and insert the wide (flat) end of
the USB cable and the other small end (B-type USB pack) to i-series
controller.
Connect the next of the i-series controllers
Insert the wide (flat) end of the USB cable to the first i-series
controller 's second USB port and the other small end (B-type
USB jack) to the second i-series controller's USB port
Note: Due to the limitation of power supply via USB port, your connected
devices chain might excess the power supply limit of the USB port and cause
malfunction. For recommendations on the combination and daisy chain
sequence of different i-Pro series controllers, please visit the ICON website
at the following link: www.icon-global.com
USB2.0 Cable
e1
e2 e3 e4 e5 e6 e7 e8 e9
Layer
-+
Controls
f1 f2 f3 f4 f5 f6 f7 f8 f9
1 2
3 4
Page 14

Specifications
Connector: To computer USB connector (mini B type)
Power supply: USB bus power
Current consumption: 100mA or less
Weight: 0.77kg (1.7lb)
Dimensions: 325(L) X 99(W) X 20(H)
12.78"(L) x 3.78"(W) x 0.75"(H)
Page 15

Services
If your G-Board needs servicing, follow these instructions.
1. Ensure the problem is not related to operation error or external
system devices.
2. Keep this owner's manual. We don't need it to repair the unit.
3. Pack the unit in its original packaging including end card and box.
This is very important. If you have lost the packaging, please make
sure you have packed the unit properly. ICON is not responsible
for any damage that occurs due to non-factory packing.
4. Ship to the ICON tech support center or the local return authorization.
U.S. OFFICE:
ICON Digital Corporation
8001 Terrace Ave., Suite 201
Middleton, WI, 53562 USA
ASIA OFFICE:
ICON (Asia) Corp.
Unit 807-810, 8/F., Sunley Centre,
No. 9 Wing Yin Street, Kwai Chung, NT.,
Hong Kong.
5. For additional update information please visit our website at:
www.icon-global.com
Page 16

www.icon-global.com
info@icon-global.com
GBD PD3V100-E
 Loading...