

ICON 51201 Installation Instructions Manual
PART # DESCRIPTION
7929 Lincoln Ave. Riverside, CA 92504
Phone: 951.689.ICON Fax: 951.689.1016
COMPONENTS INCLUDED
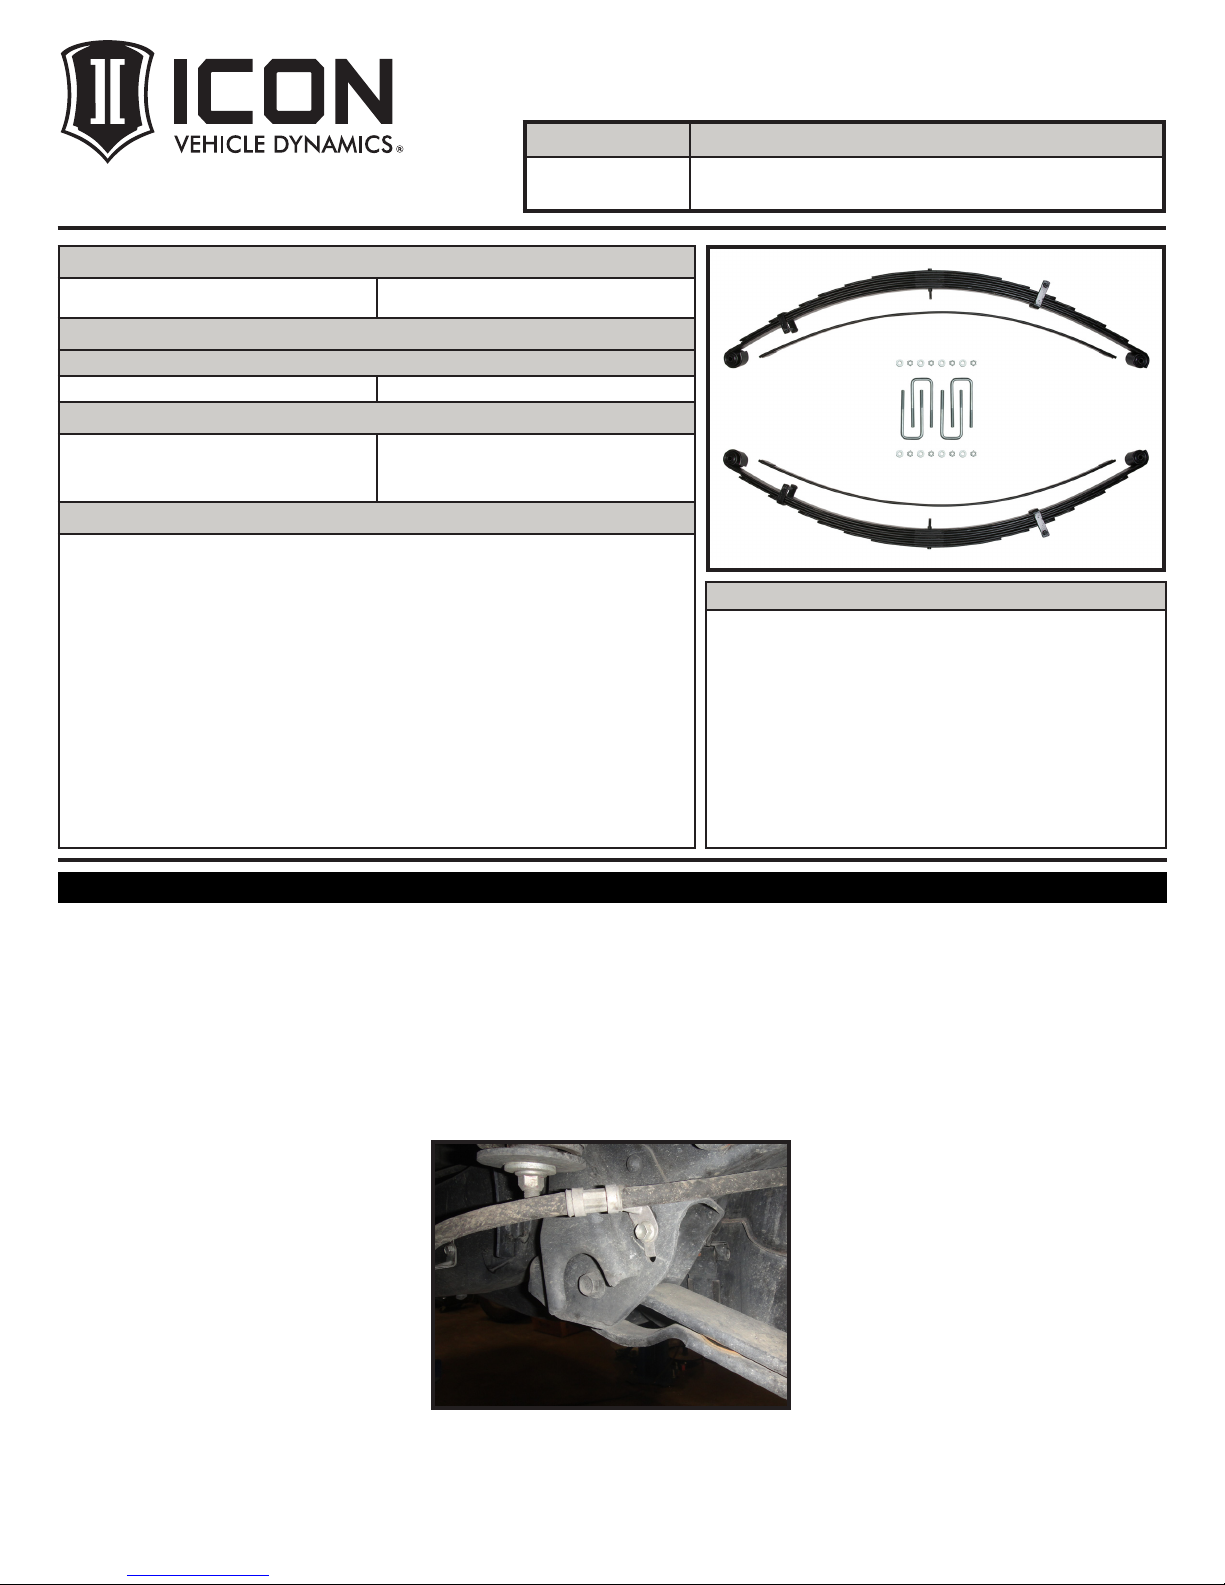
(2) 158509 07+ TUNDRA RXT LEAF PACK
(2) 158509 3RD ADDITIONAL LEAF
(1) 158509H 07+ TUNDRA RXT HARDWARE KIT
(1) 52000 7.5” TOYOTA U-BOLT KIT
HARDWARE INCLUDED
158509H HARDWARE KIT
(4) SPRING CLIP (2) GALVANIZED LINER
TOOLS REQUIRED
JACK
JACK STANDS
TORQUE WRENCH
9/16” SOCKET / WRENCH
7/8” SOCKET / WRENCH
12MM SOCKET / WRENCH
17MM SOCKET / WRENCH
19MM SOCKET / WRENCH
TECH NOTES
THE ICON RXT LEAF SPRING IS MODULAR, MEANING THAT YOU CAN CONFIGURE THE SPRING PACK
TO YOUR DESIRED SETTING FROM THESE AVAILABLE OPTIONS:
OPTION #1 - THE SPRING IS SHIPPED AT THIS SETTING (LIGHTEST SPRING RATE).
OPTION #2 - REPLACE THE 3RD SPRING (COUNTING FROM THE TOP DOWN) WITH THE ADDITIONAL
LEAF.
OPTION #3 - PLACE THE ADDITIONAL LEAF BETWEEN THE 2ND AND 3RD SPRING (COUNTING FROM
THE TOP DOWN). DO NOT REMOVE LEAF FROM SPRING PACK.
ICON’S MEASURED SPECS FROM THE TEST TRUCK (2016 4WD CREW CAB TUNDRA):
OPTION #1 - LIFT HEIGHT OVER STOCK: + 1.75” (UNLOADED)
(RECOMMENDED FOR CONSTANT LOAD UP TO 250LBS)
OPTION #2 - LIFT HEIGHT OVER STOCK + 3.00” (UNLOADED)
(RECOMMENDED FOR CONSTANT LOAD UP TO 500LBS)
OPTION #3 - LIFT HEIGHT OVER STOCK: + 4.00” (UNLOADED)
(RECOMMENDED FOR CONSTANT LOAD UP TO 750LBS)
51201
51201 INSTALLATION INSTRUCTIONS
11-27-2017 REV.A
07-UP TUNDRA MULTI-RATE RXT
LEAF SPRING KIT
WARNING!
** READ ALL INSTRUCTIONS THOROUGHLY FROM START TO FINISH
BEFORE BEGINNING INSTALLATION! IF THESE INSTRUCTIONS ARE
NOT PROPERLY FOLLOWED SEVERE FRAME, SUSPENSION AND TIRE
DAMAGE MAY RESULT TO THE VEHICLE!
** ICON VEHICLE DYNAMICS RECOMMENDS THAT YOU EXERCISE
EXTREME CAUTION WHEN WORKING UNDER A VEHICLE THAT IS
SUPPORTED WITH JACK STANDS.
** ICON VEHICLE DYNAMICS RECOMMENDS ALL INSTALLATION TO
BE PERFORMED BY A PROFESSIONAL SHOP/SERVICE TECHNICIAN.
PRODUCT FAILURE CAUSED BY IMPROPER INSTALLATION WILL NOT BE
COVERED UNDER ICON’S WARRANTY POLICY.
INSTALLATION
1. Using a properly rated jack, raise the rear of the vehicle and support the frame rails with jack stands. Ensure the jack stands are
secure and set properly before lowering the jack. NEVER WORK UNDER AN UNSUPPORTED VEHICLE. Remove the rear wheels.
2. Remove the lower shock bolt using (2) 19mm.
3. Disconnect the parking brake bracket from the axle using a 12mm.
4. Support the axle using the floor jack. Remove the U-bolts from one side of the truck using a 19mm.
5. Slowly lower the axle being careful to not overextend brake lines or ABS wires.
6. Remove the pivot bolt from the front frame mount using (2) 19mm. [FIGURE 1]
FIG.1
7. Remove the upper and lower nut from the spring shackle using a 19mm.
1

8. Remove the shackle plate from the nut side of the shackle. [FIGURE 2]
FIG.2
9. Remove the shackle from the inside of the frame rail. This may require removal of the spare tire.
10. Lift the factory spring out being careful to not damage brake lines, hoses, and ABS wires. Two people are recommended, as leaf
springs are very heavy.
If adjusting the RXT spring configuration:
A. Remove the front clip bolts and rear clip using a 9/16”.
B. Clamp the pack on both sides of the center pin.
C. Use locking pliers to hold the head of the center pin and remove the nut using a 9/16”.
D. Carefully release the clamps from the spring pack. Use caution, as the pack may still have tension upon release.
E. Remove the top two leafs from the spring pack.
F. Configure the spring pack as desired from the available options.
G. You can either replace the 3rd leaf with the additional leaf, or add the additional leaf between spring #2 and #3.
OPTION #1
(UNLOADED)
OPTION #2
(UNLOADED)
OPTION #3
(UNLOADED)
2
 Loading...