

Page 1
Manual
IMS-100
MP3-clock with LED-display
Thank you for purchasing our product. To use the player easily and correctly, please read
the following information particularly.
Note:
1.Please don’t use the player under over hot, cold, dusty, or wet environment.
2.lease don’t crash the player to avoid polishing the surface.
3.Please change the battery under the following situation:
A.The player become power-off, not able to be started.
4.Please connect DC as power supply when use AUX function.
5.Please cut the power and re-start the player if software becomes dead.
6.Don’t plug the USB connection when format the player, otherwise the software maybe
lost.
7.When power on,show clock time only,press “M” Button to select other function.
8.When insert USB or Micro SD card,device read directly.
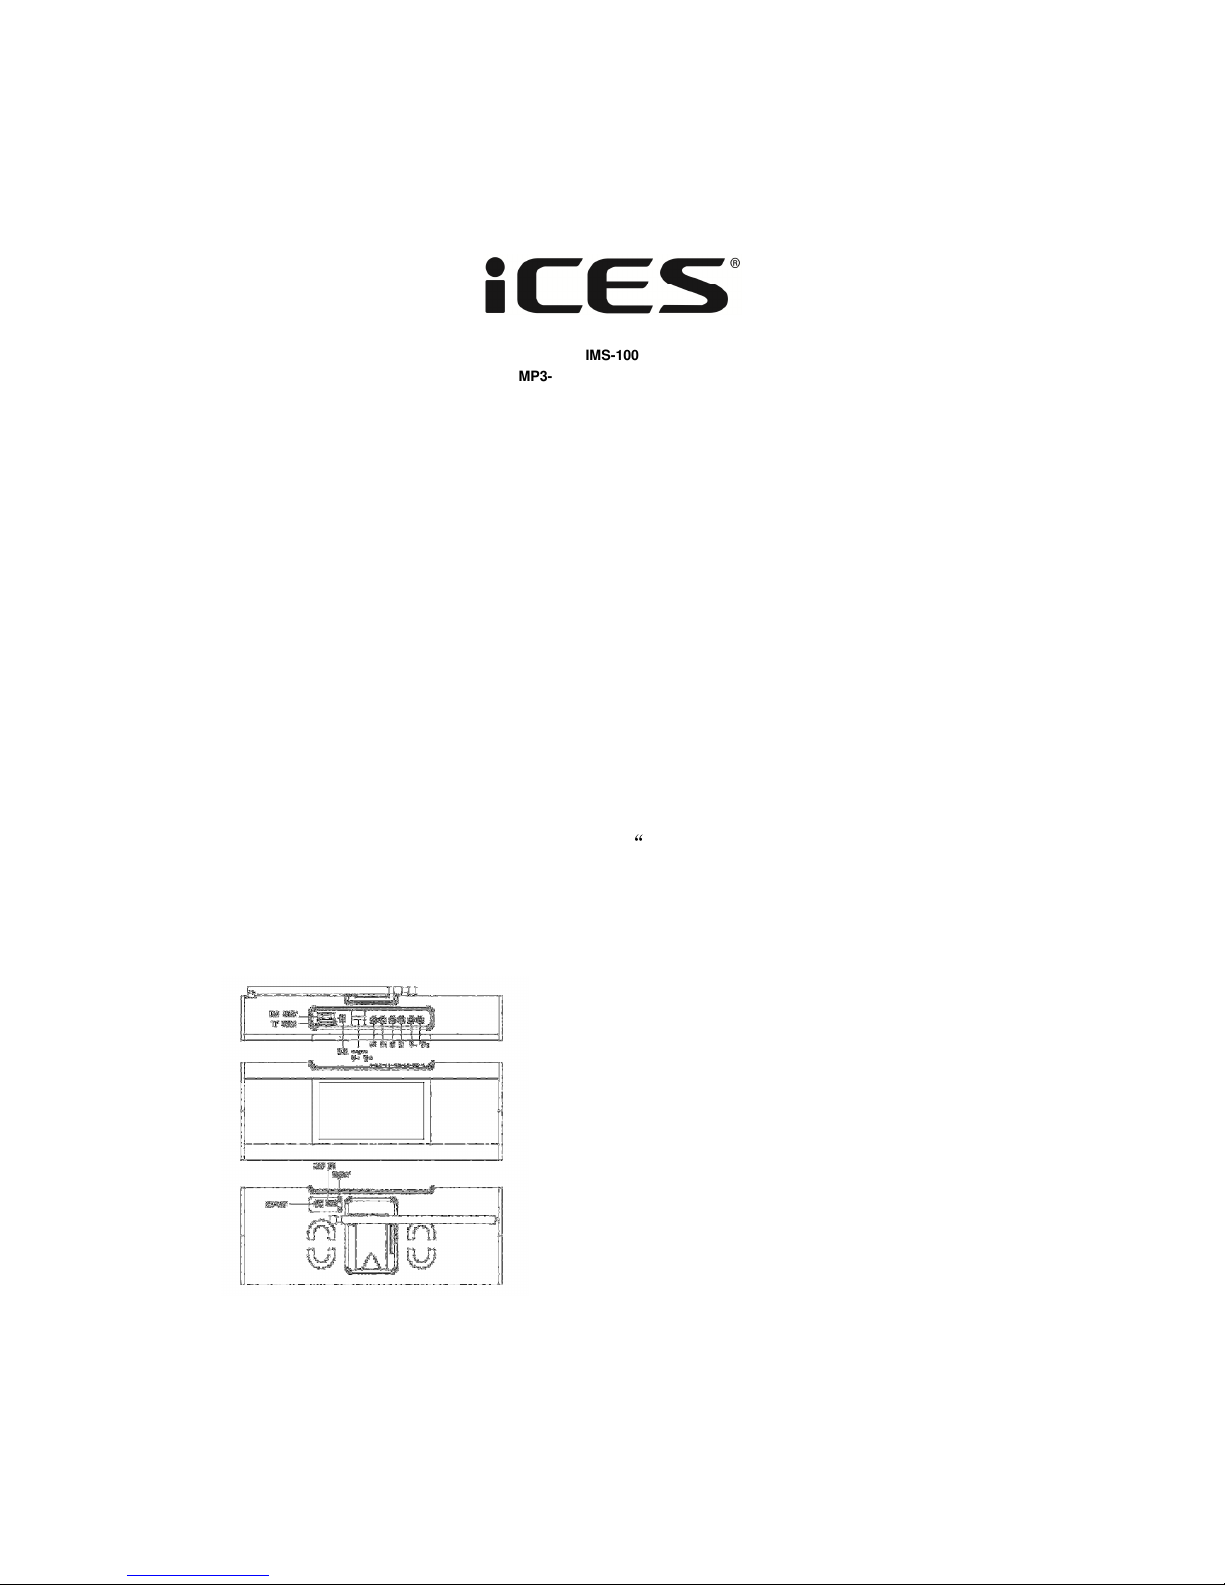
Keys
Function of Keys
1. “USB DC”. Power supply and USB connection to PC.
2. “LINE IN”. Line-in connection for external sound, like MP3, DVD, and Mobile phone.
3. “TF CARD”. Slot of TF CARD memory card.
4. “USB HOST”. USB host function, read data’s from USB disk, etc.
Page 2

5. “V-——V+” V- reduce the volume. V+, Increase the volume.
6. “PLAY/Pause”. Long press for POWER ON/OFF. Click for PLAY/PAUSE.
7. “MODE”. Select main functions, long press to enter or exit the time and alarm setting.
8. “Forward”. Click for previous subject; change 12/24H display; reduce the value;
deposited the channel of the FM setting; long press to search previous FM channel fast
and auto deposited the channel , and click to stop.
9. “Back”. Click for next subject, reduce the value; deposited the channel of the FM setting;
long press to search next FM channel fast and auto deposited the channel , and click to
stop.
Power Supply
1. USB 5V 3.0A
2. Built-in Lithium rechargeable battery.
Battery use
1. Battery re-charges: Connect the USB to the PC, or DC. Keep charging 8 hours.
2. If you don’t use the player for long time, please keep the power key as OFF. And please
re-charge the player every one or two months.
Power on/reset
“Reset” is only for device crashed when play music with Micro SD card ,USB or FM
Radio,for alarm,time,calendar reset,need turn off the device first then take the battery out
for lasting minimum 4 minutes,after reset time/alarm/calendar would be like below:
1. DC or reset to display normal time.
2. Time: AM 12:00
3. Alarm: AM 12:00
4. Calendar: 01/01
Player mode:
1. Normal Mode: When start player, the display shows the following:
Clock Setting: Long press MODE to adjust seconds, minutes, hours, day, month, year,
“Hour” setting display “Minute” setting display
”Years” setting display ”Month “setting display
Page 3
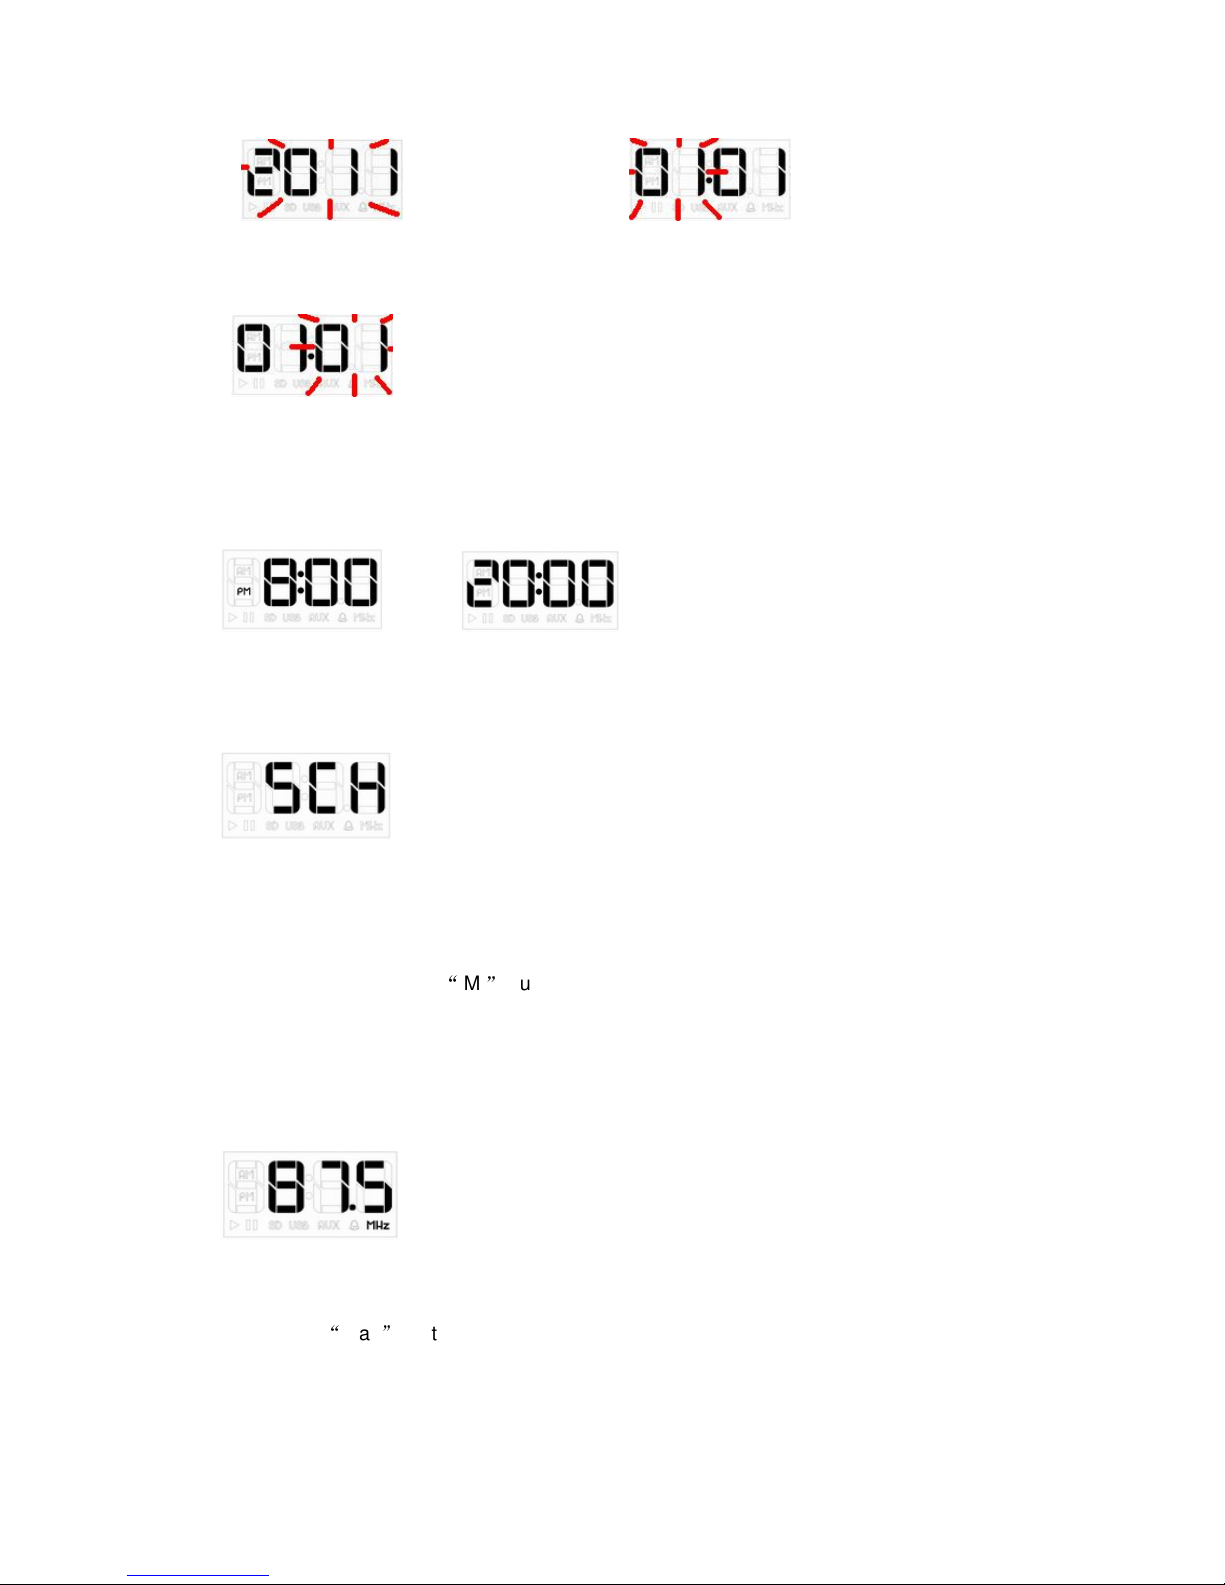
”Day” setting display
12/24 hour mode exchange: press Forward or Back keys in normal mode.
12-hour format display 24-hour format display
2. MP3 mode
Click MODE key to select MP3 mode, it will start after 2 seconds. Click Forward or Back
key to change which one do you want. Please insert TF card, or USB Disk.
3. FM mode
Manual preset and Auto-search radio are ok for this device.for manual preset by Short
press Forward key/Back key to receive radio station.Auto-search by long press
Forward key/back key to search and save channels automatically after receiving the
channel.long press “M”button as auto search and save station between
87.5-108Mhz.short press forward/back button search particular frequency,but cannot
save by particular frequency. Forty radio stations NO.1-NO.40 can be saved mostly.
3-1. Press MODE key to select FM mode.
3-2. Short press Forward/back key to receive radio station, long press to search the
channels.
3-3. Long press Forward/back key to save Radio channel automatically after receiving it.
3-4. Press “Play” button to select the radio station which you saved.
Page 4
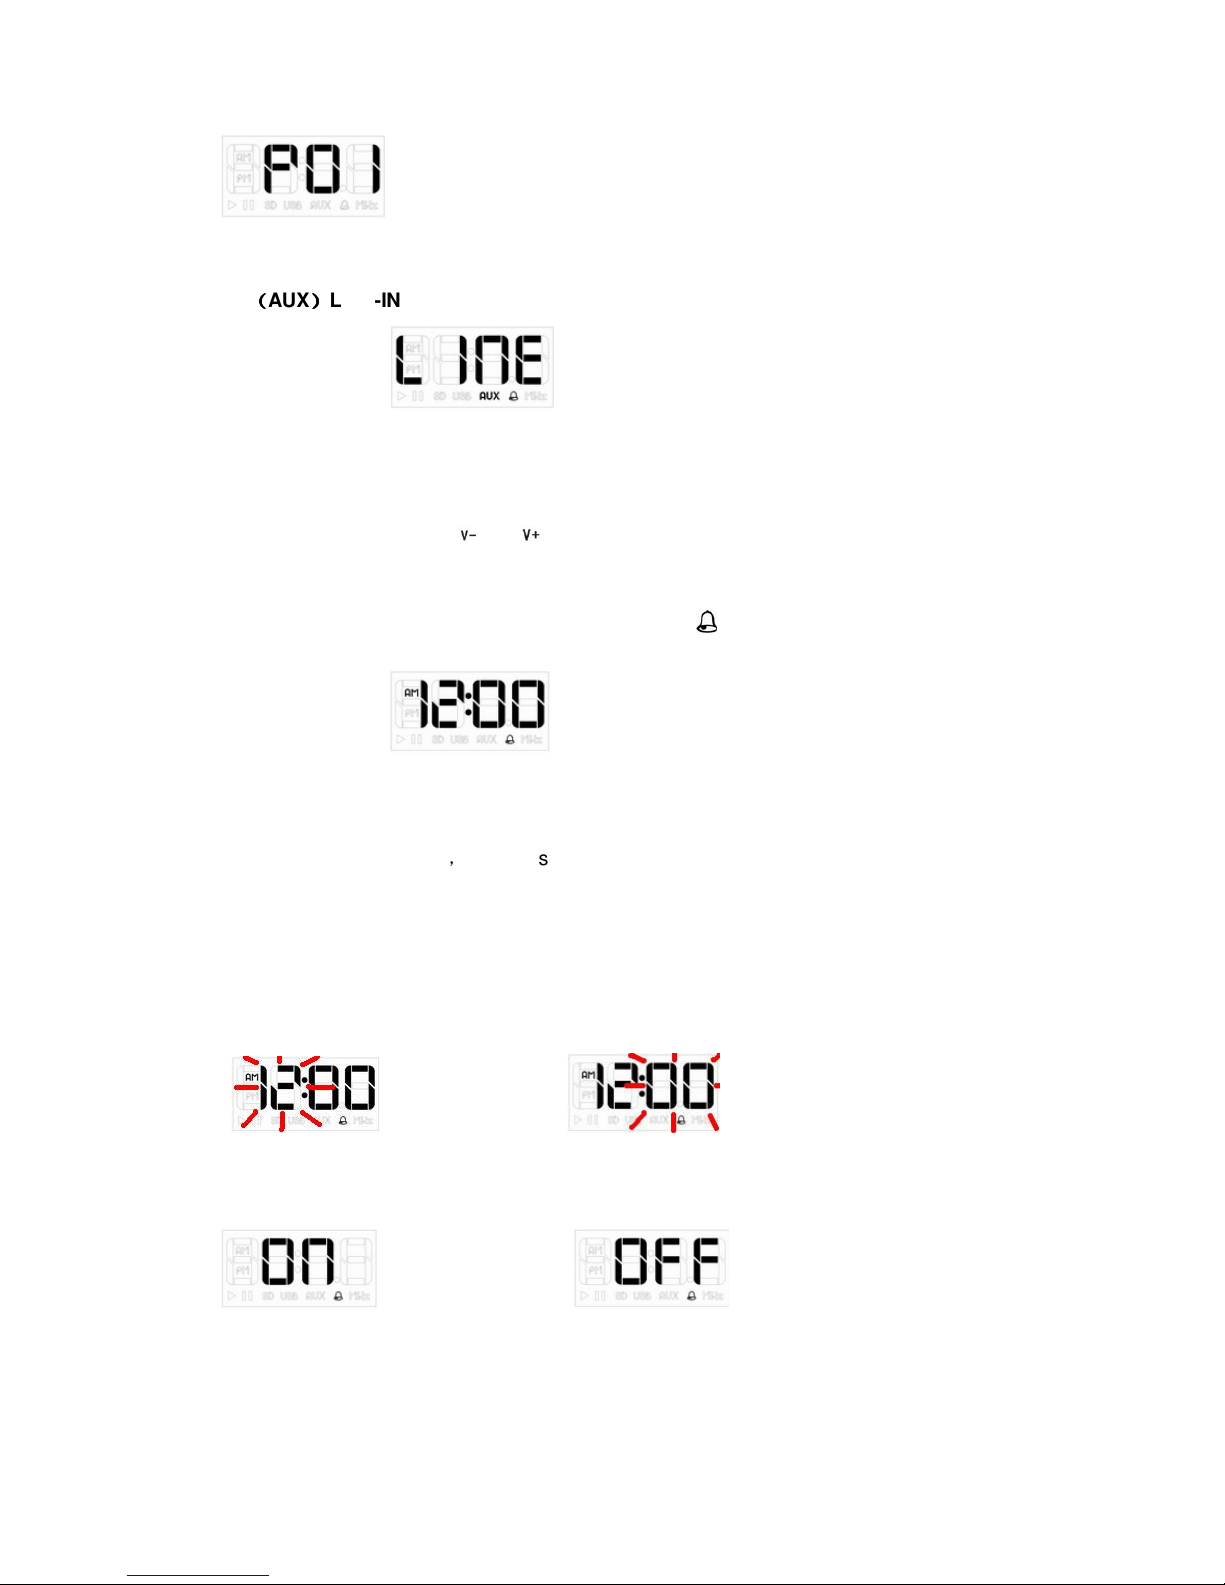
4.
((((
AUX
))))
LINE-IN Audio input
4-1. Connect the player with line-in cable onto MP3 player, DVD, computer, Mobile Phone,
etc will turn on the line-in mode.
4-2. Connect the player with line-out cable
4-3. Adjust the volume with and keys.
5. Alarm Mode
in the alarm mode, display alarm time and alarm icon “ ” .
5-1 Set the alarm time
In the alarm display mode,long press MODE key for 2 seconds into the alternative rings,
short press Forward or Back key to adjust .Click MODE key to turn to alarm ON/OFF
setting mode, click Forward or Back key to select alarm ON/OFF. It will auto back to the
alarm display mode if long press MODE key for 2 seconds or no operation for 10 seconds.
Setting alarm “Hour" display setting alarm” MINUTES" display
Alarm ON display Alarm OFF display
Press MODE key turn to select the order as shown in the following 4 figures:
Fig1.Alarm select “built-in ring tones” Fig2. Alarms select“Radio”
Page 5
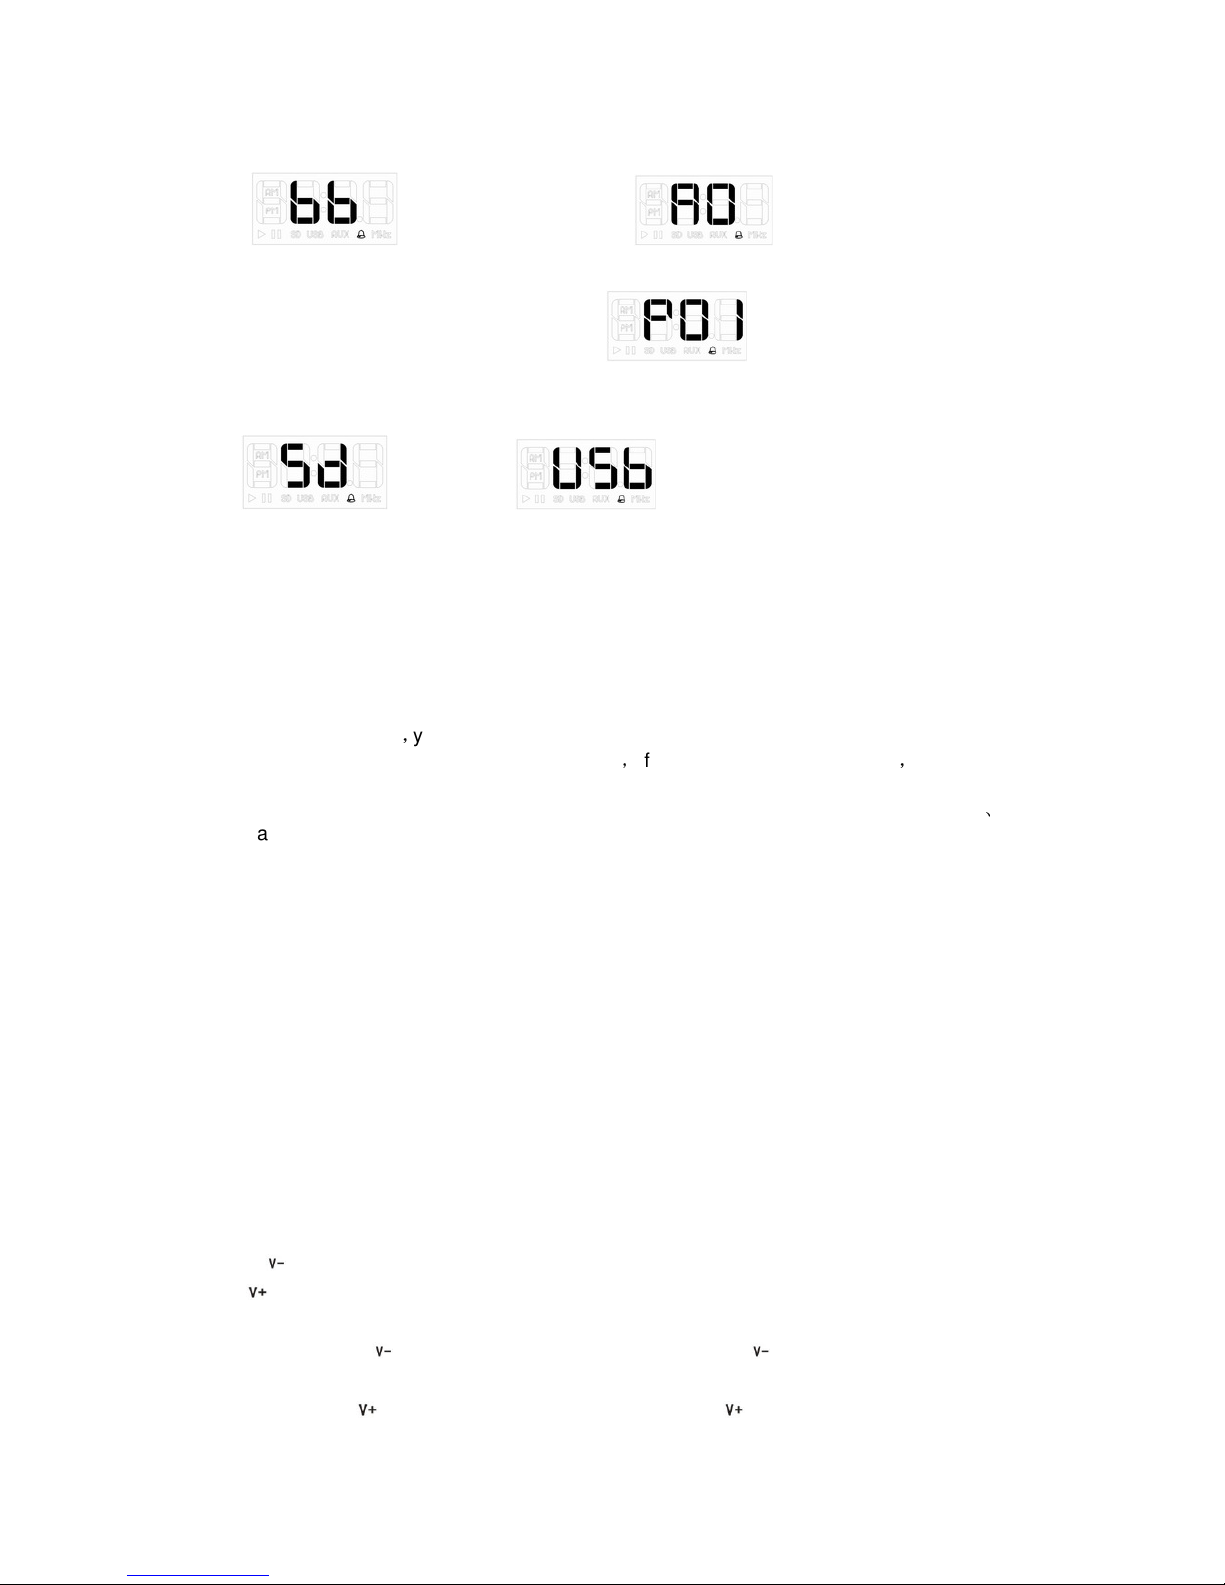
select the radio stations saved
Fig3. Alarms select “SD” Fig4. Alarms select “USB”
Note: Before you select “SD” or “USB” for the order, please make the directory of ALARM
( \ALARM\ )in the SD card , USB DISK and there is a MP3,WMA file in the directory of
ALARM .
6. Snooze mode
6-1.During the alarm,you can press Play/Pause key to stop ring for this time and enter the
alarm snooze mode. During the snooze alarm,if you do not press any button,it will stop
the alarm ring and snooze mode 1 minute later. If you press play/pause key to stop the
alarm within 1 minute ,snooze will repeat by every 5 minutes.(Only built-in ring tones
、
SD and USB have this feature).if you press any button except play/pause button when
alarm ring within 1 minutes then will exit snooze mode.
6-2. During snooze press button MODE key to switch to MP3 or radio mode, then
Play/Pause keys open the MP3 or directly enter the radio. While MP3 or radio turned on,
the Snooze function could normally alarm, press Play key to stop the alarm, enter snooze
mode.
6-3. Open the MP3 display MP3 mode, turning on the radio show radio mode.
6-4. To close the MP3, LINE IN or radio, press MODE key more than 2 seconds to turn off
them and return to calendar rolling to normal mode.
7.Adjusting the volume:
Including 1 hardware and 2 software volume control:
7-1. Turn left to lower volume.
Turn right to increase volume.
Note: This volume can adjust LINE-IN input volume.
7-2. Short press key to decrease the volume, long press to continuously decrease
the volume.
Short press
key to increase volume, long press to continuously increase the
Page 6
volume.
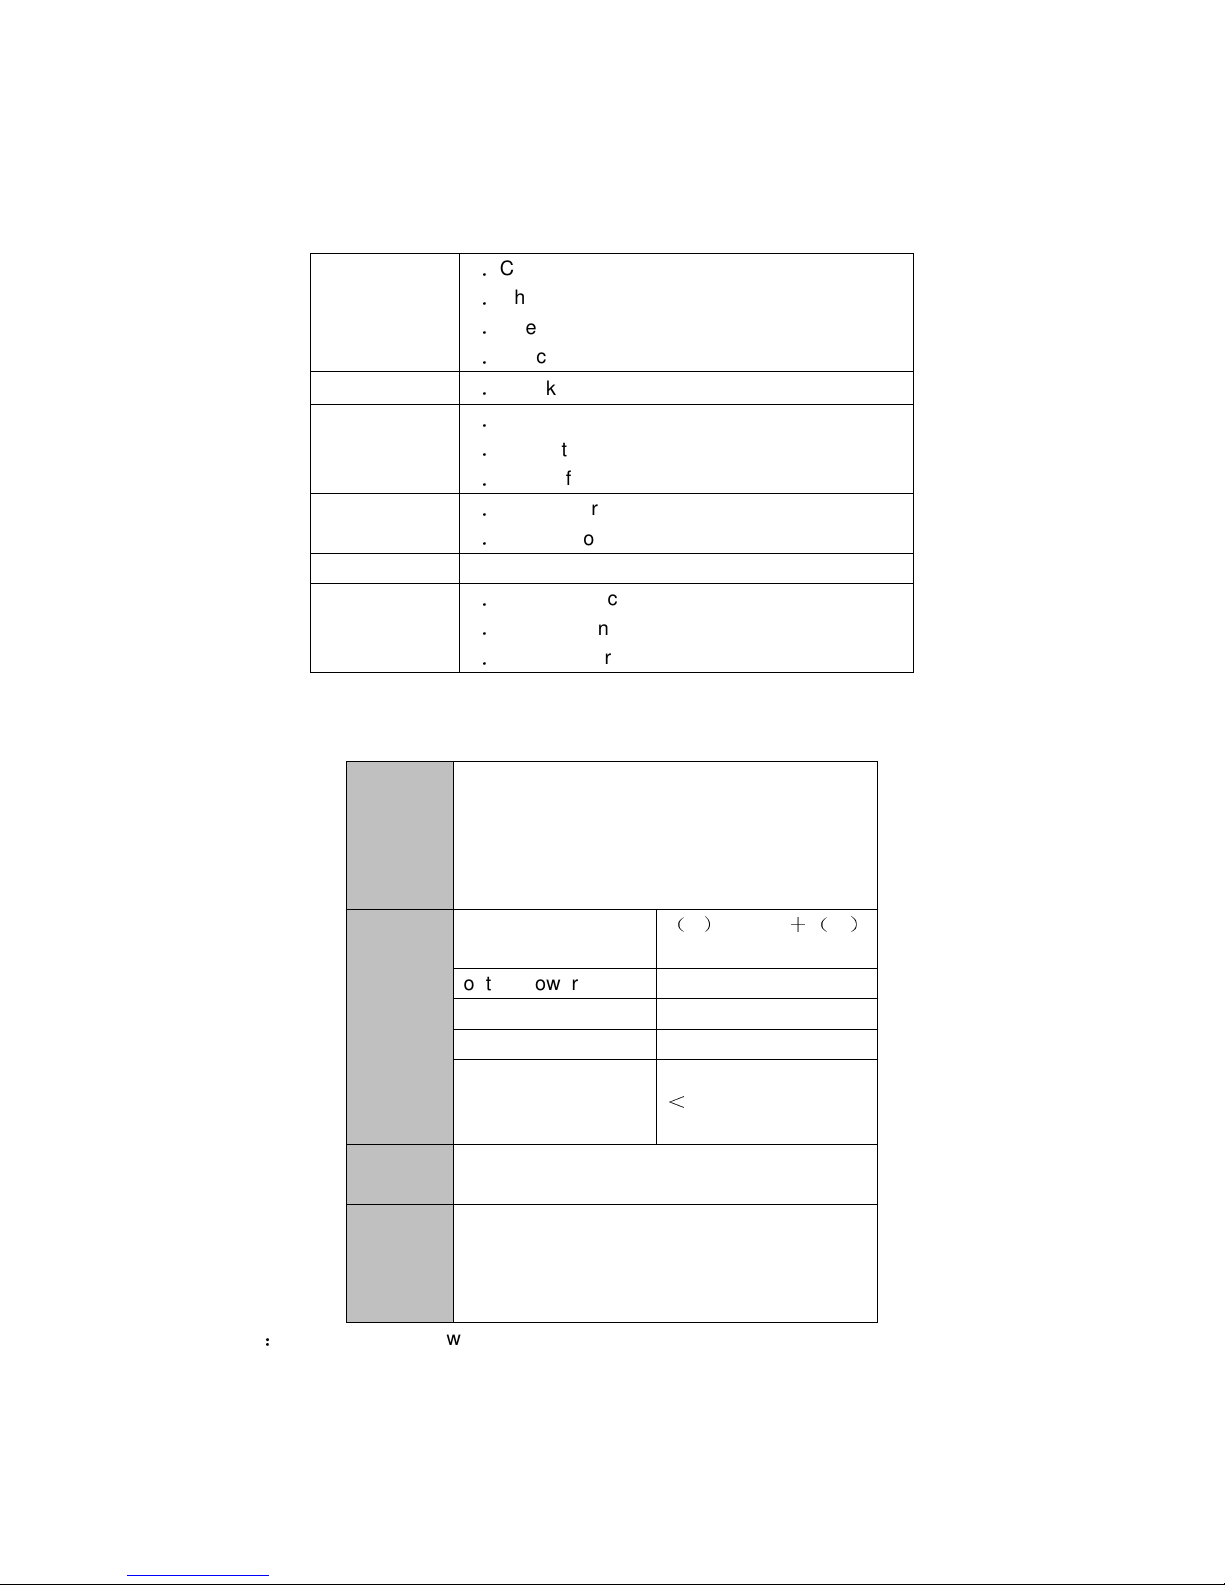
Trouble Shot
Not Open
1.Check if power switch is ON.
2.Check if power is full.
3.Check battery.
4.Check plug of DC5V.
Not re-charge
1.Check power supply plug.
No voice,
Or become
notice
1.Check volume is not 0.
2.Check the music file.
3.Check if low power
Signal sound
1.Low Power
2.Song’s problem
Wrong Display 1. Check OSD language.
Can’t
download
1.Check USB cable is good.
2.Check if connect to PC correctly.
3.Check if there is enough space of Memory
Technical specifications
Built-in
recharge
able
Li-ion
battery
Playing time: 3-5hours Note:According to
the volume
LINE-IN
LINE-OU
T
MP3
Maximum input
(L)
300mV
+(R)
300mV
output power 2x3W
MP3 bits 8K bps – 320K bps
Signal to Noise Ratio 70dB
Rate of distortion
<
0.55%
music
format
MP3
Operatin
g
temperat
ure
-5 to 40 degrees
Note:this device cannot work as a portable hard disk.
Page 7
Service and support
For information: http://www.ices-electronics.com/
For support: http://icessupport.zendesk.com
ICES helpdesk:
Germany 0900-1520530 (Local charges)
The Netherlands 0900-23553626 (Local charges + 1ct P/min)
Belgium 02-6200115 (Local charges)
France 0170480005 (Local charges)
The helpdesk is accessible from Monday to Friday from 9 AM till 6 PM.
In case your device needs repair, our helpdesk will redirect you to your local dealer.
ICES offers service and warranty in accordance to European law, which means that in
case of repair (both during and after the warranty period), you should contact your local
dealer.
Please note: It is not possible to send products directly to ICES for repair.
Important note: If this unit will be opened, or accessed in any way by a non-official
service center, the warranty expires immediately.
This symbol indicates that the relevant electrical product or battery should
not be disposed of as general household waste in Europe. To ensure the
correct waste treatment of the product and battery, please dispose them in
accordance to any applicable local laws of requirement for disposal of
electrical equipment or batteries. In so doing, you will help to conserve
natural resources and improve standards of environmental protection in
treatment and disposal of electrical waste (Waste Electrical and Electronic Equipment
Directive).
Products with the CE marking comply with the EMC Directive (2004/108/EC)
and the Low Voltage Directive (2006/95/EC) issued by the Commission of
the European Community.
The declaration of conformity may be consulted at
http://www.stl.nl/supportfiles/ices/CE/vt68gc4gvdad.pdf
®All rights reserved
 Loading...