

Page 1
1
TRICE X2 ASSEMBLY MANUAL
This is NOT the final manual by any means but might help you figure out what all the
bits are for. Please refer to the Standard Trice Manual for general things like gear
adjustment and wheel fitting.
PLEASE READ THIS BEFORE YOU START:
Put all the main frame parts together but just nip up the main bolts.
Put the rear seat on and set the seat angle to roughly what you think looks and feels
about right.
Set the rear seat to pedal distance by sitting on and then sliding the rear section in or
out. (Give the whole section a wriggle up and down with the bolts loose, make sure the
front seat mount post is loose as well because this has to move up or down at the same
time).
Now set the front seat angle about right and the front boom length.
Once you are fairly happy with these settings, check the machine for alignment (stand
well back and look down through the length), then tighten up the frame clamping bolts.
Next, put the chains on and punch them to length. Split the chains at the special power
link (you will find a couple of them in each chain), punch out the section you don't need
and join them back together with the power link.
The front chain tension is adjusted by sliding the clamp on pulley assembly up or down
the front seat post. It does need to be adjusted reasonably tight with the spring loaded
arm just there to take up any slack generated whilst pedalling.
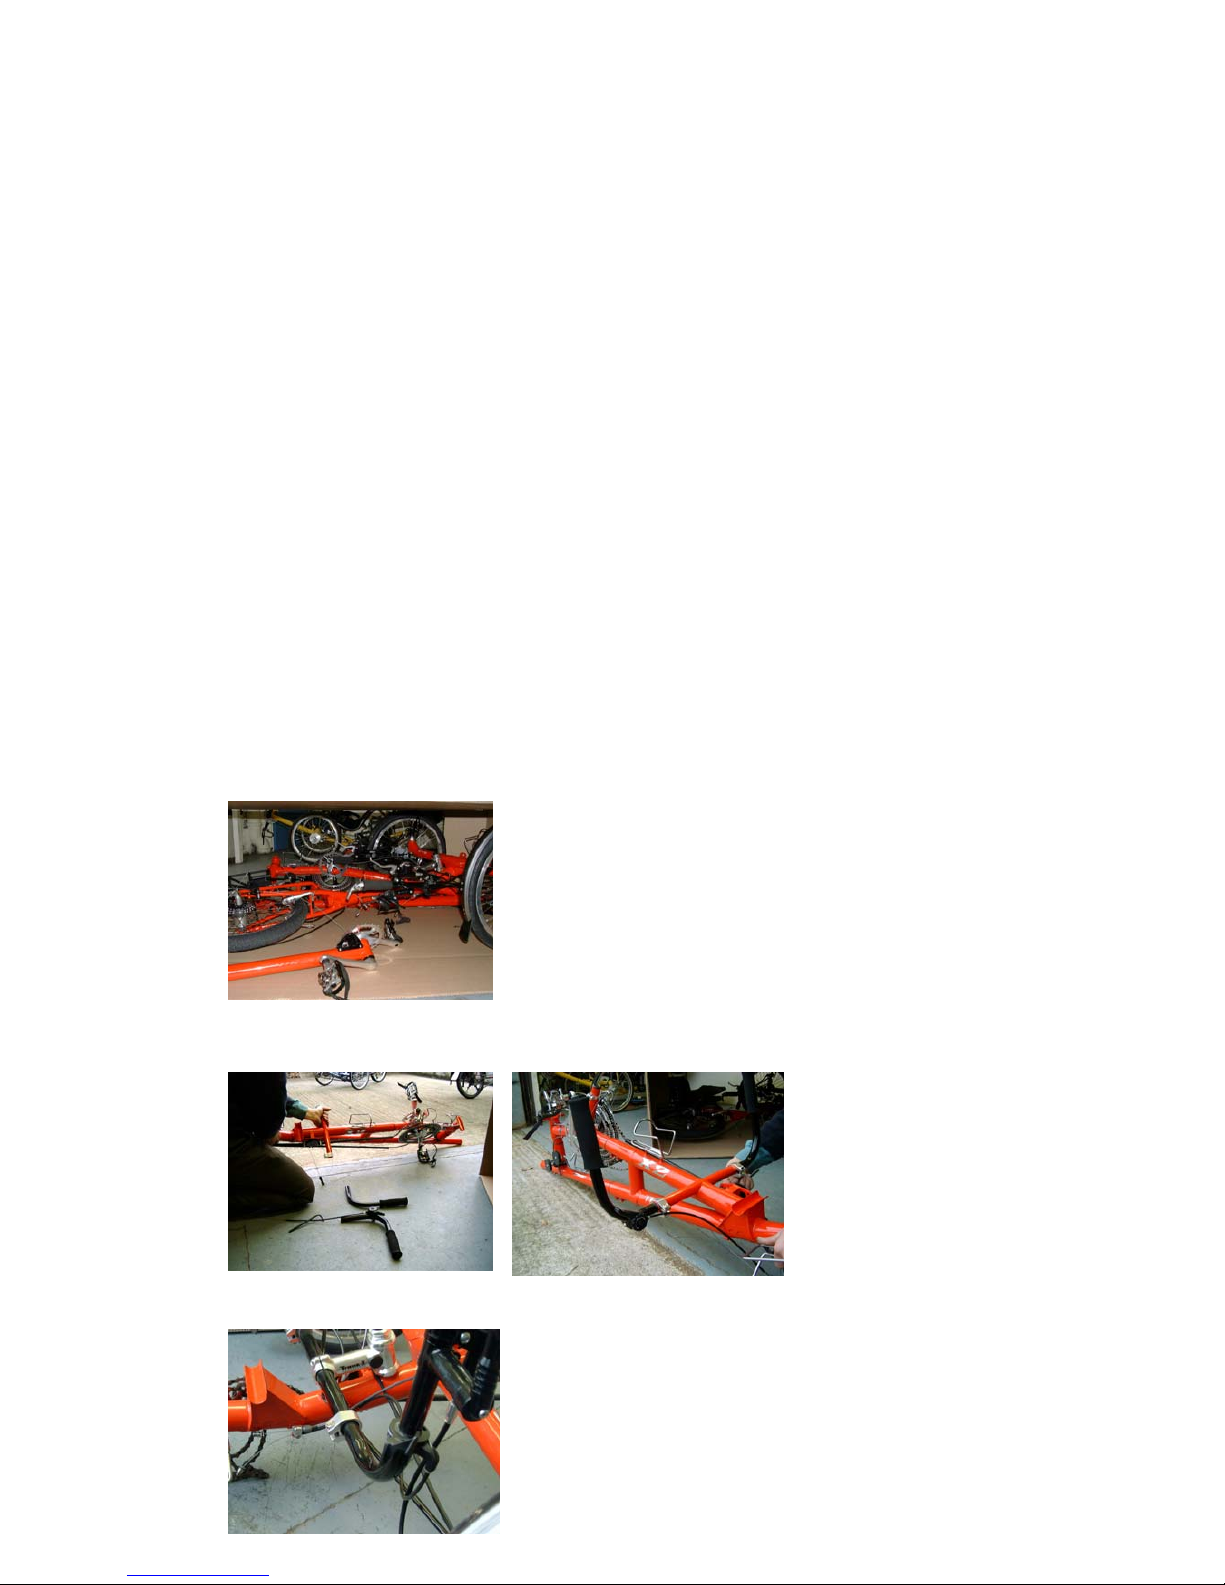
1. Take all the bits out of the box
2. Put the rear handle bars on, parking brake lever goes on the left
3. Set the front handle bars upright, note the position of the alloy clamps.
Page 2
2
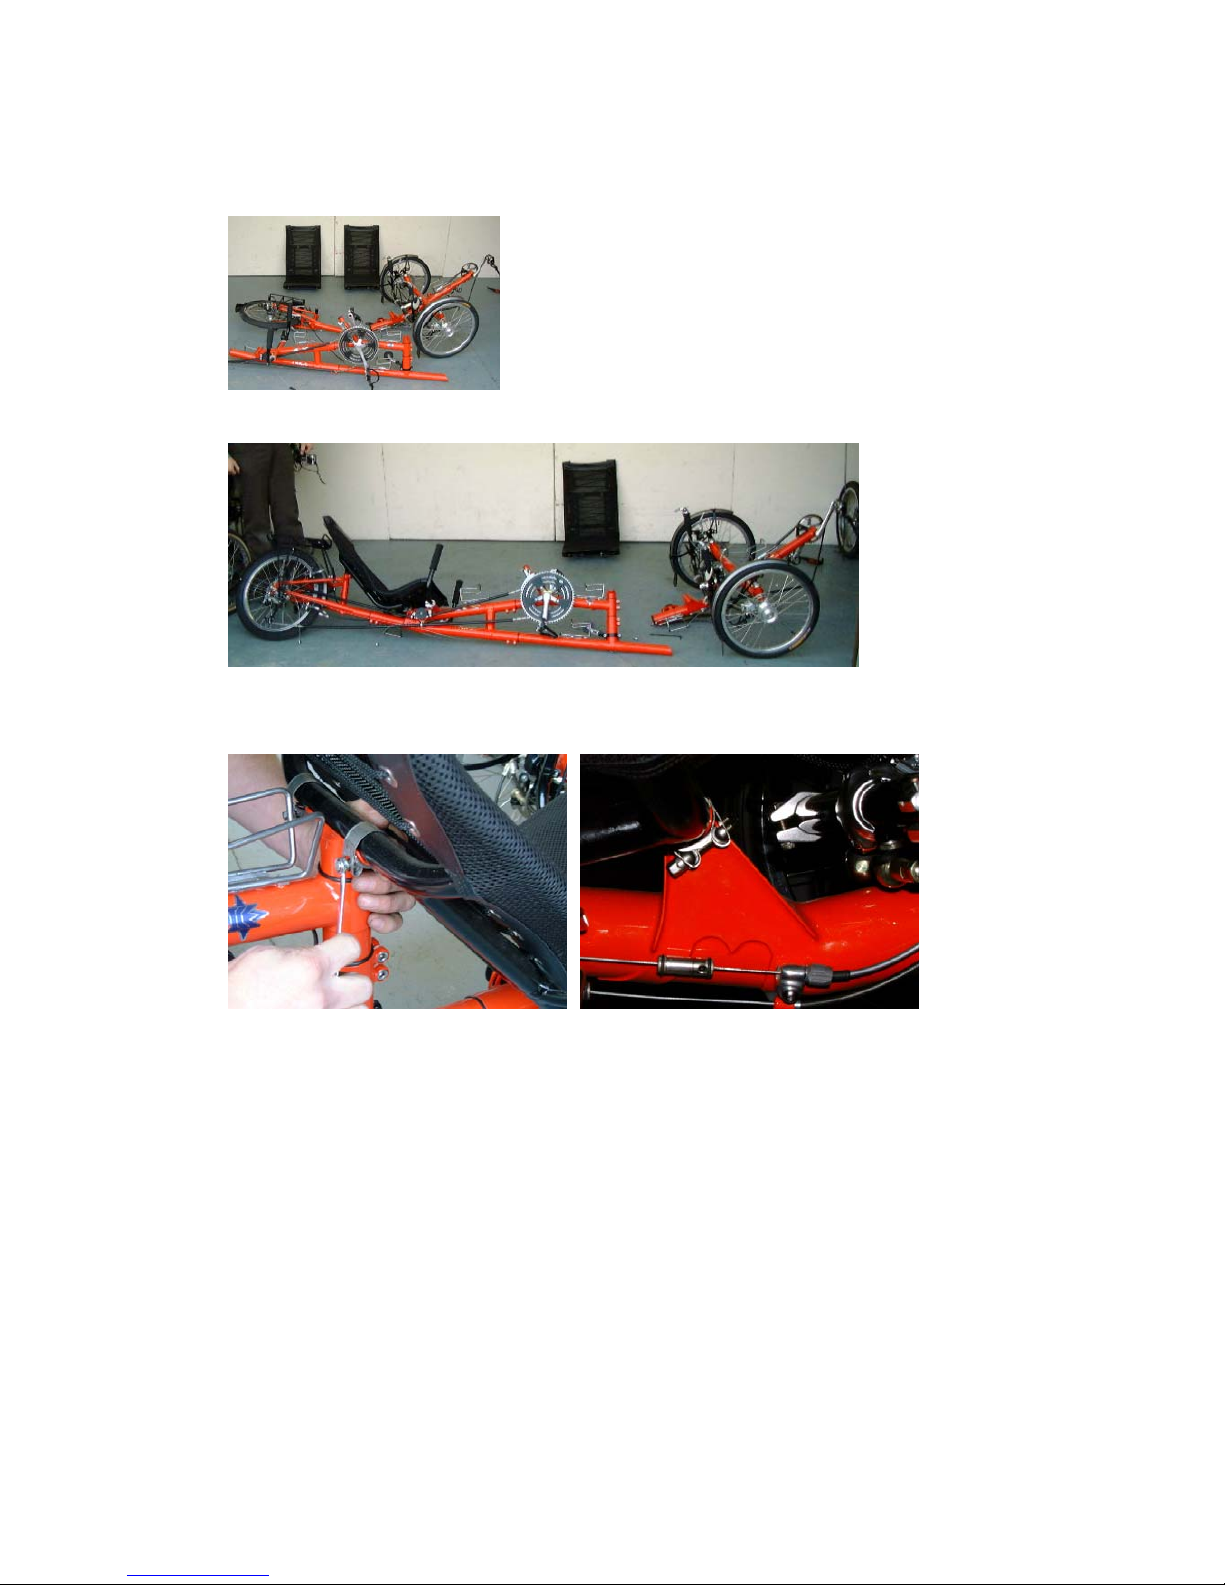
4. Slide the front boom in. You now have all the main bits ready to go together. You
might split it like this for transport inside a car.
5. Slide the rear triangle in and put the rear seat on. Connect up the rear chain.
6. Slide the rear section into the front section and put the front seat on. Note the
position of the top seat clamps. This is a good split point for transporting in a van.
Page 3

3
7. Put the front chain on and adjust the tension. Note the chain line.
8. Connect the cables to the rear triangle.
9. Connect the 3 x 9 cable. Make sure it goes behind the rack legs.
Page 4

4
10. Set the pedals to 90deg to one another.
11. Make sure everything is tight and go for a ride.
 Loading...