

Page 1
Quick Installation Guide
®
N2125 SAS/SATA HBA for IBM System x
Thank you for purchasing the
N2125 SAS/SATA HBA for IBM®
System x®. Please take a few
minutes to read this quick
installation guide before you
install the HBA.
For more information about any
topic covered in this guide, refer
to the N2125 SAS/SATA HBA for
IBM System x Hardware User’s
Guide.
To install the HBA, follow these steps:
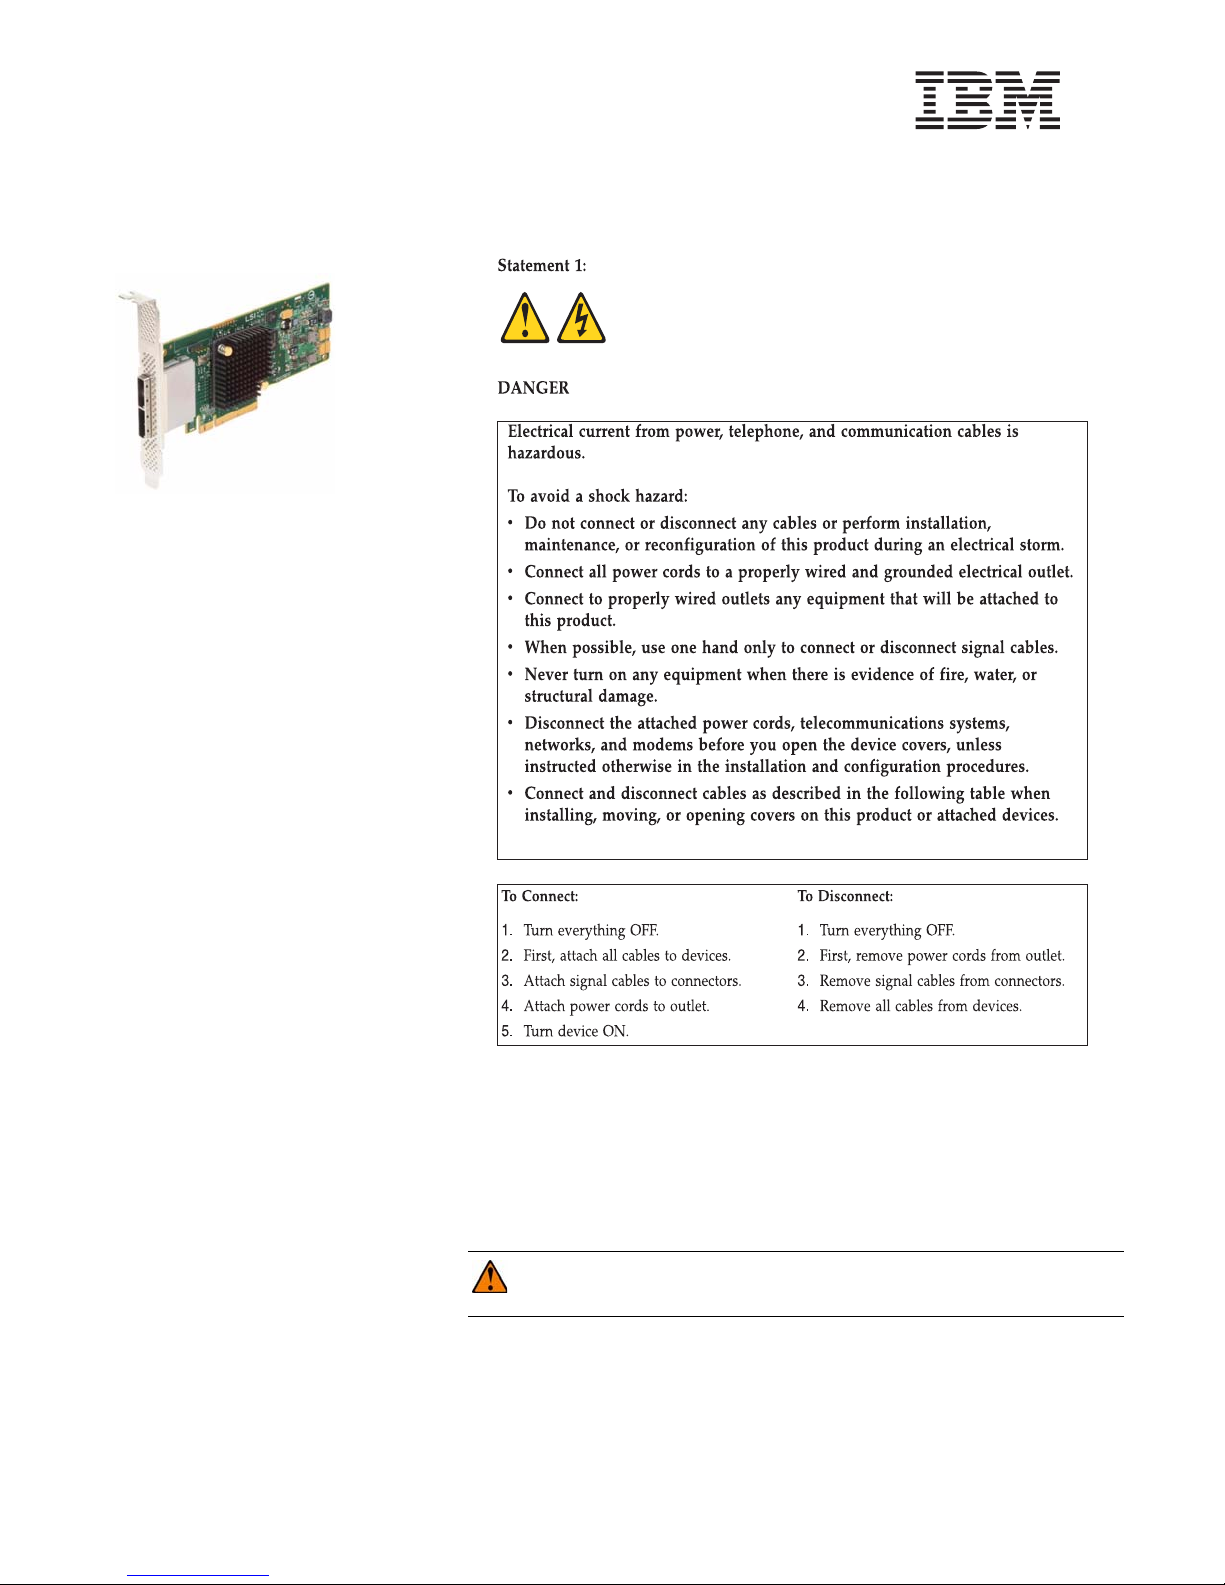
1. Unpack the HBA, and inspect it for damage.
environment. Touch the static-protective package that contains the HBA to any
unpainted surface on the outside of the server; then, grasp the HBA by the top
edge or upper corners, remove it from the package, and inspect it for damage.
Contact your IBM marketing representative or authorized reseller if the HBA
appears to be damaged.
ATTENTION: Make a backup of your data before changing your system
configuration to avoid the risk of data loss.
Unpack the HBA in a static-free
2. Prepare the server. Turn off the server, and remove the power cord from the rear of the
power supply.
3. Remove the cover from the chassis.
4. Replace the HBA mounting bracket (system dependent). If required for your system,
replace the full-height mounting bracket that ships on the HBA with the low-profile bracket
supplied. Save and reuse the two screws that attach the long bracket to attach the short
bracket.
Page 2

®
5. Insert the HBA in an available PCIe slot. Locate an empty x8 PCIe slot and remove the
%DGEOF(OST"OARD
-INI3!3
#ONNECTORS
0#)%XPRESS
X3LOT
"RACKET
3CREW
0RESS(ERE
0RESS
(ERE
"IT3LOT
"IT3LOT
4O$RIVE%NCLOSURE
expansion-slot cover for the selected PCIe slot. Save the bracket screw, if applicable. Align
the HBA with the PCIe slot and press down gently, but firmly, to correctly seat the HBA in the
slot. The following figure shows how to insert the HBA in a PCIe slot.
NOTE: The shape, size, and locations of the components on your HBA and its bracket
might vary from this illustration. The HBA requires a x8 PCIe slot.
TECHNICAL SUPPORT
For assistance installing, configuring, or
using the HBA, go to http://www.ibm.com/
supportportal/
6. Secure the HBA bracket to the system chassis. Install the bracket screw, if applicable, or
7. Connect serial cables between the HBA and any serial hard disk drives (HDDs) or
8. Replace the cover and any power cords, and power up the system. Replace the system
First Edition March 2013
IBM, the IBM logo, ibm.com, and System x are trademarks of International Business Machines Corp., registered in many jurisdictions worldwide.
Printed in USA
© Copyright IBM Corporation 201 3.
US Government Users Restricted Rights – Use, duplication or disclosure restricted by GSA ADP Schedule Contract with IBM Corp.
IBM P/N: 00D2417
engage the system retention mechanism to secure the HBA to the system chassis.
external enclosures. The N2125 SAS/SATA HBA for IBM System x has two external x4 miniSAS connectors. For external connections, use a cable with an external mini-SAS connector
(SFF-8088) on one end (to connect to the HBA) and the appropriate connector to attach to
the SAS or SATA devices on the other end. The previous figure shows the connector
locations on the HBA.
cover, reconnect any power cords, and reconnect any network cables. Turn on the power.
 Loading...