

iBall iB-DHM4414P, iB-DHM8841P User Manual
DVR User Manual
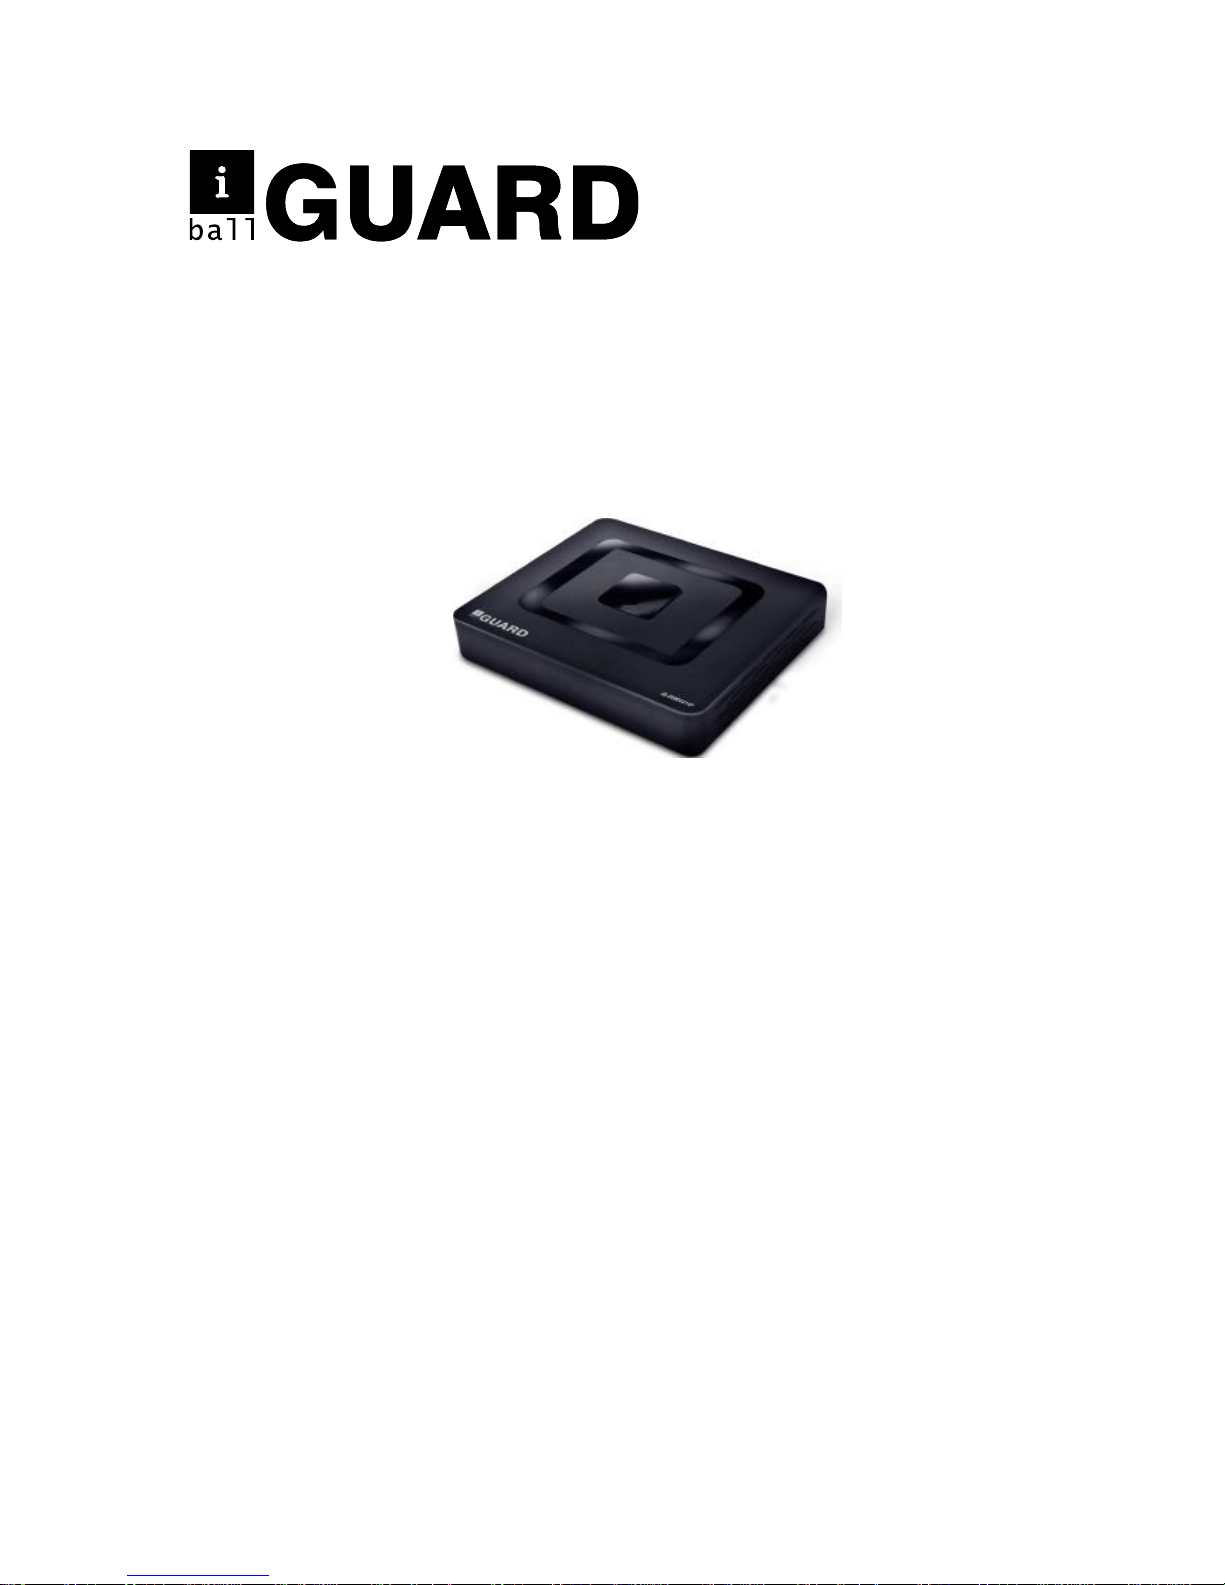
4-CH Full D1 Hybrid Mini DVR
iB-DHM4414P
8-CH Full D1 Hybrid Mini DVR
iB-DHM8841P
Ver.: 1.0.0

Introduction
Thank you for purchasing iBall Guard DVR.
This manual applies for 2 different DVR models, Kindly check the
product name/model no. of the DVR as you have purchased to refer
the actual product specification.
It will help to refer for installations & configuring your DVR.
Before installing this products please refer the manual carefully and
retain it for future reference.
Safety Warnings
Do not place heavy objects on DVR
Do not let any solid or liquid fall into DVR
Do not install DVR in damp environment
Do not dissemble or repair DVR by yourself.
Please install DVR in ventilated place

Package Contents
The following contents should be found in your package:
1- DVR
1- Power Adapter
1 - User Guide
1- Resource CD, which includes this Software utility
Note:
Make sure that the package contains the above items. If any of the
listed items are damaged or missing, please contact the partner from
whom you have purchased.

4-CH Full D1 Hybrid Mini DVR
Model No.:IB-DHM4414P
Product Features:
H.264 Video Compression Technology with Dual Streaming
4-CH Full D1 Resolution Real-time Recording
1 x 4TB SATA HDD support
4 Audio Input & 1 Audio output
DVR Compatibility:-
DVR :- Analog + AHDL Camera
HVR :- Analog + AHDL + IP Camera
NVR :- IP Camera
Multiplex Operation: Live, Record, Playback, Backup& Remote Access
iBall Cloud Technology - Easy management over Internet
PTZ,Email, Video Blind, Motion Detection, Video Loss & Zoom
Backup & Storage: USB Flash, Portable HDD & Network Backup
Central Management Software
Mobile Surveillance: Android/Symbian/iPhone/Blackberry/Windows

8-CH Full D1 Hybrid Mini DVR
Model No.:iB-DHM8841P
Product Features:
H.264 Video Compression Technology with Dual Streaming
8-CH Full D1 Resolution Real-time Recording
1 x 4TB SATA HDD support
4 Audio Inputs & 1 Output
DVR Compatibility:-
DVR :- Analog + AHDL Camera
HVR :- Analog + AHDL + IP Camera
NVR :- IP Camera
1-HDMI Port for HD display output
Multiplex Operation: Live, Record, Playback, Backup, Remote Access
iBall Cloud Technology - Easy management over Internet
PTZ, Email, Video Blind, Motion Detection, Video Loss & Zoom
Backup & Storage: USB Flash, Portable HDD & Network Backup
Central Management Software
Mobile Surveillance: Android/Symbian/iPhone/Blackberry/Windows

Hardware Installation Steps:
Hard Disk Installation:
For the first use,please install the hard disk in the DVR before switch
on the power.
Note: DVR can run and monitor normally without hard disk, while it
can’t record and playback.
USB Connection:
You can connect USB mouse, Flash disk, Portable HDD or DVR-RW
on the USB port as available on Front or Back side of DVR.
Power ON:
Plug the power supply and turn on the power supply switch.
Power LED shining indicates DVR is turning ON & booting the OS.
After finishing the startup you will hear a beep, and indicates as
default setting of DVR is ready to connect for further operation.
Note: Incase of abnormal power off, Switch ON the power as DVR
will automatically recover the state before power off.
Power OFF:
To turn off the DVR press the Soft switch as available in menu i.e.:
Entering [Main menu] and Click [Logout] in the [turn off the system]

Port Details
Name
Description
Video input
Standard BNC port, Connected with the Camera.
Video output
Connected with the video input of the monitor.
VGA
Video signal output port, connected to VGA port
of a computer monitor.
BNC
BNC video signal output connected to TV
HDMI
Video signal output port, connected to HDMI port of a
TV, Computer monitor.
Audio output
Connected to earphone or cable speaker.
Audio input port
Connected audio input device.
"RS485"(AB)
External alarm
port
Connected to PTZ or decoder, and can Control PTZ
via the panel, mouse, remote control and network
Connected with alarm input and output.
USB
Connected to USB Pendrive or mouse and used for system
software upgrade or video file backup.
NET
RJ-45 network port, connected to network cable
and used for remote browse or control.
Power
Power input is DC 12V/2A or 4A (8/16 channel DVR)
Login
When the DVR boots up, below is the screen as appearing confirming
the OS is loading for startup
Kindly wait till the Login Menu screen appears
User must login as entering the Default User Name & Password.
There are 2 login user settings
> User Name: admin | Password: 900009
> Guest: no password
“admin” login is super user as “guest” login is only for preview.
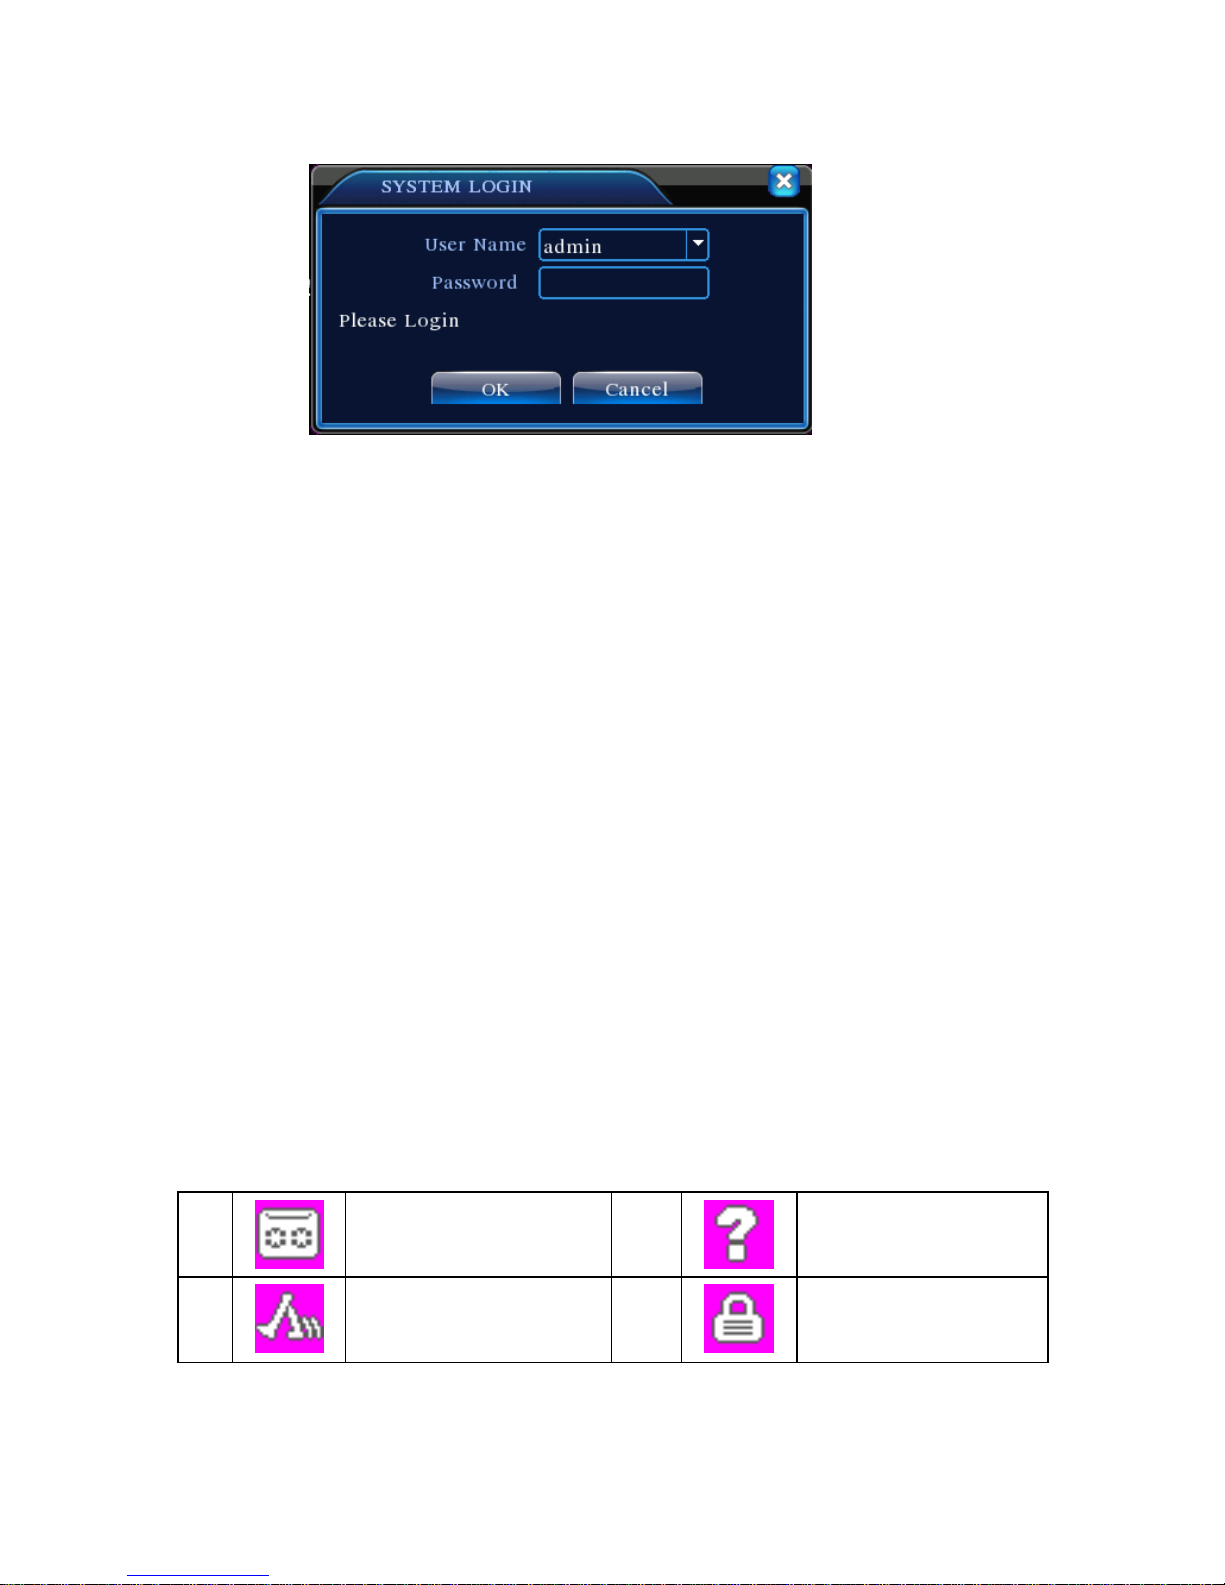
Picture-1 Login
Password protection
If the password is continuous wrong 3 times, the beep will appear.
If the password is continuous wrong 5 times, the account will be
locked.
Password unlock: Just reboot the DVR or wait for max. 30 mins, the
account will be unlocked automatically).
Note: For security reason, kindly modify your password after first
login.
Preview
Login normally and choose the multi-menu preview status. The
system date, time and channel name are shown in each viewing
window. The surveillance video and the alarm status are shown in
each window.
1 Recording status
3 Video loss
2 Motion detect
4 Camera lock
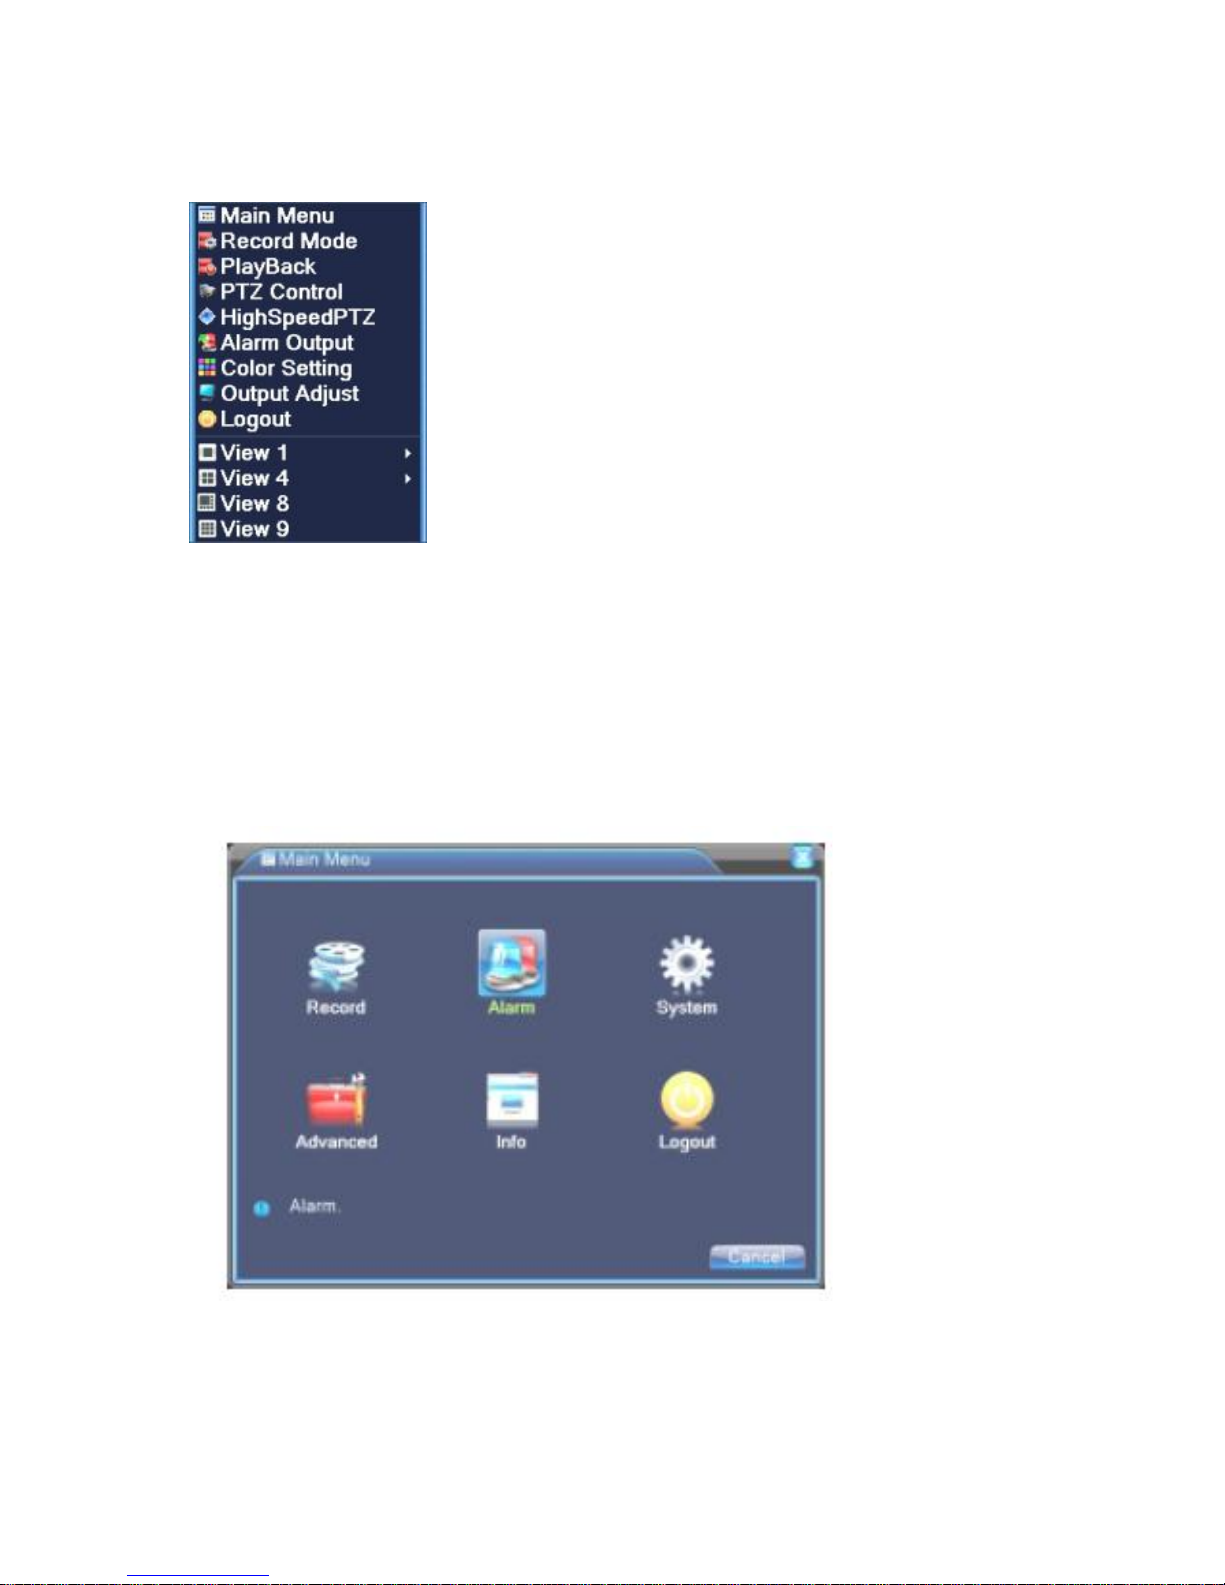
Desktop Shortcut Menu
In preview menu you can right click to get desktop shortcut menu
Main Menu
As you click the Main menu icon from shortcut menu below
image will appear
Recording Setting
 Loading...