

HZ Sound Systems Qmix Owner's Manual
6 CHANNEL 1U Hi RACK MOUNT AUDIO MIXER
OWNERS MANUAL
For EUROPEAN220V -230V
OPERATION
Hz INTERNATIONAL LTD COMBE HOUSE - STOKE ST MICHAEL -BATH - SOMERSET – ENGLAND

UNPACKING
Although the Q – Mix has been designed as a rugged piece of professional equipment, it is quite heavy for its size. It contains a high specification
modern electronic PCB assembly and should be treated with care.
The packaging of the unit is specifically designed to safely transport this product. In the unlikely event of the product requiring servicing, this
packaging is the safest way to transport it.
All units are factory set for 220-230v operation. Units factory made for 110/120V supply are clearly marked on the back and should not be
connected to any higher voltage power source.
FITTING A POWER LEAD PLUG
The wires in the IEC/CEE mains lead are coloured: Earth: Green/Yellow Neutral: Blue Live: Brown
MOUNTING THE UNIT
This unit has been designed for rack mounting use, in a Racking enclosure made to BS5954, IEC297 or Din 41494 standards.
It must be mounted in the horizontal position with clear cool air flow of 5cm around the side air vents.
DO NOT USE RACKS NEAR HEATING DUCT OUTLETS, APPLIANCES OR RADIATORS.
Care is required when installing these units in a rack. It is advisable to put the Rack on its back, then place all the other equipment being fitted
to the rack into it before tightening the retaining screws.
Contents:
1. OVERVIEW
2. USING THE Q-MIX
3. SPECIAL FEATURES
4. REAR CONNECTIONS
5. TROUBLE SHOOTING

OVERVIEW
PA SPEAKERS
MONITORS
KEYBOARDS
MICROPHONES
EFFECTS PROCESSOR
TURNTABLES
CD or DVD PLAYERS
SUB BASS
BASS AMP
POWER AMPS
INSTRUMENTS
Using the Qmix
Input Channels 1 – 4
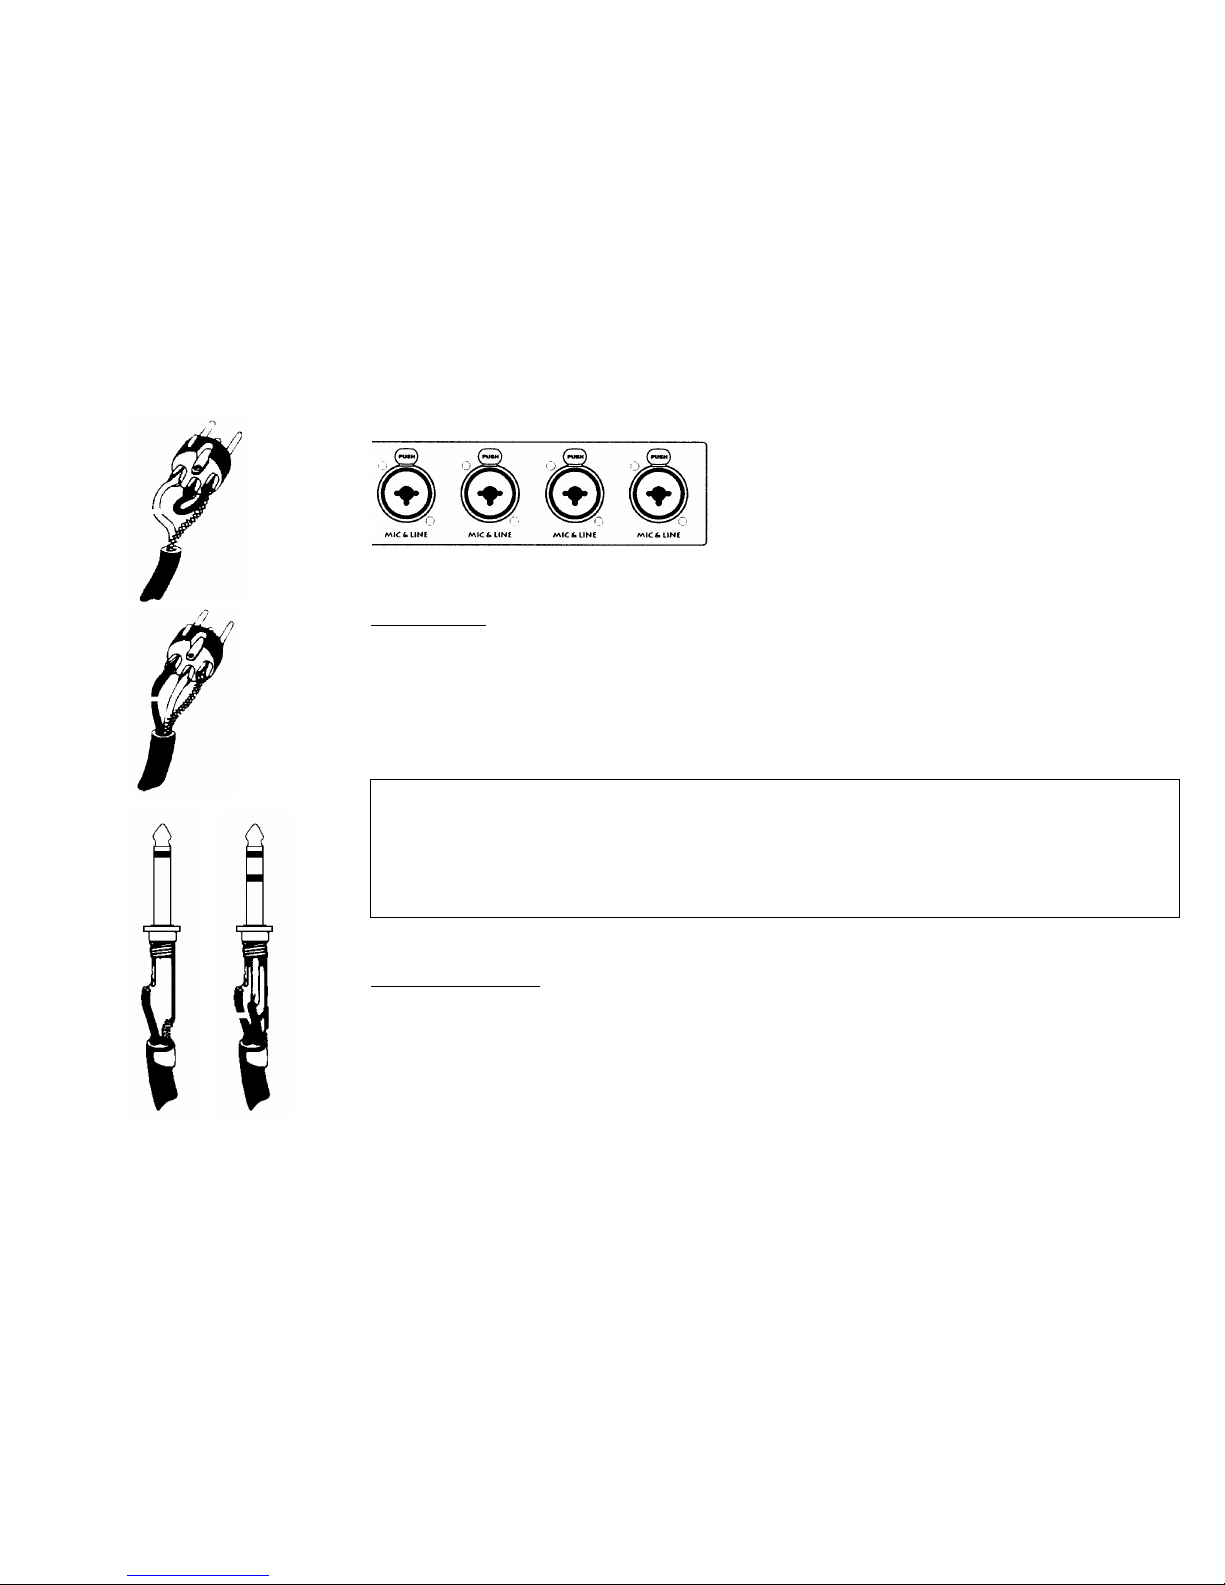
The Mic Inputs
The mic input of these ‘combi sockets’ requires XLR-type connectors and are designed to suit a wide
range of BALANCED or UNBALANCED signals. Professional dynamic, condenser, or ribbon mics are
best because these will be LOW IMPEDANCE. You can use low-cost HIGH IMPEDANCE mics, but the
level of background noise will be higher. If you press the PHANTOM POWER 48V switch at the rear of
the Q-mix all the XLR inputs will receive a suitable powering voltage for professional condenser mics.
A. = Unbalanced Male XLR B. = Balanced Male XLR
ONLY connect condenser microphones with the 48V power OFF (switch OUT), and ONLY
turn on the 48V with the input gain DOWN; this will prevent damage to the mixer and
external equipment.
TAKE CARE when using unbalanced sources, which may be damaged by phantom power
voltage on pins 2 & 3 of the XLR connector
Unplug any mics if you want to use the LINE input. The input level is set using the GAIN knob.
The Mono Line Inputs
The centre hole in the ‘combi socket’ accepts 3-pole ‘A’ gauge (TRS) jacks. Use this high impedance
input for sources other than mic, such as keyboards, sound modules, and guitars., etc.
The input is BALANCED for low noise and to give high quality from professional equipment, but it can be
used for UNBALANCED sources by using the wiring of the jacks as shown, although it is advised that the
cable lengths be as short as possible.
C. = Unbalanced (TRS)Jack Plug D. = Balanced (TRS)Jack Plug
A.
B.
C.
D.
 Loading...