How it Works
Log In / Sign Up
Buy Points
How it Works
FAQ
Contact Us
Questions and Suggestions
Users
HYUNDAI MOBIS
Loading...
A
AC110A9GG
AC110B4GG
AC110C1GN
AC110C5DG
2
AC110D3GN
AC110E6GG
2
AC110ENGG
AC110F6GG
AC110GDGN
AC110GFEE
AC110REGP
AC110UGGN
AC111C1EE
AC111C1MG
AC111C7GG
AC111G2GG
AC111TMAN
AC111UGGN
AC112A9GG
AC112C7GG
AC114C1GG
AC114HGGG
AC115TAGG
AC140C6AN
AC141C6AN
AC142C6AN
AC199D3AN
AC1A0A7AN
3
AC1A0A9AN
AC1A0D5AN
AC1A0SLAN
AC1A1D5AN
AC1A2D5AN
AC1B0C2AN
AC1B0DPKN
AC1B0HGAN
AC1B0SBAN
AC1B0TMAN
AC1B0TMKN
AC1B1C2AN
AC1B2DKAN
AC1B4HGAN
AC210A9GG
AC210C1EE
AC210D4EE
AC210E6GG
2
AC210F6GG
AC212C1GG
AC214HGGG
AC230A9AN
AC230C6AN
AC230JGAN
2
AC231IXAN
AC231SLAN
AC232IXAN
3
AC240HGAN
AC244HGAN
AC2B0C2AN
AC610HGMG
ACB10A0GG
ACB10C1GG
ACB10C7IG
ACB10D3GG
ACB10D4RE
2
ACB10DJGN
ACB10G6GN
ACB10H6GG
ACB10IJBS
ACB10J0GN
ACB10M4BN
ACB10UHGN
ACB10VDGN
ACB11C4GG
ACB11C7IG
ACB11H6MG
ACB12A0IG
ACB40G5AN
ACB41G5AN
ACBA0A9AN
ACBA0B2AN
ACBA1B2AN
ACBA2B2AN
ACBB0B0AN
ACBB0B2AN
ACBB0G3AN
ACBB0G5AN1
ACBB0J0AN
ACBC0DFEP
ACBC0G4EE
ACBC0SNEE
ACBC1F1ET
ACC30B2AN
ADB10D5AN
ADB10DLAN
ADB10DWAN
ADB10F2AN
ADB10F6AN
ADB10F6GG
ADB10G2AN
ADB10G8GG
Loading...
Loading...
Nothing found
AC230C6AN
User Manual
173 pgs
2.36 Mb
0
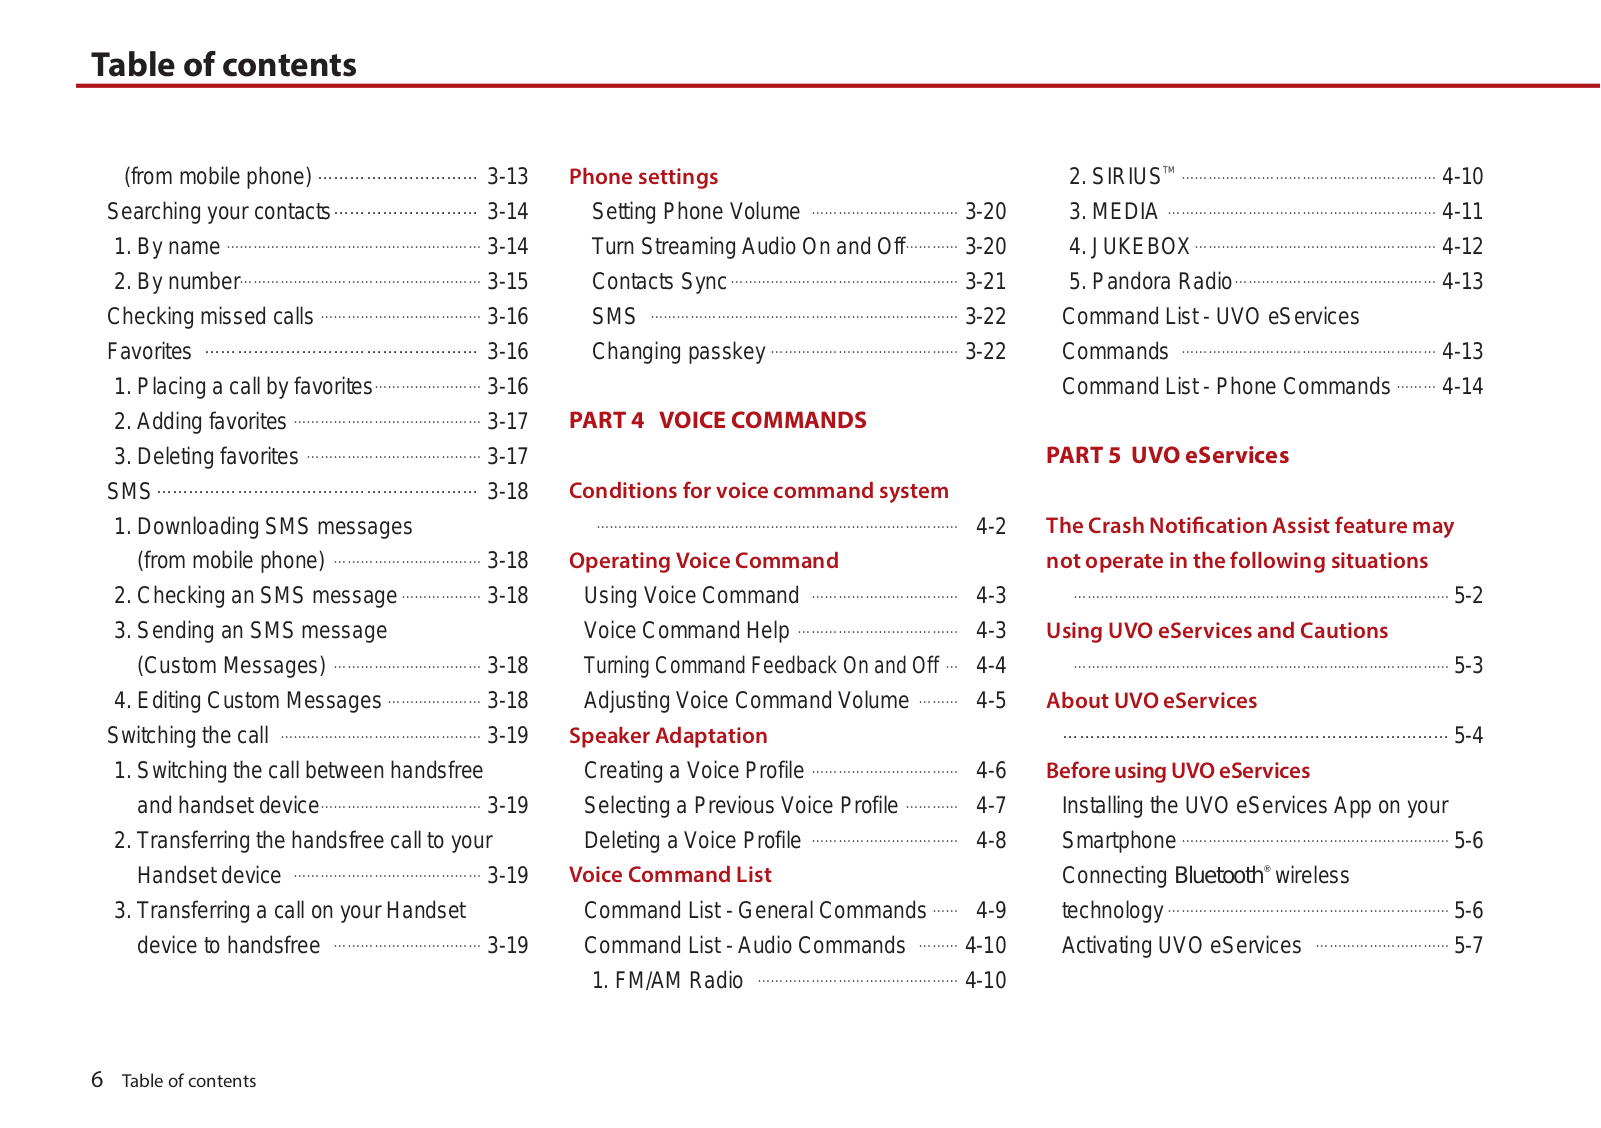
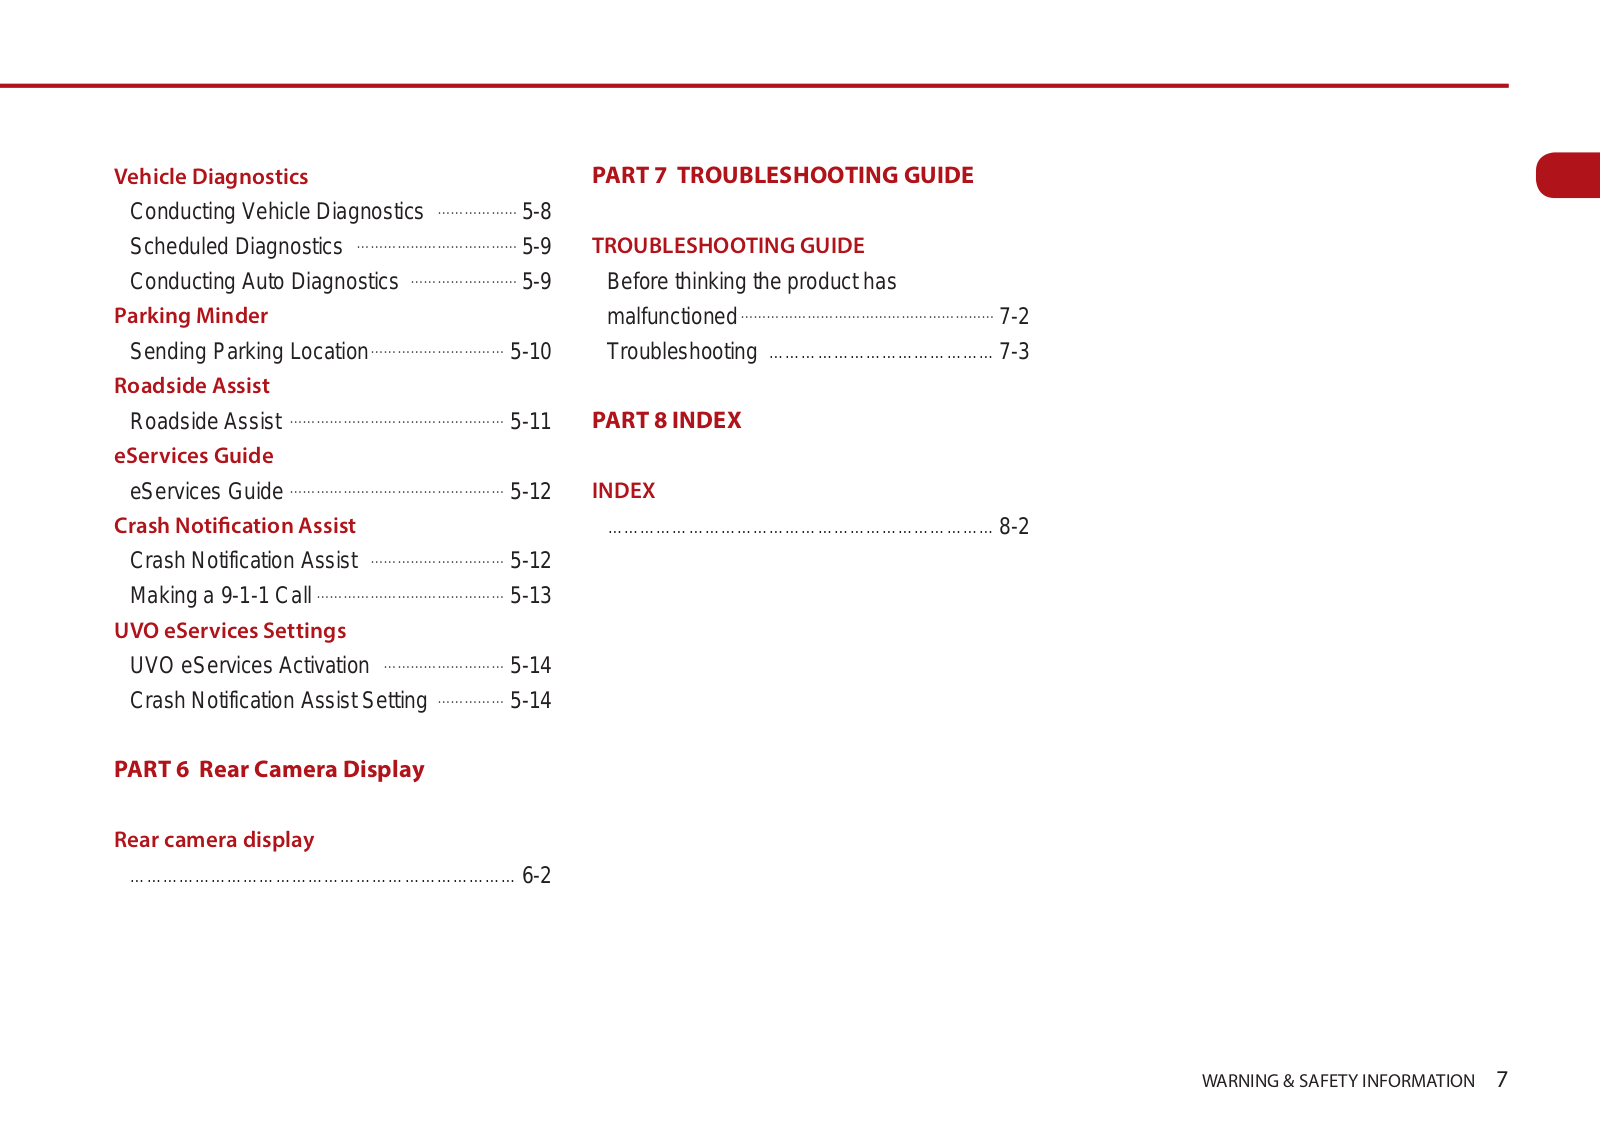
Table of contents
Loading...
HYUNDAI MOBIS AC230C6AN User Manual
...
HYUNDAI MOBIS User Manual
Download
Specifications and Main Features
Frequently Asked Questions
User Manual
Download
Loading...
+
143
hidden pages
Unhide
You need points to download manuals.
1 point = 1 manual.
You can buy points or you can get point for every manual you upload.
Buy points
Upload your manuals