


FCC ID : PJILT26AW000
ATTACHMENT E -2.
- USER’S MANUAL -
REPORT NO. : HCT-F04-0303 HYUNDAI C–TECH
20
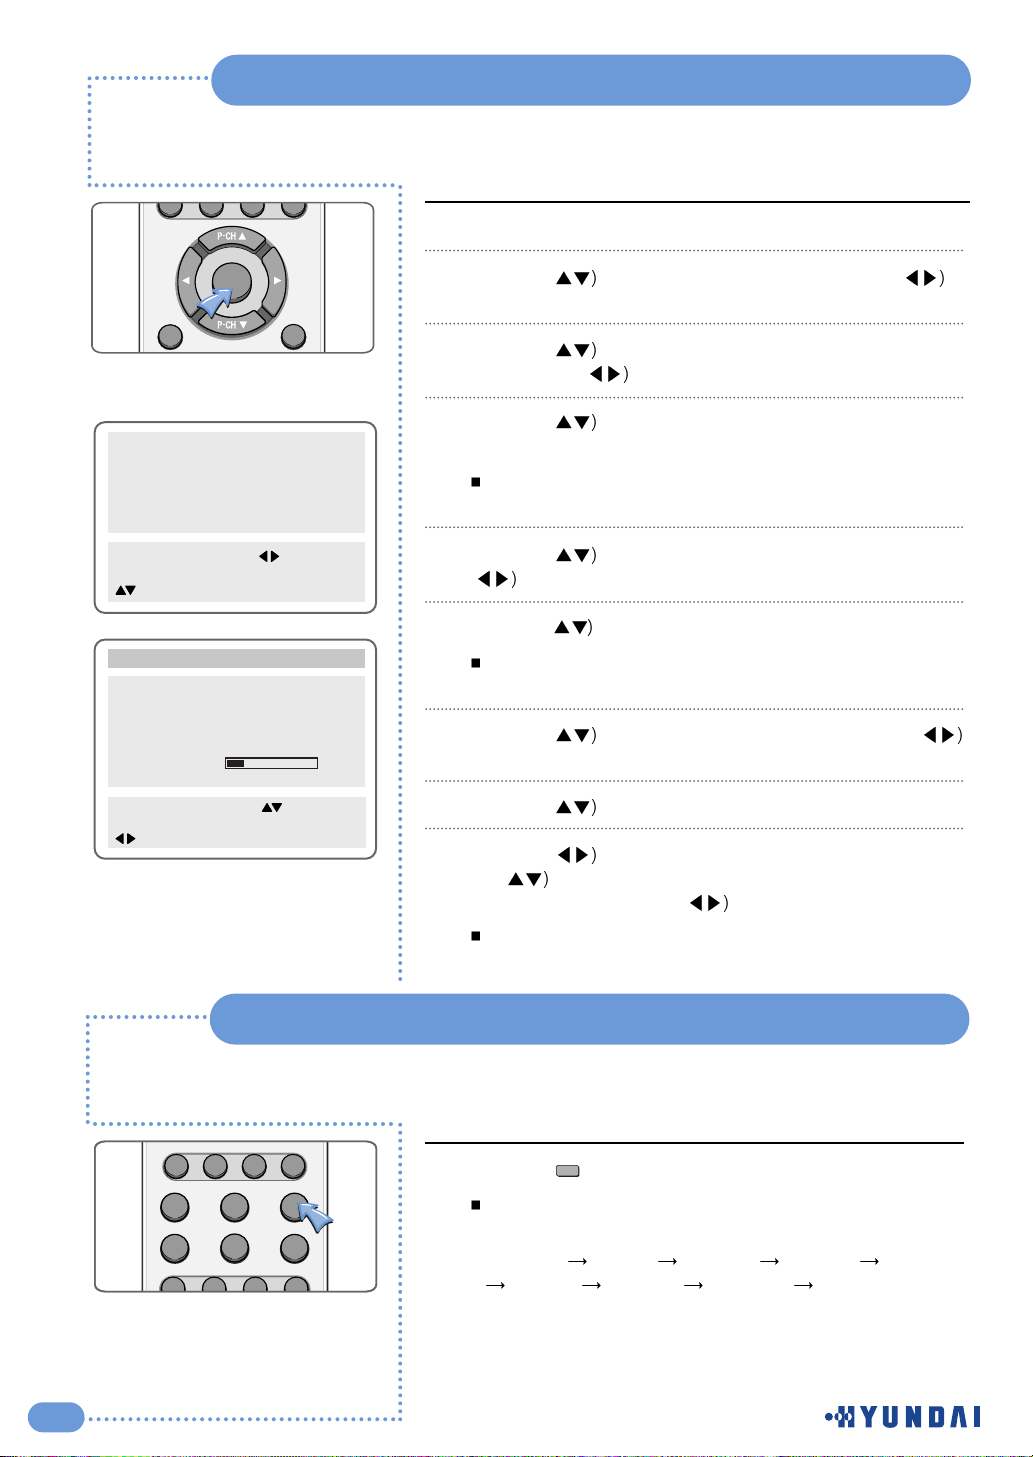
Customizing the Sound
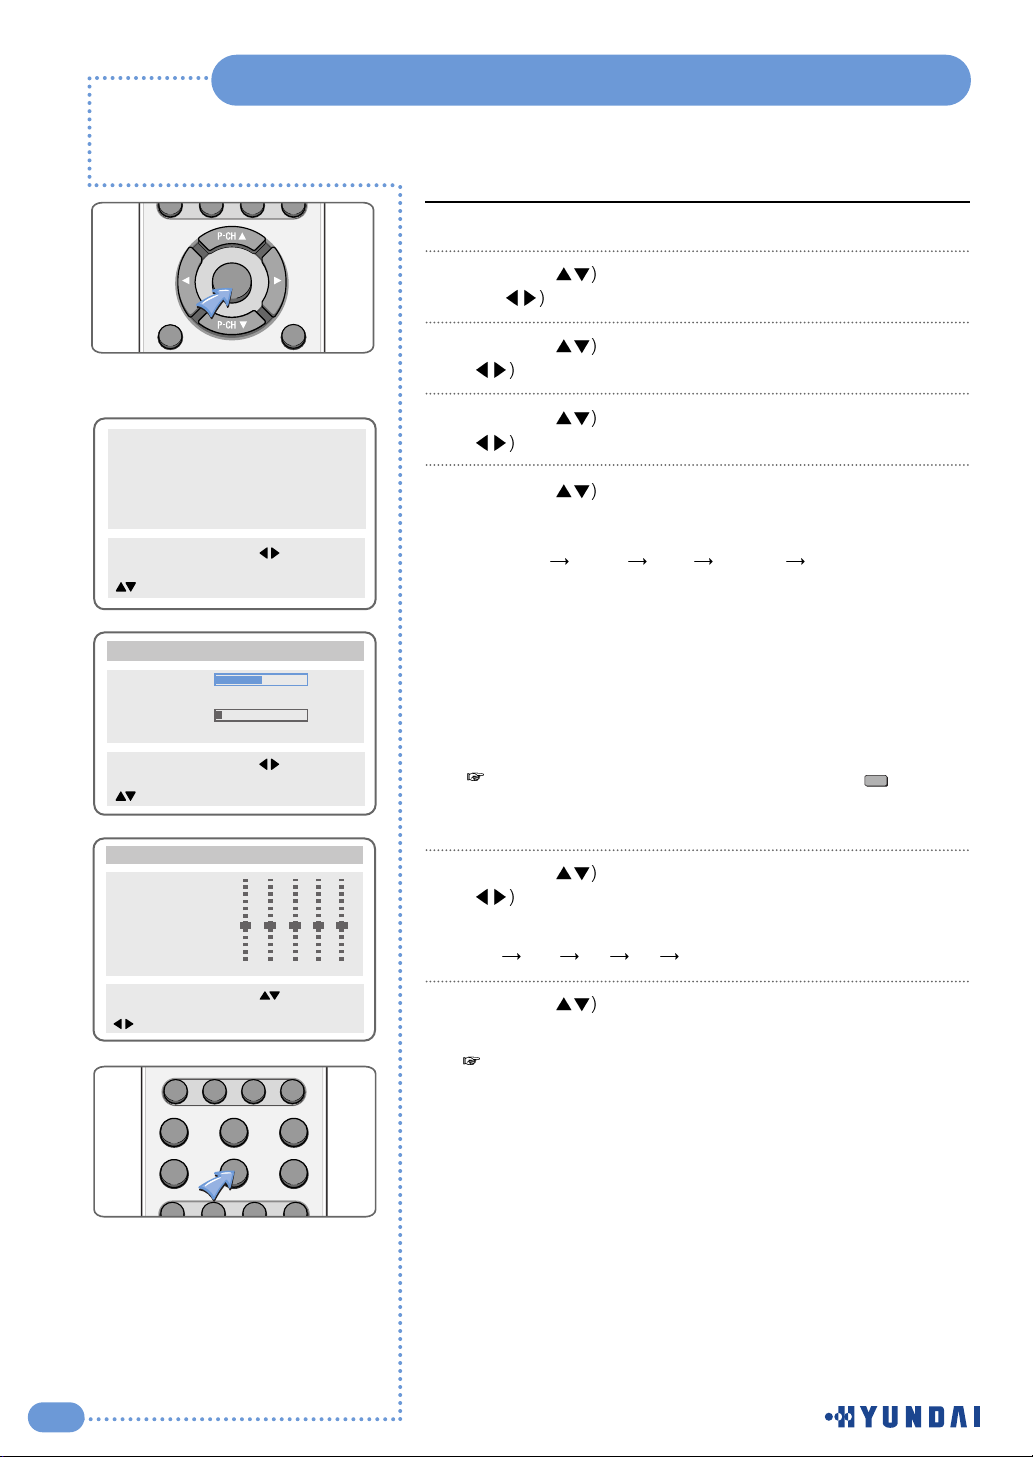
Press the MENU button.
Press the (
button to select the Sound group and press
the ( or OK button.
Press the (
button to select Balance and press the
( button to adjust the sound balance.
Press the (
button to select Equalizer and press the
( button.
Press the (
button to select the sound mode according to
the type of image being watched.
Sound mode will be change in the following order.
Standard
Music Film Speech Custom
Standard : This is good for any picture.
Music : Select when you listen to music, videos or concerts.
Film : Select when you watch the a movie.
Speech : Select when you listen to speeches or news.
Custom : Select when you want to adjust the setting
manually.
Press the ( button to select Custom and press the
( button to select the frequency that you want to adjust.
The frequency range will be selected as following order.
100 300 1K 3K 10K
Press the (
button to adjust.
1
2
3
6
7
If you adjust the frequency (100Hz, 300Hz, 1KHz, 3KHz,
10KHz) in Standard, Music, Film, Speech, or Custom mode,
the mode will change to Custom mode.
4
5
Picture
Sound
Clock
Install
Language
Advanced
MENU : Previous : Select
INPUT : Exit OK : Select
: Position
Balance R5
Equalizer
Volume 8
Input Source Main
Sound
MENU : Previous : Adjust
INPUT : Exit
: Position
Mode
Standard
Music
Film
Speech
Custom
>>
100
Equalizer
300
1K3K10K
MENU : Previous : Select
INPUT : Exit
: Position
You can get the same. result by pressing the ( ) button
on the remote control.
S.Mode
FAVORITE
MENU
OK
PC
DTV VIDEO INPUT
STILL ASPECT SLEEP
MTS DISPLAY CLOCK ADD/ERASE
S.MODEP.MODE
S.EFFECT
21
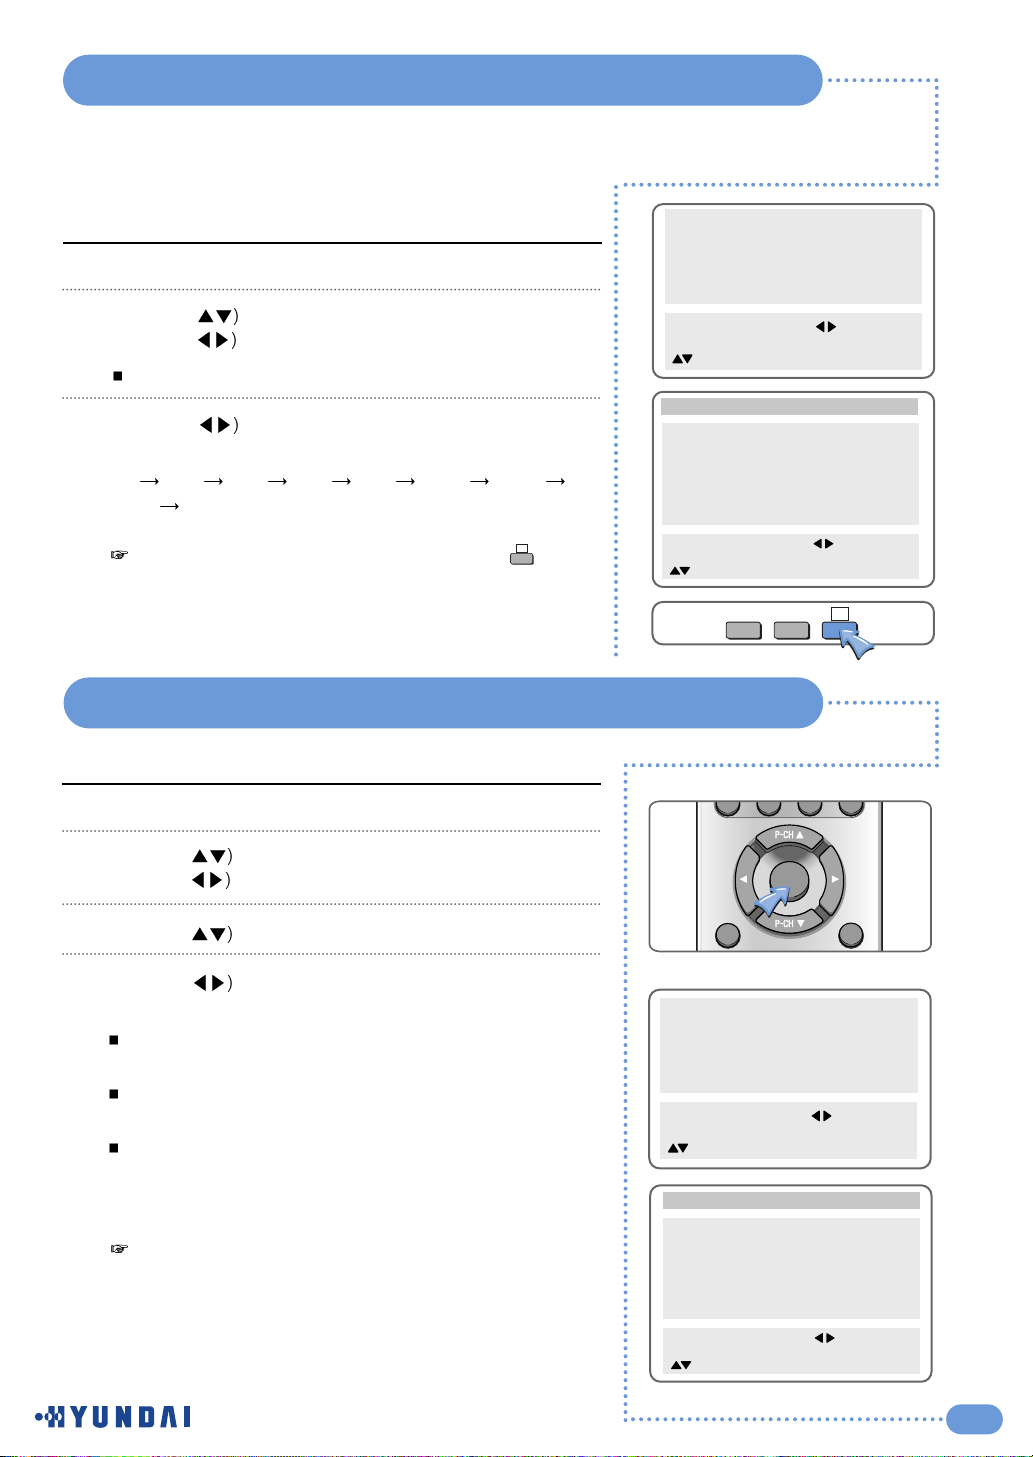
Adjusting the Speaker Volume & Selecting the Speaker Sound Source
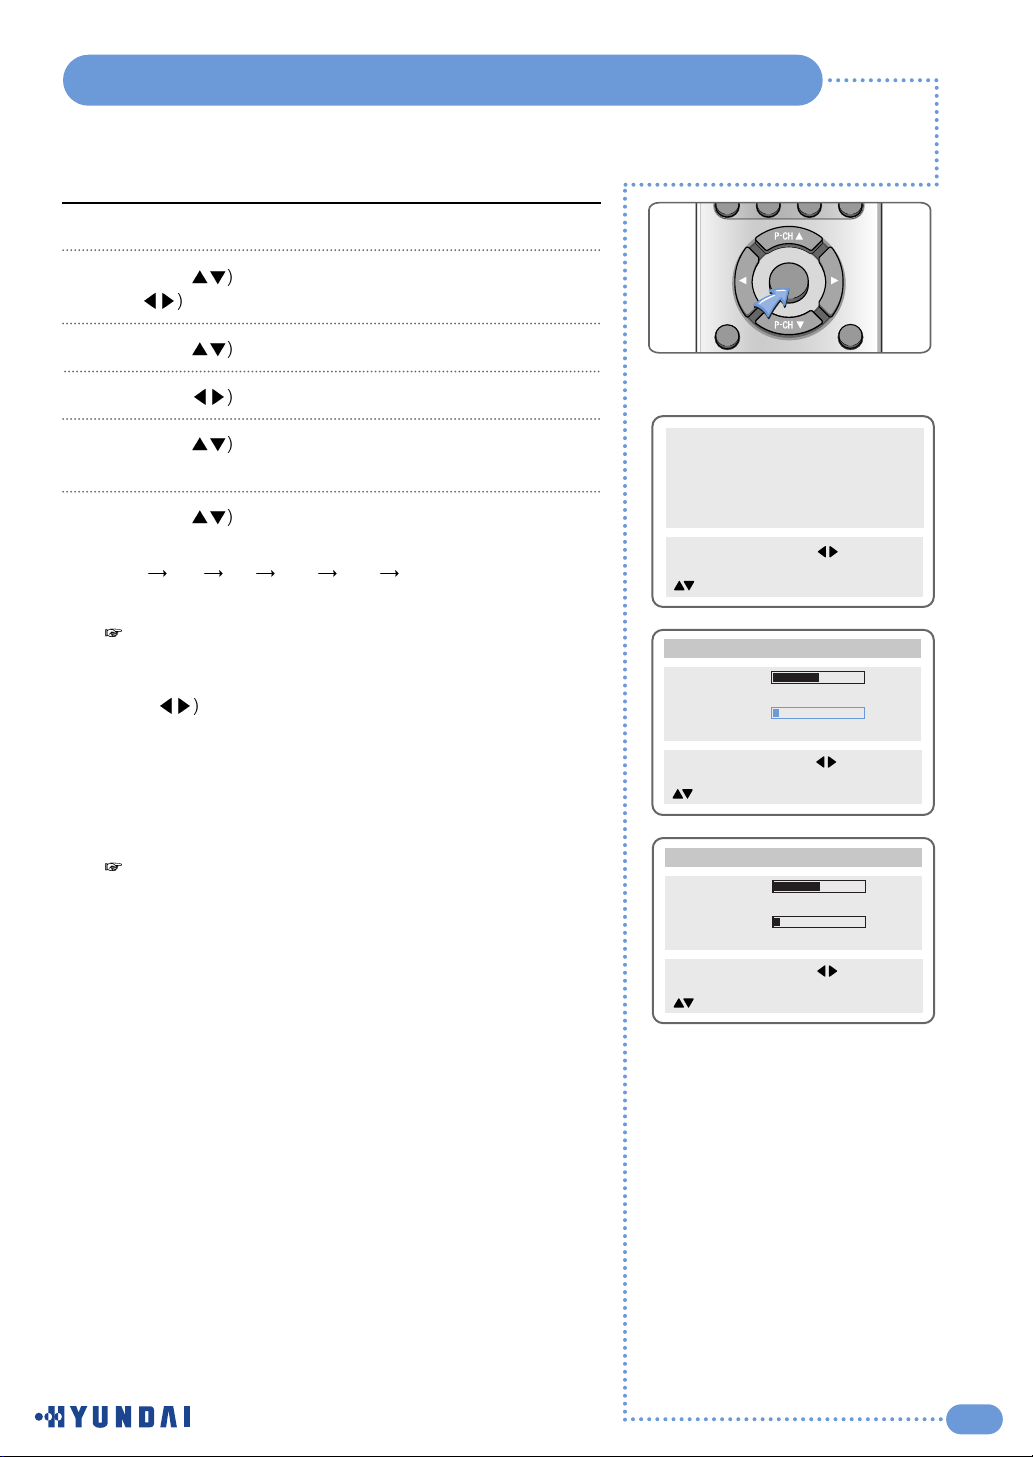
Press the MENU button.
Press the (
button to select the Sound group and press
the ( or OK button.
Press the (
button to select Volume (speaker).
Press the (
button to adjust the speaker volume.
Press the (
button to select the Input Source of the
speaker.
Press the (
button to select the sound source of the
speaker.
Main
PIP TV AV1 AV2 DTV
1
2
3
4
5
- You will have sound only through the headphones, not
the speakers, if you connect headphones. (mute)
You can adjust the headphones' volume by pressing the
(
button.
- You can listen to the main picture's sound when the PIP
is off even if you select PIP mode sound.
6
Picture
Sound
Clock
Install
Language
Advanced
MENU : Previous : Select
INPUT : Exit OK : Select
: Position
Balance R5
Equalizer
Volume 8
Input Source Main
Sound
MENU : Previous : Adjust
INPUT : Exit
: Position
When you would like to have sound through the
headphones, if you connect a set of headphones to your
TV, the volume level will be decreased automatically
without concerning the previous volume setting.
Balance R5
Equalizer
Volume 8
Input Source Main
Sound
MENU : Previous : Adjust
INPUT : Exit
: Position
MENU
FAVORITE
OK
22
Listening to Stereo Sound / SAP
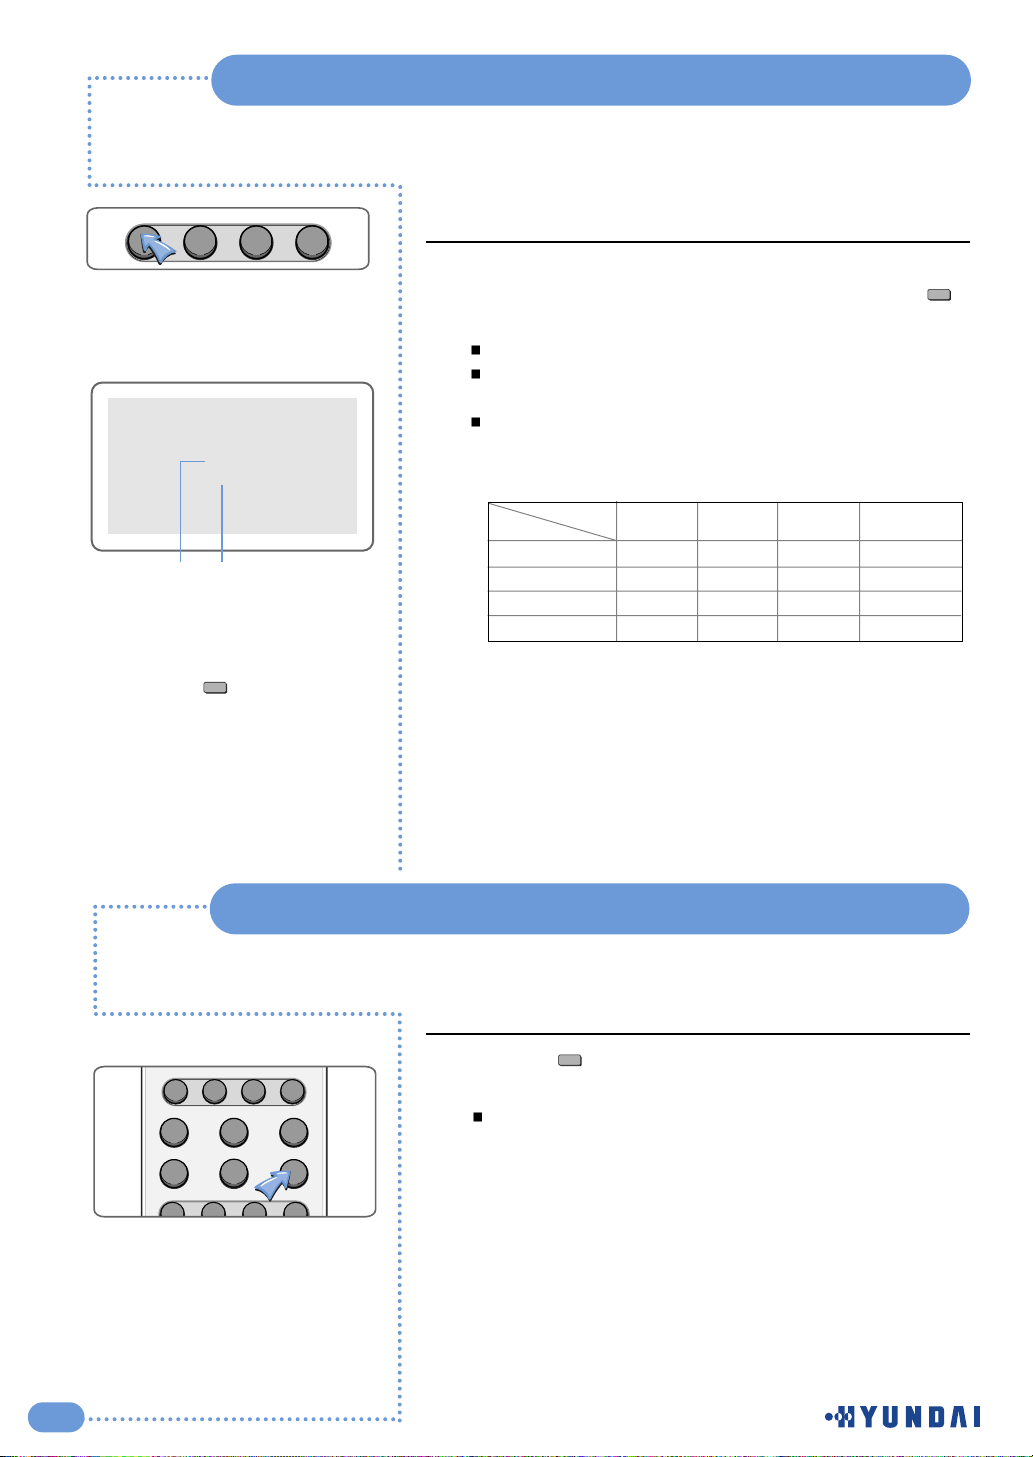
Listening to Stereo Sound / Secondary Audio Program
You can select sound options (Mono, Stereo, SAP, Mono+
SAP) depending on the broadcasting signal by pressing ( )
button on the remote control.
Choose Stereo for channels that are broadcasting in stereo.
Choose Mono for channels that are broadcasting in mono,
or if you are having difficulty receiving a stereo signal.
Choose SAP to listen to the Secondary Audio Program,
which is usually a foreign-language translation.
1
Press the ( ) button on the remote control to select Off ,
Pseudo or Surround.
Off ,Pseudo or Surround will be selected in turn whenever
you press this button.
Off : Turn off the sound effect.
Pseudo : You can listen to Pseudo stereo sound, which is
created from Mono sound.
Surround : This features allows the TV’s L/R Speakers to
provide a home Theater-like surround effect.
The center and surround sounds ard mixed into
the L/R speakers.
1
You can adjust this only with the remote control.
Setting the Sound Effect
S.Effect
Depending on the particular program being broadcast, you can listen to stereo, mono,
or a Secondary Audio Program. (SAP audio is usually a foreign-language translation.
Sometimes SAP has unrelated information like news or weather.)
Option
Broadcasting
M
S
M+SAP
S+SAP
M
S
M
S
M
M
SAP
SAP
M
S
M+SAP
M+SAP
M S SAP M+SAP
M
M
M
M
Mono
Stereo
S : Stereo
M : mono
SAP : Secondary Audio Program
M + SAP : Mono + SAP
S + SAP : Stereo + SAP
ڹ
Displays present received
sound state.
ں
When you select sound options
using the ( ) button.
ڹ
ں
MTS DISPLAY CLOCK ADD/ERASE
MTS
MTS
PC
DTV VIDEO INPUT
STILL ASPECT SLEEP
S.MODEP.MODE
S.EFFECT
MTS DISPLAY CLOCK ADD/ERASE
23
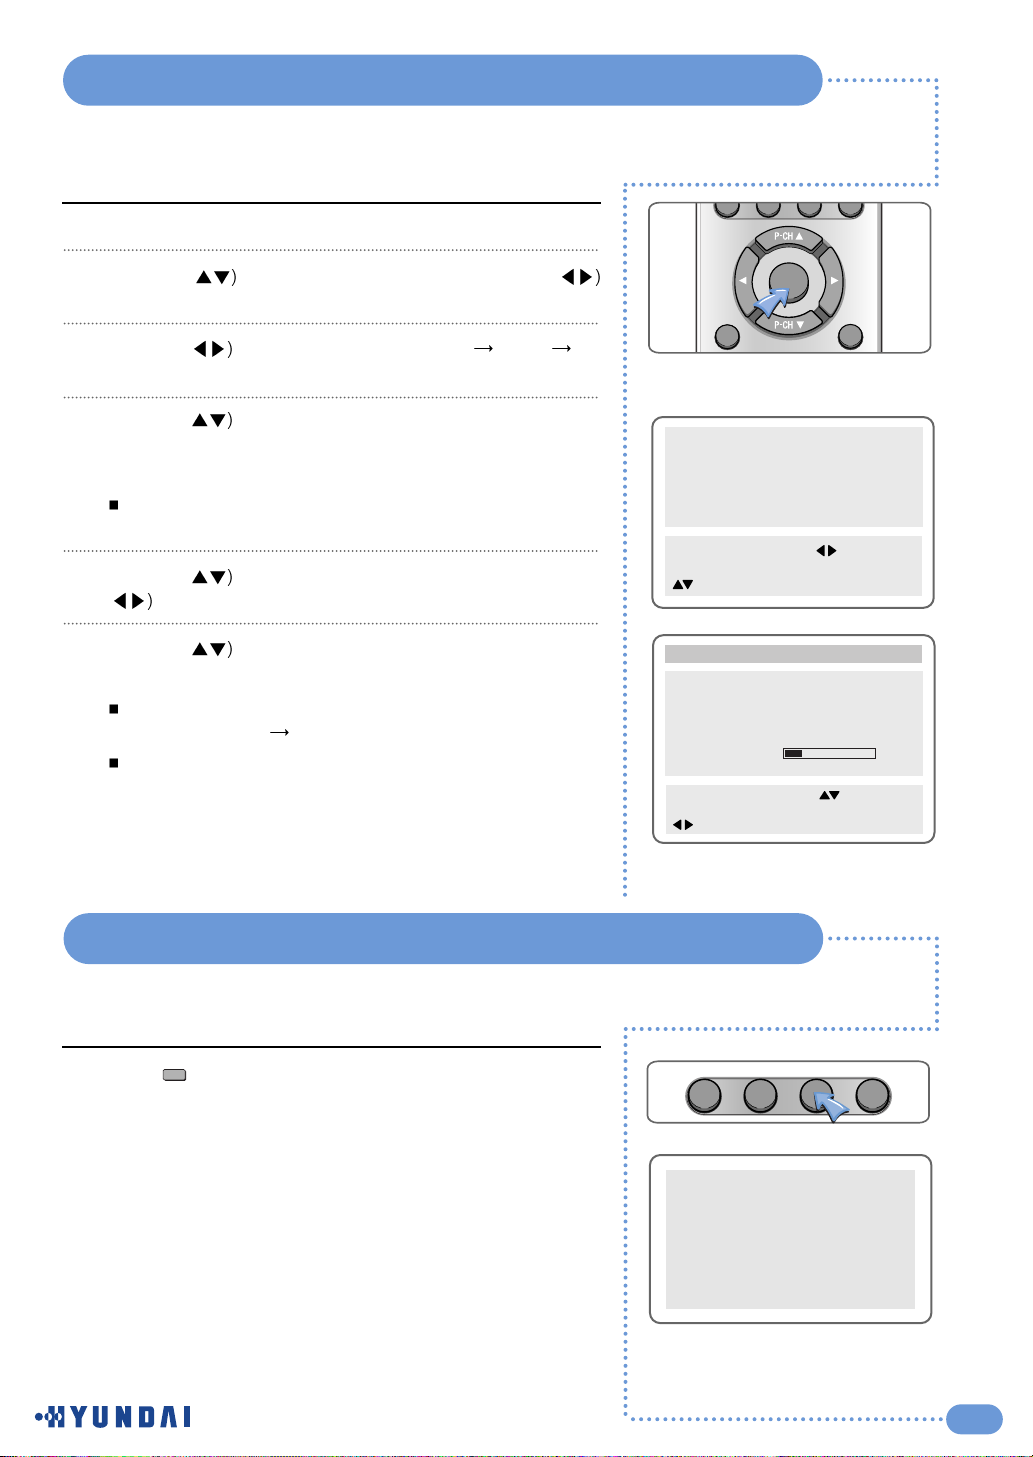
Setting the Date & Time
Press the MENU button.
Press the (
button to select Clock and press the (
or OK button.
Press the (
button to move between year Month
Date.
Press the (
or number (0~9) buttons to adjust the year
and repeat the above steps 3-4 to adjust the Month and
Date in the same way.
You can erase and reset the Date by pressing the OK
button.
Press the (
button to select Clock and press the OK or
( button to move to time adjust.
Press the (
or number (0~9) buttons to adjust the Hour
and Minute.
Adjust the Hour using the 24-hour system.
Example : 6 P.M. Press 1 and 8
You can erase and reset the and hour and minute by
pressing the OK button.
1
2
3
4
5
6
Picture
Sound
Clock
Install
Language
Advanced
MENU : Previous : Select
INPUT : Exit OK : Select
: Position
Date 03/01/01
Clock - - : - Wake Up
Clock - - : - -
Channel - - -
Volume 20
Off Time - - : - -
Clock
MENU : Previous : Adjust
INPUT : Exit 0-9 : Adjust
: Position
Displaying the Current Time
Press ( ) button on the remote control to display the
current time.
1
This function is available after you set the clock first.
Clock
PM 07:30
MENU
FAVORITE
OK
MTS DISPLAY CLOCK ADD/ERASE
24
Setting the Preset Time ( On / Off )
This function is available after you set the clock first.
Picture
Sound
Clock
Install
Language
Advanced
MENU : Previous : Select
INPUT : Exit OK : Select
: Position
Date 03/01/01
Clock - - : - Wake Up
Clock - - : - -
Channel - - -
Volume 20
Off Time - - : - -
Clock
MENU : Previous : Adjust
INPUT : Exit 0-9 : Adjust
: Position
Press the MENU button.
Press the (
button to select Clock and press the (
or OK button.
Press the (
button to select Clock in the Wake up
mode
and press the ( button to select the Hour or Minute.
Press the (
or number (0~9) buttons to adjust the Hour
and Minute.
You can erase and reset the Hour and Minute by pressing
the OK button.
Press the (
button to move to Channel and press the
( button.
Press the ( or number (0~9) button to select the channel.
You can erase and reset the channel by pressing the OK
button.
Press the (
button to select Volume and press the (
button to adjust the volume.
Press the (
button to select Off time.
Press the (
button to move to the Hour or Minute. Press
the ( or number (0~9) button to adjust the Hour or
Minute and then press the ( button.
You can erase and reset the Hour and Minute by pressing
the OK button.
1
2
3
4
5
6
7
8
9
Press the ( ) button.
Whenever you press this button the sleep timer will select
times in the following order.
Sleep off
Sleep5 Sleep10 Sleep20 Sleep30
Sleep60 Sleep90 Sleep120 Sleep180.
1
Setting the Sleep Timer
Sleep
FAVORITE
MENU
OK
PC
STILL ASPECT SLEEP
MTS DISPLAY CLOCK ADD/ERASE
DTV VIDEO INPUT
S.MODEP.MODE
S.EFFECT
25
Viewing the Closed Captions
Setting Restrictions On Button Input
Setting the Closed Captions
Press the MENU button.
Press the (
button to select the Advanced group and
press the ( or OK button.
The Advanced group are displayed with Caption selected.
Press the (
button to set the Closed Captions.
You can select these options in the following order.
Off
CC1 CC2 CC3 CC4 Text1 Text2
Text3 Text4
1
2
3
Press the MENU button.
Press the (
button to select the Advanced group and
press the ( or OK button.
Press the (
button to select Local Lock.
Press the (
button to select Off, Once or Always and
press the MENU button.
Off : With the lock function off, you can control the TV with
both the remote control and the buttons on the TV.
Once: The lock function will turn off automatically after you
turn the TV on/off once with the remote control.
Always: With the lock function always on, you can control
the TV only with the remote control, not with the
buttons on the TV.
1
2
3
4
This function prevents children from controlling the TV
when parents are not home.
It is available after setting this function with the remote
control.
Picture
Sound
Clock
Install
Language
Advanced
MENU : Previous : Select
INPUT : Exit OK : Select
: Position
Caption CC1
Local Lock Off
Osd Timeout 60
No Operation Timeout 180
No Signal Timeout 20
Favorite Channel
NR On
Advanced
MENU : Previous : Select
INPUT : Exit
: Position
Q.View
0
CC
Picture
Sound
Clock
Install
Language
Advanced
MENU : Previous : Select
INPUT : Exit OK : Select
: Position
Caption Off
Local Lock Off
Osd Timeout 60
No Operation Timeout 180
No Signal Timeout 20
Favorite Channel
NR On
Advanced
MENU : Previous : Select
INPUT : Exit
: Position
You can get the same result by pressing the ( ) button
on the remote control.
CC
MENU
FAVORITE
OK

26
Setting the OSD Display Time
No Key Operation Auto Power Off
Automatically turns the power off if there is no button pressed for a period of time
after AUTO Wake-Up turns the power on.
Press the MENU button.
Press the (
button to select the Advanced group and
press the ( or OK button.
Press the (
button to select Osd Timeout.
Press the (
button to adjust the display time.
Whenever you press this button, you can adjust it in 5-
second increments from 0 to 60 seconds.
If you finish setting the time, press the MENU button.
1
2
3
4
-
If you do not press the MENU button after adjusting
the OSD timeout, the menu screen will disappear
automatically after the set time.
- If you set 0, menu screen will not disappear
automatically.
5
Caption CC1
Local Lock Off
Osd Timeout 60
No Operation Timeout 180
No Signal Timeout 20
Favorite Channel
NR On
Advanced
MENU : Previous : Select
INPUT : Exit
: Position
Press the MENU button.
Press the (
button to select the Advanced group and
press the (
or OK button.
Press the (
button to select No Operation Timeout.
Press the (
button to adjust the auto power off time.
You can adjust it in 30-minute increments from 0 to 180
minutes.
( 0
30 60 90 120 150 180 )
If you set the time to 0, the TV will not use the auto power
off function.
1
2
3
4
Caption CC1
Local Lock Off
Osd Timeout 60
No Operation Timeout 180
No Signal Timeout 20
Favorite Channel
NR On
Advanced
MENU : Previous : Select
INPUT : Exit
: Position

27
No Signal Auto Power Off
Watching your Favorite Channels
Press the MENU button.
Press the (
button to select the Advanced group and
press the ( or OK button.
Press the (
button to select No Signal Timeout.
Press the (
button to adjust the auto power off time.
You can adjust it in 1-minute increments from 0 to 20
minutes.
( 0
1 2 ... 18 19 20 )
If you set the time to 0, the TV will not use the auto power
off function.
1
2
3
4
Caption CC1
Local Lock Off
Osd Timeout 60
No Operation Timeout 180
No Signal Timeout 20
Favorite Channel
NR On
Advanced
MENU : Previous : Select
INPUT : Exit
: Position
Automatically turns the power off if there is no broadcast signal or button pressed for
some time.
Press the MENU button.
Press the (
button to select the Advanced group and
press the ( or OK button.
Press the (
button to select a Favorite channel.
Press the (
button to move the position and press the
( button to select Channel No, AV, etc.
You can select up to 5 Channel No, AV,etc.
You can direct select input sources by pressing the PC,
DTV and VIDEO button or select them by pressing the
or button.
The input sources are changed in following order.
Pr00
Pr99 AV1 VIDEO AV1 S-VHS AV2 VIDEO
AV2 S-VHS DTV PC
also, you can direct input program No. by press numeric
button (0~9).
You can delete the selection by pressing the OK button
and pressing the number or ( ) buttons to select the
channel.
The selection will switch whenever you press the Favorite
button on the remote control.
1
2
3
4
Caption CC1
Local Lock Off
Osd Timeout 60
No Operation Timeout 180
No Signal Timeout 20
Favorite Channel
NR On
Advanced
MENU : Previous : Select
INPUT : Exit
: Position
Ch 1
Ch 3
Ch 4
Ch 7
Ch 9
Favorite Channel
MENU : Previous : Adjust
INPUT : Exit 0-9 : Adjust
: Position
Q.View

28
Reducing Picture Noise
Use this function when you have a bad image with the picture noise.
Caption CC1
Local Lock Off
Osd Timeout 60
No Operation Timeout 180
No Signal Timeout 20
Favorite Channel
NR On
Advanced
MENU : Previous : Select
INPUT : Exit
: Position
Press the MENU button.
Press the (
button to select the Advanced group and
press the ( or OK button.
Press the (
button to select NR.
Press the ( button to select On.
Whenever you press the ( button, the selection will
switch between On or Off.
1
2
3
Displaying the TV Information
Press the ( ) button on the remote control to display the
current channel, time, audio, and sleep timer setting.
1
Display
CATV 7
PM 07:30
Mono
Sleep 30
MTS DISPLAY CLOCK ADD/ERASE

29
Display the Picture in Picture ( PIP )
Press the PIP( ) button. You will see the PIP in the at
upper right corner.
Press the ( ) button to select the external signal source for
the PIP.
The external signal source will display whenever you press
the ( ) button.
( TV
AV1 VIDEO AV1 S-VHS AV2 VIDEO
AV2 S-VHS DTV PC )
Changing the PIP Position
Press the ( ) button on the remote control.
The PIP position will change among 5-positions whenever
you press this button.
1
2
You can change the main picture channel by pressing the
(
button.
MAIN 7
AM 10:28
Sub AV1 VIDEO
8QX
5IQV
<>
>1,-7
;>QLMW
,<>
8+
7
7
7
7
7
7
7
7
7
7
7
7
7
7
7
<>>1,-7;>QLMW ,<>8+
PIP
7
7
7
@
@
7
7
7
@
@
1
5
4
3
1
2
PIP
INPUT
INPUT
OK
PIP INPUT
SIZE POSITION P.MODE SWAP
Position
SIZE POSITION P.MODE SWAP
PIP INPUT
OK

30
Display the Picture in Picture (PIP )
Changing the PIP Size
Press the ( ) button on the remote control.
The PIP will change among 6 different sizes whenever you
press this button.
Changing the PIP Mode
Press the ( ) button on the remote control.
The PIP mode will change whenever you press this button.
Standard Sports Natural Mild Custom
Swapping the Main & Sub-Picture
Press the ( ) button on the remote controller.
The Main image and PIP image will switch with each other
whenever you press this button.
1
1
1
OK
PIP INPUT
SIZE POSITION P.MODE SWAP
OK
PIP INPUT
SIZE POSITION P.MODE SWAP
Size
P.Mode
PIP INPUT
SIZE POSITION P.MODE SWAP
OK
Swap

31
Changing the Picture Size
Displaying a Still Image
Press the ( ) button on the remote control.
When you are viewing watch the Main image:
The image will change as shown below whenever you
press this button. (16:9
4:3 Zoom Panorama)
When you are viewing the main and PIP images at the
same time:
The PIP image will change only from 4:3 to 16:9.
1
16 : 9
4 : 3
Panorama
Zoom
Press the Still ( ) button on the remote control.
The picture does not move but the sound plays normally.
Press this button again if you want to go back to a normal
picture.
1
Aspect
PC
DTV VIDEO INPUT
STILL ASPECT SLEEP
S.MODEP.MODE
S.EFFECT
MTS DISPLAY CLOCK ADD/ERASE
Still
PC
DTV VIDEO INPUT
STILL ASPECT SLEEP
S.MODEP.MODE
S.EFFECT
MTS DISPLAY CLOCK ADD/ERASE

32
To use the TV as a PC Display
Turn the PC on.
Press the PC or ( ) button on the remote control to
select the PC.
Set up the PC software. (See page 33 )
Adjust the screen in PC Mode. (See page 34 )
1
2
3
4
PC
AM 11: 25
Stereo
15Pin D-Sub Cable
Rear of the TV
Rear of the PC
Connect the 15Pin D-Sub Cable to the RGB INPUT port on the TV and
output port on the Rear of the PC.
Connecting to the PC
INPUT
RGB
PC
DTV VIDEO INPUT
STILL ASPECT SLEEP
S.MODEP.MODE
MTS DISPLAY CLOCK ADD/ERASE
S.EFFECT

33
Setting the PC Software
First, click on Settings on the Windows start menu and click on
"Control Panel".
Double click on the Display icon.
Click on the Settings tab on the display dialog-box.
Adjust the resolution to 1280x768 pixels.
Click the Advanced button and click the Monitor tab on the
dialog-box. Set the vertical-frequency to 60Hz and then click
the OK button.
1
2
3
4
5
- Maximum resolution depends on the Video Card.
- Maximum supported resolution is 1024 X 768 @ 75Hz ,
You can get the best picture at 1024 X 768@ 60Hz.
- There are 16,770,000 supported colors.

34
Geometry
Picture
Sound
Clock
Language
Advanced
MENU : Previous : Select
INPUT : Exit OK : Select
: Position
Adjusting the horizontal position
Press the MENU button.
Press the (
button to select the Geometry group and
press the ( or OK button.
Press the (
button to select H.Position.
Move the PC screen to the right or left by pressing the
(
button.
Adjusting the vertical position
Press the ( button to select V.Position.
Move the PC screen up or down by pressing the ( button.
Adjusting the phase
Press the ( button to select the Phase.
Press the (
button to adjust the Phase.
Reload Geometry Values
Press the ( button to select Factory Preset.
Press the ( button to set the Geometry the factory default
settings.
1
1
1
2
3
4
2
2
H. Position
V. Position
Phase
Factory Preset
Geometry
0
0
0
MENU : Previous : Adjust
INPUT : Exit
: Position
H. Position
V. Position
Phase
Factory Preset
Geometry
0
0
0
MENU : Previous : Adjust
INPUT : Exit
: Position
H. Position
V. Position
Phase
Factory Preset
Geometry
0
0
0
MENU : Previous : Adjust
INPUT : Exit
: Position
1
2
H. Position
V. Position
Phase
Factory Preset
Geometry
0
0
0
MENU : Previous : Adjust
INPUT : Exit
: Position
Adjusting the Screen Position

35
Adjusting the Screen Color
Geometry
Picture
Sound
Clock
Language
Advanced
MENU : Previous : Select
INPUT : Exit OK : Select
: Position
Mode Custom
Contrast
Brightness
Color
Hue
Picture
MENU : Previous : Select
INPUT : Exit
: Position
50
50
50
50
Mode Custom
Contrast
Brightness
Color
Hue
Picture
MENU : Previous : Select
INPUT : Exit
: Position
50
50
50
50
Mode Custom
Contrast
Brightness
Color
Hue
Picture
MENU : Previous : Select
INPUT : Exit
: Position
50
50
50
50
Mode Custom
Contrast
Brightness
Color
Hue
Picture
MENU : Previous : Select
INPUT : Exit
: Position
50
50
50
50
Selecting the mode
Press the ( ) button to select the mode.
The modes will change in the following order.
Standard
Sports Natural Mild Custom
Adjusting Contrast
Press the MENU button.
Press the ( ) button to select the Picture group and press
the ( ) or OK button.
Press the (
) button to select Contrast.
Press the (
) button to adjust the contrast.
Press the ( )button to make the color darker and the ( )
button to make it brighter.
Adjusting brightness
Press the ( ) button to select Brightness.
Press the (
) button to adjust the brightness.
Press the ( ) button to make the image darker and the
( ) button to make it brighter.
Adjusting colour
Press the ( button to select Color.
Press the (
button to adjust the color.
Adjusting tint
Press the ( button to select Hue.
Press the (
button to adjust the tint.
1
2
3
4
1
1
2
1
2
1
2
Mode Custom
Contrast
Brightness
Color
Hue
Picture
MENU : Previous : Select
INPUT : Exit
: Position
50
50
50
50

36
If the signal from the system equals the standard signal mode, the screen will adjust automatically.
If the signal from the system does not equal the standard signal, adjust the display mode as shown below
referring to your video card instructions. Otherwise there will be no picture or only power may turn on.
Resolution
VGA, 640Ŧ350
VGA, 720Ŧ400
VGA, 640Ŧ480
VGA, 640Ŧ480
VGA, 640Ŧ480
SVGA, 800Ŧ600
SVGA, 800Ŧ600
SVGA, 800Ŧ600
XGA, 1024Ŧ768
XGA, 1024Ŧ768
XGA, 1024Ŧ768
Horizontal (KHz)
31.469
31.469
31.469
37.500
37.861
37.879
46.875
48.077
48.363
56.476
60.023
Vertical (Hz)
70.086
70.087
59.940
75.000
72.809
60.317
75.000
72.188
60.004
70.069
75.029
Clock Frequency (MHz)
25.175
28.322
25.175
31.500
31.500
40.000
49.500
50.000
65.000
75.000
78.750
Polarity (H/V)
Pin PC IN
1 Red (R)
2 Green (G)
3 Blue (B)
4 Grounding
5 Grounding (DDC)
6 Red (R) Grounding
7 Green (G) Grounding
8 Blue (B) Grounding
9 Reserved
10 Sync Grounding
11 Grounding
12 Data (DDC)
13 Horizontal Sync
14 Vertical sync
15 Clock (DDC)
PC Input Connetor
(D-sub 15Pin)
Standard Display Mode

37
Troubleshooting
No picture or sound.
Screen is black.
Picture is OK but
there is no sound.
Poor sound quality.
No image on a
specific channel.
Image is not stable
and may appear to
vibrate , horizontal
bars appear.
No color on a
specific channel
(a black & white
image).
Black or white dots
appear on all
channels l or a
specific channel.
Ҹ
Make sure the TV is plugged in.
Ҹ
Make sure the power cord is connected to the consent correctly.
Ҹ
Check the power failure.
Ҹ
Make sure the external signal source mode is selected.
Ҹ
Press the INPUT button to change to TV.
Ҹ
Press the Mute button.
Ҹ
Check another channel.
Ҹ
Press the button to increase the volume.
Ҹ
Make sure the channel using a stereo broadcast by pressing the
Display( ) button.
Select Mono. The sound quality of a stereo broadcast may be
unstable in an area with a weak signal. (See page 22 )
Ҹ
Make sure the channel selection is correct.
Ҹ
Change the antenna direction to the right or left.
Ҹ
Adjust the fine tuning of the channel.
Ҹ
Adjust the fine tuning of the channel.
Ҹ
Make sure there is no powerful electromagnetic wave interference
from the transmitting station.
Ҹ
Stop using a hair drier, electric drill or electric blender .
Ҹ
Check other channels to see if the specific channel is broadcasting
a black & white program.
Ҹ
Adjust the color. (See page 19)
Ҹ
Make sure the antenna is connected correctly. (See page 10)
Ҹ
Make sure the status of the antenna or wire is good .
Ҹ
Adjust the fine tuning of the channel.
For TV
Display

38
no signal message
cable" message
Picture rolls down
vertically.
A shadowed area
appears on the screen.
The image is too large
or too small.
Horizontal or vertical
bars appear on the
screen.
The power indicator
light blinks green.
Ҹ Check if the signal cable(15Pin D-sub) is properly connected to
the computer. (See page 32)
Ҹ This message may appear when the resolution and frequency
of the video card in the computer are out the range of the TV.
Select the proper resolution and frequency for the TV.
(See page 36)
Ҹ Check if the signal cable (15Pin D-sub) is properly connected
to the computer. (See page 32)
Ҹ Make sure the resolution and frequency of the computer video
card are set properly to the range of the TV.
Set the picture again referring to the standard display mode
and current mode. (See page 36)
Ҹ Adjust the picture to use the screen position feature.
(See page 34)
Ҹ Adjust the frequency and fine tuning.
Ҹ Adjust the resolution and frequency to the recommended
specifications. (See page 36)
(1024 x 768 @ 60Hz)
Ҹ The TV is in power saving mode. The picture will return to
normal status when you press any key on the keyboard or
move the mouse.
For Monitor
Troubleshooting

39
SpecificationsH
Model name
LCD
TV/VIDEO
DTV
PC
Audio Output
Power Supply
Size
Display Size
Pixel Pitch
Pixel Number
Type
Brightness
Contrast Ratio
Viewing Angle
Color System
Sound System
Video System
Y / Pb / Pr
Sync.
Horizontal
Vertical
Display Color
Max. Resolution
Sync.(H/V Separate)
HQL260WR
26" Diagonal
566.4mm (H)Ŧ339.84mm (V)
0.4425mm (H) x 0.4425mm (W)
1280ŦRGBŦ768
a-si TFT active maxrix
500 cd / m
2
500 : 1
170Ŋ(H) / 170Ŋ(V)
NTSC
NTSC-M
CVBS, S-VHS, RGB
COMPONENT : 480i/p, 576i, 720p, 1080i
30~61KHz
56~75Hz
16,770,000 Colors
1024Ŧ768
TTL, Positive or Negative
5W(rms) x 2EA
AC 110-240V 50/60Hz
Power Consumption
Power Saving
Dimension (WŦHŦD)
814mmŦ490mmŦ236mm (With stand)
Weight
Remote Control, Battery (AAA type), Operating Instructions
Accessories
Design and specifications are subject to change without notice.
Ҹ
typical 120W
1.8W
17.0Kg (With stand)
Power Cord, DC Adapter
 Loading...