

Hyundai HYBC5200 User Manual

BRUSHCUTTER
M
odel HYBC5200
User Manual
Licensed by Hyundai Corporation, Korea

Page 2
Rev 3 - September 2016

CONTENTS
4 - 8
9 - 21
22 - 24
24
25 - 26
27 - 30
31
32
33 - 34
35
36
36
1. SAFETY
2. QUICK START
3. STARTING PROCEDURE
4. STOPPING PROCEDURE
5. USING THE MACHINE
6. MAINTENANCE
7. TROUBLESHOOTING
8. SPECIFICATION
9. PART LOCATIONS
10. DECLARATIONS OF CONFORMITY
11. RECYCLING & PRODUCT DISPOSAL
12. CONTACT DETAILS
13. MANUAL UPDATES
14. WARRANTY
36
37
Page 3
Rev 3 - September 2016
1. SAFETY
1.1. General safety notes.
1.1.1. The operator of the machine is
responsible for, and has a duty of care in
making sure that the machine is operated
safely and in accordance with the instructions
in this user manual. Keep the manual safe and
pass it on if the machine is loaned or sold to
another user.
1.1.2. Please note the following safety
points.
1.1.2.1. The machine should never be left it in
a condition which would allow an untrained or
unauthorised person/s to operate this
machine.
1.1.2.1.1. All due care and diligence
should be taken by the operator for the safety
of, and with regard to, those around whilst
using the machine.
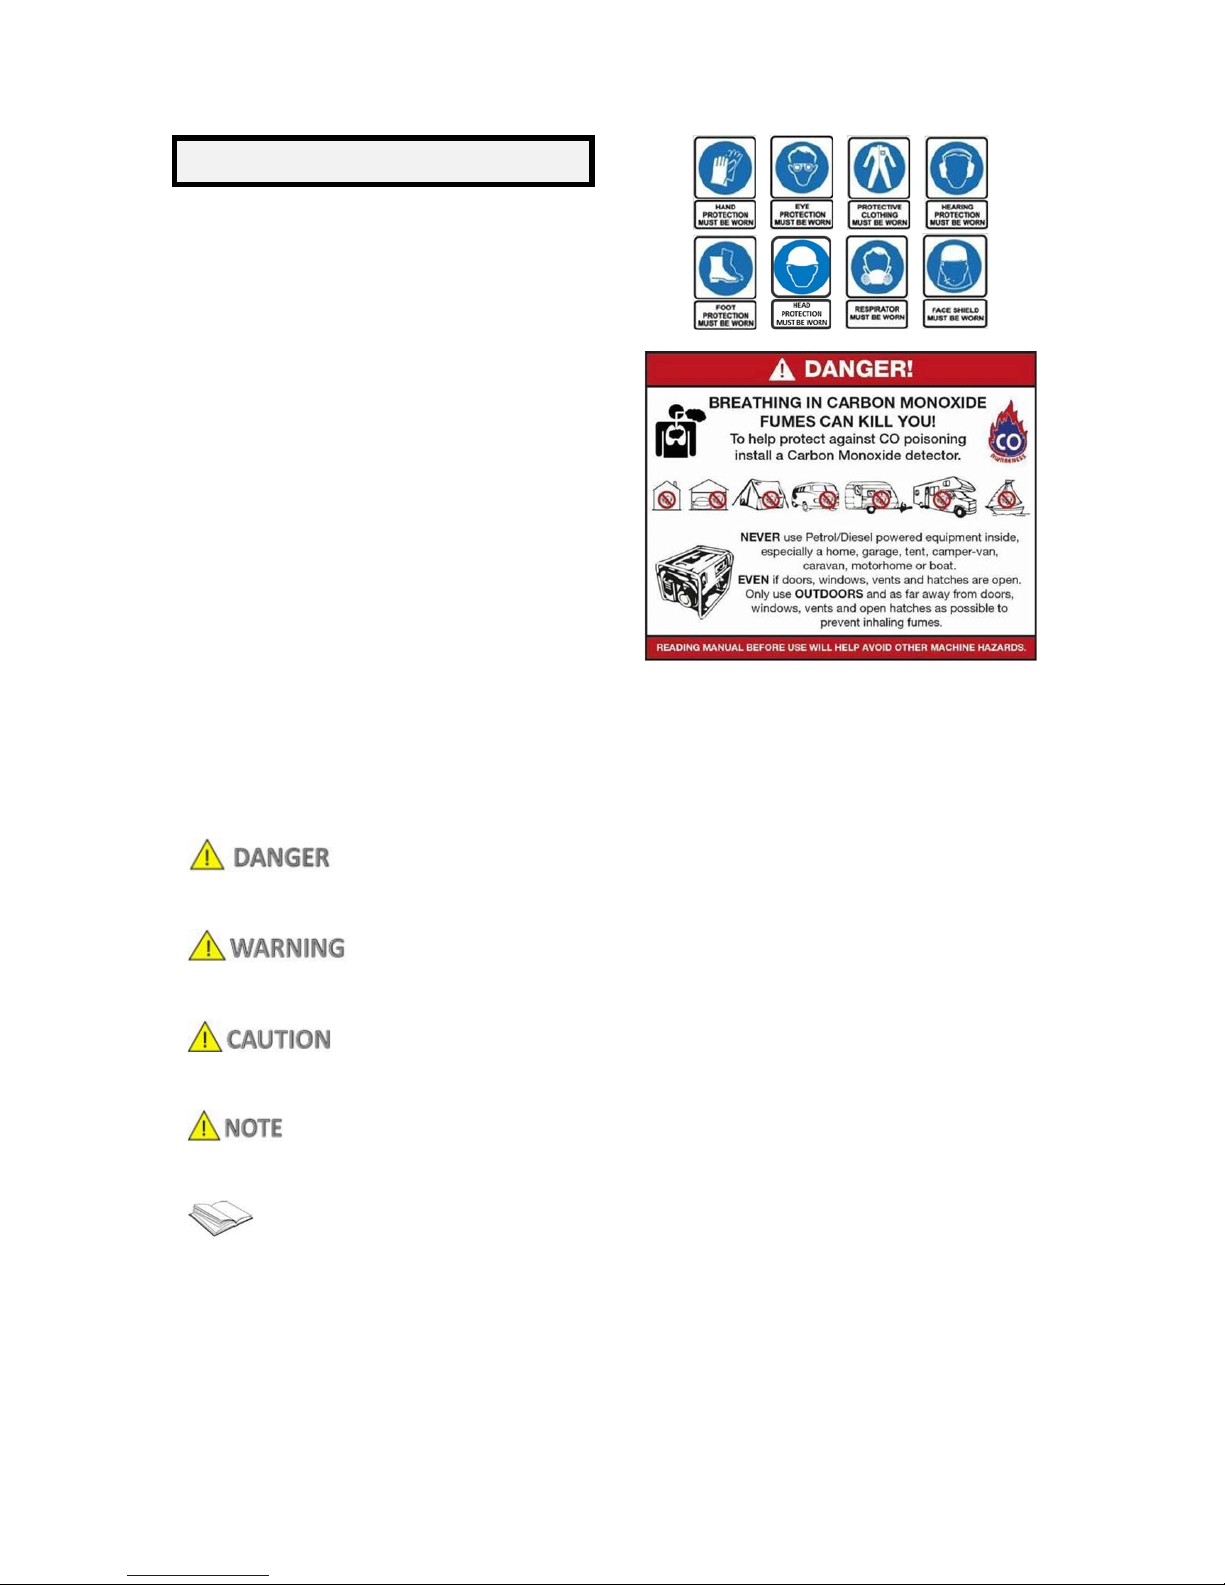
1.1.2.1.2. Some or all of the following warning signs, symbols and/or PPE pictograms
may appear throughout this manual. You
MUST adhere to their warning/s. Failure to do
so may result in personal injury to yourself or
those around you.
I
ndicates a hazard, which, if not avoided, could
result in serious injury or death.
I
ndicates a hazard, which, if not avoided, could
result in serious injury.
Indicates a hazard which, if not avoided, might
result in minor or moderate injury.
I
ndicates a situation that could easily result in
equipment damage.
R
EAD and keep the manual safe and pass it on
if the machine is loaned or sold to another
user. You MUST fully read instructions to make
sure you use and operate machine safely.
Appropriate Personal Protective Equipment
(PPE), MUST be worn at all times when
Machine is in use or being repaired.
1.2. Carbon monoxide (where applicable).
1.2.1. Carbon monoxide is a colourless and
odourless gas. Inhaling this gas can cause
death as well as serious long term health
problems such as brain damage.
1.2.2. The symptoms of carbon monoxide
poisoning can include but are not limited to
the following; Headaches, dizziness, nausea,
breathlessness, collapsing or loss of
consciousness.
1.2.2.1. Carbon monoxide poisoning
symptoms are similar to flu, food poisoning,
viral infections and simply tiredness. It is quite
common for people to mistake this very
dangerous poisoning for something else.
1.2.2.2. To avoid carbon monoxide poisoning
DO NOT use Petrol/Diesel- powered
equipment inside any of the following; Home,
garage, tent, camper van, mobile home,
caravan or boat.
This list is not exhaustive and if you are in any
doubt contact your dealer.
1.2.3. If you think you have or someone
around you has been affected by carbon
monoxide poisoning;
1.2.3.1. Get them fresh air immediately, by
leaving the affected area or by opening doors
and windows. If safe and practical to do so
Page 4
Rev 3 - September 2016

make sure that the machine is turned off. DO
NOT enter a room you suspect of having
carbon monoxide present – instead call the
emergency services.
1.2.3.2. Contact a doctor immediately or go to
hospital - let them know that you suspect
carbon monoxide poisoning.
1.2.4 DO NOT use in an enclosed area or a
moving vehicle.
1.3. General fuel safety (where applicable).
A
LL FUELS ARE FLAMMABLE
1.3.1. Fire hazard - keep fuel away from all
sources of ignition for example heaters, lamps,
sparks from grinding or welding.
1.3.2. DO NOT carry out hot work on tanks
that have contained fuel it is extremely
dangerous.
1.3.3. ALWAYS keep work area clean and
tidy.
1.3.4. ALWAYS clean up all spills promptly
using correct methods i.e. absorbent granules
and a lidded bin.
1.3.5. ALWAYS dispose of waste fuels
correctly.
1.4. Fueling/De-fueling (where applicable).
A
LL FUELS ARE FLAMMABLE
1.4.1. ALWAYS fuel and defuel in a wellventilated area outside of buildings.
1.4.2. ALWAYS wear correct, suitable and fit
for purpose Personal Protective Equipment
(PPE), suggested items are but not limited to
safety gloves and overalls.
1.
4.3. When fueling/de-fueling ALWAYS
avoid inhaling fumes
1.4.4. When de-fueling ALWAYS use a
propriety fuel retriever.
1.4.5. ALWAYS carry fuel in the correct and
clearly marked container.
1.
5. Electrical safety (where applicable).
1.
5.1. Electricity can kill - NEVER work on
LIVE/ENERGISED equipment.
1.5.2. Prior to carrying out any maintenance
work you MUST Identify electrical isolation
methods and isolate all electrical supplies,
1.5.3. Prior to use and with all electrical
supplies isolated You MUST check all electrical
cables, plugs and connections for the
following;
1.5.3.1. Are intact and have no signs of
damage, to include but not limited to bare
wires, chaffing, cuts and loose wiring.
1.5.3.2. If there are any signs of damage, the
damaged item MUST be taken out of service
until the damage has been repaired by an
electrically competent person.
1.5.3.3. All trailing cables should be routed so
as not to cause any kind of trip hazard.
1.5.3.4. NEVER work on or near electricity with
wet hands, wet clothing, and wet gloves.
1.6. Batteries (where present).
1.
6.1. Batteries present a risk if they become
damaged by the possible leaking of electrolyte.
This electrolyte is an acid and can cause
serious burn injuries. Care should be taken
when working on or near them. NOTE the
electrolyte may be in liquid or gel form.
1.6.2. Should you come into contact with
electrolyte you should;
Page 5
Rev 3 - September 2016

1.6.2.1. Remove all clothing contaminated
with electrolyte. If you cannot remove then
saturate in water.
1.6.2.2. Get medical assistance as soon as
possible. You must advise the medical staff of
the type acid.
1.6.2.2.1. Lead/acid battery = dilute
sulphuric acid
1.6.2.2.2. Nickel/cadmium = potassium
hydroxide alkali electrolyte.
1.6.2.3. Use fresh running water to wash off
excess electrolyte, continue this until medical
assistance arrives. Make sure that you do not
wash the electrolyte to another part of the
face or body.
1.6.2.4. If electrolyte comes into contact with
Eyes the electrolyte needs to be immediately
washed away with large amounts of water.
Make sure that you do not wash the
electrolyte to another part of the face or body.
1.6.3. Gasses from charging batteries are
highly flammable and great care should be
taken to charge in well ventilated areas.
1.6.4. There is an explosion risk if the battery
terminals are short circuited, when
connecting/dis-connecting ALWAYS exercise
great care so that the terminals or battery
leads are NOT allowed to touch and cause a
spark. ALWAYS use suitable insulated tools.
1.
7. Vibrations (where applicable).
1.7.1. Prolonged use of hand held (operated)
machines will cause the user to feel the effects
of/from vibrations. These vibrations can lead
to white finger (Raynaud's phenomenon) or
carpal tunnel syndrome. This condition
reduces the ability of the hand to feel and
regulate temperature, causing numbness and
heat sensations and may cause nerve damage
and circulatory tissue death.
1.7.2. Not all factors that lead to white finger
disease are known, but cold weather, smoking
and other diseases that affect blood vessels
and blood circulation as well as large and longlasting impact of shocks are considered factors
in the formation of white finger. Note the
following to reduce the risk the white finger
and carpal tunnel syndrome:
1.7.2.1. Wear gloves and keep your hands
warm
1.7.2.2. Take regular breaks
1.7.3. All of the above precautions may help
reduce the risk of white finger disease but not
rule out carpal tunnel syndrome. Long-term
and regular users are therefore recommended
to observe the condition of your hands and
fingers. Seek medical attention immediately if
any of the above symptoms should occur.
1.8. Noise (where applicable).
1.8.1. The operating noise of the machine
can damage your hearing. Wear hearing
protection such as earplugs or ear defenders
to protect your hearing. Long- term and
regular users are advised to have hearing
checked regularly. Be especially vigilant and
cautious when wearing hearing protection
because your ability to hear alarm warnings
will be reduced.
1.8.2. Noise emissions for this equipment is
unavoidable. Carry out noisy work at approved
times and for certain periods. Limit the
working time to a minimum. For your personal
protection and protection of people working
nearby it is also advisable for them to wear
hearing protection.
1.8.3. See CERTIFICATE of CONFORMITY
section for Outdoor Noise declaration of
conformity.
1.9. Additional safety labels.
Keep all children, bystanders and helpers 15
meters from the machine.
Page 6
Rev 3 - September 2016

W
arning against flying objects wear helmet,
goggles and ear protection.
W
arning: Danger from hot components,
especially exhaust - Keep clear of combustible
materials.
1.
10. Additional safety instructions.
1.10.1. This machine may only be used for
trimming grass, weeds and brushwood. Never
use for other purposes, as this may result in
serious injury! Safety instructions must be
observed. DO NOT EXPOSE YOURSELF OR
OTHERS TO THE RISKS. Follow these general
instructions -
• ALWAYS wear safety goggles for eye
p
rotection.
• Long hair must be tied back.
• DO NOT wear loose clothing or jewelry tha
t
c
ould get caught in moving parts of the
machine. Safe, strong, non-slip safety shoes
should be worn.
• It is recommended that the legs and feet
are fully protected, to protect themselves
during the operation against flying objects.
1
.10.2. Check the entire machine for
loose/missing parts (nuts, bolts, screws, etc.).
Tighten/ replace before using the machine. DO
NOT use accessories with this machine other
than those recommended/supplied by the
manufacturer. Otherwise serious injuries to
the user or bystanders as well as damage to
the machine will result.
• Keep the handles free of oil and fuel.
• ALWAYS use the correct interface handles
and shoulder strap.
• DO NOT smoke when mixing fuel or when
filling the tank.
• DO NOT mix fuel in an enclosed area or
near open fires.
• Make sure sufficient ventilation
/
ventilation.
• Mix and store the fuel mixture in a
correctly marked container, which is
allowed by local regulations.
1.10.3. During and after use the engine and
exhaust will be very HOT you must keep all your
all parts of your body and clothing including all
combustible materials clear of the engine and
exhaust.
1.10.4. DO NOT use the machine during or
after rain, snow or sleet. The floor will become
slippery. DO NOT use the machine on a slope
or uneven ground or if there is the chance of
slipping or losing the stability.
1.10.5. If you trip or fall whilst machine is in
use you MUST immediately release the
throttle, and turn off the ignition switch.
1.10.6. If you hit any obstacles you must stop
the machine and remove the HT lead so that
you can inspect the machine. IF the machine is
damaged in any way you MUST get it repaired
before restarting work.
1.10.7. DO NOT use a damaged machine or a
machine with a blunt, cracked or damaged
cutter blade or trimmer head.
1.10.8. When using the blade cutter there is a
danger of kickback. Kickback is a reaction that
can occur when the rotating cutting blade
strikes an object which cannot be cut. This
contact causes the cutting blade to stop for an
instant and then suddenly repel from the
object taken with accelerated force. This
reaction can be violent enough that the
operator momentary loses control of the
machine. A kickback can occur without
warning when the cutter encounters an
unseen obstacle when the blade is running.
This is more likely in areas where it is difficult
to properly check the material/area to be cut.
For easy and safe cutting, cut the weeds/brush
from right to your left.
1.10.9. If any trimmed materials get tangled in
the nylon cord or cutting blade you MUST stop
the machine and remove the HT lead. Onley
then can you clear any blockages.
Page 7
Rev 3 - September 2016

1.10.10.
NEVER use the machine with a saw blade
attachment it is STRICTLY FORBIDDEN.
1.10.11. DO not use the brush cutter
for trimming trees.
1.10.12. DO NOT wear rings and
jewelry or loose, dangling clothing that could
get caught in the machine. DO NOT wear
footwear with unprotected toes and DO NOT
work barefoot or without leg protection. In
certain situations, you have to wear head
protection.
Page 8
Rev 3 - September 2016

2. QUICK START
You can also check out our online video at www.youtube.com/hyundaipowerequip.co.uk
2.1. This guide is meant to serve as a quick reference for operating your Hyundai brush cutter it is
for convenience and the user should read the safety section first.
OUTDOOR USE ONLY.
This brush-cutter produces carbon monoxide - a poisonous, colourless & odourless gas that can cause
death or serious injury. Petrol is highly flammable, always handle with extreme care and in a well
ventilated area.
Always remove HT lead from spark plug when checking machine or changing parts.
2.2. This product includes, Main unit, Operators handle, Trimmer head, Bump feed nylon trimmer
head, 3 tooth steel blade, 8 tooth steel blade, Spare 2.5 mm nylon cord, Full harness, Gloves, Face
shield, Ear defenders, Tool kit, Spare spark plug, 2-Stroke oil mixing bottle, User manual, Warranty
registration form & Morris lubrication chart.
2.3. At this point, check that you have all of the included items listed above. If any are missing or
damaged, call 01646 687 880 or email info@hyundaipowerequipment.co.uk
.
2.4. Trigger and handlebar assembly.
Undo the Screw from the trigger assembly and remove both the screw and retaining nut.
Page 9
Rev 3 - September 2016

Slide the trigger assembly over the handle bar, locate the hole and refit the screw and bolt
through the trigger assembly.
N.B. Note orientation of trigger assembly power switch should be towards user.
Page 10
Rev 3 - September 2016
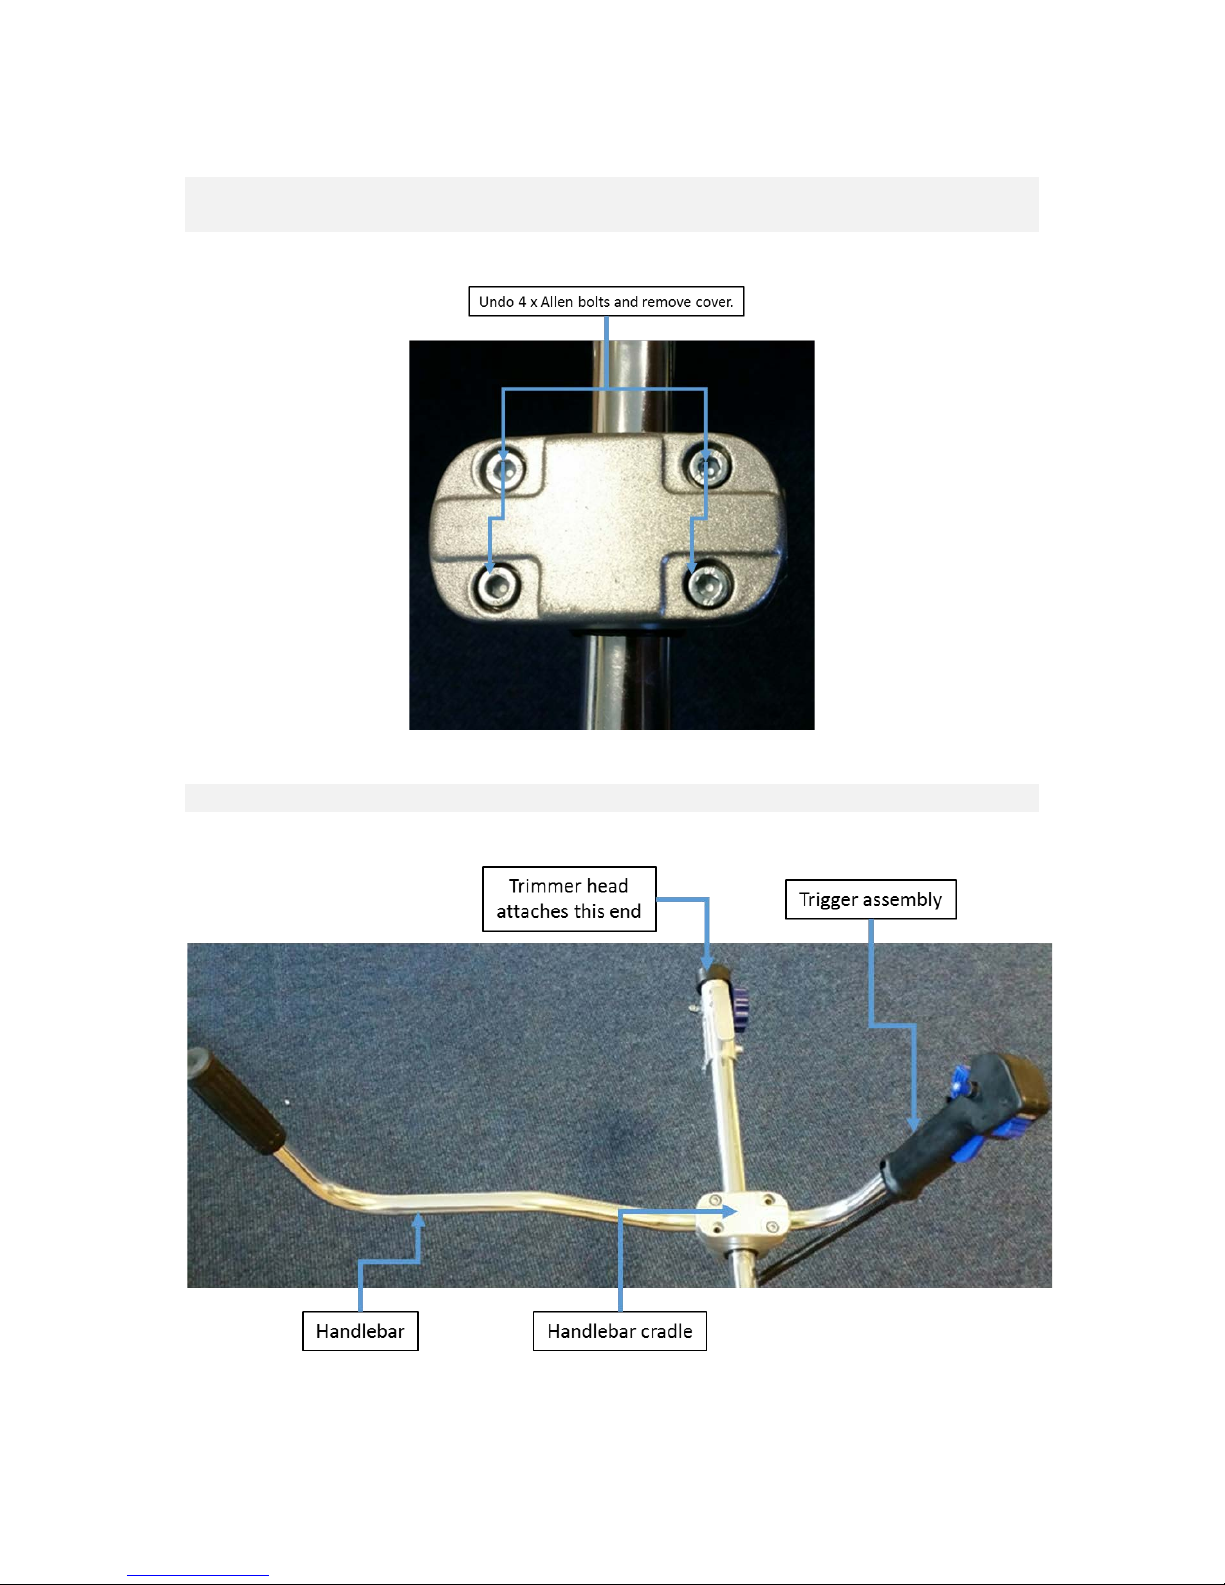
Undo the 4 Allen bolts and remove the cover, place handle bar into cradle and align hole in
shaft and refit the four Allen bolts once positioned to suit user tighten the bolts.
Handlebar and trigger assembly
Page 11
Rev 3 - September 2016

2.5. Trimmer blade assembly.
Before fitting the trimmer guard to the machine you must first fit the trimmer guard cord
cutter. Take the cutter blade and 3 self-tapping screws from the Blue tool bag. Align the cutter
blade as shown and fix into place. N.B. Keep the protective sleeve in place until blade is fully
secured and ready for use.
2.6. Trimmer guard assembly.
The trimmer guard needs to be fixed onto the lower shaft before it is mounted onto the
machine. Take the trimmer guard clamp and 2 fixing Allen bolts from the tool bag then attach
them to the trimmer guard. At this stage DO NOT overtighten the bolts.
Page 12
Rev 3 - September 2016
 Loading...