

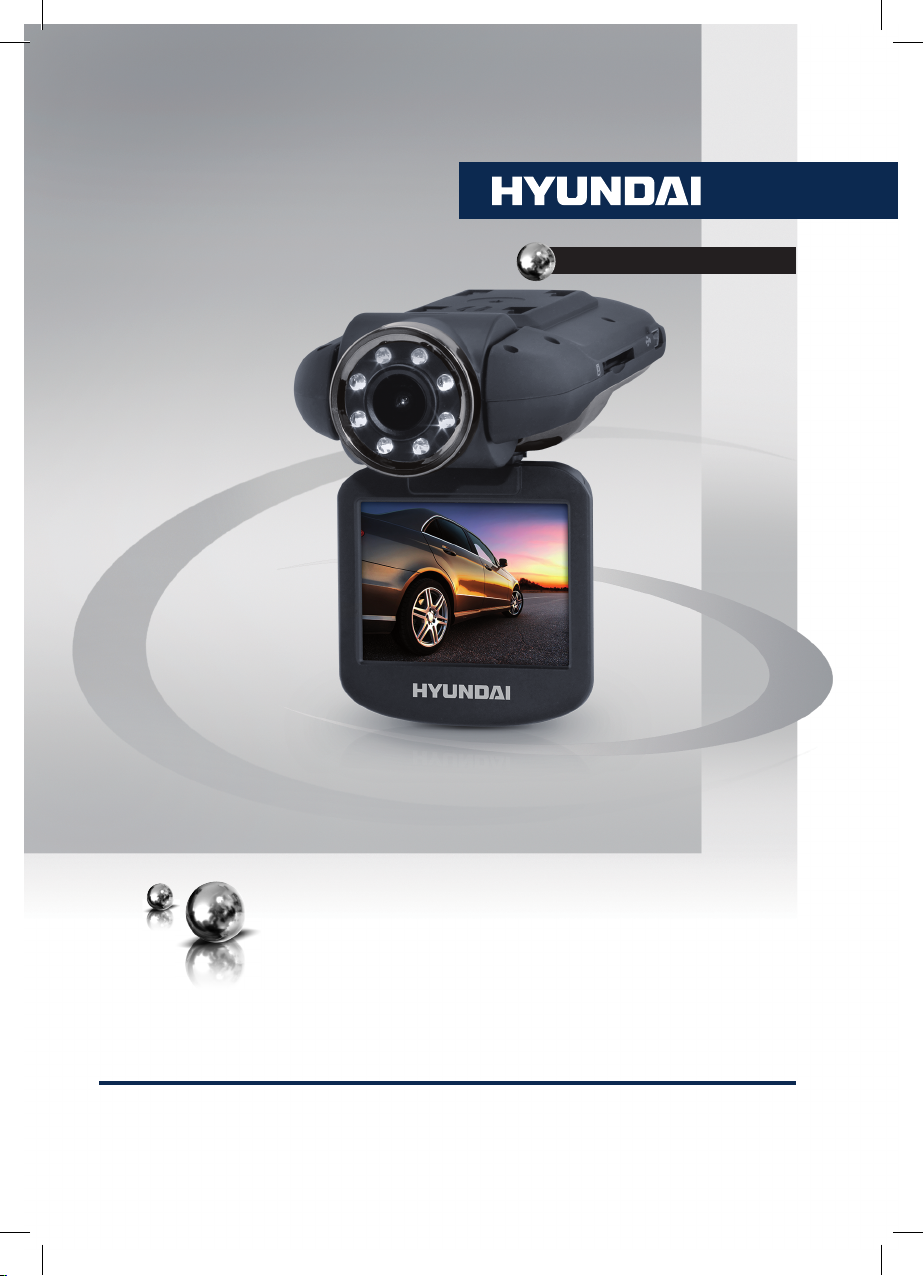
Hyundai H-DVR12 User Manual
АВТОМОБИЛЬНЫЙ
ВИДЕОРЕГИСТРАТОР
CAR VIDEO RECORDER
Руководство по эксплуатации Instruction manual
H-DVR12

2
Instruction Manual
Dear customer!
Thank you for purchasing our product. For safety, it is strongly recommended to read
this manual carefully before connecting, operating and/or adjusting the product and keep
the manual for reference in the future.
If you want to dispose this product, do not mix it with general household waste. There is
a separate collection system for used electronic products in accordance with legislation
that requires proper treatment, recovery and recycling.
Please contact your local authorities for the correct method of disposal. By doing so, you
will ensure that your disposed product undergoes the necessary treatment, recovery and
recycling and thus prevent potential negative effects on the environment and human health.
Utilization of the product
Important safeguards
• Read carefully through the manual to
familiarize yourself with this unit.
• Keep this manual handy as a reference
for operating procedures and precautions. Do
not allow persons who have not read through
this manual to use this unit.
• Connect this unit only to the vehicle lighter
jack of your car with +12-24 V DC power. If the
voltage is too high, it may cause damage to
this unit.
• Careful handling of the unit can prolong
its operation life.
• Due to variety of car lighter jack sizes
depending of vehicle type, ensure that this unit
is properly contacted in the lighter socket.
• The unit should be used only with original
accessories included. The Manufacturer is
not responsible for possible damage of this
unit cause by using other accessories than
provided by Manufacturer.
• Should this product fail to operate
properly, contact your local dealer.
Controllers
Right panel
1
2
1. Mini USB port
2. SD card slot
Left panel
3 4
5
3. Camera

3
Instruction Manual
4. HDMI port
5. TFT rotating screen
Rear panel
6
7
8
9
6. PWR button
7. M button
8. Cursor/OK button
9. MENU button
Top panel
1
10
11
12
13
10. Mic
11. RESET hole (button)
12. Stand fixing holes
13. Speaker
Operations
Mounting
• Insert the fixing pins on the top of the
stand into the bracket holding holes in the
bottom of the unit and move the unit backward
until a click to fix it tightly to the bracket.
• Press the suction cup to a surface in the
car, then push the pressure valve down. Make
sure the stand is fixed properly to the surface.
• You can adjust the angle of the stand by
loosening the upper and lower washers and
bending the assembly knots.
• To unmount the stand, lift the pressure
valve, then lift the plastic ear on the suction cap.
Rotary display
To improve the display angle for viewing it,
you can rotate the display in one plane relative to
the hinge axis 2700 rightwards.
Camera position
You can adjust the vertical camera position
by rotating it manually at the angle of ±850 to
select the best recording view angle.
Power and charging
To charge the battery of this unit connect
its USB port to the PC with the suppled USB
cable; or connect it to a car lighter socket
with the suppled car adapter. The power icon
on the bottom right corner of the display
indicates the remaining battery power. During
charging from PC the unit can function only as
PC camera.
Recording
• Before you start recording, insert an SD
memory card into the memory card slot of this
unit until a click. Insert the card with correct side.
SD capacity supported: up to 32 GB.
For correct and satisfactory operation, licensed
memory cards of famous brands should be
used with this unit. Avoid using memory cards
of unknown brands. The performance class of
the card should be 6 or above, otherwise the
video quality may be low resulting in uneven
video playback.
• Auto recording: After you connect this unit
to car power source, recording will be started
automatically. After you disconnect the power
source, the unit will stop recording and save

4
Instruction Manual
the recorded information.
• Manual recording: Press PWR button
to switch on the unit (press and hold it again
if you want to switch off the unit). Select
recording mode by pressing repeatedly MODE
button; in recording mode the top left corner of
the display shows symbol indicating the
the unit is ready for recording. Press OK button
to start recording. Press this button again to
stop recording.
• While recording, the recording time is
shown in white figures in the top of the display.
The unit will save video files automatically
after each 3, 5 or 10 minutes (see “Setup“
paragraph below for more details). When the
memory card is filled, old files will be deleted
and the new files will be recorded instead.
Press OK button to stop and to continue
recording.
• When the environmental lighting is not
bright enough, the unit will automatically
activate the IR lights in the front panel of the
unit (if this function is set to Auto mode; see
“Setup“ paragraph for more details).
• Press cursor button to zoom in or out.
• Before removing memory card stop
recording. Press on the card until a click to
remove it.
• Motion detector recording is available
after you switch on this item in the setting
menu (see “Setup“ paragraph below for more
details). The unit will go to recording mode if
there is image motion in front of the lens. When
a motion is detected, the unit will start to record
a video fragment (no matter whether there is
motion or not during the recording period), after
the fragment is recorded, the unit comes to
standby mode till a motion is detected again.
• G-sensor. If overload resulting from an
impact exceeds the setup value (1 g = 9.8m/s^2;
see “Setup“ paragraph below for more details),
the current video fragment will be automatically
saved and protected from re-recording.
• SOS function. When you press MODE
button during video recording, the current
fragment is completed and it will be protected
from rerecording.
Photo mode
• Press M button to choose the photo mode.
The top left corner of the screen will display the
icon. Press the kursor button to zoom in or
out. Press OK button to take a photo.
• You can set various parameters of photo.
Please see “Setup“ paragraph below for more
details.
Playback mode
• Press MODE button repeatedly to enter
playback mode. The top left corner of screen
will display icon. Press cursor button to
choose the files. Press OK button to play the
selected file. Press OK button to stop and
resume playback.
• In file playback mode select a file, then
press MENU button. A menu will appear in
which you can select to delete the file. Select
“Delete” item, then press OK button to confirm
deleting.
AV output and HDMI output
• Connect the USB port (DC in/AV out) of
this unit to an external audio-video device (e.g.
car TV) with the supplied audio-video cable.
Now this unit can be used as audio and video
sugnal source for the external device.
• Connect the HDMI output of this unit to an
external audio-video device (e.g. car TV) with
the supplied HDMI cable. Now this unit can be
used as high-quality digital signal source for
the external device.
PC camera
To use this unit as a PC camera, no special
software is required to be installed to your PC.
After this unit is connected to the PC via USB
cable, the display will show three modes for
selection (press and buttons to select
them; press OK button to confirm):
• Mass Storage: It is a computer interface
between a computer and a digital camera
which shows the digital camera as a removable
disk drive attached to the computer.
 Loading...