

Hypermedia HG9000 Product Manual
Hypermedia SIM Server
HG9000
Product Manual
HM SIM Server Product Manual

Release 7.1: Mar2018
Hypermedia Systems Ltd.
2b, Professor Bergman St., Rabin Science Park,
Rehovot, 7670504, Israel
Telephone: (+972)-77-4445000
Fax: (+972)-8-936-3066
For general inquiries: info@hyperms.com
For sales inquiries: sales@hyperms.com
For Technical Support: support@hyperms.com Web
site: http://www.hyperms.com/
PROPRIETARY AND CONFIDENTIAL
Copyright © 2018 by Hypermedia Systems Ltd. All rights reserved.

HM SIM Server Product Manual
Release 7.01: Mar2018
No part of this document may be reproduced, transmitted or copied in any form or by any
means- graphic, electronic, or mechanical, including photocopying, typing or information
retrieval systems- without the express written permission of Hypermedia Systems Ltd.

HM SIM Server Product Manual
Release 7.01: Mar2018

Hypermedia Systems Ltd. LICENSE AGREEMENT AND WARRANTY
IMPORTANT — READ CAREFULLY
This Hypermedia Systems Ltd. License Agreement (the "AGREEMENT") is a legal agreement between you (either an
individual or a single entity) and Hypermedia Systems Ltd. for the product accompanying this AGREEMENT. The
product includes computer software, associated media and printed materials, and may include "online" or electronic
documentation (the "SOFTWARE"). The PRODUCT may also include hardware (the “HARDWARE”). The SOFTWARE
and the HARDWARE are referred to, collectively, as the PRODUCT.
BY INSTALLING AND/OR USING THE PRODUCT YOU AGREE TO BE BOUND BY THE TERMS OF THIS
AGREEMENT.
IF YOU DO NOT AGREE TO THE TERMS OF THIS AGREEMENT, PROMPTLY ERASE ALL COPIES OF THE
SOFTWARE IN YOUR POSSESSION, AND RETURN THE SOFTWARE AND ANY ACCOMPANYING HARDWARE TO
THE PLACE FROM WHICH YOU OBTAINED IT.
COPYRIGHT
All title and copyrights in and to the PRODUCT are owned by Hypermedia Systems Ltd. The PRODUCT is protected by
copyright laws and international copyright treaties, as well as other intellectual property laws and treaties.
GRANT OF LICENSE FOR THE SOFTWARE
The SOFTWARE is licensed, not sold. Hypermedia Systems Ltd. grants to you a non-exclusive, non-transferable,
royalty-free right to install and use the SOFTWARE, provided that the SOFTWARE will be used by a single person on a
single computer and for personal non-commercial, internal use only. If accompanied by a proof-of-purchase document
specifying "site license," "company license," or any other multiple-user type license scheme, then the terms of that
document shall override this single-user restriction. Any rights not expressly granted herein are retained by Hypermedia
Systems Ltd.
OTHER RESTRICTIONS
This AGREEMENT is your proof of license to exercise the rights granted herein and must be retained by you. You may
not rent, lease, reverse engineer, decompile, modify, or disassemble the PRODUCT, or create derivative works based
on the PRODUCT.
LIMITED HARDWARE WARRANTY
The HARDWARE is protected against defects in material and workmanship, under normal use, for one (1) year from the
original purchase date.
If the HARDWARE fails to perform within the abovementioned warranty period, you must return the PRODUCT to
Hypermedia Systems Ltd. and prepay any shipping charges, export taxes, custom duties and taxes, or any charges
associated with transportation of the Product. In addition, you are responsible for insuring the PRODUCT shipped or
returned and assume the risk of loss during shipment.
All returned PRODUCTS must be accompanied by a description of the problem, a proof of the place and date of
purchase, and the original shipping and packing materials.
Hypermedia Systems Ltd. shall, at its sole discretion, either repair the PRODUCT or replace it with a product of the same
functionally. Replacement products may be refurbished or contain refurbished materials. If Hypermedia Systems Ltd.
cannot repair or replace the PRODUCT, Hypermedia Systems Ltd. will refund the depreciated purchase price of the
PRODUCT.
This limited warranty does not apply to any PRODUCT not purchased from Hypermedia Systems Ltd., or from a
Hypermedia Systems Ltd. authorized reseller, or on which the serial number has been removed or defaced. This limited
warranty also does not cover any PRODUCT that has been damaged or rendered defective as a result of (a) improper
transportation or packing when returning the PRODUCT to Hypermedia Systems Ltd.; (b) use of the PRODUCT other
than in accordance with its instructions, or other misuse or abuse of the PRODUCT; (c) modification of the PRODUCT;
(d) service by anyone other than a Hypermedia Systems Ltd.-approved agent; (e) unusual physical or electrical stress or
interference, failure or fluctuation of electrical power, lightning, static electricity, improper temperature or humidity, fire, or
acts of God.

The maximum liability of Hypermedia Systems Ltd. under this limited warranty is limited to the purchase price of the
PRODUCT covered by the warranty.
Hypermedia Systems Ltd. reserves the right to refuse PRODUCTS (i) that are not covered by the warranty; or (ii) for
which there is no problem found. Such PRODUCTS shall be returned to the purchaser at purchaser’s expense.
DISCLAIMER
EXCEPT AS EXPRESSLY STATED ABOVE OR AS REQUIRED BY LAW, Hypermedia Systems Ltd. DISCLAIMS ANY
WARRANTY FOR THE PRODUCT. THE PRODUCT IS PROVIDED "AS IS" WITHOUT REPRESENTATION OR
WARRANTY OF ANY KIND, EITHER EXPRESS OR IMPLIED, INCLUDING, WITHOUT LIMITATION, THE IMPLIED
WARRANTIES OF MERCHANTABILITY, FITNESS FOR A PARTICULAR PURPOSE, OR NONINFRINGEMENT.
Hypermedia Systems Ltd. ASSUMES NO RISK ARISING OUT OF THE USE OR PERFORMANCE OF THE PRODUCT.
NO LIABILITY FOR CONSEQUENTIAL DAMAGES
IN NO EVENT SHALL Hypermedia Systems Ltd., ITS AGENTS OR ITS SUPPLIERS BE LIABLE FOR ANY DAMAGES
WHATSOEVER (INCLUDING, WITHOUT LIMITATION, DIRECT, INDIRECT, SPECIAL OR OTHER CONSEQUENTIAL
OR INCIDENTAL DAMAGES; DAMAGES FOR LOSS OF BUSINESS PROFITS, BUSINESS INTERRUPTION, LOSS
OF BUSINESS INFORMATION, OR ANY OTHER PECUNIARY LOSS) ARISING DIRECTLY OR INDIRECTLY OUT OF
THE USE OF OR INABILITY TO USE THE PRODUCT, EVEN IF Hypermedia Systems Ltd. HAS BEEN ADVISED IN
ADVANCE OF THE POSSIBILITY OF SUCH DAMAGES.
Because some states or jurisdictions do not allow the exclusion or limitation of liability for consequential or incidental
damages, the above limitation may not apply to you.
U.S. GOVERNMENT RESTRICTED RIGHTS
For purchases made in the United States: The SOFTWARE and any accompanying documentation are provided with
restricted rights. Use, duplication or disclosure by the Government is subject to restrictions as set forth in subparagraph
(b) (3) and (c) (1) (ii) of The Rights in Technical Data and Computer Software clause at DFARS
252.227-7013 or subparagraphs (c) (1) and (2) of the Commercial Computer Software-Restricted Rights at 48 CFR
52.227-19, as applicable.
AMENDMENTS
Hypermedia Systems Ltd. may amend these terms and conditions at any time by posting a notice on one or more of its
websites. Your continued use of the PRODUCT shall constitute your acceptance of such amended terms. Accordingly,
we urge you to visit our websites periodically to review the current and effective terms and conditions for use of our
products. Certain provisions of these terms and conditions may be superseded by expressly designated legal notices or
terms outlined on our websites.
GOVERNING LAW
This AGREEMENT and any and all claims relating to the PRODUCT shall be governed by the laws of the State of Israel,
without regard to or application of choice of law or principles, and the courts of Tel-Aviv Jaffa shall have sole and
exclusive jurisdiction over any dispute arising in connection with this Agreement and/or the use of the PRODUCT.
NO WAIVER
No delay or failure to take action under these terms and conditions will constitute a waiver by Hypermedia Systems Ltd.
unless expressly waived in writing by a duly authorized officer of Hypermedia Systems Ltd.
Table of Contents

SMART SIM RACK INTRODUCTION ..............................................................................................................................
1
OVERVIEW ........................................................................................................................................................................ 1
PREPARING YOUR HARDWARE FOR INSTALLATION .....................................................................................................................
1
General Requirements ...............................................................................................................................................
4
Unpacking the Smart SIM Rack ..................................................................................................................................
5
INSTALLING A SYSTEM ................................................................................................................................................
6
INSTALLING THE SMART SIM RACK HARDWARE ........................................................................................................................
9
POWERING UP SMART SIM RACK ........................................................................................................................................
10
ADMINISTRATION INTERFACE ..................................................................................................................................
12
CONNECT TO THE SMART SIM RACK INTERFACE ......................................................................................................................
12
ADMINISTRATION INTERFACE OVERVIEW ...............................................................................................................................
13
BROWSING SMART SIM RACK INTERFACE ..............................................................................................................................
13
SYSTEM PARAMETERS ........................................................................................................................................................
15
System Settings ........................................................................................................................................................
15
Administrator Settings .............................................................................................................................................
16
Smart SIM Rack License ...........................................................................................................................................
16
SIM RACK .......................................................................................................................................................................
17
SIM Rack List ............................................................................................................................................................
17
Add SIM Rack ...........................................................................................................................................................
18
Edit SIM Rack ...........................................................................................................................................................
19
GSM .............................................................................................................................................................................
21
GSM List ...................................................................................................................................................................
21

Add GSM: Declare a passive GSM device ................................................................................................................
22
Edit GSM: Modify or Authorize GSM device ............................................................................................................
23
GSM PORTS ....................................................................................................................................................................
25
GSM Port Filter ........................................................................................................................................................
25
List of GSM Port .......................................................................................................................................................
26
SIM CARD .......................................................................................................................................................................
27
SIM Card Filter .........................................................................................................................................................
28
SIM Card List ............................................................................................................................................................
29
SIM GROUP ....................................................................................................................................................................
32
This page is intentionally blank.
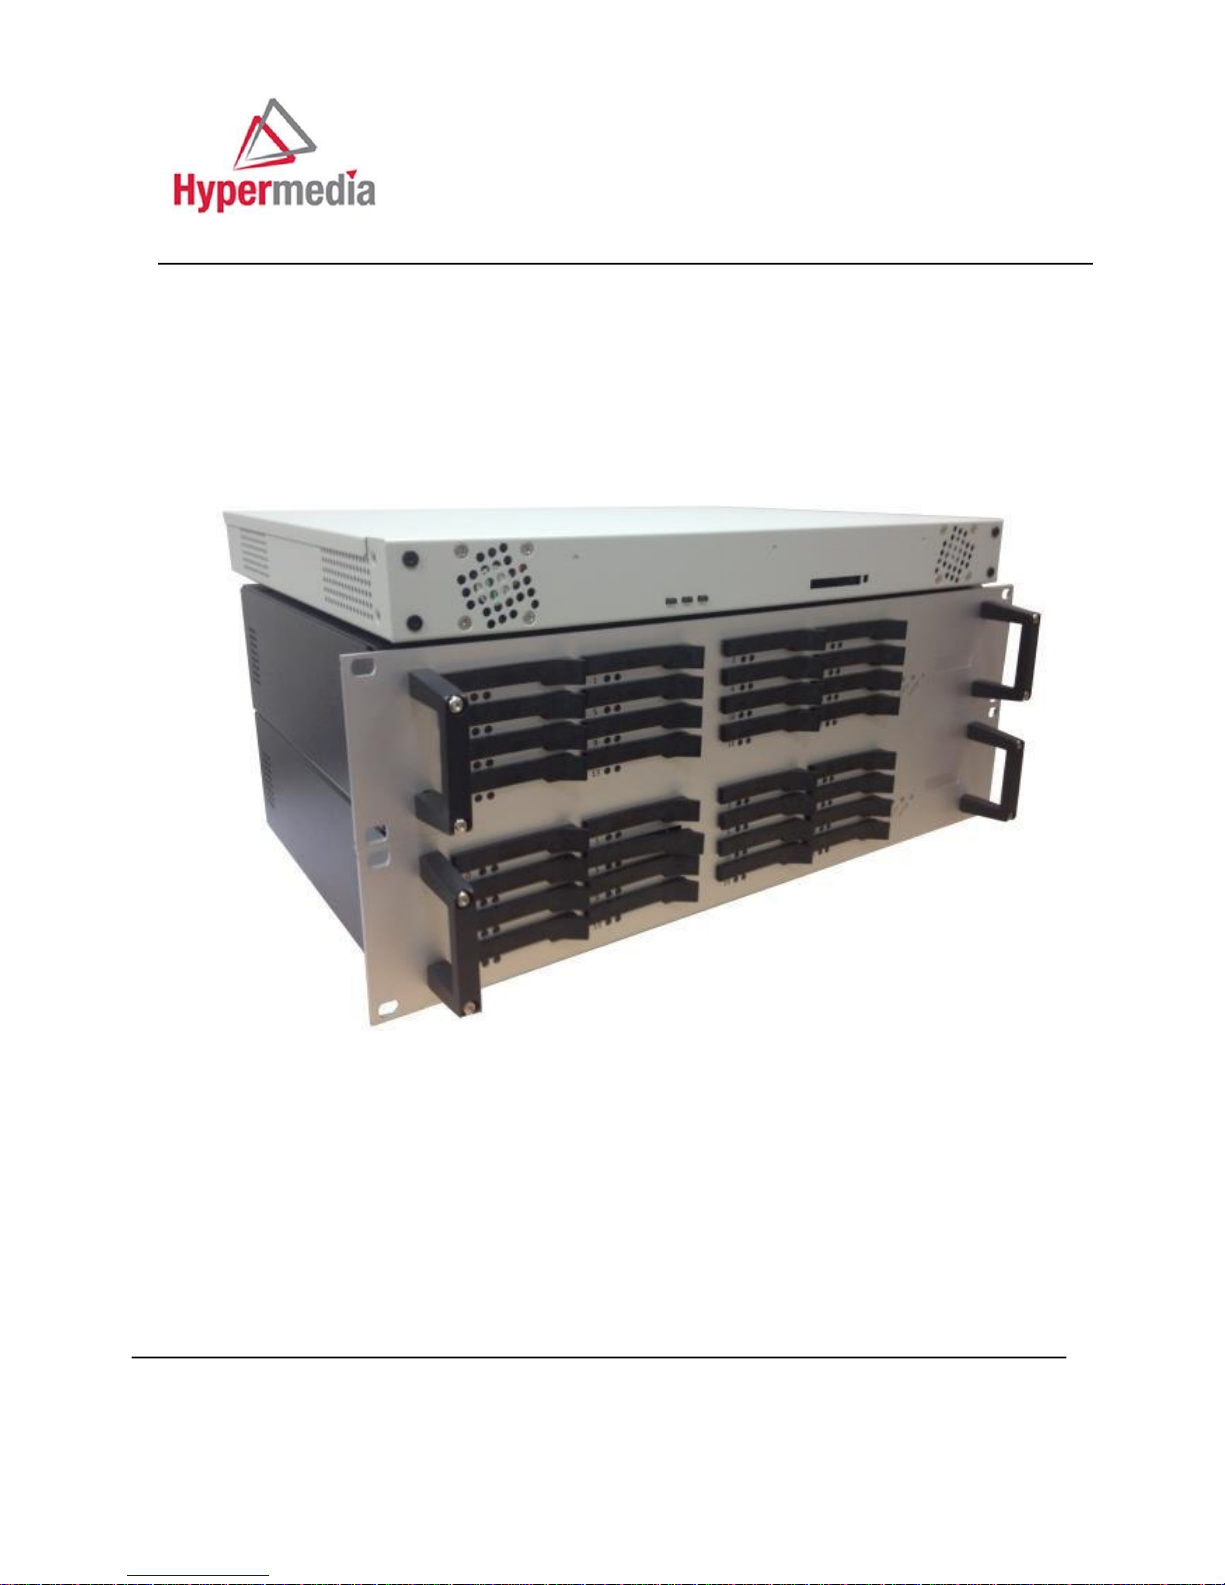
Smart SIM Rack Introduction
Overview
Introduction The Smart SIM Rack has 2 CPU Boards and a capacity of up to 160 SIM card.
Technical
Specifications
Preparing Your Hardware for Installation
General For your protection, observe the following safety precautions when installing or working on Safety
your product or equipment:
• Read and understand thoroughly all instructions provided in the documentation that
comes along with your equipment before you handle it.
Description
Specification
Dimensions
Smart SIM Server Rackable 19”, 1RU
Smart SIM Server rack Rackable 19”, 2RU
Weight
Smart SIM Server – 8Kg
Smart SIM Server rack - 8Kg
Input voltage range for AC power
supply
Current
Frequency
Power dissipation
- 240V
3-6 A
- 63Hz
300W (maximum)
Operating temperature
-10°C to 50°C
Operating humidity
5% to 80% (non-condensing)
Noise level
dBA (minimum)
Regulatory compliance
For more compliance information, refer
to the document accompanying your
device
Safety compliance
UL 60950; VDE 60950

2
Electrical
Safety
• Pay extra attention to all warnings and cautions highlighted in the
documentation or indicated on the equipment.
• Get well informed about hazards that can be caused by electrical circuitry and
1
appliances.
• Be familiar with standard practices to prevent accidents that could occur during
electrical or mechanical work.
• Never install or use the equipment near wet area or with wet hands or tools.
• Never install or use the equipment in an unprotected location that could trip others up.
• Always keep your equipment in a clear, dry, and dust-free location.
• Avoid wearing loose clothing such as ties or scarves while working with the equipment.
• Wear safety glasses when working under hazardous conditions that could be hazardous
to your eyes.
Follow the guidelines below while handling your product or equipment with electricity:
WARNING
• Locate the emergency power-off switch closest to your workplace such that you can
turn off the power supply quickly if an accident occurs.
• Disconnect all power supplies before installing or removing your equipment.
• Always double check but never assume that the power supply is disconnected.
• Examine carefully for any potential electrical hazards in your workplace such as
moist floor, ungrounded outlets, worn power cords or broken insulation before start
working.
• Do not deal with electricity if any hazardous conditions exist.
• Proceed as follows should an electrical accident occur:
i. Be careful! Do not turn yourself into the next victim.
ii. Turn off the power supply of the equipment immediately.
iii. Send someone else to obtain medical assistance if possible. You should
otherwise call immediately for emergency help.
iv. Provide proper first aid such as rendering artificial breath or external cardiac
compression to the victim if necessary.
Prevention of Electrostatic discharge (ESD) can damage your equipment and impair its electrical circuitry.
Electrostatic An ESD event can occur if the electronic printed circuit boards are improperly handled. This
Discharge can consequently cause complete or intermittent failures to your equipment.
Always observe the following procedures to prevent ESD when replacing or removing
modules in your equipment:
• Make sure the chassis of your equipment is electrically connected to earth ground.

3
• Wear an anti-static wrist strap with a good skin contact. Connect
the strip clip to an unpainted surface of the chassis in order to channel unwanted
ESD voltages safely to ground.
For your equipment safety, verify periodically that the resistance value of the anti-static
wrist strap always falls between 1 and 10 megohm (M ). CAUTION

4
General Requirements
Power Supply
Make sure the power supply at your selected site is noise-free without spikes. A power
conditioner is recommended to maintain a smooth power supply if necessary. The Smart
SIM Rack must absolutely be connected to grounded power outlets.
Site
Environment
The Smart SIM Rack can be placed on a stable surface in your selected site such as a
desktop, shelf or rack. The layout of your site makes a major contribution to proper system
operation. Efficient room wiring, adequate ventilation, ample space between appliances
and easy equipment access are among the key factors determining satisfactory system
performance and maintenance.
The installation site should meet the minimum requirements listed hereafter to provide an
acceptable operating environment for the Smart SIM Rack:
• Air Ventilation – The Smart SIM Rack dissipates heat just as any other electrical
equipment does. The ambient temperature may not be enough to cool the server
down to an acceptable operating temperature. Make sure your installation site
sustain sufficient air ventilation for this purpose. In addition, your server chassis
must always be well fastened to allow efficient air-cooling within the equipment.
An open chassis permits air leaking that may interrupt the internal air-cooling.
• Prevention of Electrostatic Discharge – Always respect the procedure given in the
Prevention of Electrostatic Discharge Section to avoid immediate or intermittent
equipment failures due to electrostatic discharge.
• Site Capacity – The installation site should provide enough space to accommodate
all necessary equipment and accessories. All equipment must be maintained at
reasonable distance from each other for air ventilation and easy access.
Equipment
Rack
The Smart SIM Rack is manufactured with a chassis height of 6 RU. It can therefore be
installed in 19-inch equipment racks.
This section provides you useful information to plan the configuration of your equipment
rack.
• Air Ventilation – All equipment racks must have sufficient ventilation because the
server dissipates heat just as any other electrical equipment does. Enclosed
equipment racks should have louvered sides and fans to provide enough
aircooling. Make sure that your racks are never overcrowded. If your rack has only
a ventilation fan on its top, provide additional air-cooling at the lower part of the
rack to avoid the heat from rising up.
• Chassis Mounting – When mounting the server in an open rack, double check that
the rack frame does not block any air ventilation openings. If the chassis is
mounted on a slope, verify that the chassis is steadily positioned.
• Air Baffle – An air baffle can improve the airflow in your equipment rack by
isolating the air exhaust from the air intake. Consider the airflow direction while
positioning your air baffle so that the air-cooling of the chassis is optimized.
Waste
Recycling
Delivery Package
Hypermedia products are delivered in a carton package with protective padding. Keep the
delivery package temporarily in case you need to return the product for customer service.
Once our product gives you the expected satisfaction, please recycle the delivery package
properly.
Used Battery or Obsolete Device
For customers in the European Union, please respect the EU recycling regulation. Please
dispose of any removed batteries or obsolete devices at the appropriate recycling center.
5
It is illegal to dispose of such articles in domestic refuse. For customers
outside of EU, please observe your local statutory provisions for this subject matter
Unpacking the Smart SIM Rack
Introduction
The Smart SIM Rack is delivered in a large box packed with foam padding to protect it
against shock during shipping. Do not remove the Smart SIM Rack from this protective
padding until you are ready to install it.
Power Supply
When you are ready to install the Smart SIM Rack, remove all items from the box carefully
(i.e. Smart SIM Rack and accessories). Visually inspect all items for any damage or omission
before installation.
The hardware configuration of the Smart SIM Rack should feature:
• A fan
• A power connector
• A power switch
• A serial communication port RS-232 (standard DB-9 format)
• An Ethernet 10/100 base-T port
• A USB port
• A power cable corresponding to your geographic location
Please contact your retailer or shipping company should you find any damaged or missing
items in your delivery package.
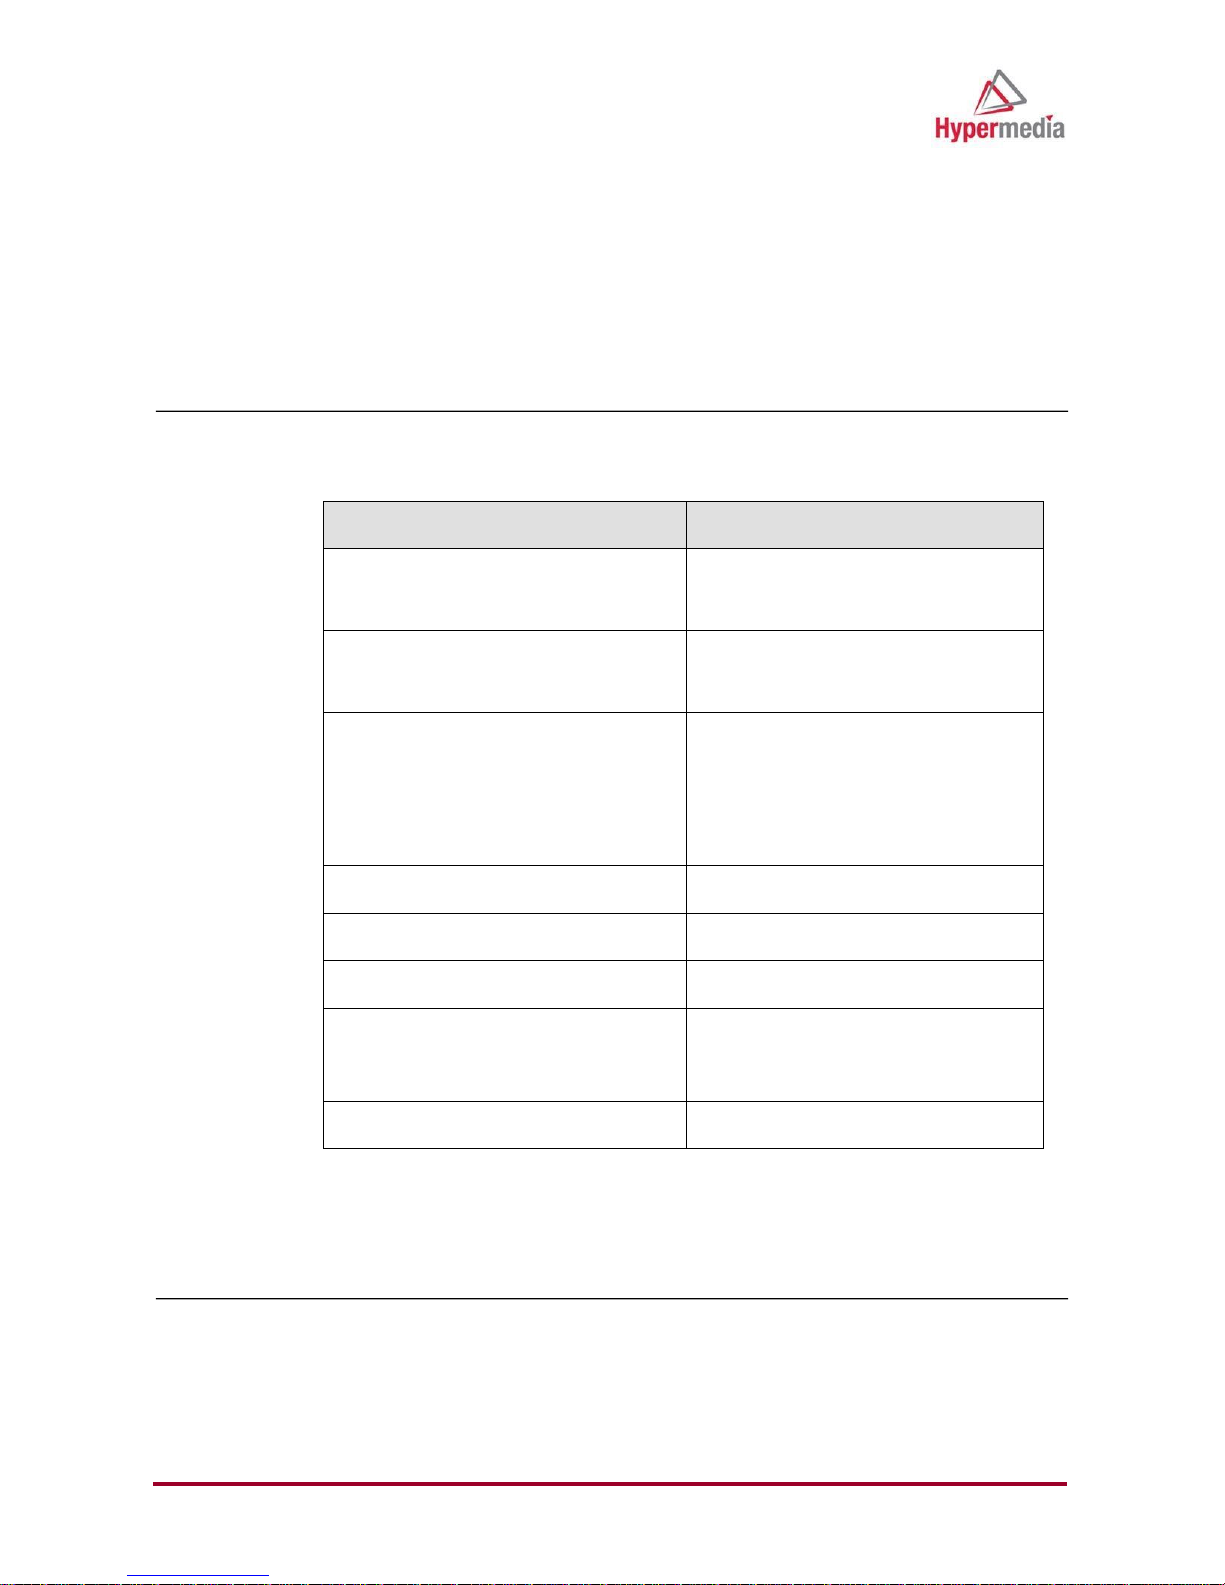
Installing a System
Install the SIM Server and SIM server Rack/s.
HG-9000 SIM Server – 256 SIMs Front
6
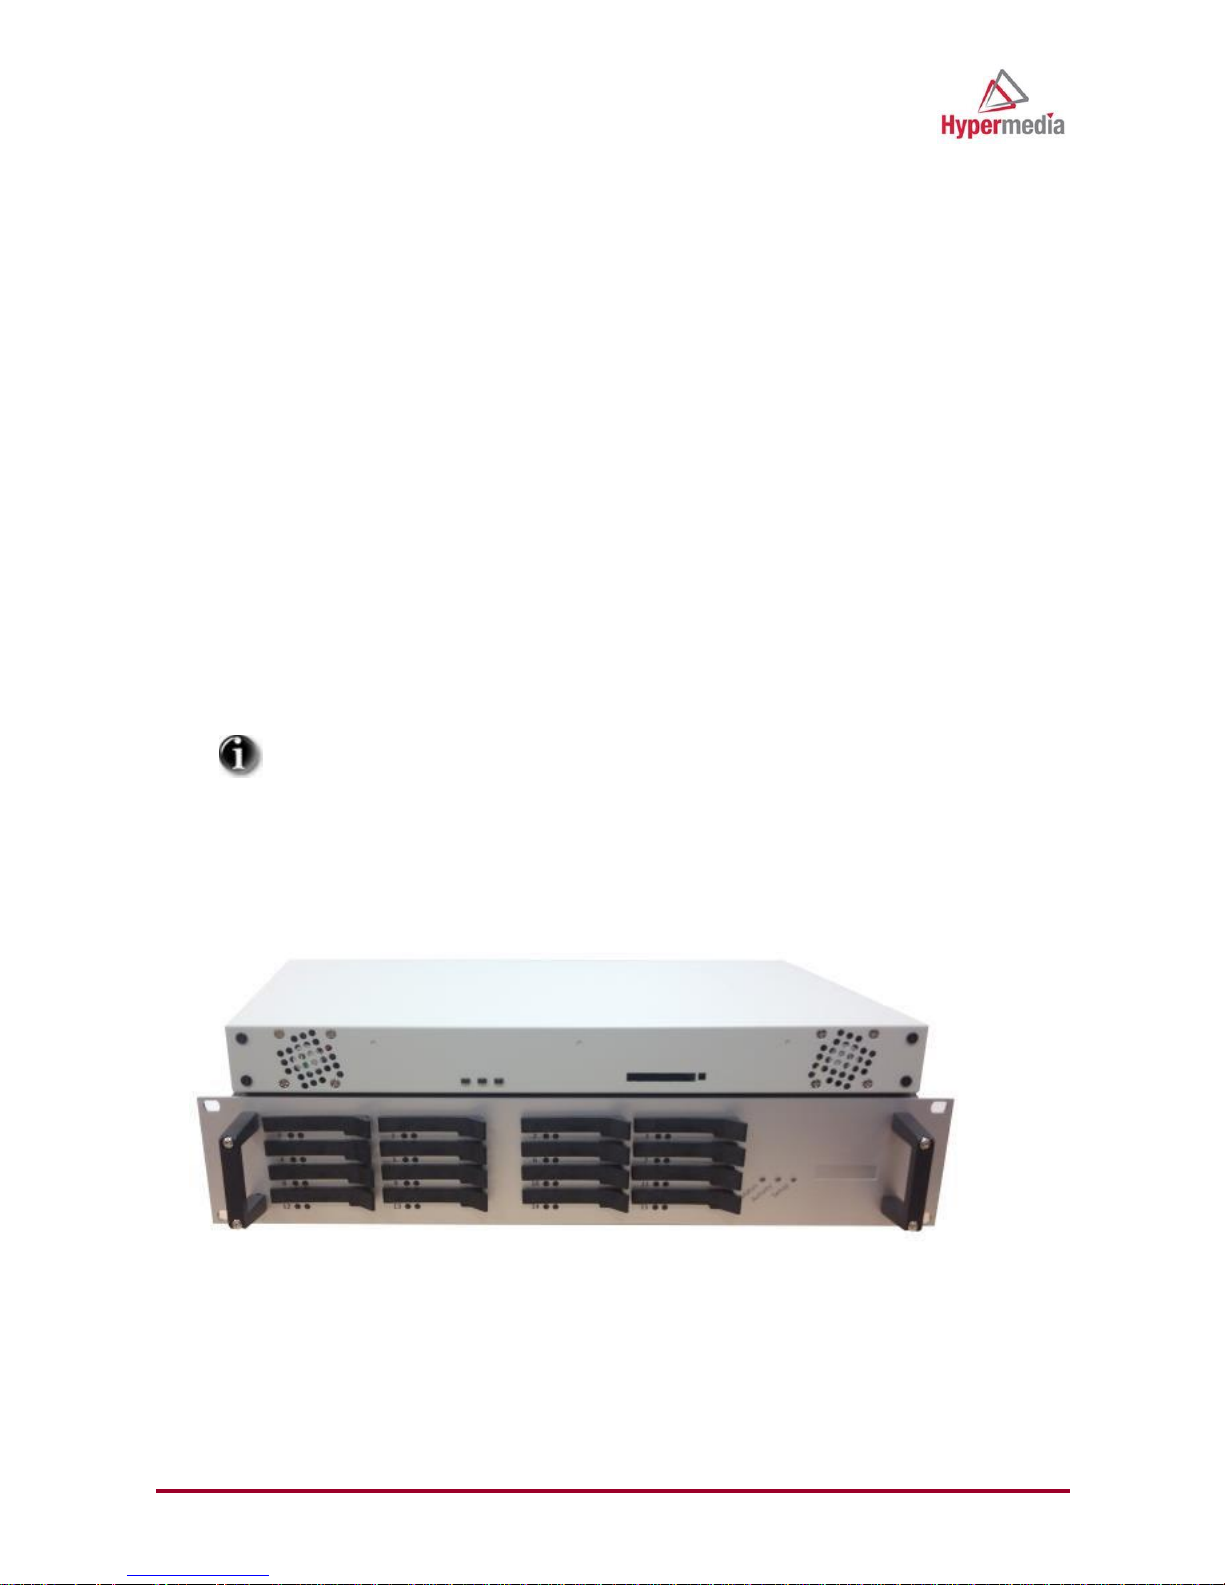
HG-9000 SIM Server – 256 SIMs Back
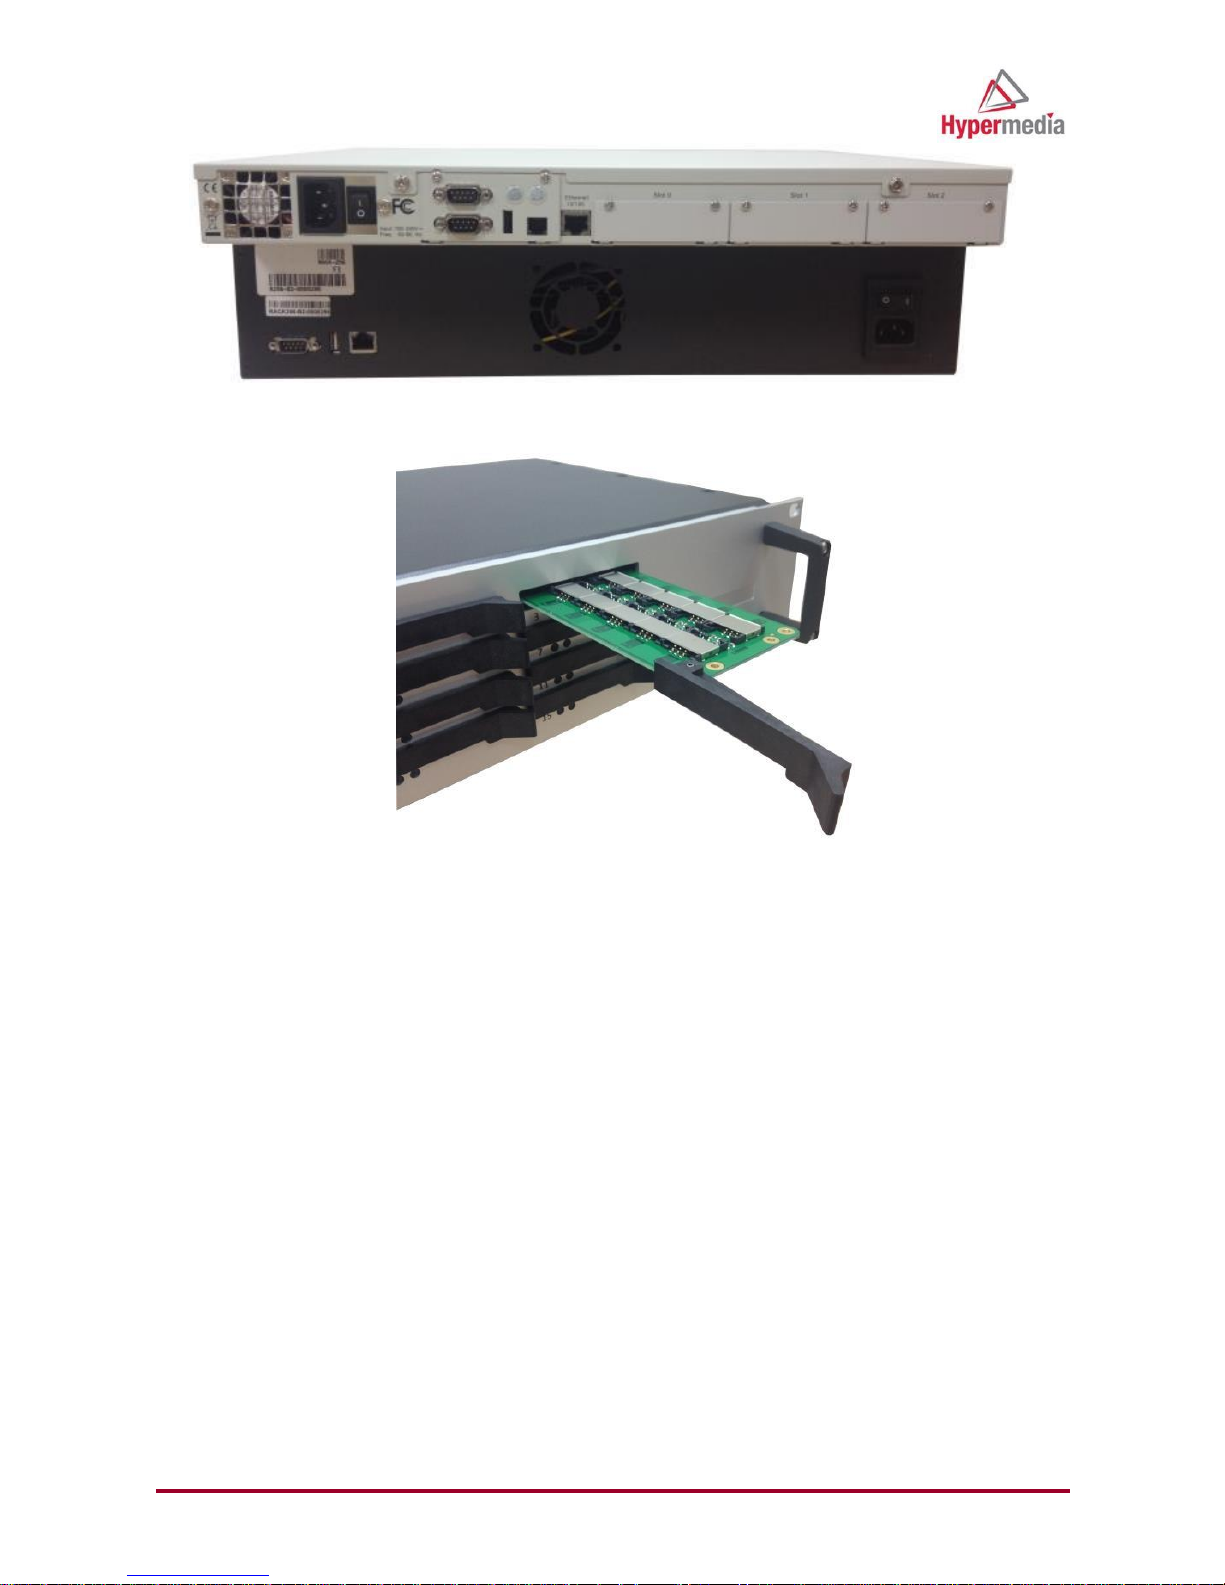
HG-9000-16 SIMs Blade Card
1. Mount the SIM Server and SIM server Rack/s in a 19” rack or set it in another well ventilated and
protected location.
2. Attach the LAN cables to the SIM Server and SIM server Rack/s and the second side of the cable to the
WAN socket.
3. Attach the power cable to the SIM Server and SIM server Rack/s and to the power outlet.
4. Turn on the SIM Server and SIM server Rack/s.
Install the Gateway.
1. Mount the Gateway in a 19” rack.
2. Attach the WAN cable to the Gateway and the second side of the cable to the WAN socket.
3. Attach the power cable to the Gateway and to the power outlet.
4. Turn on the Gateway.
Configure the SIM Server.

7
1. Open a browser and enter the IP address of the SIM Server.
2. Enter the password and click Enter. The Settings screen is displayed.
3. Click Gateway. The Gateway List is displayed and the Gateway appears in the list.
4. Click (Edit). The Edit Gateway screen is displayed.
5. Edit the Gateway’s name and password.
6. Select the Authorize Connection > Yes button.
7. Mouse-over the left tab and click Enable.
8. From the navigation panel, click SIM Group.
9. Click Add Group. The Edit SIM Group screen is displayed.
 Loading...