

Hyline Offroad TJ TUBE STEP ROCKER PANEL User Manual
Proudly Made In USA
Parts List
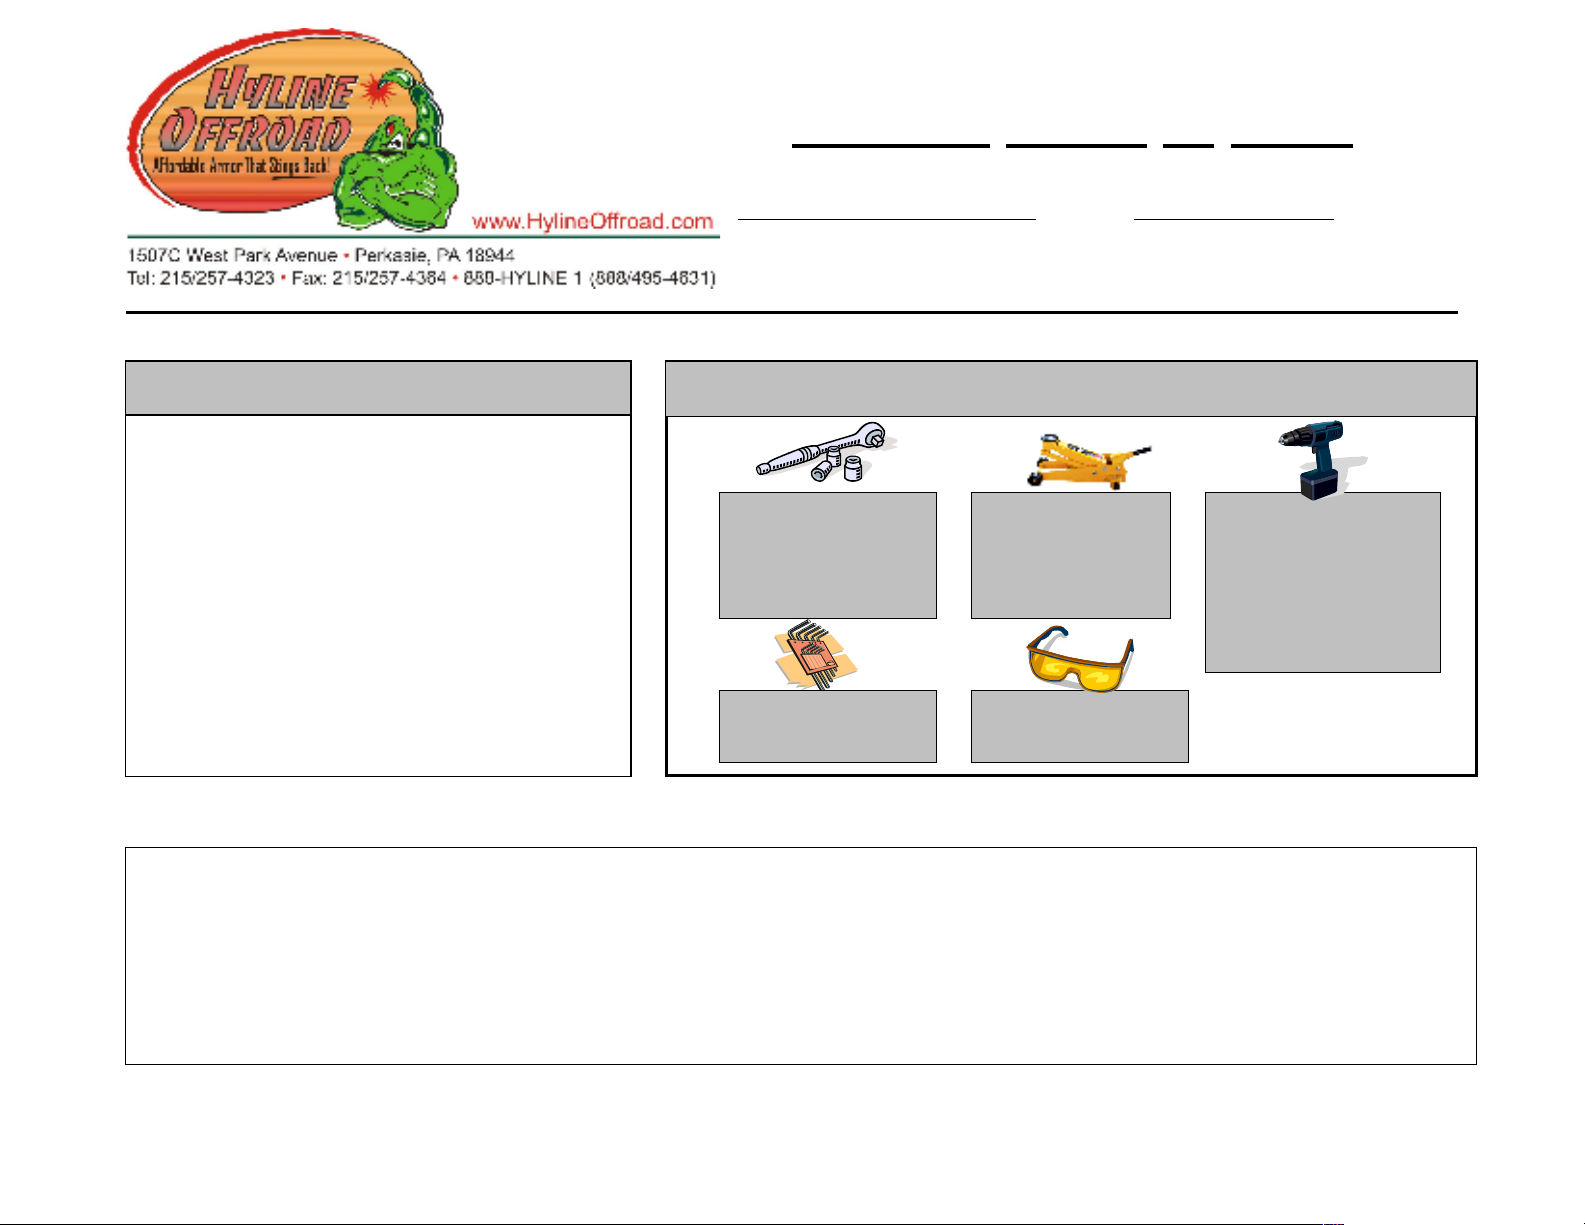
Tools Needed
Qty:
1 Passenger & Driver Side
Rocker Panels
2 Rocker Panel Back up Strip
10 3/8” x 1” Stainless Cap Bolts
10 3/8” Flanged Lock Nut
2 Paint Guard Adhesive Foam
Installation Instructions:
TJ Tube Step Rocker Panel
Part Number: TJ-30TSR
Ratchet
9/16” Deep Socket
12” Extension
16mm Socket
7/32 Allen Wrench
8mm Wrench
Floor Jack
Approx, 18”
Block of Wood
Safety Glasses
Vehicle Fitment:
1997 – 2006 Jeep Wrangler
Hand Drill
3/8’’ Bit
3/8” Transfer Punch
C-Clamp or Vise
Clamp
Light Duty Hammer
Congratulations on your purchase of the Hyline Offroad Tube Step Rocker Panel. All of our products are completely
manufactured in our facility located in Perkasie, PA. They are designed and engineered by Offroad enthusiasts just
like you to be rock solid at an affordable price. Hyline Offroad would like to thank you for your recent purchase
and look forward to serving you in the future.
Optional Winch Installation
Hyline Offroad Staff
T:\Hyline Offroad, LLC\Installation Instructions\TJ-30TSR\TJ-30TSR Installation Instructions.doc Page 1 of 4
REV 0 12/2/08
IMPORTANT NOTE: ANY SAHARA OR ANNIVERSARY MODEL WITH UPGRADED TRIM OPTION MUST REMOVE
PLEASE READ INSTRUCTIONS BEFORE BEGINNING INSTALLATION
INSTALL ONE ROCKER PANEL AT A TIME!
one side installation
FACTORY STEPS AND PLASTIC ROCKER PANEL COVER BEFORE INSTALLING HYLINE’S ROCKER PANELS
NOTE: Before staring installation, Park you Jeep on flat, level
area and set the parking brake and emergency brake.
Tube Step Rocker Panel Installation
Step 1 – Remove plastic fender flare extensions by using 8mm wrench
to remove 3 screws (See Figure 1). You WILL have to drill
out the three threaded inserts. Do this by SLOWLY & LIGHTLY
drilling with a drill bit about the same size as the diameter of the
threaded insert. Drill until the head of the insert is removed, then
using a punch you can pop the inserts out of the sheet metal.
Step 2 – Install Paint Guard Foam onto Rocker Panel by peeling back paper to expose adhesive. Cut any excess
foam material off and cutout holes.
Step 3 – Thoroughly clean the area of the Jeep body
that the Rocker will be mounted to both
under the door and underneath the body.
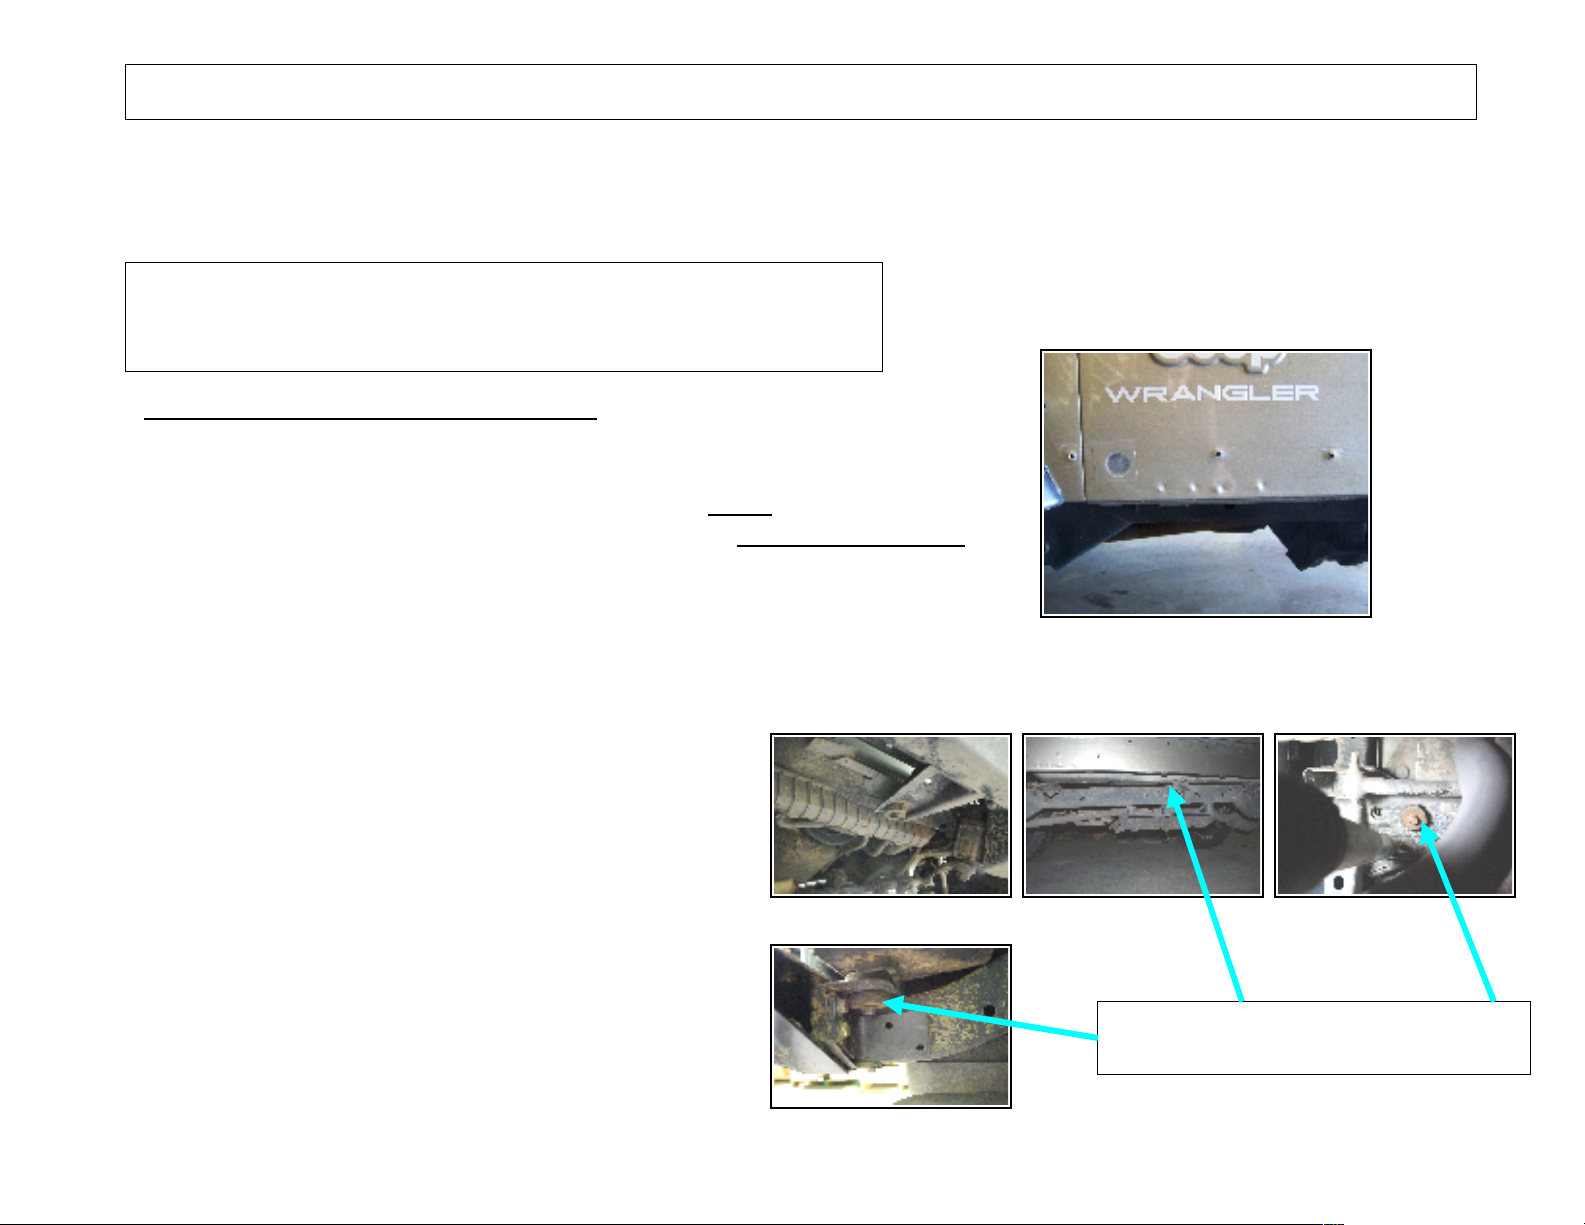
Step 4 – Remove the body mount bolts from the
following places using 16mm socket:
1 – Front Center (Fig. 2)
3 – Passenger Side (Fig. 3)
1 – Next to the Rear Shock Mount (Fig. 4)
1 – Below the Rear Corner Panel (Fig. 5)
T:\Hyline Offroad, LLC\Installation Instructions\TJ-30TSR\TJ-30TSR Installation Instructions.doc Page 2 of 4
Passenger Side Shown. Complete
REV 0 12/2/08
 Loading...