

Hyline Offroad JK STANDARD FRONT BUMPER AIR DAM User Manual
Proudly Made In USA
Parts List
Tools Needed
Qty:
1 Standard Air Dam
4 3/8-16 x 1” Gr. 5 Bolts
4 Lock Washers
4 Flat Washers
2 3/8” Nuts
Installation Instructions:
JK Standard Air Dam
Part Number: JK-10SAD
Ratchet
9/16” Socket
6” Extention
9/16” Wrench
Vehicle Fitment:
Fits Hyline Offroad Standard
Front Bumper (P/n JK-10SFB)
Congratulations on your purchase of the Hyline Offroad Standard Air Dam. Our products are completely
manufactured in our facility located in Perkasie, PA. They are designed and engineered by Offroad enthusiasts just
like you to be rock solid at an affordable price. Hyline Offroad would like to thank you for your recent purchase
and look forward to serving you in the future.
Optional Winch Installation
Hyline Offroad Staff
C:\Users\RHerd\AppData\Local\Temp\JK-10SAD InstallationInstructions.doc Page 1 of 2
REV 0 9/4/2009
PLEASE READ INSTRUCTIONS BEFORE BEGINNING INSTALLATION
Air Dam Installation
Step 1 – Before installing your Air Dam make sure there are no wires in your
way.
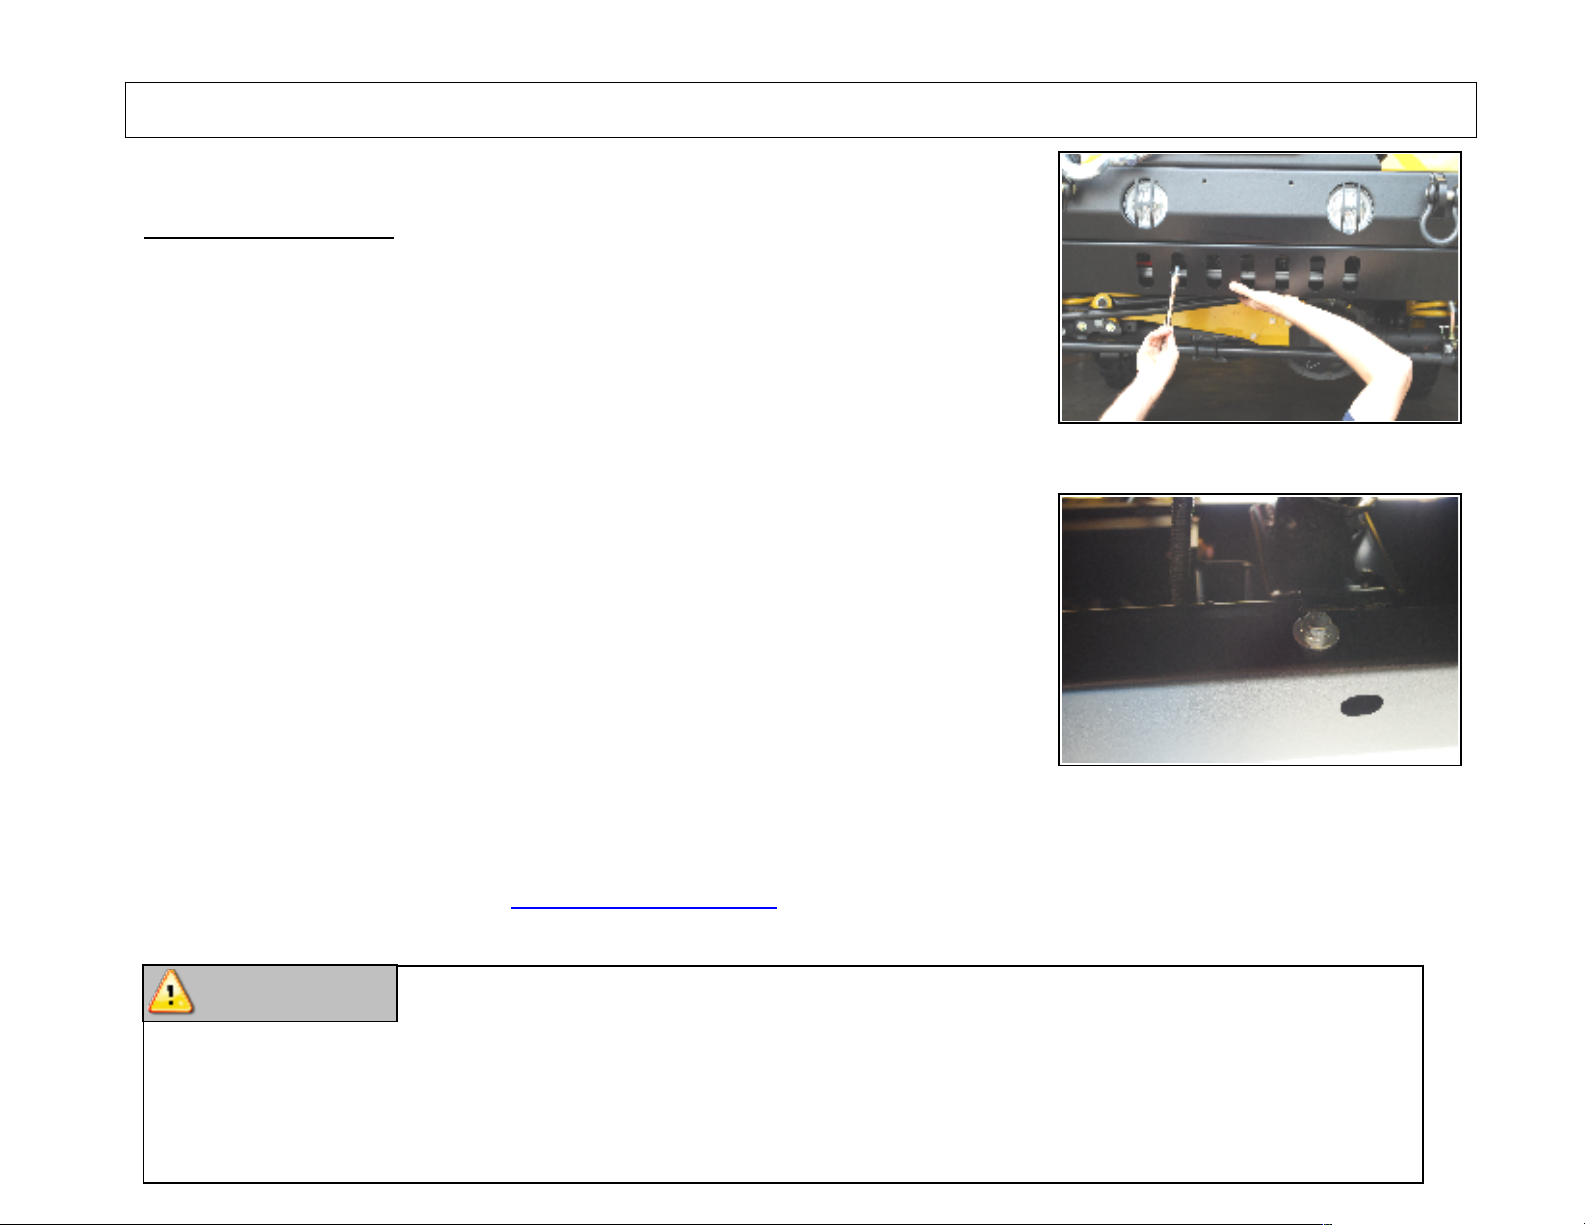
Step 2 – After installing your Hyline Standard Front Bumper you can install
your Air Dam Skid Plate. Using the 9/16” socket with 6” extension,
place the 3/8-16 bolt with lock washer and flat washer into the
socket. While holding the Air Dam in place, thread the 3/8 bolt
through the slots and into the weldnut in the bumper. (See Figure 1)
You will be installing two 3/8 bolts in the center section of the
Air Dam.
Step 3 – Install the other two 3/8 bolts, lock washers, flat washers and nuts
into the thru holes on the back side of the Air Dam. You will need
the 9/16” wrench and 9/16” socket for this step. (See Figure 2)
Figure 1
Figure 2
Now you’re ready for the ROCKS!!
Send your OFFROAD pictures to pics@HylineOffroad.com . If we choose any one of your pictures to be used on
our website, We send you a FREE Hyline Offroad T-Shirt.
Installation instructions provided must be read and followed exactly when installing
product. Failure to do so could potentially result in injury or death of any occupants
in the vehicle. WEAR SEAT BELTS AT ALL TIMES WHEN DRIVING!
Though our products are rugged, they are primarily designed and built to enhance the appearance of the
C:\Users\RHerd\AppData\Local\Temp\JK-10SAD InstallationInstructions.doc Page 2 of 2
vehicle and will not protect from death or injury in the event of an accident. Adhere to all vehicle
manufacturers specifications
REV 0 9/4/2009
 Loading...